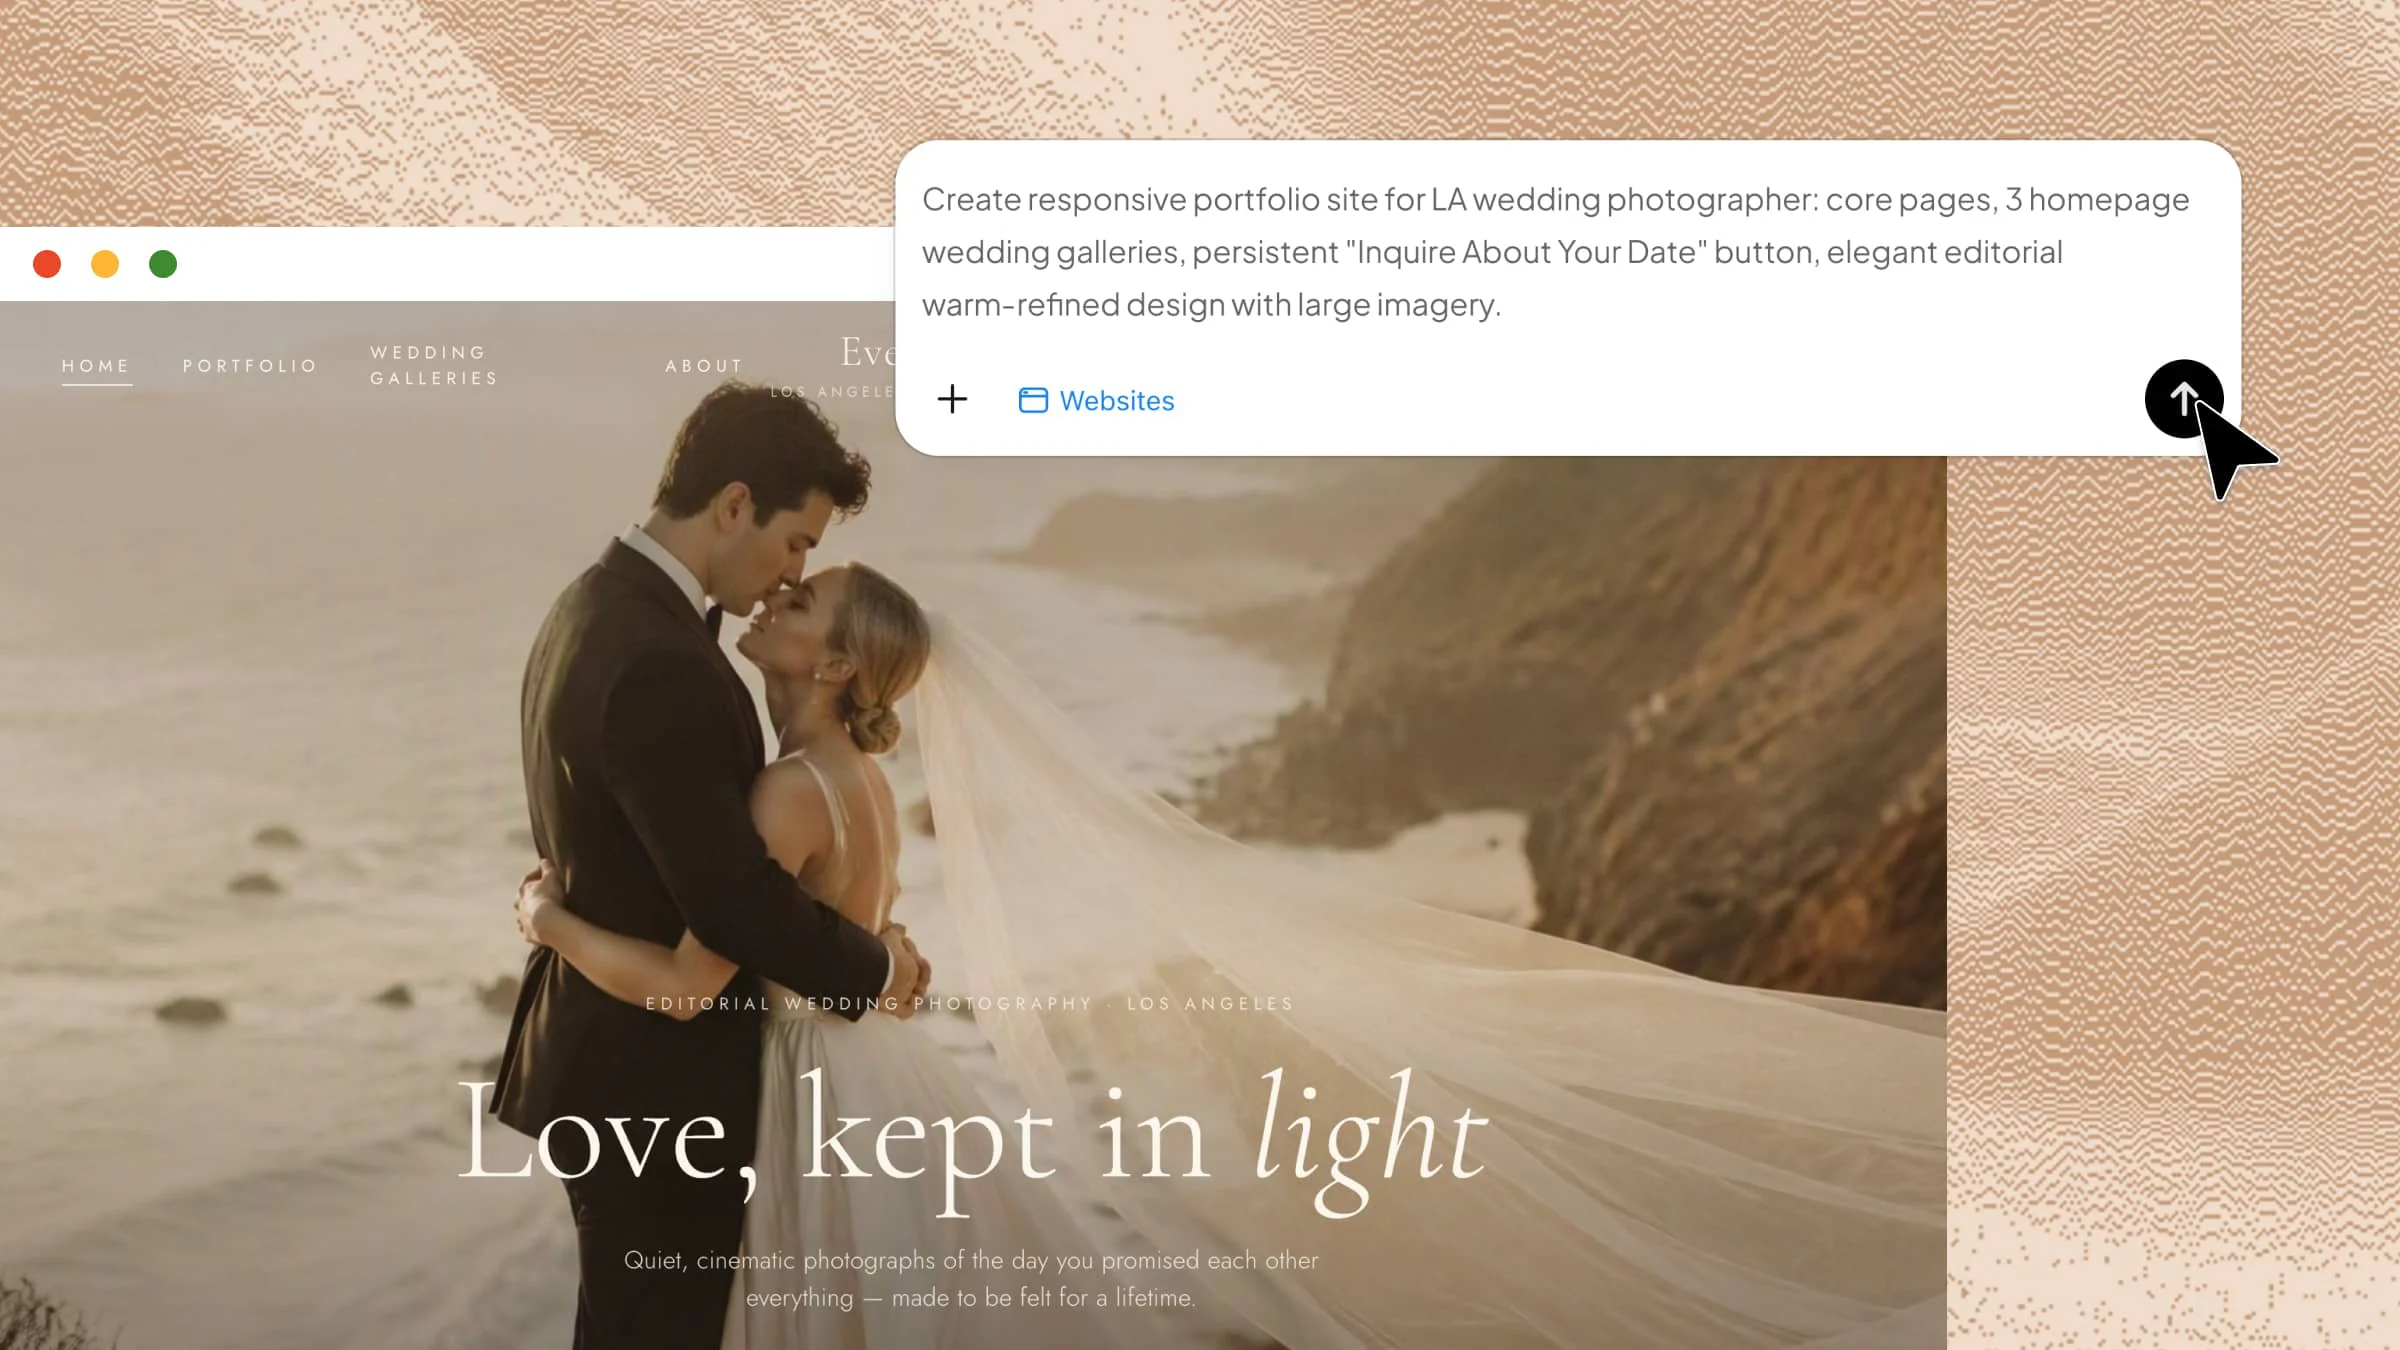
Having beautiful photos is only part of building a strong online presence because they also need to be presented in the right way. A messy layout, too many images, or confusing navigation can make it harder for visitors to enjoy your work. The good news is that you can create a clean and attractive site without starting from scratch or knowing how to code. In this article, you will learn how to build a photography website with Kimi Build to make your work easy to discover.
How to build a photography website from scratch
Think of your website as a digital gallery where every photo has its place and every page adds to your story. You don't need advanced skills or hours of technical work to create one that feels professional. Here's how to build a photography portfolio website step by step.
Step 1: Define your photography niche and audience
Before building your website, decide what type of photography you offer, who you want to attract, and what visitors need to see before contacting you. Your photography niche will determine how you organize your galleries, services, and content.
Prepare the key materials:
Photography work: Select your strongest and most relevant photos.
Gallery categories: Group work by type, such as weddings, portraits, events, or commercials.
Shoot details: Add useful context such as location, client, shoot type, or project background.
About content: Introduce your background, photography style, and experience.
Client testimonials: Gather testimonials, publications, awards, or notable clients.
Services: List your photography services, packages, or pricing if applicable.
Contact details: Prepare your email, inquiry form, booking link, and social profiles.
Then plan a simple site structure:
Treat the Homepage as the first visual impression of your brand, using an attractive and distinctive design to showcase your photography style and capture visitors' attention. Use Portfolio, Services, About, and Contact as the main navigation pages, with individual galleries or collections organized under Portfolio.
For example:
Keep the focus on your photography and make it easy for visitors to move from viewing your work to contacting you.
Step 2: Choose a photography website builder
Choose a website builder that handles image-heavy pages well and gives you control over galleries, layouts, mobile display, and content updates.
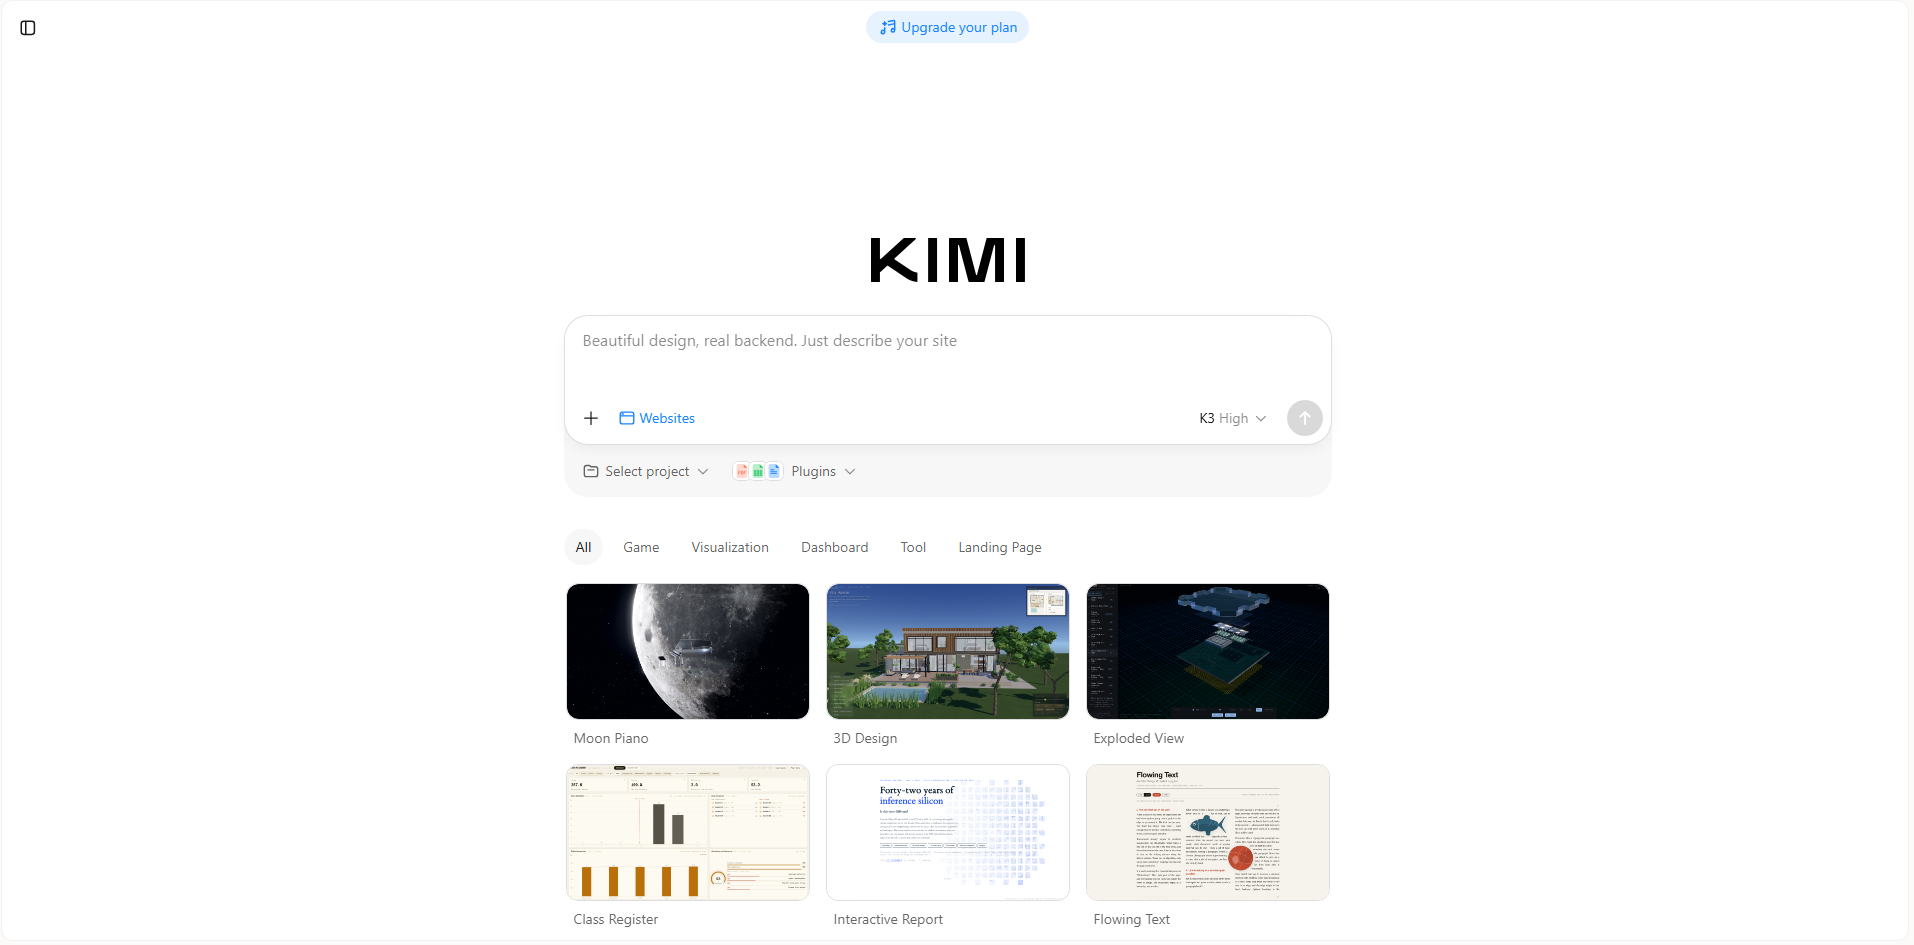
An AI website builder can simplify the initial setup. Kimi Build lets you describe your photography style, target clients, galleries, services, and preferred visual direction, then generates webpages from your instructions. You can also upload photos, videos, screenshots, or other visual references to guide the design.
Why choose Kimi Build:
AI-powered creation: Generate a complete photography website from your requirements, including page structure, content, and visual design.
Distinctive visual design: Create polished photography websites with refined animations and interactive effects, while using MusePool design references to create more distinctive visual experiences.
Style-based generation: Provide reference images or videos that reflect your preferred style, and Kimi Build can use them to generate a website with a similar visual direction.
Multi-page portfolio: Build connected Portfolio, Services, About, and Contact pages, and organize photography categories, project introductions, or shooting content into dedicated galleries.
Natural-language editing: Change images, layouts, text, sections, and other design elements with simple natural-language instructions.
Responsive design: Create photography websites that adapt smoothly to different screen sizes across desktop, tablet, and mobile devices.
Step 3: Generate your photography website
Open Kimi Build and describe your photography niche, target clients, featured galleries, required pages, and preferred visual style. Upload your best photos, screenshots, or other visual references to help shape the website.
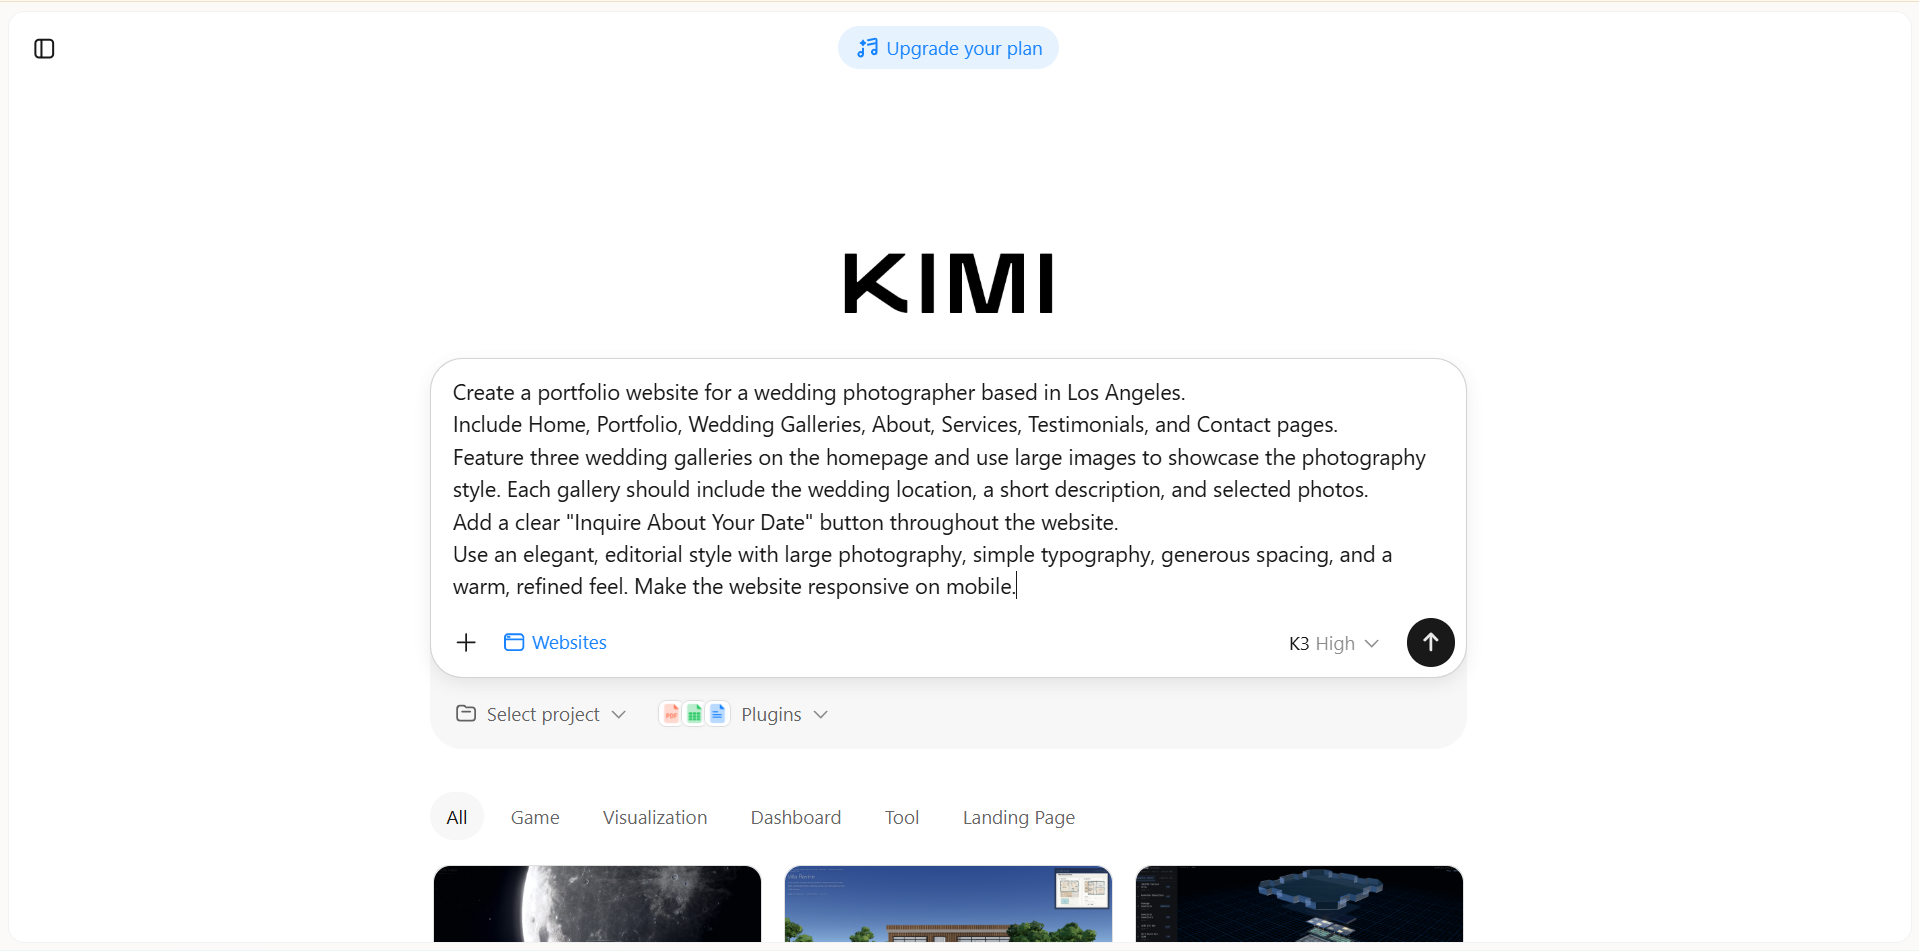
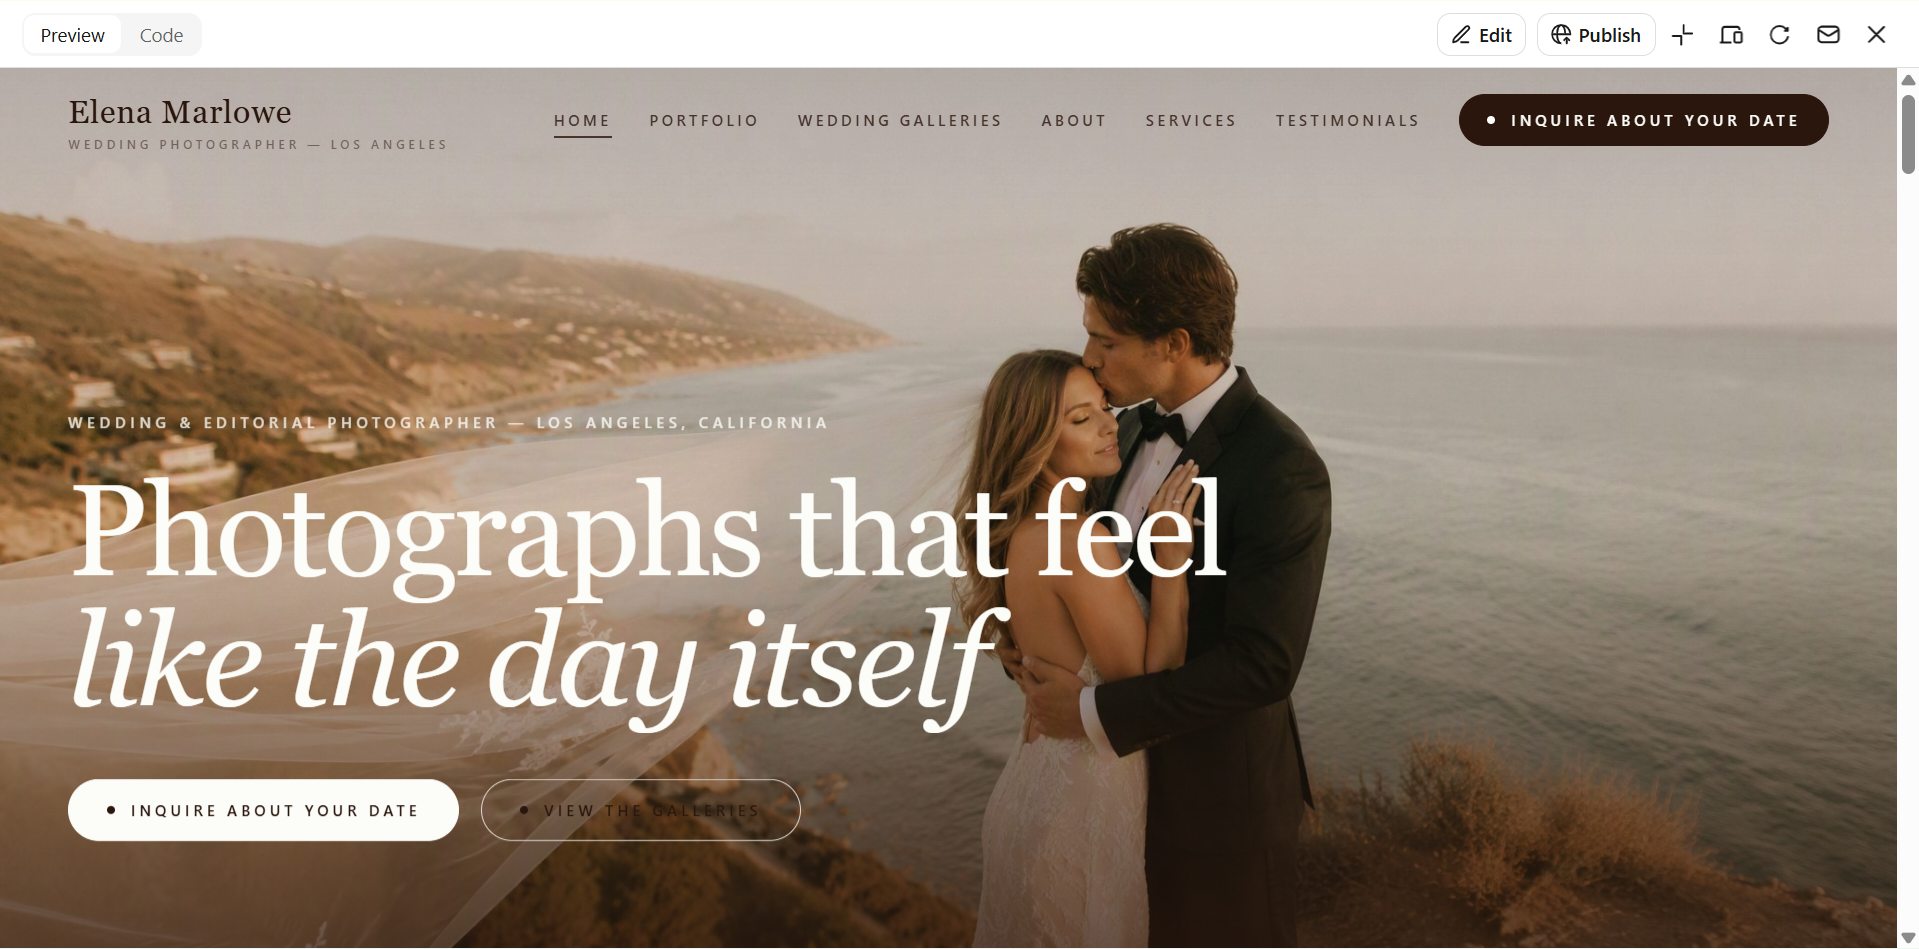
For example, a wedding photographer can ask for a homepage featuring selected wedding photos, separate galleries for different weddings, an About page, service information, testimonials, and a contact page with a clear inquiry button.
Example prompt:
Step 4: Optimize your photography website
Once the first version is generated, review how your work is presented. Check whether your strongest images stand out, galleries are easy to browse, and potential clients can quickly understand your services and get in touch.
Then, refine the website with specific instructions. You can comment directly on a page to describe a change, use "Annotate" to point out an area that needs editing, or use "Select" to target a specific element and describe what you want to update. You can also ask the AI to edit content, images, colors, layouts, or add, remove, and reorganize sections.
For example:
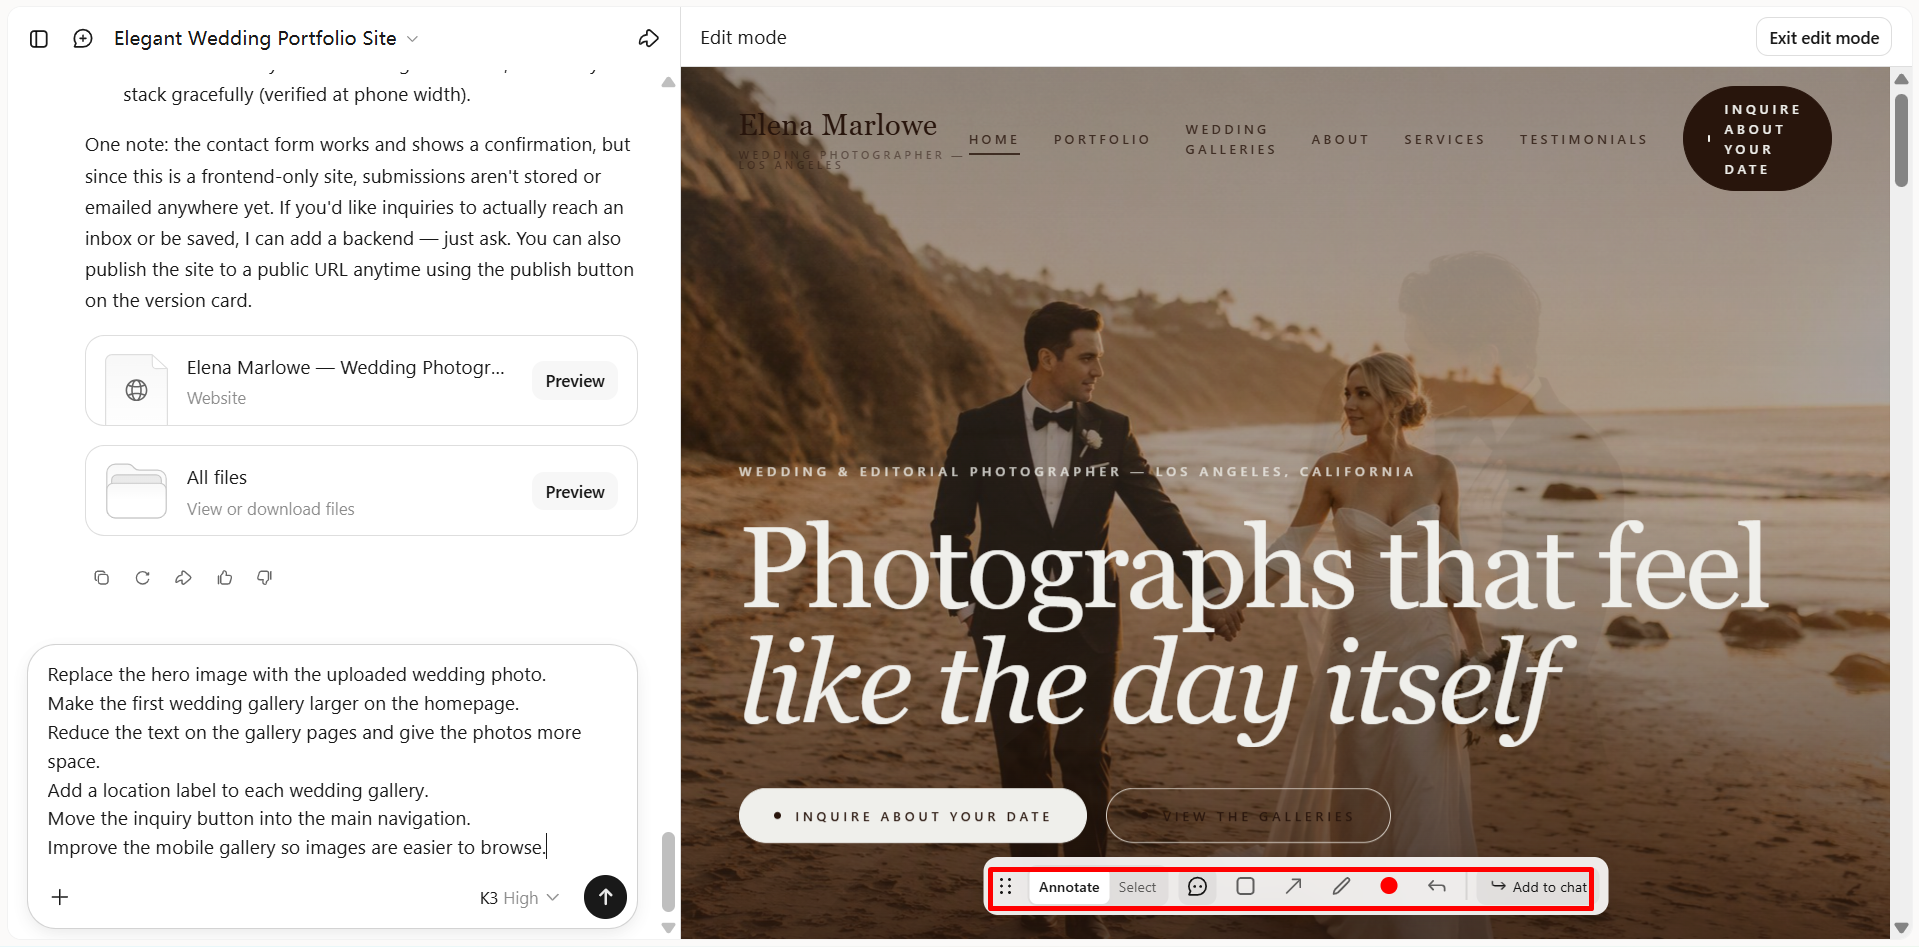
Review the changes and continue refining individual elements or sections until the website presents your photography clearly and feels ready to share.
Step 5: Check and publish your photography website
Before publishing, go through the website as if you were a potential client viewing your work for the first time. Check whether your photography is displayed clearly and whether visitors can easily find the information they need to contact you or book your service.
Pay attention to:
Images: Make sure photos are sharp, properly cropped, and loaded without unnecessary delays.
Galleries: Check that every gallery opens correctly, and images appear in the intended order.
Navigation: Keep your navigation clear and intuitive so visitors can easily find your Portfolio, Services, About, and Contact pages.
Contact and booking: Test inquiry forms, email links, booking buttons, and social media links.
Mobile display: Check image sizes, gallery layouts, menus, and buttons on smaller screens.
Personal brand: Confirm that your name, bio, services, location, contact details, and other personal brand information are accurate and up to date.
Once everything works as expected, publish the website. After launch, keep your galleries and contact information updated as you add new work or change your services.
Pro tips for designing the perfect photography website
Small choices in layout, image quality, and navigation can make a big difference to how your site feels. Keep these practical tips in mind as you want to create a professional and convenient photography website for free.
Make your photography style clear
Your website should quickly tell visitors what kind of photographer you are. Use your strongest and most consistent work to create a clear visual style across the site. This helps potential clients understand your specialty without having to search through unrelated images.
Let your strongest images shape the layout
Start with the photos you are most proud of and build the design around them. Large, high-impact images can work well for the homepage, while supporting photos can fill out galleries and other sections. This approach keeps your best work at the center instead of forcing your images into a fixed layout.
Build galleries around how clients browse
Organize your photos in a way that feels natural to the people you want to reach. For example, a wedding photographer could separate weddings, engagements, and portraits into different galleries. Clear categories make it easier for visitors to find relevant work and decide whether your style fits their needs.
Balance image quality with loading speed
High-quality photos are important, but very large files can make your website slow. Resize and compress images before uploading them, so they still look sharp without taking too long to load. A faster site gives visitors a smoother experience and helps them spend more time exploring your work.
Design the mobile gallery carefully
Many visitors will view your photography on their phones, so your galleries should work just as well on smaller screens. Check how images are cropped, spaced, and displayed when the screen size changes. A mobile-friendly design ensures your photos remain easy to view without excessive scrolling or awkward layouts.
Give visitors context without overwhelming the images
A short description can help explain where a photo was taken, what type of project it came from, or what you were trying to capture. Keep the text simple and brief so it supports photography rather than competing with it. The goal is to add meaning while keeping the viewer's attention on the images.
Make booking or inquiries easy to start
Once visitors like your work, they should know what to do next without searching around your site. Add a clear contact, booking, or inquiry option where it feels natural, especially near your portfolio and service information, so interested clients can reach you easily.
How to promote your photography website
Getting your photography website live is only the beginning. You also need to put it in front of people who are looking for the type of photography you offer. Focus on channels that can bring relevant visitors to your galleries and turn them into inquiries or bookings. Here's how you can promote a photography website.
SEO
Optimize your website for the searches your potential clients actually make. Use specific phrases such as "wedding photographer in Austin" or "corporate headshot photographer in Chicago" in relevant page titles, headings, service pages, and image alt text. Create separate pages for important photography services or locations when you have enough relevant work to support them.
Google Business Profile
If you work with clients in a specific area, create and maintain a Google Business Profile. Add your website, photography categories, service areas, business hours, recent work, and accurate contact information. Ask satisfied clients to leave reviews and keep your profile updated with new photos.
Social media
Use platforms where your target clients already go to find photographers. Share selected images, behind-the-scenes content, recent shoots, and short case studies, then link relevant posts back to your website. Instead of sending every visitor to your homepage, link directly to the gallery or service page related to the post.
Offline marketing
Your photography website can also support referrals and local networking. Add your website URL or QR code to business cards, brochures, printed portfolios, event materials, and other promotional materials. For wedding, portrait, or commercial photography, build relationships with venues, planners, agencies, and local businesses that can refer potential clients to you.
Conclusion
Knowing how to create a photography portfolio website can help you turn your work into a strong and lasting online presence. A thoughtful website gives your photography the space it needs while making it easier for the right people to discover and remember you. With the right tools, you can bring your ideas together without getting stuck in technical details. Try Kimi Build to turn your photography and ideas into a polished website with less effort.