Portable Folding Hanger 3D-Printable Model
A portable gray hanger with a hook and two arms joined by print-in-place pivots. Inspect how the arms open to support clothing and fold into a compact strip. Generated by Kimi K3.1 Pro.
Loading preview...
Start from this prompt
A portable gray hanger with a hook and two arms joined by print-in-place pivots.
Try 3D MakeDesign a portable folding clothes hanger for print-in-place 3D printing. Print the hook, two arms and moving joints together without separate pins, screws or assembly; after printing, gently free the joints so the hanger folds and unfolds. Use a flat, matte gray plastic form with rounded edges and no lower crossbar. The central body has an open C-shaped hook with an almost circular interior and a broad vertical stem. Its lower end widens into two circular joints connecting mirrored arms; the joint axes are perpendicular to the hanger face so each arm rotates independently within the same plane. When open, the arms extend outward and slope slightly downward. Each arm is broad at the root, narrower in the middle and slightly wider at its rounded tip. Add a smooth shallow strap notch near each tip and three mirrored parallel diagonal oblong through-holes. When folded, both arms rotate upward toward the center and stand side by side around the hook, their rounded ends slightly above it and the joints at the bottom. Shape the inner arm contours to clear the stem and hook, producing a compact flat elongated package without stacking the arms front to back or allowing interference anywhere in their motion. Use captive print-in-place pivot joints with axial retention. Add solid stops in the open position so clothing loads transfer through contact between the arm roots and central body rather than relying on slender pivots or friction. Stops prevent further downward rotation but allow manual upward folding. Design for a typical FDM printer with a 0.4 mm nozzle and 0.2 mm layers, printing flat with joint axes along Z. Begin with 0.3–0.4 mm clearance per side; parameterize radial and axial clearances independently. Avoid inaccessible internal supports, using slopes, self-supporting shapes or short bridges for retention. Reinforce pivot roots and stop contact areas, and round all edges that touch clothing.
Add touch controls
Adds phone controls and layout without changing the other requirements.
Try 3D MakeDesign a portable folding clothes hanger for print-in-place 3D printing. Print the hook, two arms and moving joints together without separate pins, screws or assembly; after printing, gently free the joints so the hanger folds and unfolds. Use a flat, matte gray plastic form with rounded edges and no lower crossbar. The central body has an open C-shaped hook with an almost circular interior and a broad vertical stem. Its lower end widens into two circular joints connecting mirrored arms; the joint axes are perpendicular to the hanger face so each arm rotates independently within the same plane. When open, the arms extend outward and slope slightly downward. Each arm is broad at the root, narrower in the middle and slightly wider at its rounded tip. Add a smooth shallow strap notch near each tip and three mirrored parallel diagonal oblong through-holes. When folded, both arms rotate upward toward the center and stand side by side around the hook, their rounded ends slightly above it and the joints at the bottom. Shape the inner arm contours to clear the stem and hook, producing a compact flat elongated package without stacking the arms front to back or allowing interference anywhere in their motion. Use captive print-in-place pivot joints with axial retention. Add solid stops in the open position so clothing loads transfer through contact between the arm roots and central body rather than relying on slender pivots or friction. Stops prevent further downward rotation but allow manual upward folding. Design for a typical FDM printer with a 0.4 mm nozzle and 0.2 mm layers, printing flat with joint axes along Z. Begin with 0.3–0.4 mm clearance per side; parameterize radial and axial clearances independently. Avoid inaccessible internal supports, using slopes, self-supporting shapes or short bridges for retention. Reinforce pivot roots and stop contact areas, and round all edges that touch clothing.
Design a portable folding clothes hanger for print-in-place 3D printing. Print the hook, two arms and moving joints together without separate pins, screws or assembly; after printing, gently free the joints so the hanger folds and unfolds.

Use a flat, matte gray plastic form with rounded edges and no lower crossbar. The central body has an open C-shaped hook with an almost circular interior and a broad vertical stem. Its lower end widens into two circular joints connecting mirrored arms; the joint axes are perpendicular to the hanger face so each arm rotates independently within the same plane. When open, the arms extend outward and slope slightly downward. Each arm is broad at the root, narrower in the middle and slightly wider at its rounded tip. Add a smooth shallow strap notch near each tip and three mirrored parallel diagonal oblong through-holes.

When folded, both arms rotate upward toward the center and stand side by side around the hook, their rounded ends slightly above it and the joints at the bottom. Shape the inner arm contours to clear the stem and hook, producing a compact flat elongated package without stacking the arms front to back or allowing interference anywhere in their motion. Use captive print-in-place pivot joints with axial retention. Add solid stops in the open position so clothing loads transfer through contact between the arm roots and central body rather than relying on slender pivots or friction. Stops prevent further downward rotation but allow manual upward folding.

Design for a typical FDM printer with a 0.4 mm nozzle and 0.2 mm layers, printing flat with joint axes along Z. Begin with 0.3–0.4 mm clearance per side; parameterize radial and axial clearances independently. Avoid inaccessible internal supports, using slopes, self-supporting shapes or short bridges for retention. Reinforce pivot roots and stop contact areas, and round all edges that touch clothing.
You Might Also Like

Walnut Desktop Organizer 3D-Printable Model
A walnut-based desktop arrangement combining pen holders, a phone stand, and a vase in a warm, orderly still life. Generated by Kimi K3.1 Pro.
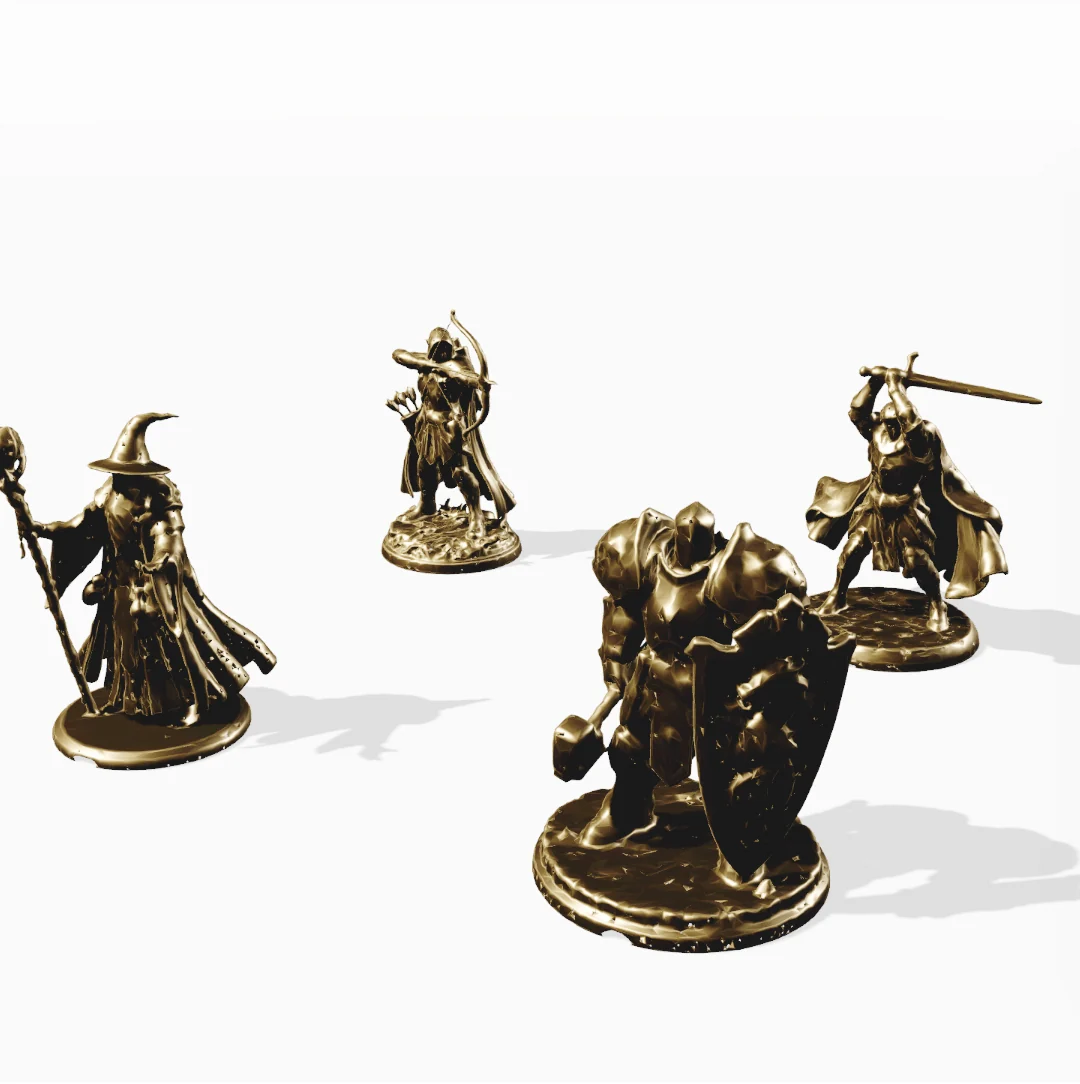
Tabletop Adventure Party 3D-Printable Model
Four 36 mm tabletop miniatures present a warrior, armored defender, archer and mage in dynamic poses, with distinct equipment and readable silhouettes. Generated by Kimi K3.1 Pro.