Kimi Build Feature Overview
What Is Kimi Build
Kimi Build is the full-stack website-building product of Kimi Agent, powered by Kimi K3, a multimodal visual agentic AI model. Its core capability is visual programming (Vibe Coding): you can generate a complete full-stack website from natural language, a design mockup, or a screen recording, then preview it online and publish it with one click.
Websites generated by Kimi Build can include:
- Frontend: HTML page structure, CSS layouts and styling, and JavaScript interaction logic (motion effects, animations, etc.)
- Backend: Persistent database storage, user login, and authentication
- Engineering: Automatic version management, full-stack preview, and public deployment
Product Features
| Feature | Description |
|---|---|
| Conversational website building | Describe what you need in natural language, and AI automatically generates a full-stack website |
| Image/video understanding | Upload a design mockup, screenshot, or screen recording, and AI automatically parses it and generates pages |
| Persistent storage | Automatically builds a backend database, with persistent data reading, writing, and management |
| Database management | Provides a visual database panel for basic data operations such as viewing, editing, and deleting |
| User login | Supports Kimi account login, and can also build a username/password login system through the database |
| Version management | AI automatically creates version commits (git commit) and supports rolling back to any historical version |
| Full-stack preview | Supports complete frontend and backend preview; some scenarios require manually starting the sandbox environment |
| Multi-turn editing | Supports iterative changes through multi-turn conversations and lets you compare different versions |
| Visual editing | Annotate elements on the preview page by circling or marking them, then send all suggestions to Kimi at once |
| Publishing and deployment | After you manually click "Publish", the site is deployed to the public internet; before publishing, it is preview-only. Full-stack deployment is supported |
| Custom URL | Customize the site subdomain, such as the abc in abc.ok.kimi.link |
| Share and access control | Get a public share link with one click, or set the site to private/visible only to you |
| Template selection | Provides multiple preset templates so you can start building quickly |
| Code export | Supports downloading the complete project package (including frontend and backend) for self-managed deployment |
How to Use
Method 1: Access on the Web
Visit the dedicated Kimi Build page
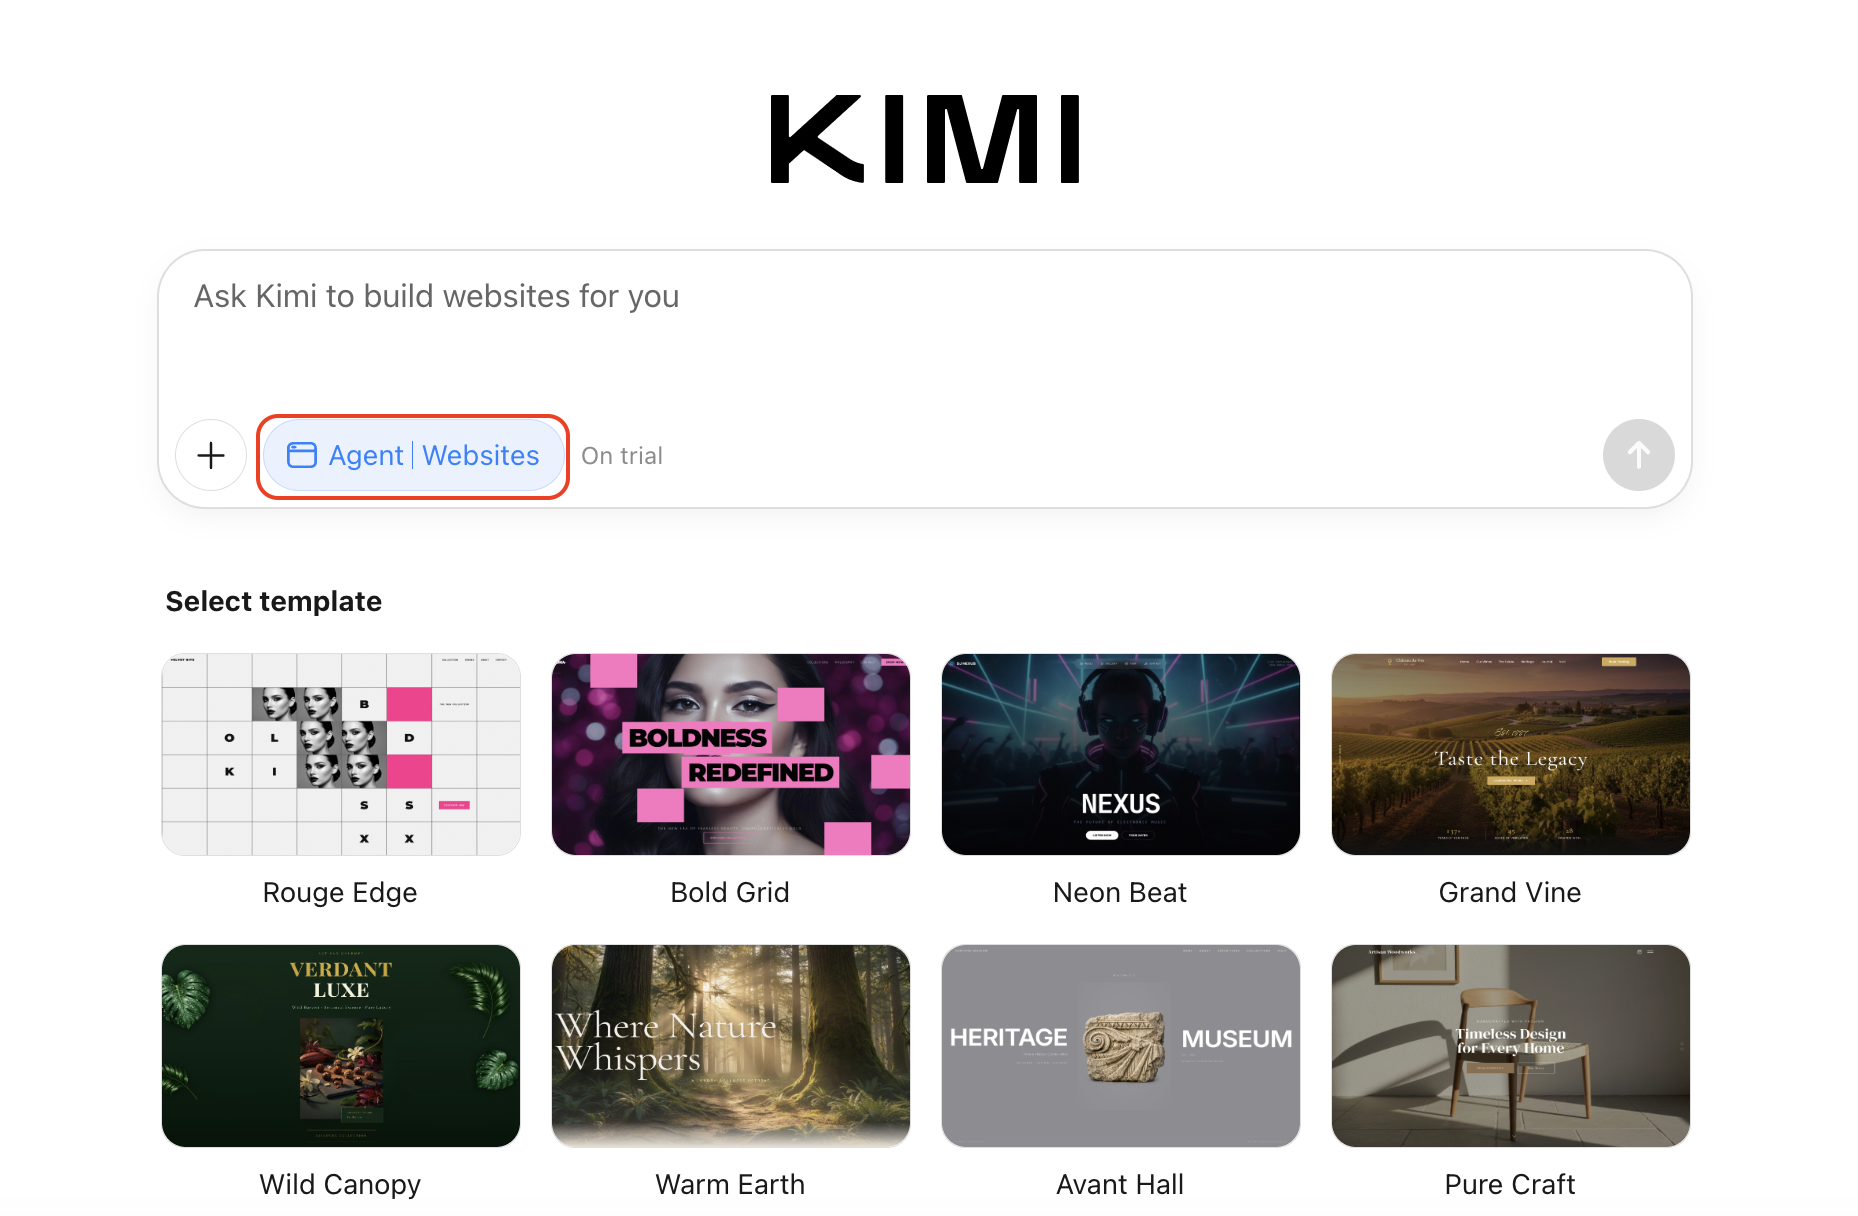
- Open a browser: Use a mainstream browser such as Chrome, Safari, Edge, or Firefox.
- Open the official access address: Kimi Build dedicated page: https://www.kimi.ai/build (supports both Chinese and English interfaces)
- Log in to your account: Sign in with a Kimi account (registration with mobile number or email is supported)
- Enter your website-building task. Kimi Build provides three main ways to build a website:
- Text input: Enter the task in the dialog box and describe the website you want in natural language;
- Image/website remix: Upload a design mockup or a screenshot of a website you like to trigger the corresponding feature;
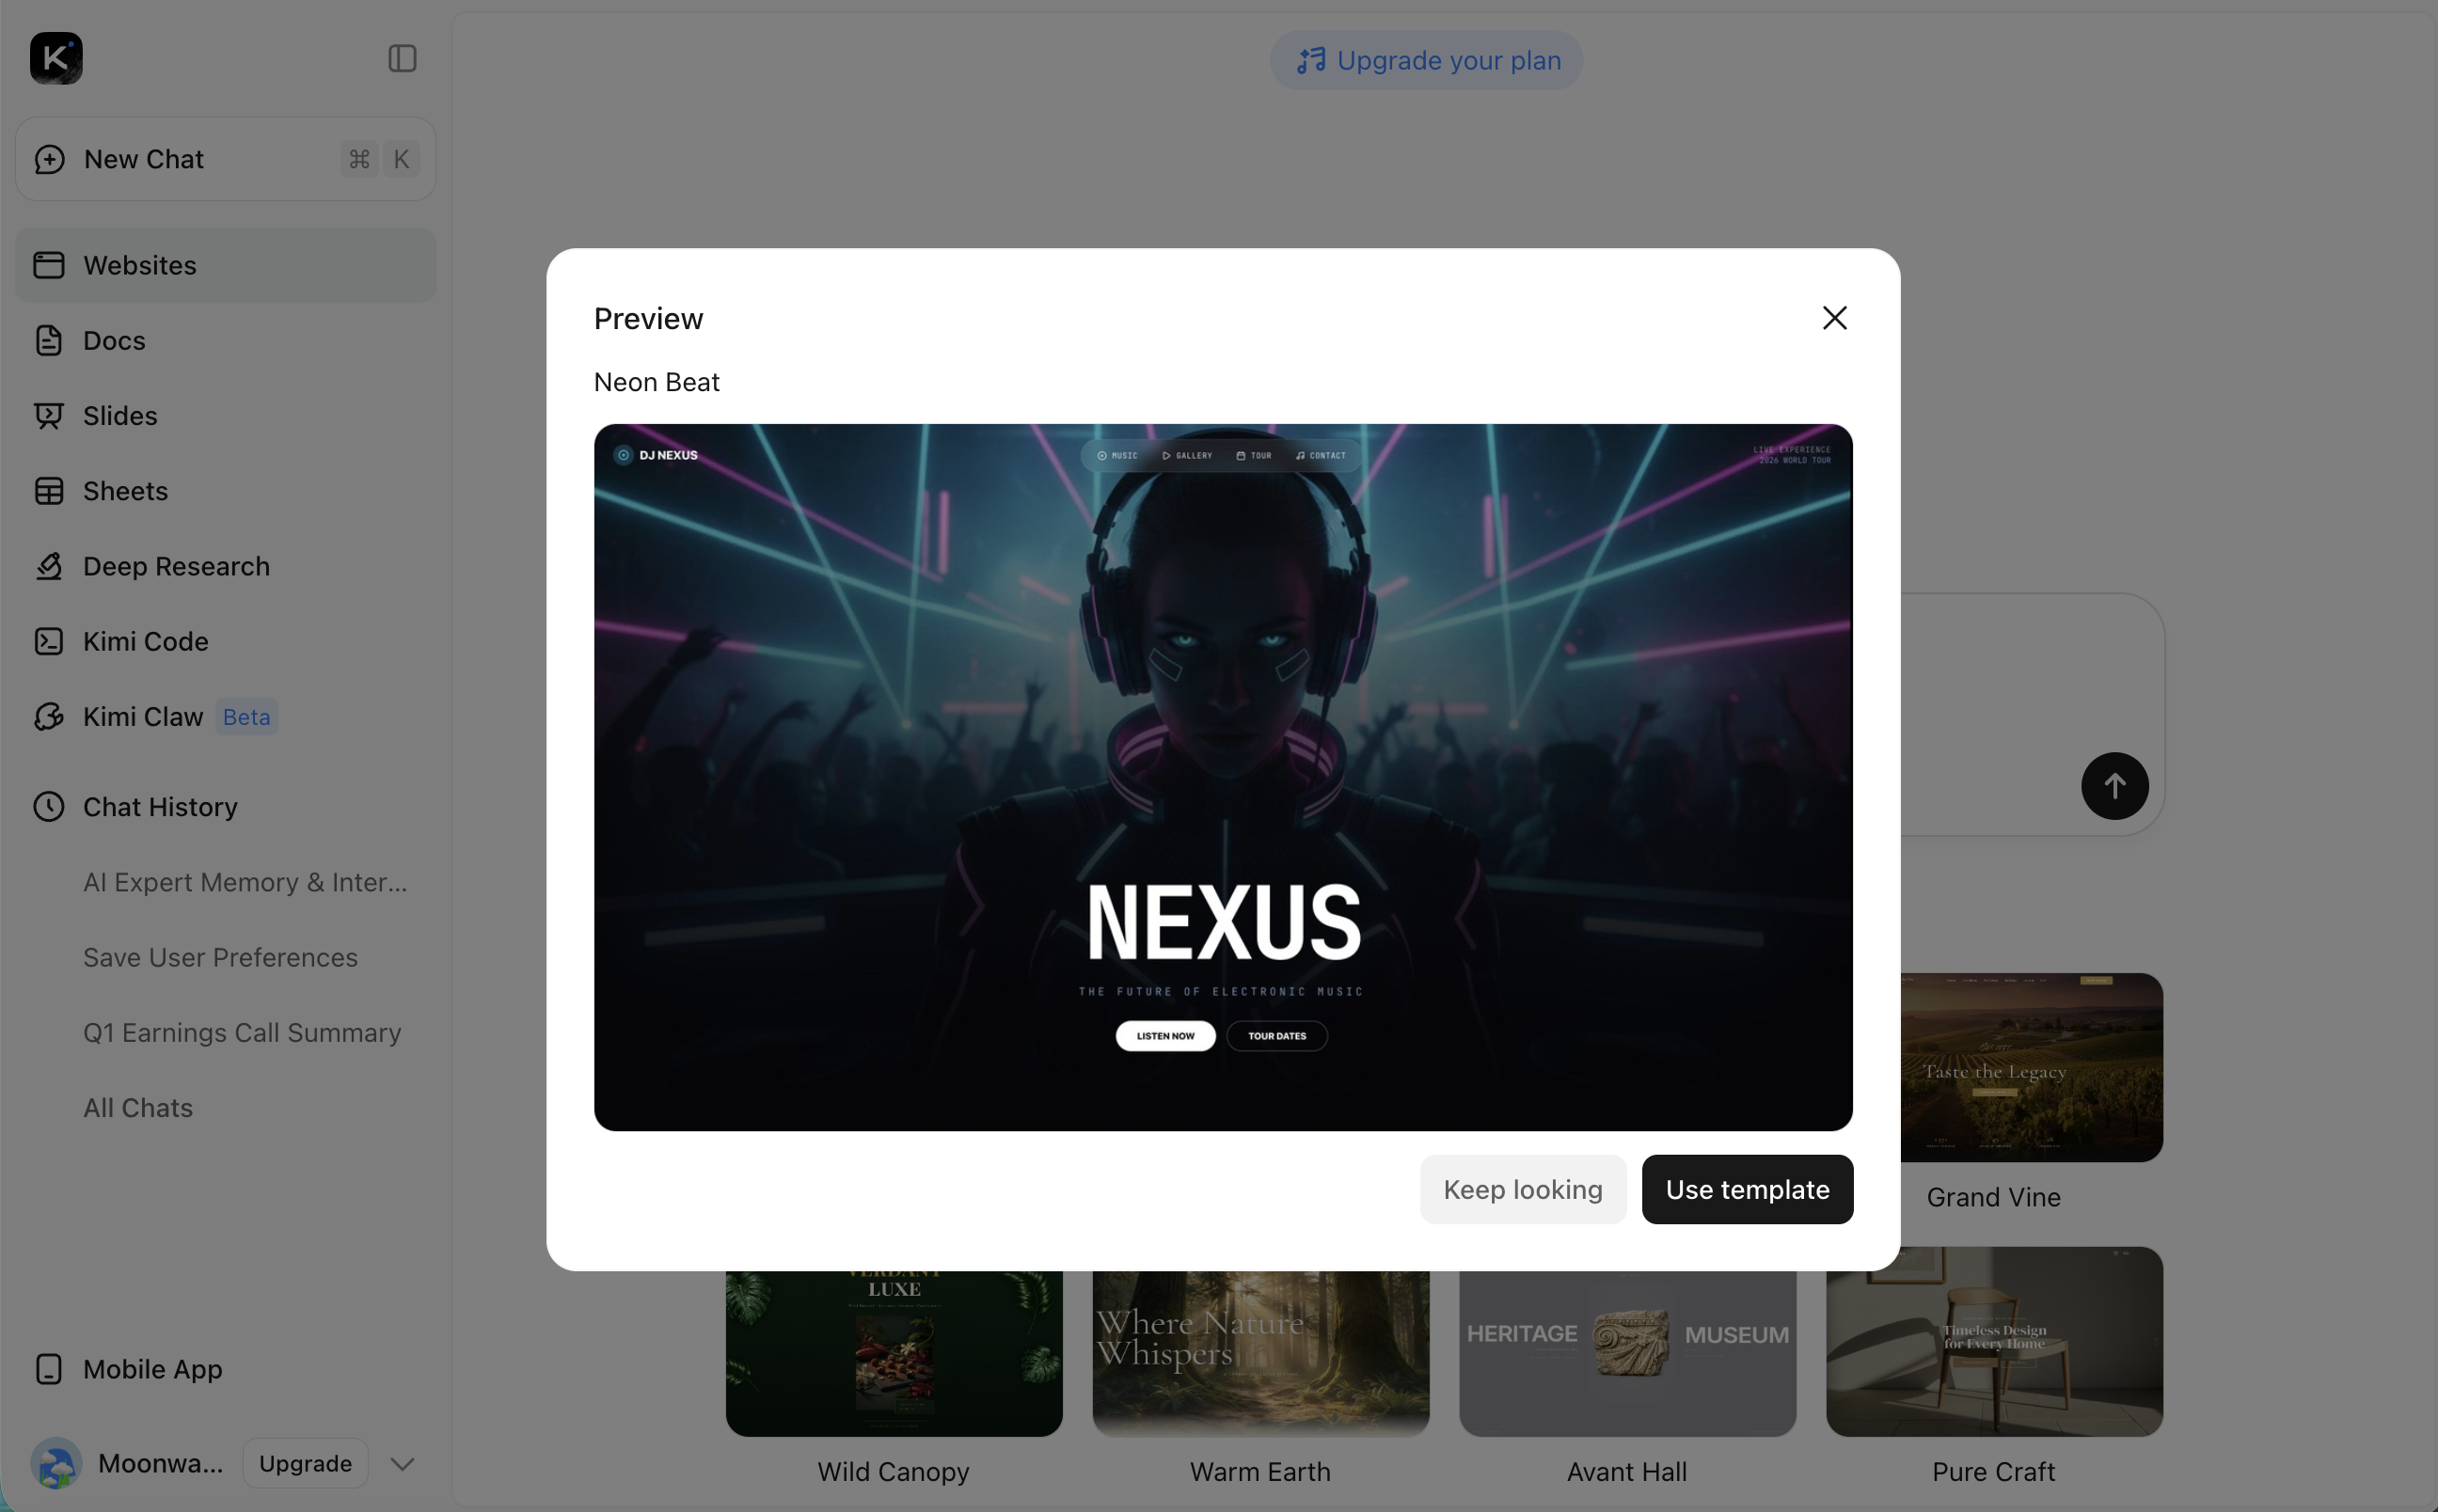
- Template-based website building: Quickly create a standard website by choosing a preset template and editing the content;
- Start building: Enter the Build feature interface, choose a template, or create directly through conversation.
Method 2: Access from the Mobile App
Select the dedicated Build tool in the mobile App
Official Apps are available for iOS, Android, and HarmonyOS (app name: "Kimi"). Above the input box, tap the toolbar (Taskbar) → switch to Build mode. It includes multimodal generation tools and Agent capabilities, allowing you to provide visual input and generate frontend code.
Method 3: General Agent Mode
In general Agent mode, enter your website-building requirements
On the official website or a mobile device, select the K3 model and enter task instructions related to building a website. Kimi will invoke visual programming capabilities and code execution tools.
Steps
Create a Website Through Conversation
Describe what you need in natural language in the input box, and Kimi will understand and execute it. Three creation methods are supported:
| Method | Description |
|---|---|
| Text description | Enter website requirements directly, and AI generates the site automatically |
| Design mockup parsing | Upload a design mockup, and AI recognizes and recreates it as a webpage |
| Quickly build standard websites | Choose a preset template and edit the content |
Practical Example
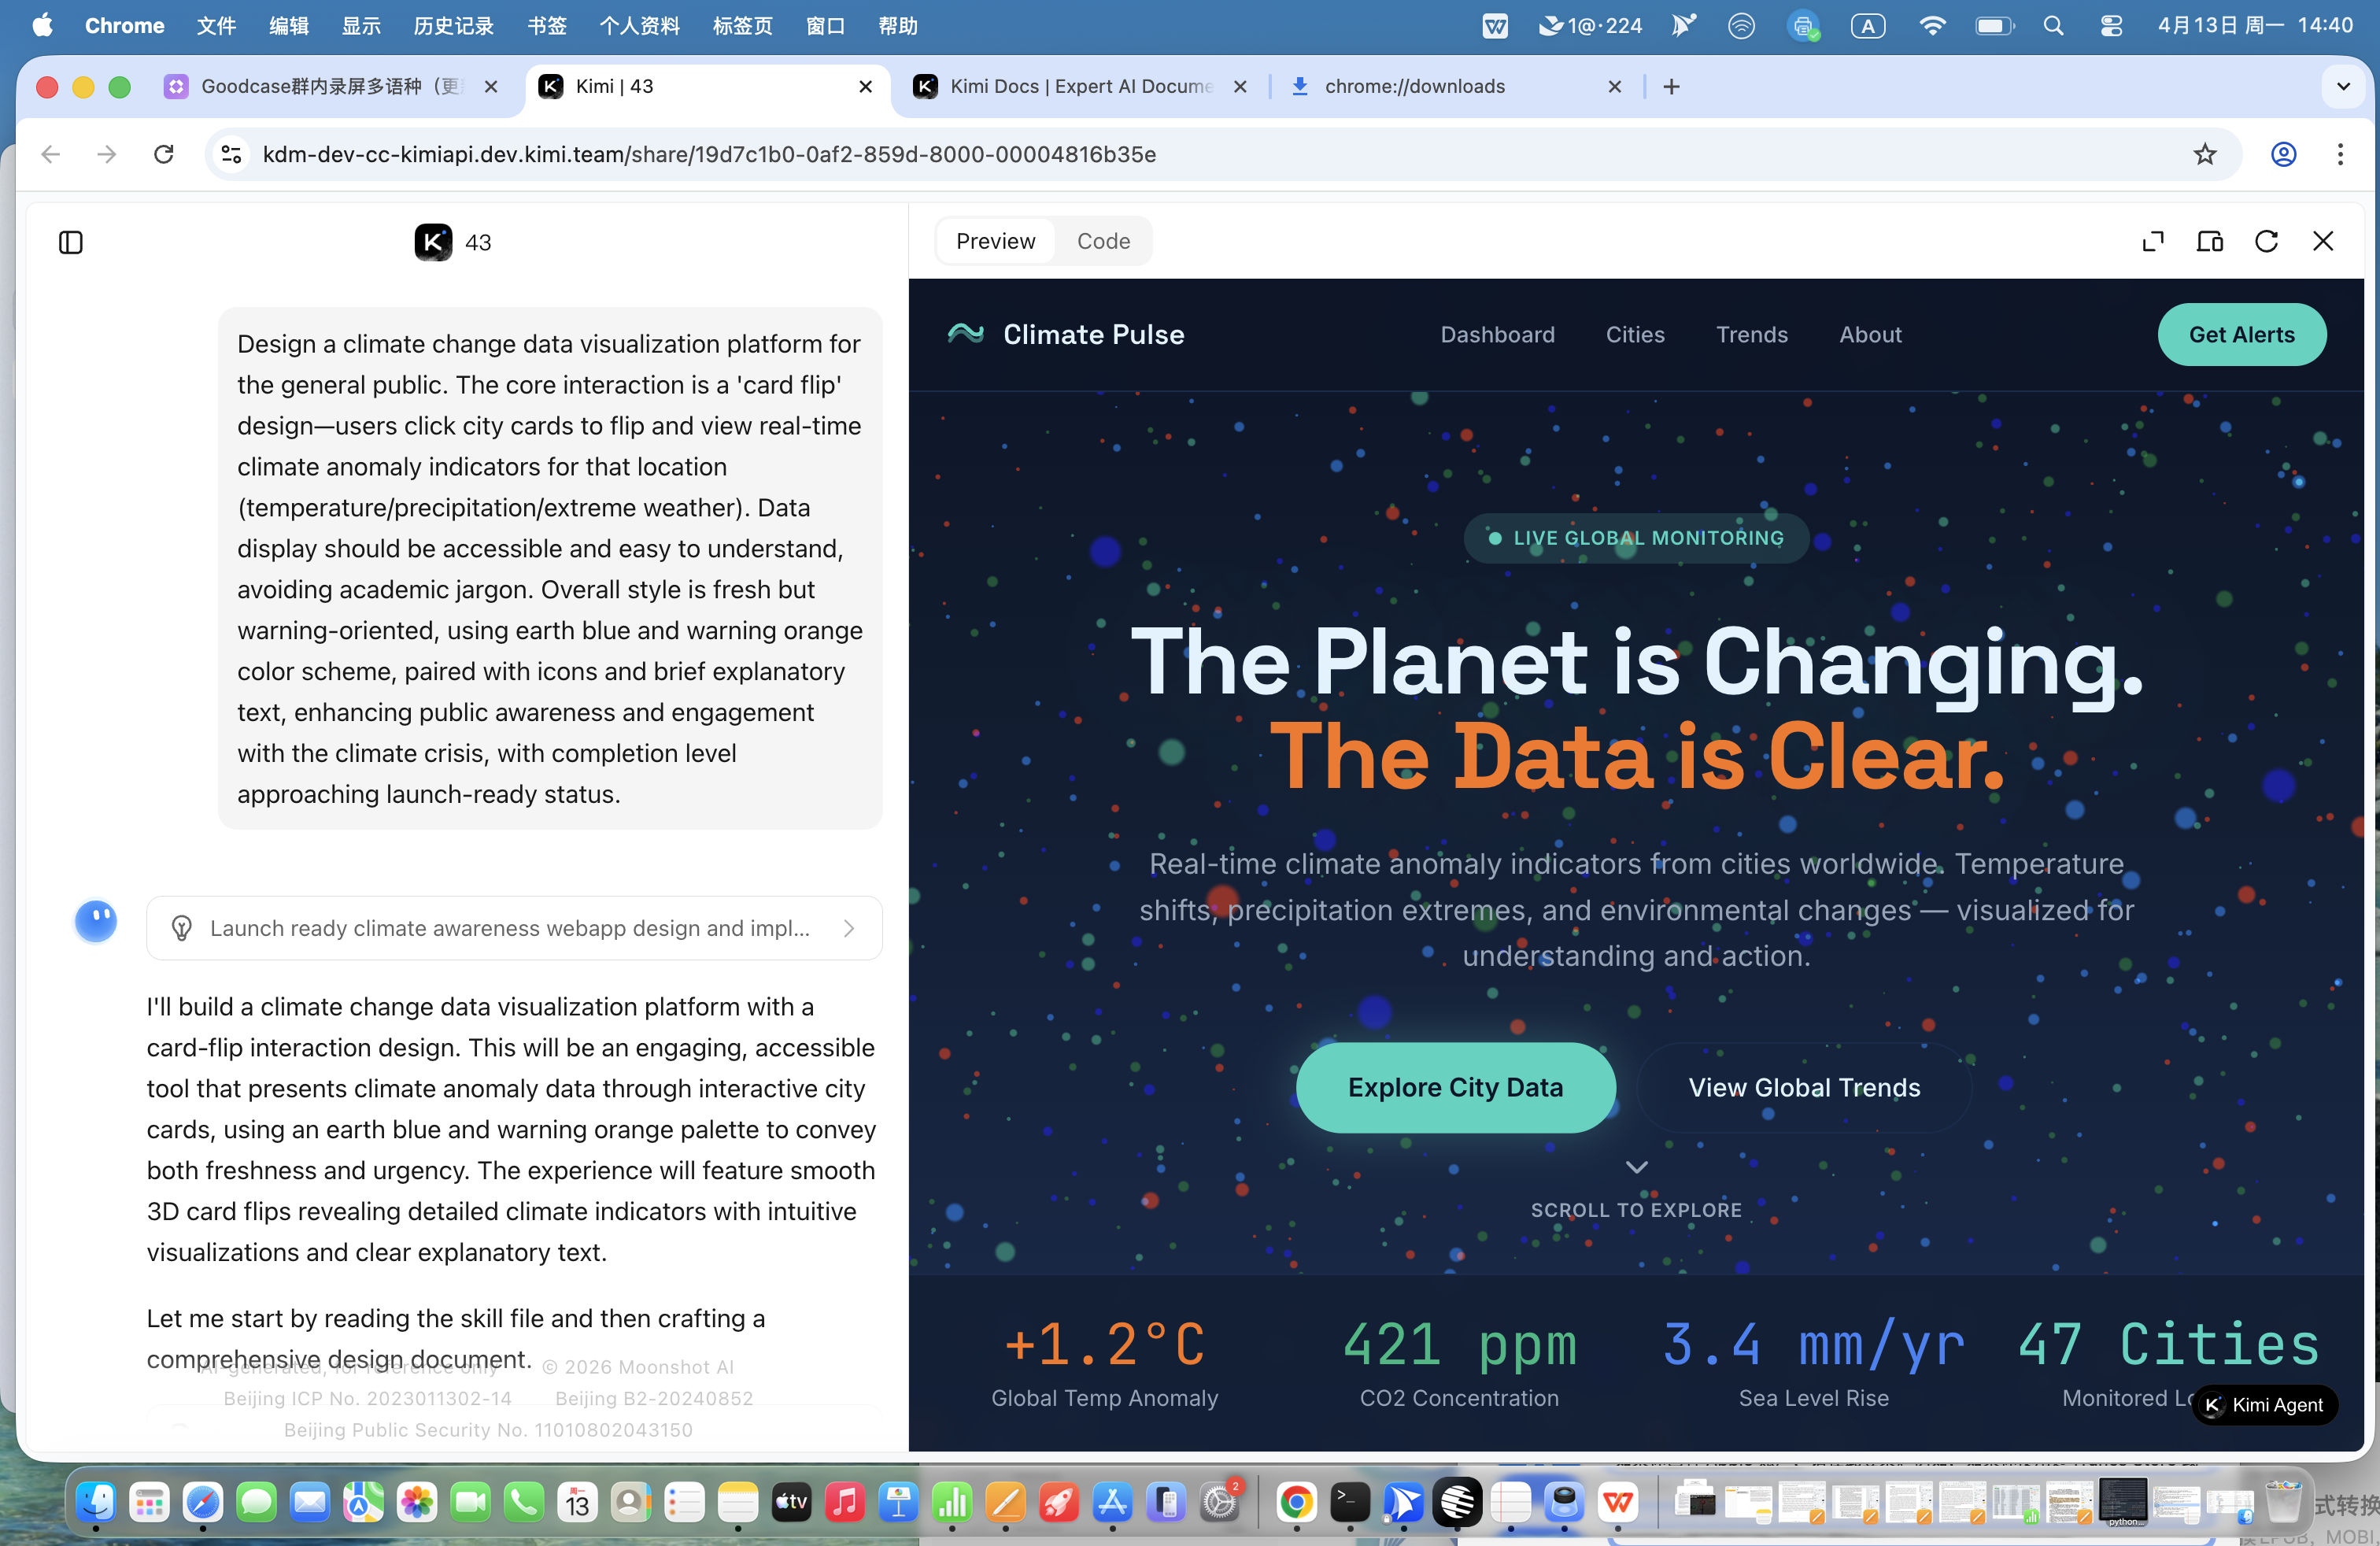
Website-Building Workflow Overview
Kimi Build activates webapp-building SKILL, a multi-turn code generation agent dedicated to website construction. It autonomously carries out the following workflow:
- Requirement parsing: Automatically analyzes website feature modules, visual style, and interaction logic
- Task planning: Breaks the work down into subtasks such as design, development, and asset preparation
- Technical solution: Automatically selects a suitable technical architecture (such as React + Tailwind CSS)
- Asset generation: Generates visual assets such as images and icons as needed
- Code construction: Writes page structure, styling, and interaction code
- Multi-turn optimization: Adjusts autonomously based on the preview until the website is complete
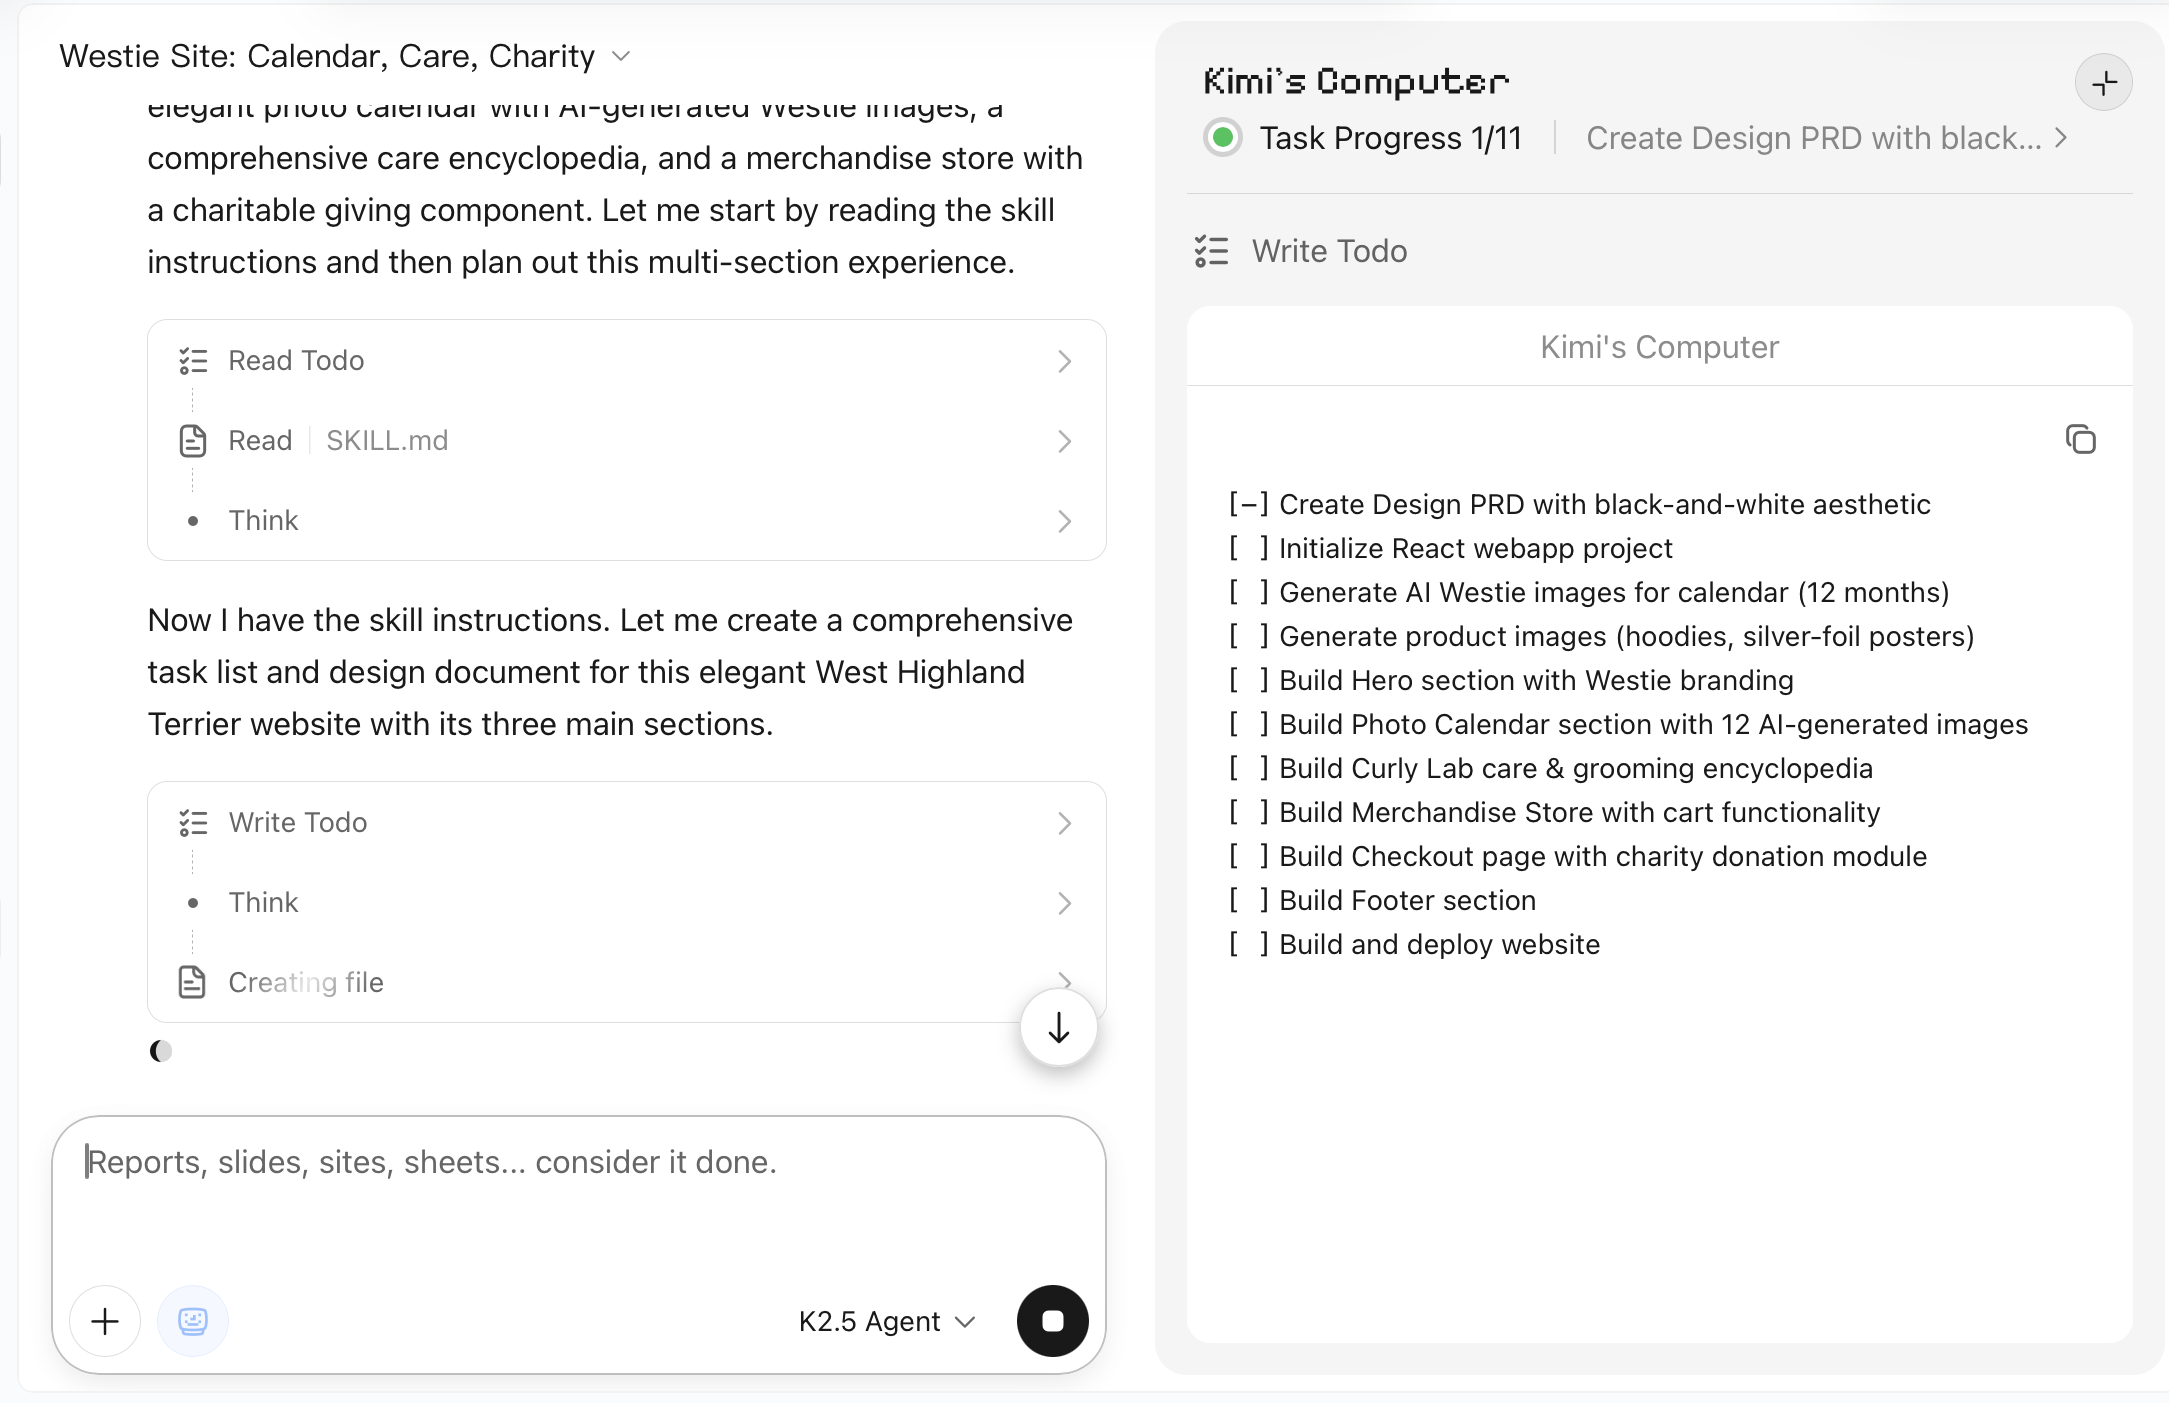
Preview and Adjust
- Real-time preview: Generates an HTML demo URL that you can open in a browser right away
- Conversational edits: Continue the conversation to request changes, such as "change the navigation bar to a dark style"
Real Example
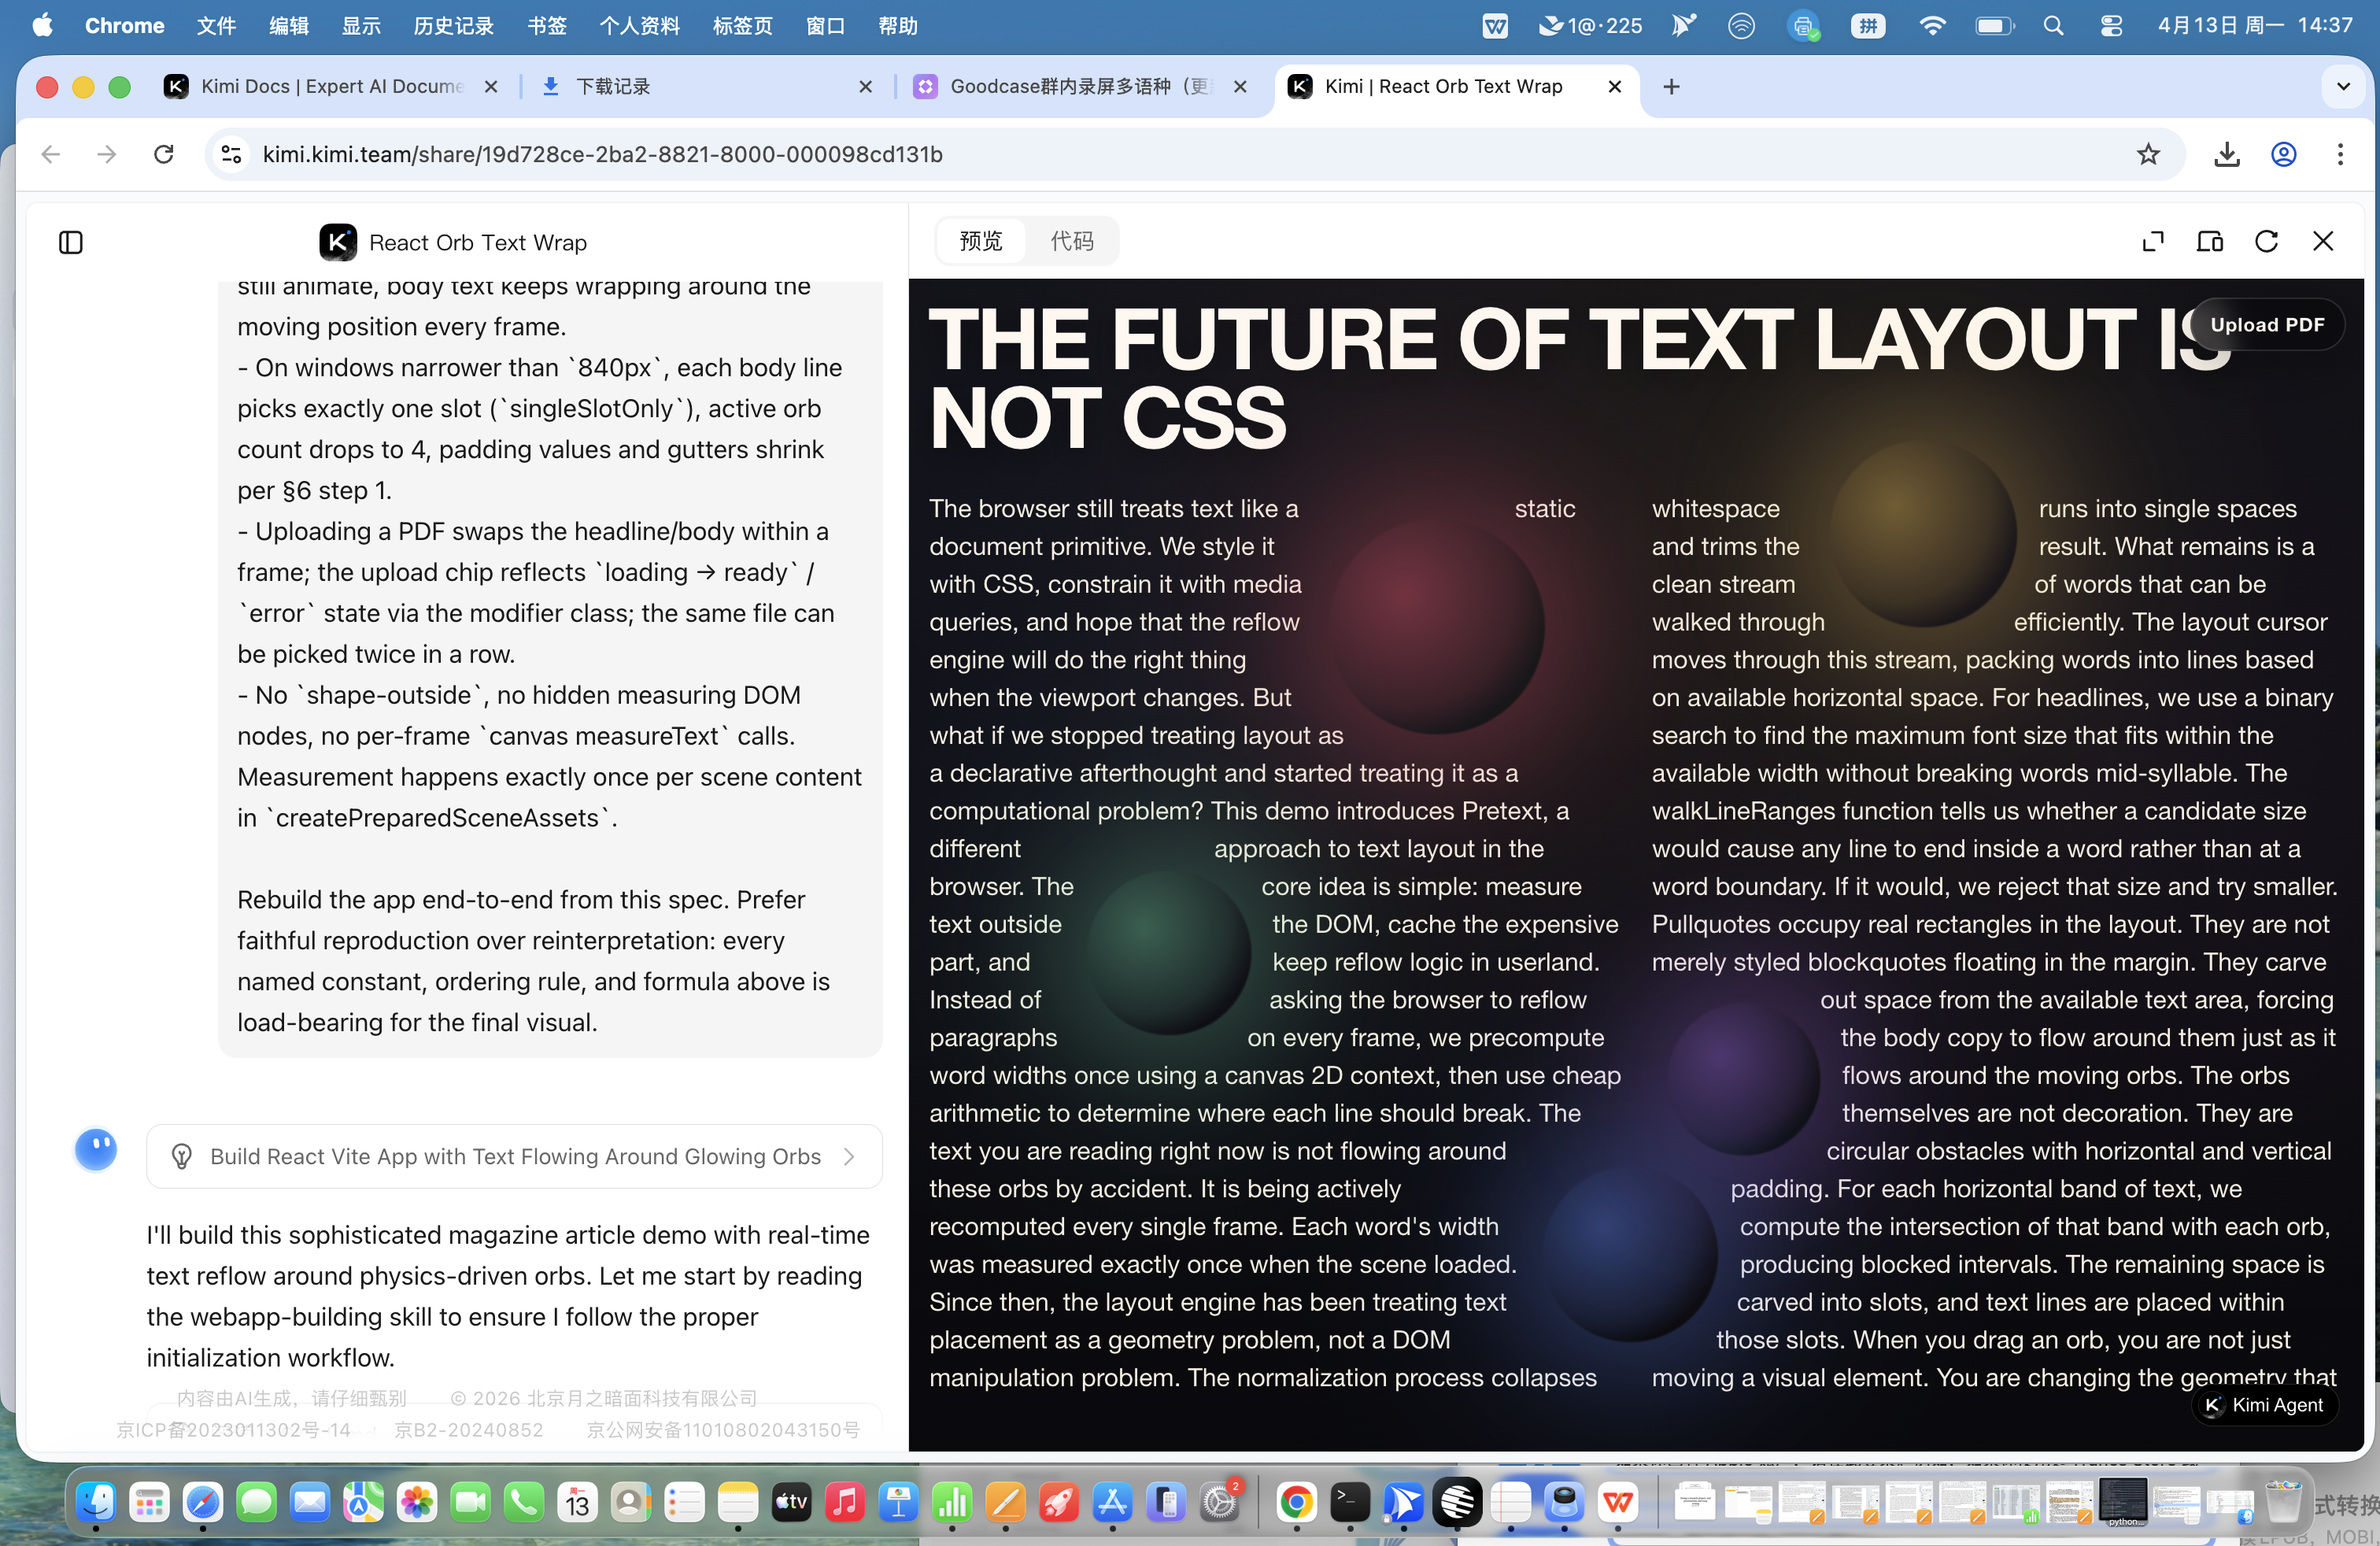
Preview Panel Interface
After the website is generated, the preview panel opens on the right, and version cards also appear in the conversation. The main operation entries are as follows:
Preview panel top toolbar (from left to right):
| Button | Function |
|---|---|
| Preview / Code | Switch between visual preview and source code/file tree views |
| Edit | Enter edit mode; click an area you want to change, add annotation notes, and send them to Kimi |
| Publish | When not yet published, click "Publish" to make the website public |
| Share | After publishing, use the share card to copy the link, customize the subdomain, open the website, click "…" to unpublish, or click "Update" when a new version is available |
| Full-screen preview | View the website in full screen |
| Switch preview mode | Toggle between desktop and mobile views |
| Refresh | Reload the preview |
| User feedback | Submit issues encountered during use; you can enter text and upload screenshots |
| Close | Collapse the preview panel |
Version cards in the conversation: Display the site name, version number (such as V2), and URL. Click Preview to open the corresponding version; click Restore to roll back to that version. The All Files card lets you view or download the complete project files. For detailed usage of each button, see the corresponding sections below.
Visual Editing
- Multi-turn optimization: Fine-tune website details through continuous conversation
- Ways to edit:
- Annotation mode: Click the part of the webpage you want to change and add comments in natural language
- Selection mode: Select any element on the webpage and add comments
- Use rectangles, arrows, brushes, color switching, and other selection and editing tools to add suggested changes
- After adding annotations in multiple places, add them to the conversation and send all suggestions to Kimi at once
Code Deployment and Publishing
| Deployment method | Description |
|---|---|
| One-click publish | Click the "Publish" button to deploy the site to the public internet and generate an accessible online link (preview-only before publishing) |
| Download and deploy | Download the code package and deploy it to your own server |
| Custom URL | Change the default random URL to a memorable name, such as customizing the abc in abc.ok.kimi.link |
About "Custom URL": 3–30 characters, lowercase letters, numbers, and hyphens only. Cannot start or end with a hyphen, and cannot consist entirely of numbers. Some reserved words (such as
kimi,www,login, etc.) are unavailable. If occupied or unavailable, please choose another name.
About the boundaries of "Download and deploy": Kimi account login and platform-managed cloud database are provided by the Kimi platform and will not migrate with the exported code. If you deploy the code to your own server, the login method must be changed to a username/password scheme based on your own database, and data must also be migrated to your own database. For public access only, we recommend using One-click publish directly, and Kimi account login and cloud data will continue to work normally. See Why doesn't the website I created work? for details.
Version-Specific Preview
After generation is complete, you will enter the preview page. In the preview interface, you can click different deployment versions and download files for different versions.
Publish, Share, and Unpublish
Before publishing, the website can only be previewed in the conversation. To allow others to access it, click Share in the upper-right corner of the preview panel to open the publish panel:
- Custom URL: You can modify the name in the default URL, for example changing it to
yourname.ok.kimi.link; - Click Copy Link to get the public URL, or click Open Website to view it in a new tab. After publishing, the panel top displays Published, and anyone with the link can access it;
- To take the site offline, select Unpublish from the … menu in the upper-right corner of the panel. The site will no longer be publicly accessible (code and data are retained, and you can republish at any time).
Multi-Turn Editing
If you are not satisfied with a specific part, click the edit button in the preview window to keep refining it. You can also send instructions to Kimi in natural language and continue editing with Agent. Once you confirm the result, download the complete HTML/CSS/JS code and deploy it directly, or continue polishing it in an editor.
Who It's For
- Developers: Design product prototypes and frontend demos, greatly reducing the time needed to build from scratch.
- Entrepreneurs: Quickly build official websites, landing pages, and product showcase pages when resources are limited.
- Product managers: Quickly turn a PRD or design mockup into an interactive prototype that can be demonstrated, without waiting for development scheduling.
- Non-technical users: No coding knowledge is required. Describe your idea or upload a reference image, and go from concept to a runnable webpage.
Example Prompts
You can refer to the following scenarios and prompts to generate content
| Scenario | Example prompt |
|---|---|
| Create a landing page from scratch | Help me create a marketing landing page for a SaaS product with a tech-inspired style, including a hero section, feature introduction, pricing, and CTA |
| Recreate a website from video | [Upload a screen recording] Recreate the website shown in the video and preserve the original interactions |
| Recreate from screenshot | [Upload a design mockup] Implement this design as runnable webpage code |
| Personal portfolio | Help me create a personal portfolio website for a photographer, with a minimalist black-and-white style and support for a masonry image layout |
| Data visualization page | Create a visualization webpage showing funding data for AI companies in 2025, including charts and filters |
| Brand website | Help me create an official website for a coffee brand, using a Morandi color palette, with a homepage, product pages, and store pages |
| Utility/calculator | Create a BMI calculator webpage with a clean interface, unit switching, and health level tips |
Was this article helpful?