Coming up with eye-catching visuals no longer means spending hours sketching, editing, or searching for the perfect image. AI can take a simple thought, a few words, or even a reference photo and turn it into something visually striking. From realistic scenes to artistic designs, you can shape the result by adjusting the details, mood, colors, and style. Read this article to learn how to create AI images and turn simple ideas into polished visuals with just a few steps.
How to generate AI images from text
Turning a simple idea into an AI image starts with describing what you want in clear, useful words. The better you guide the image generator, the easier it becomes to get the right subject, setting, style, and mood. Kimi Design makes this process simple by turning your text prompts into visuals and giving you room to refine the result. Here's how to make AI images from text with Kimi Design.
Step 1: Enter a detailed prompt
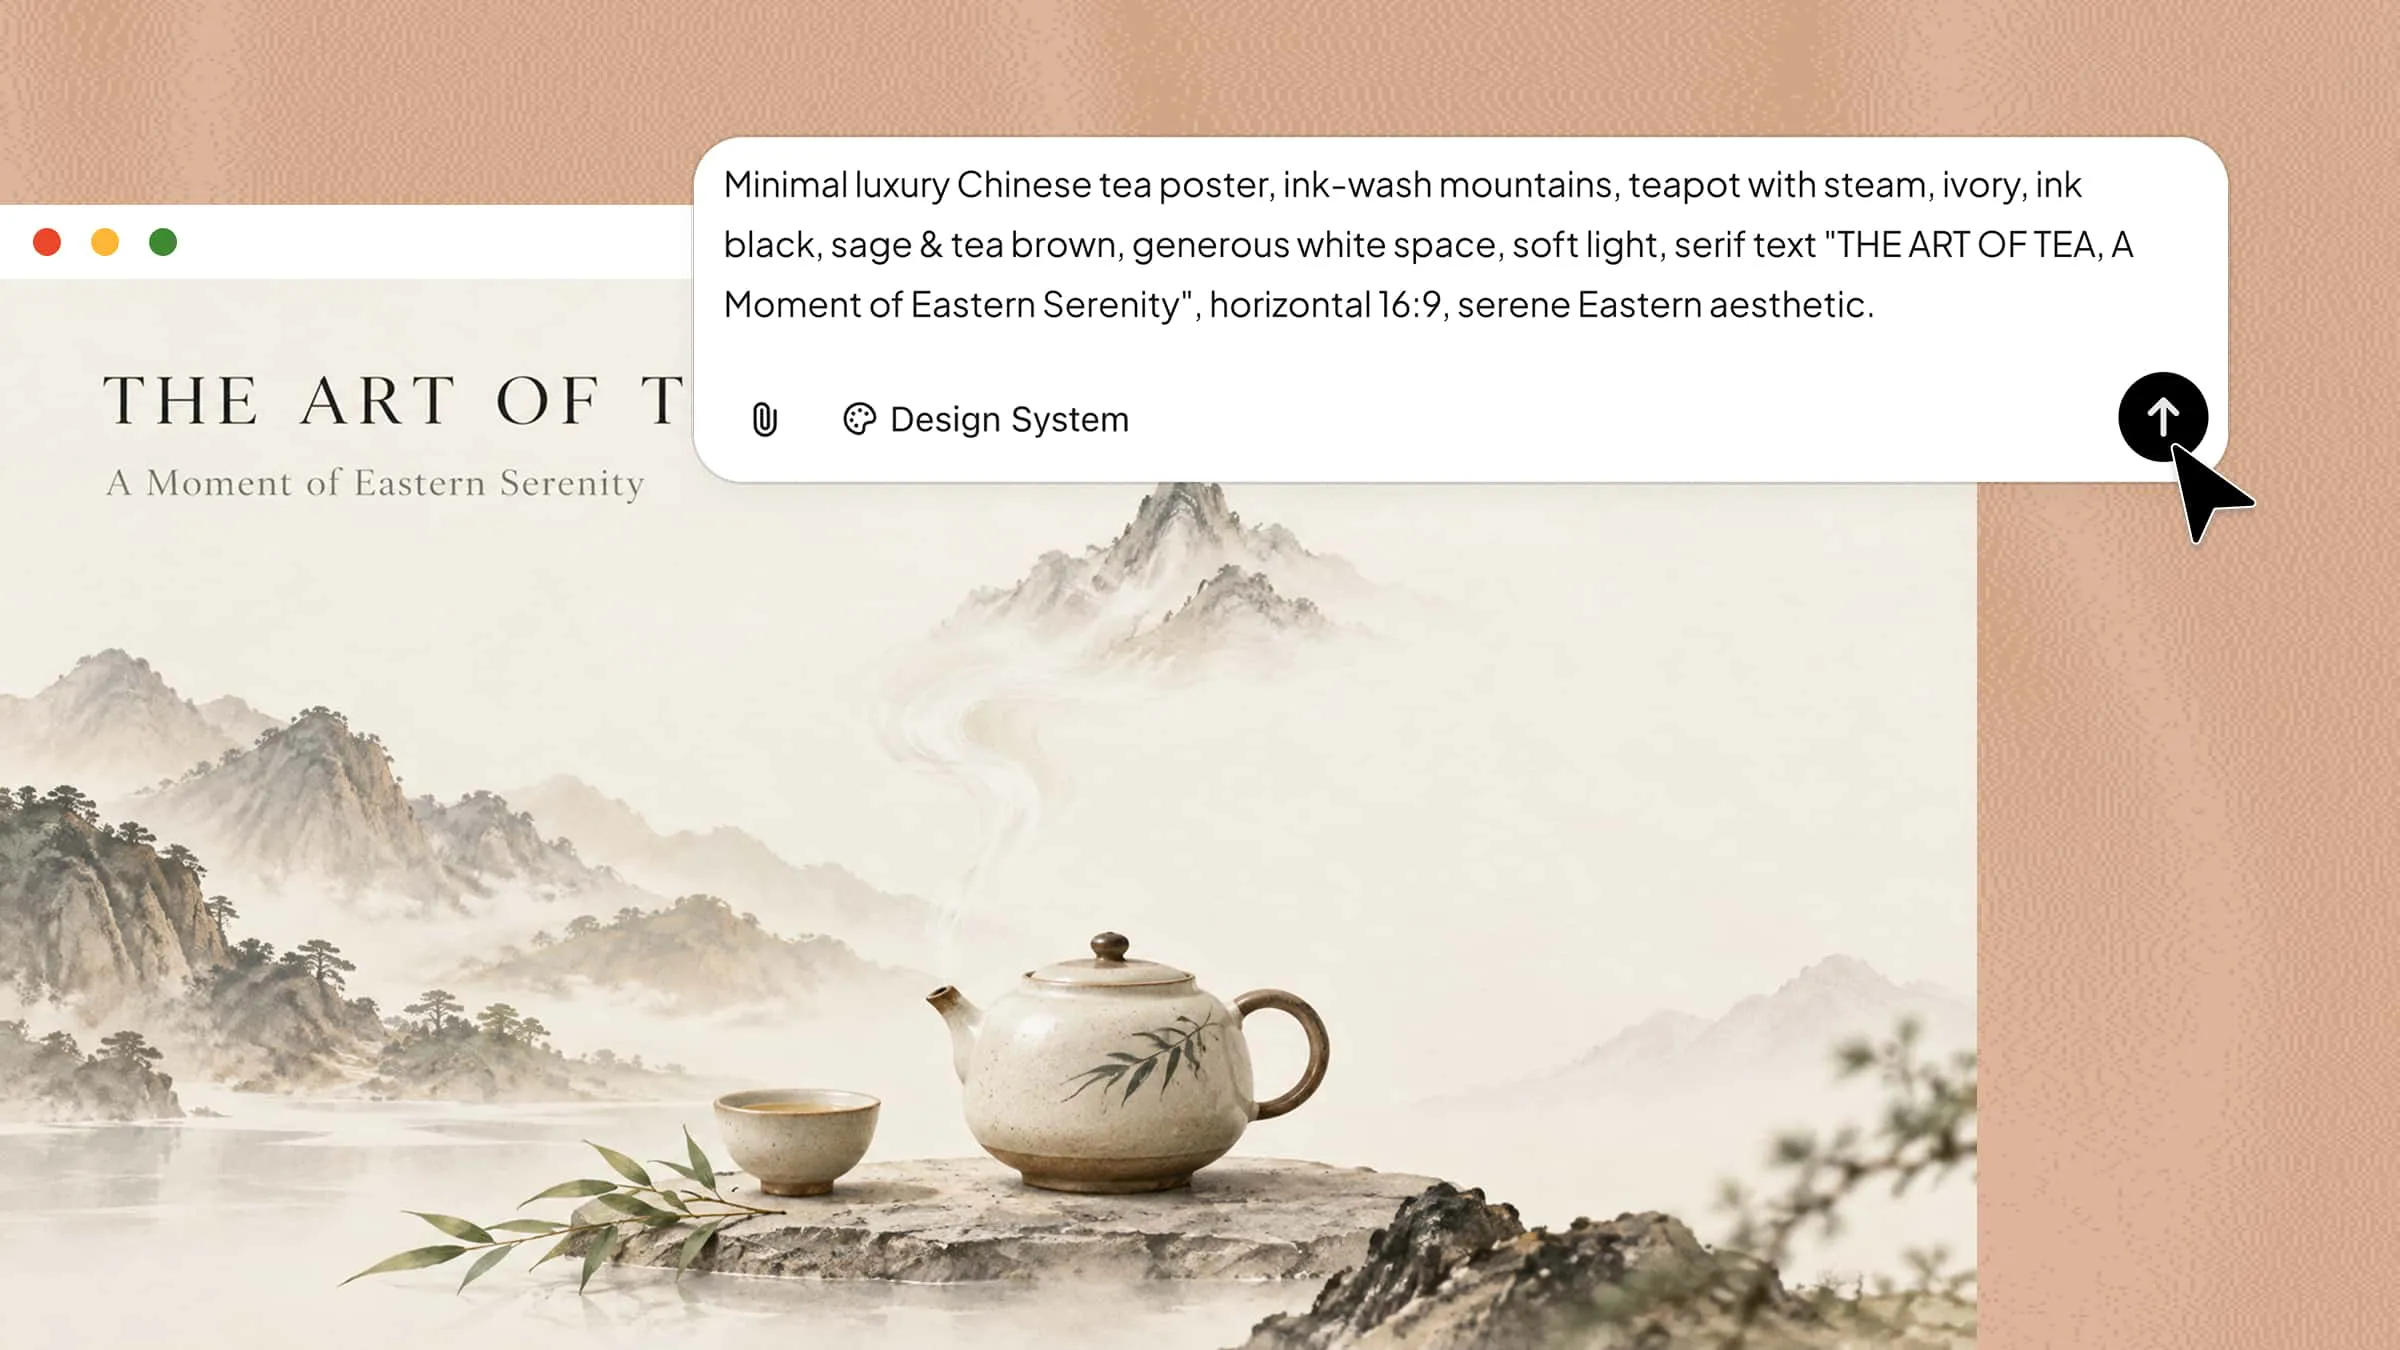
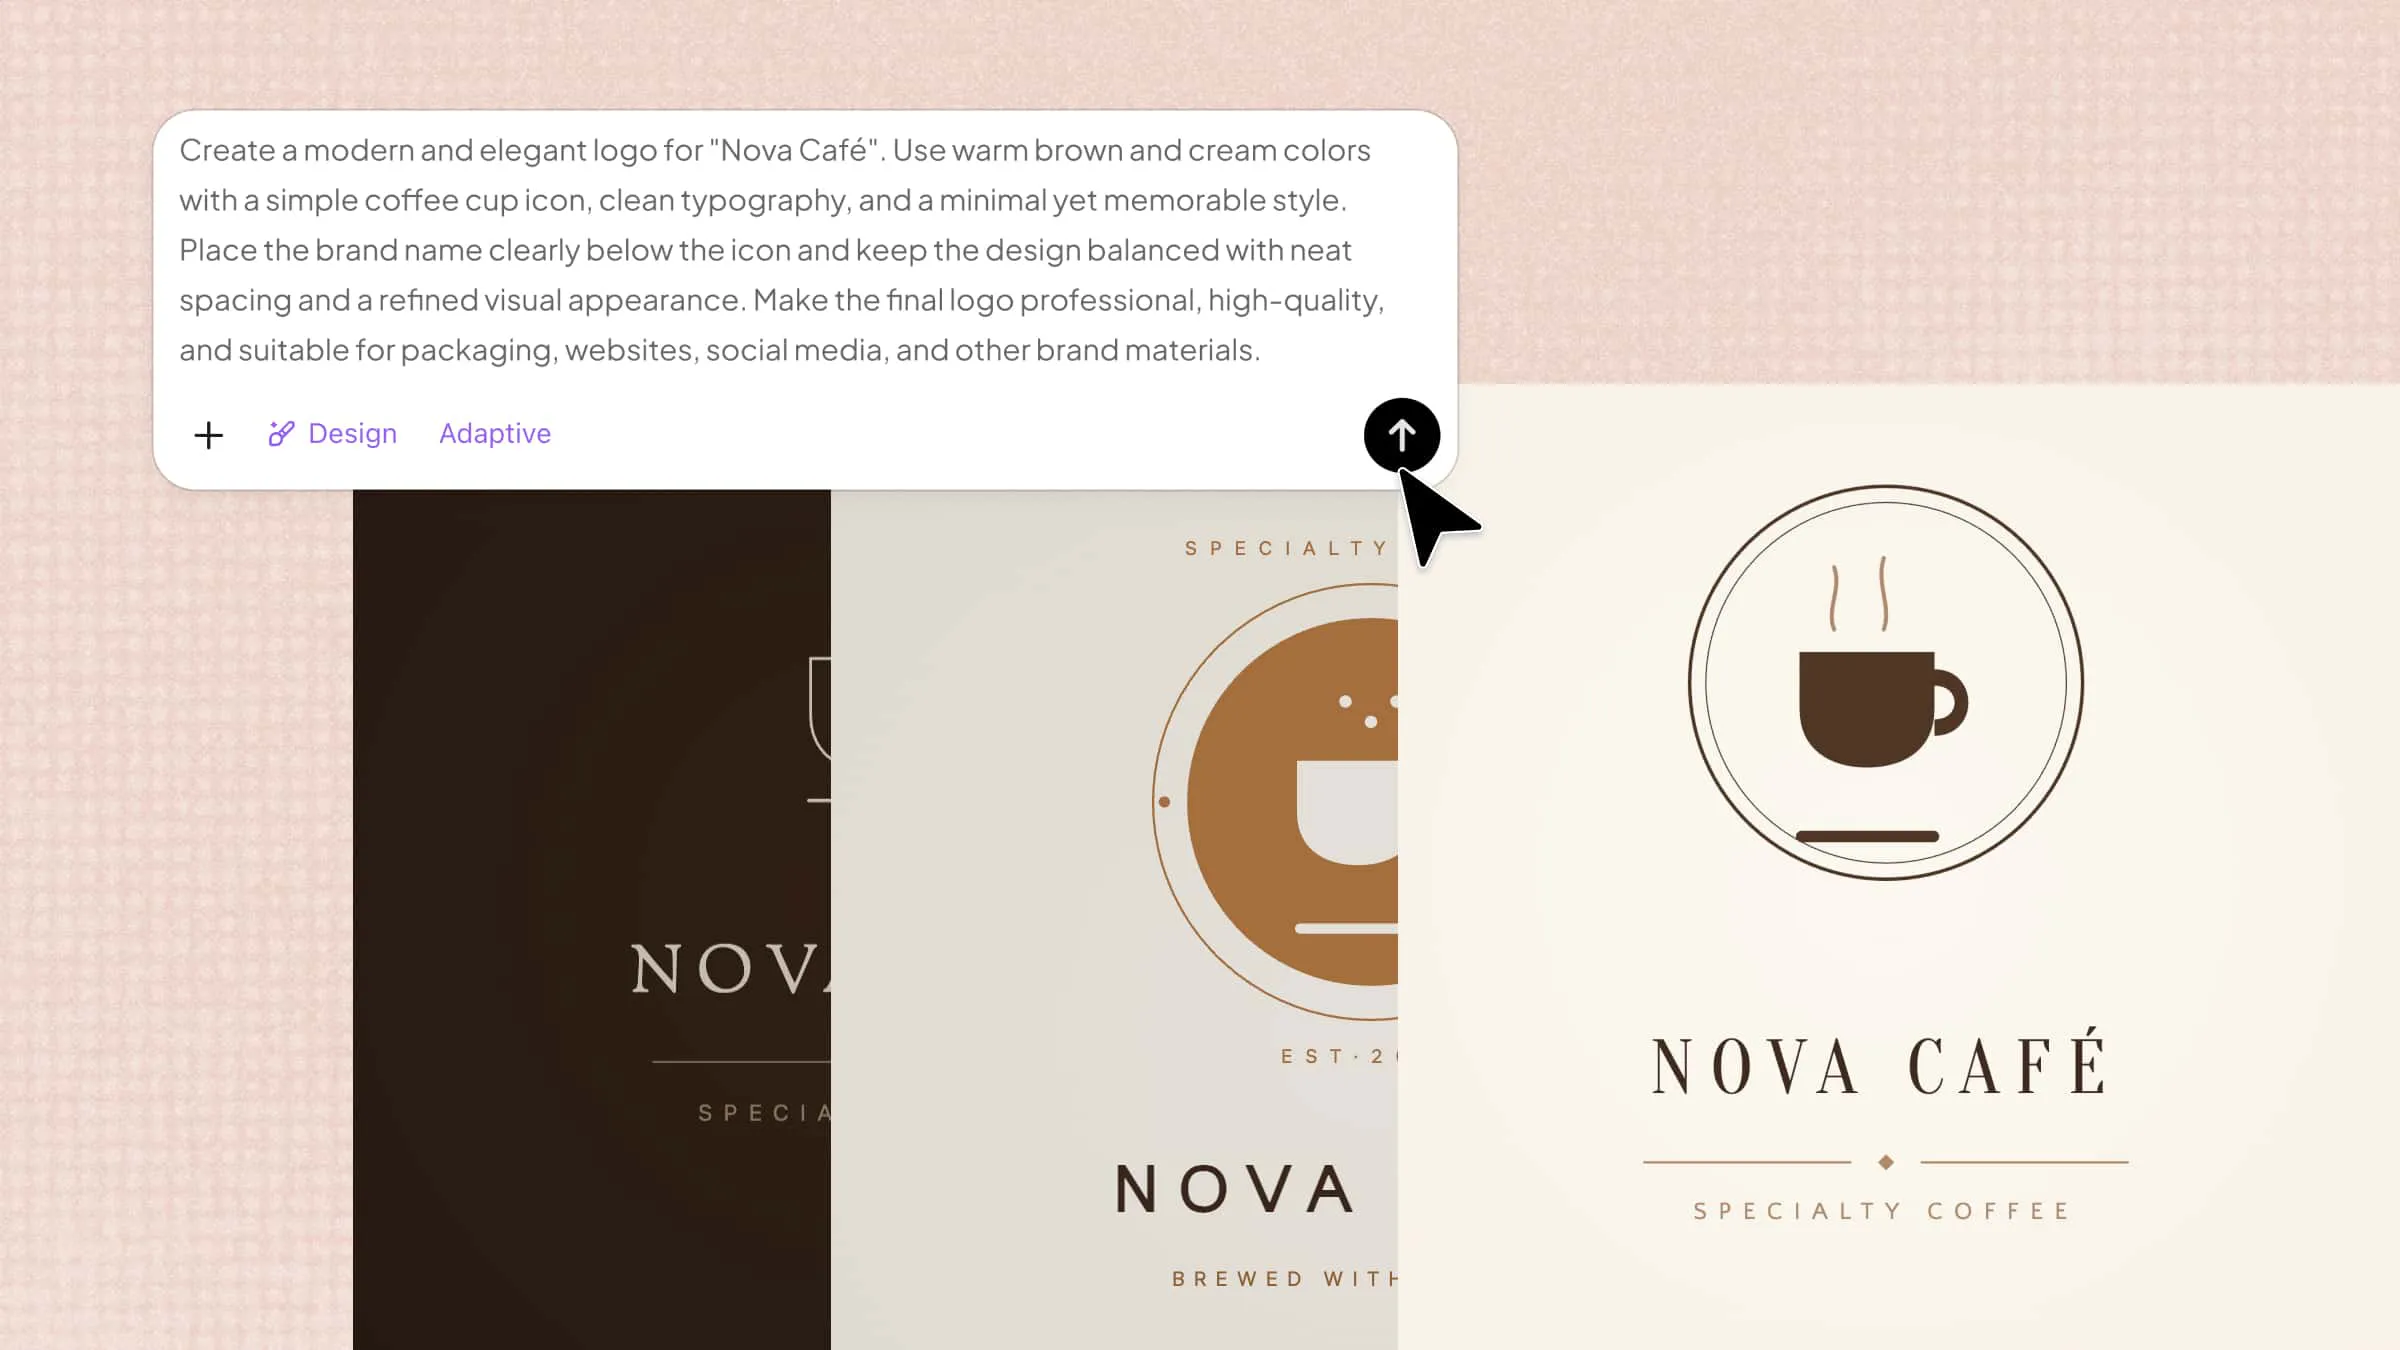
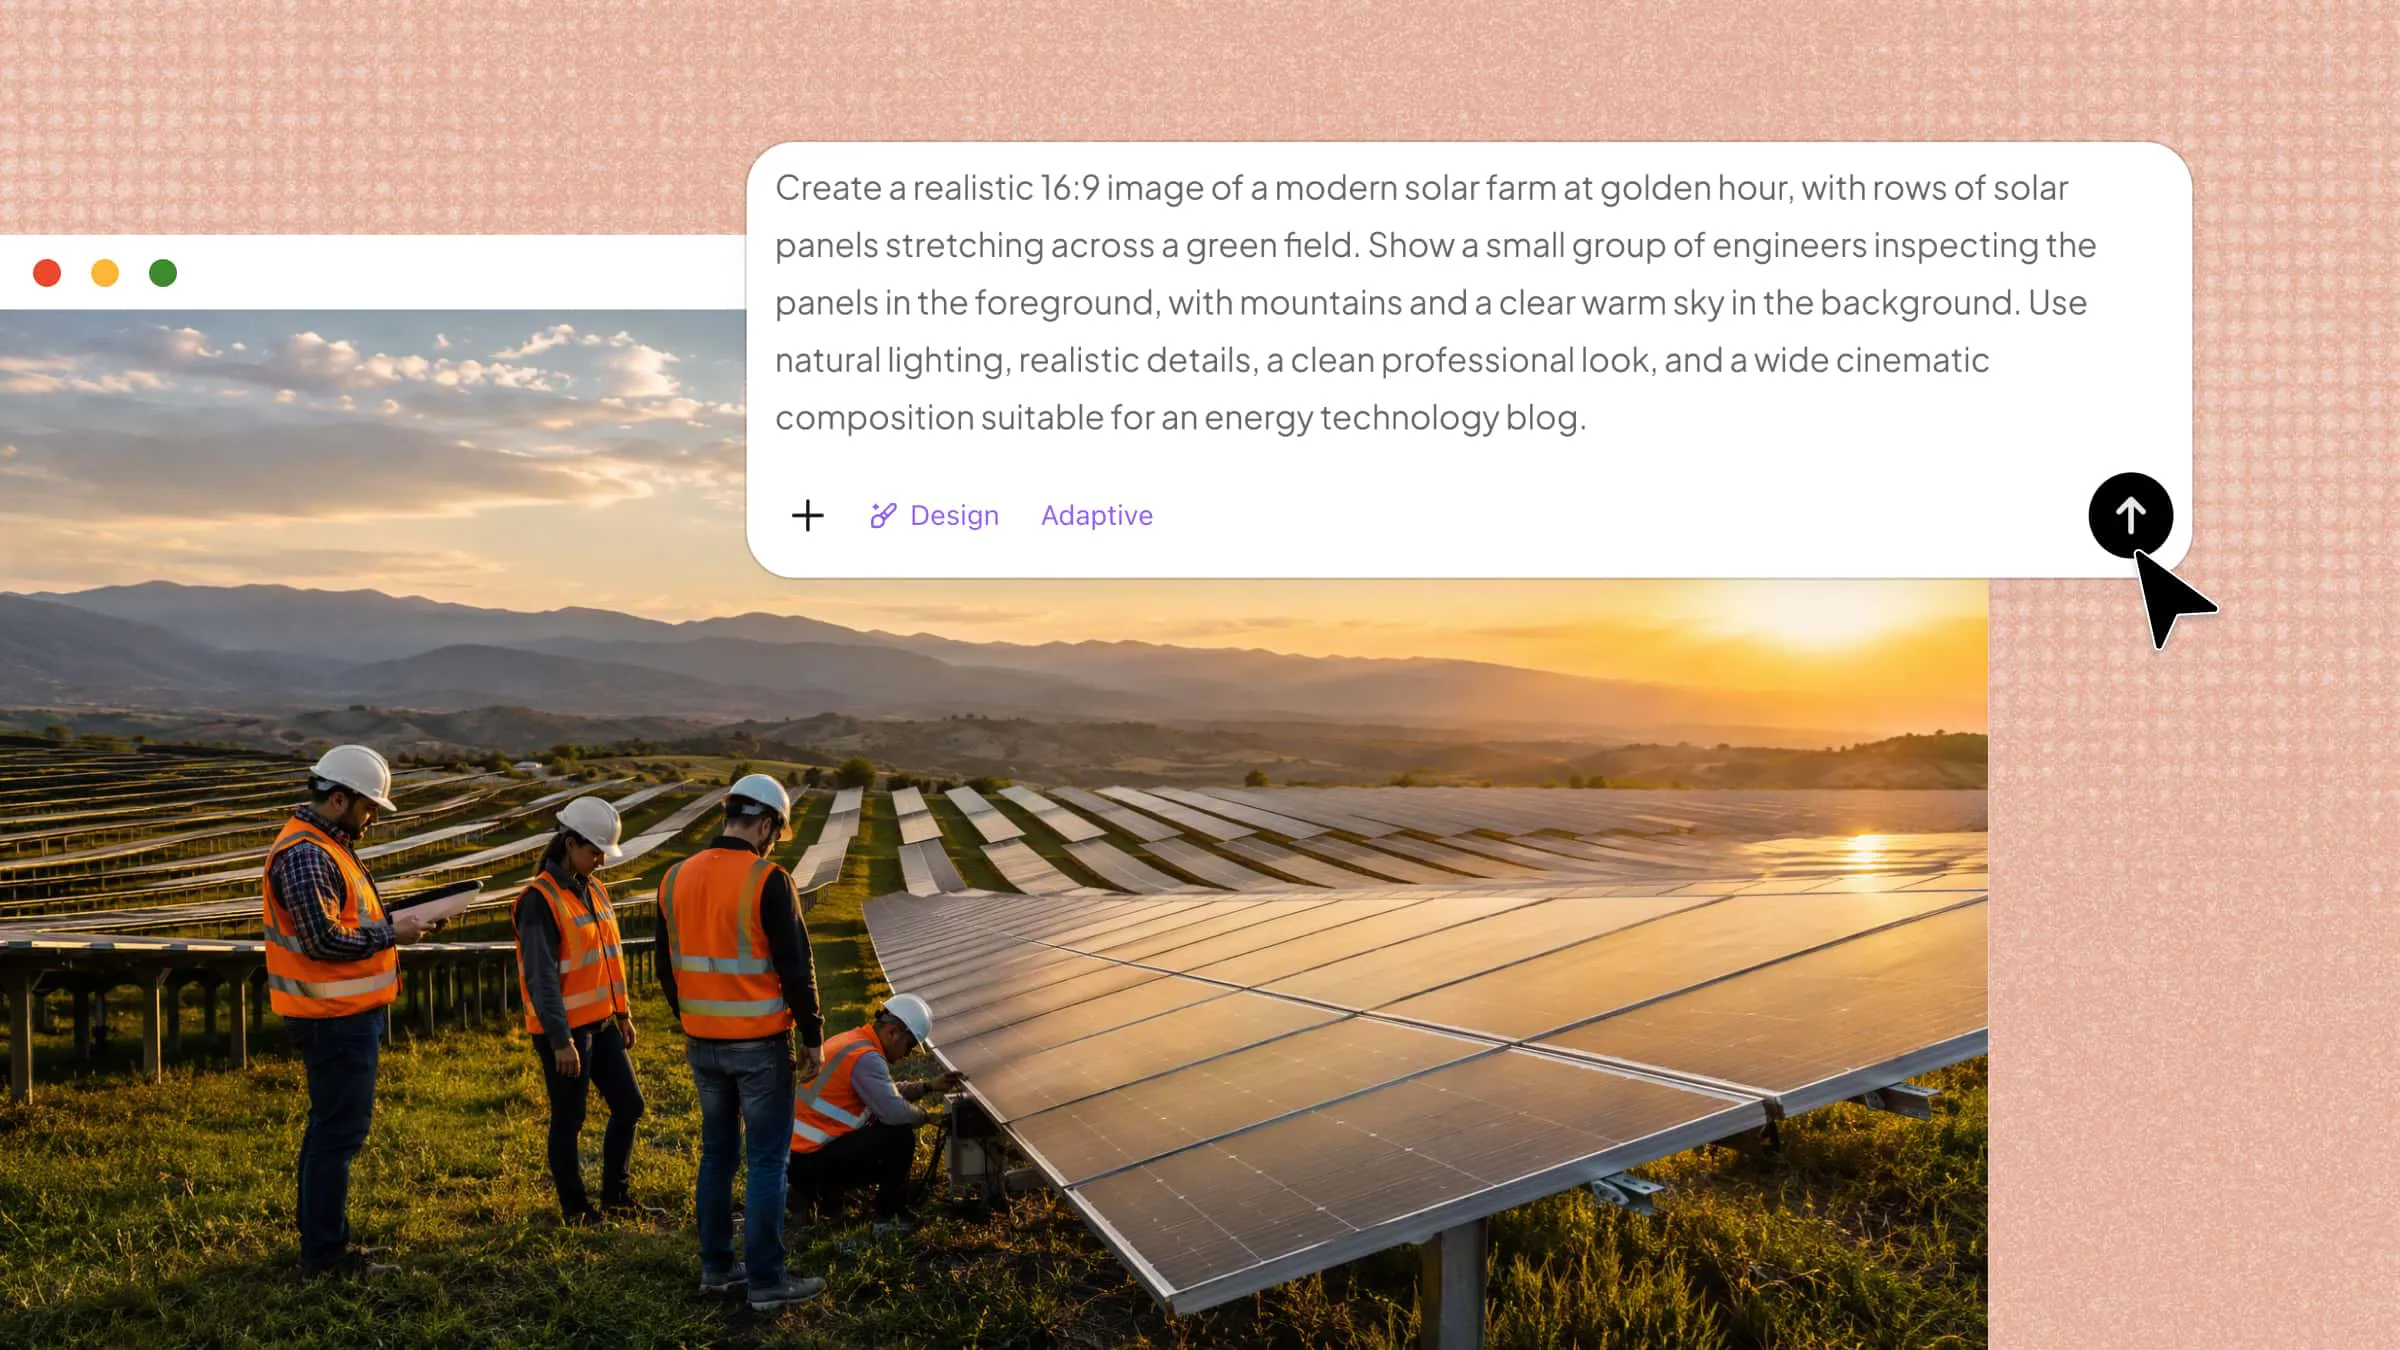
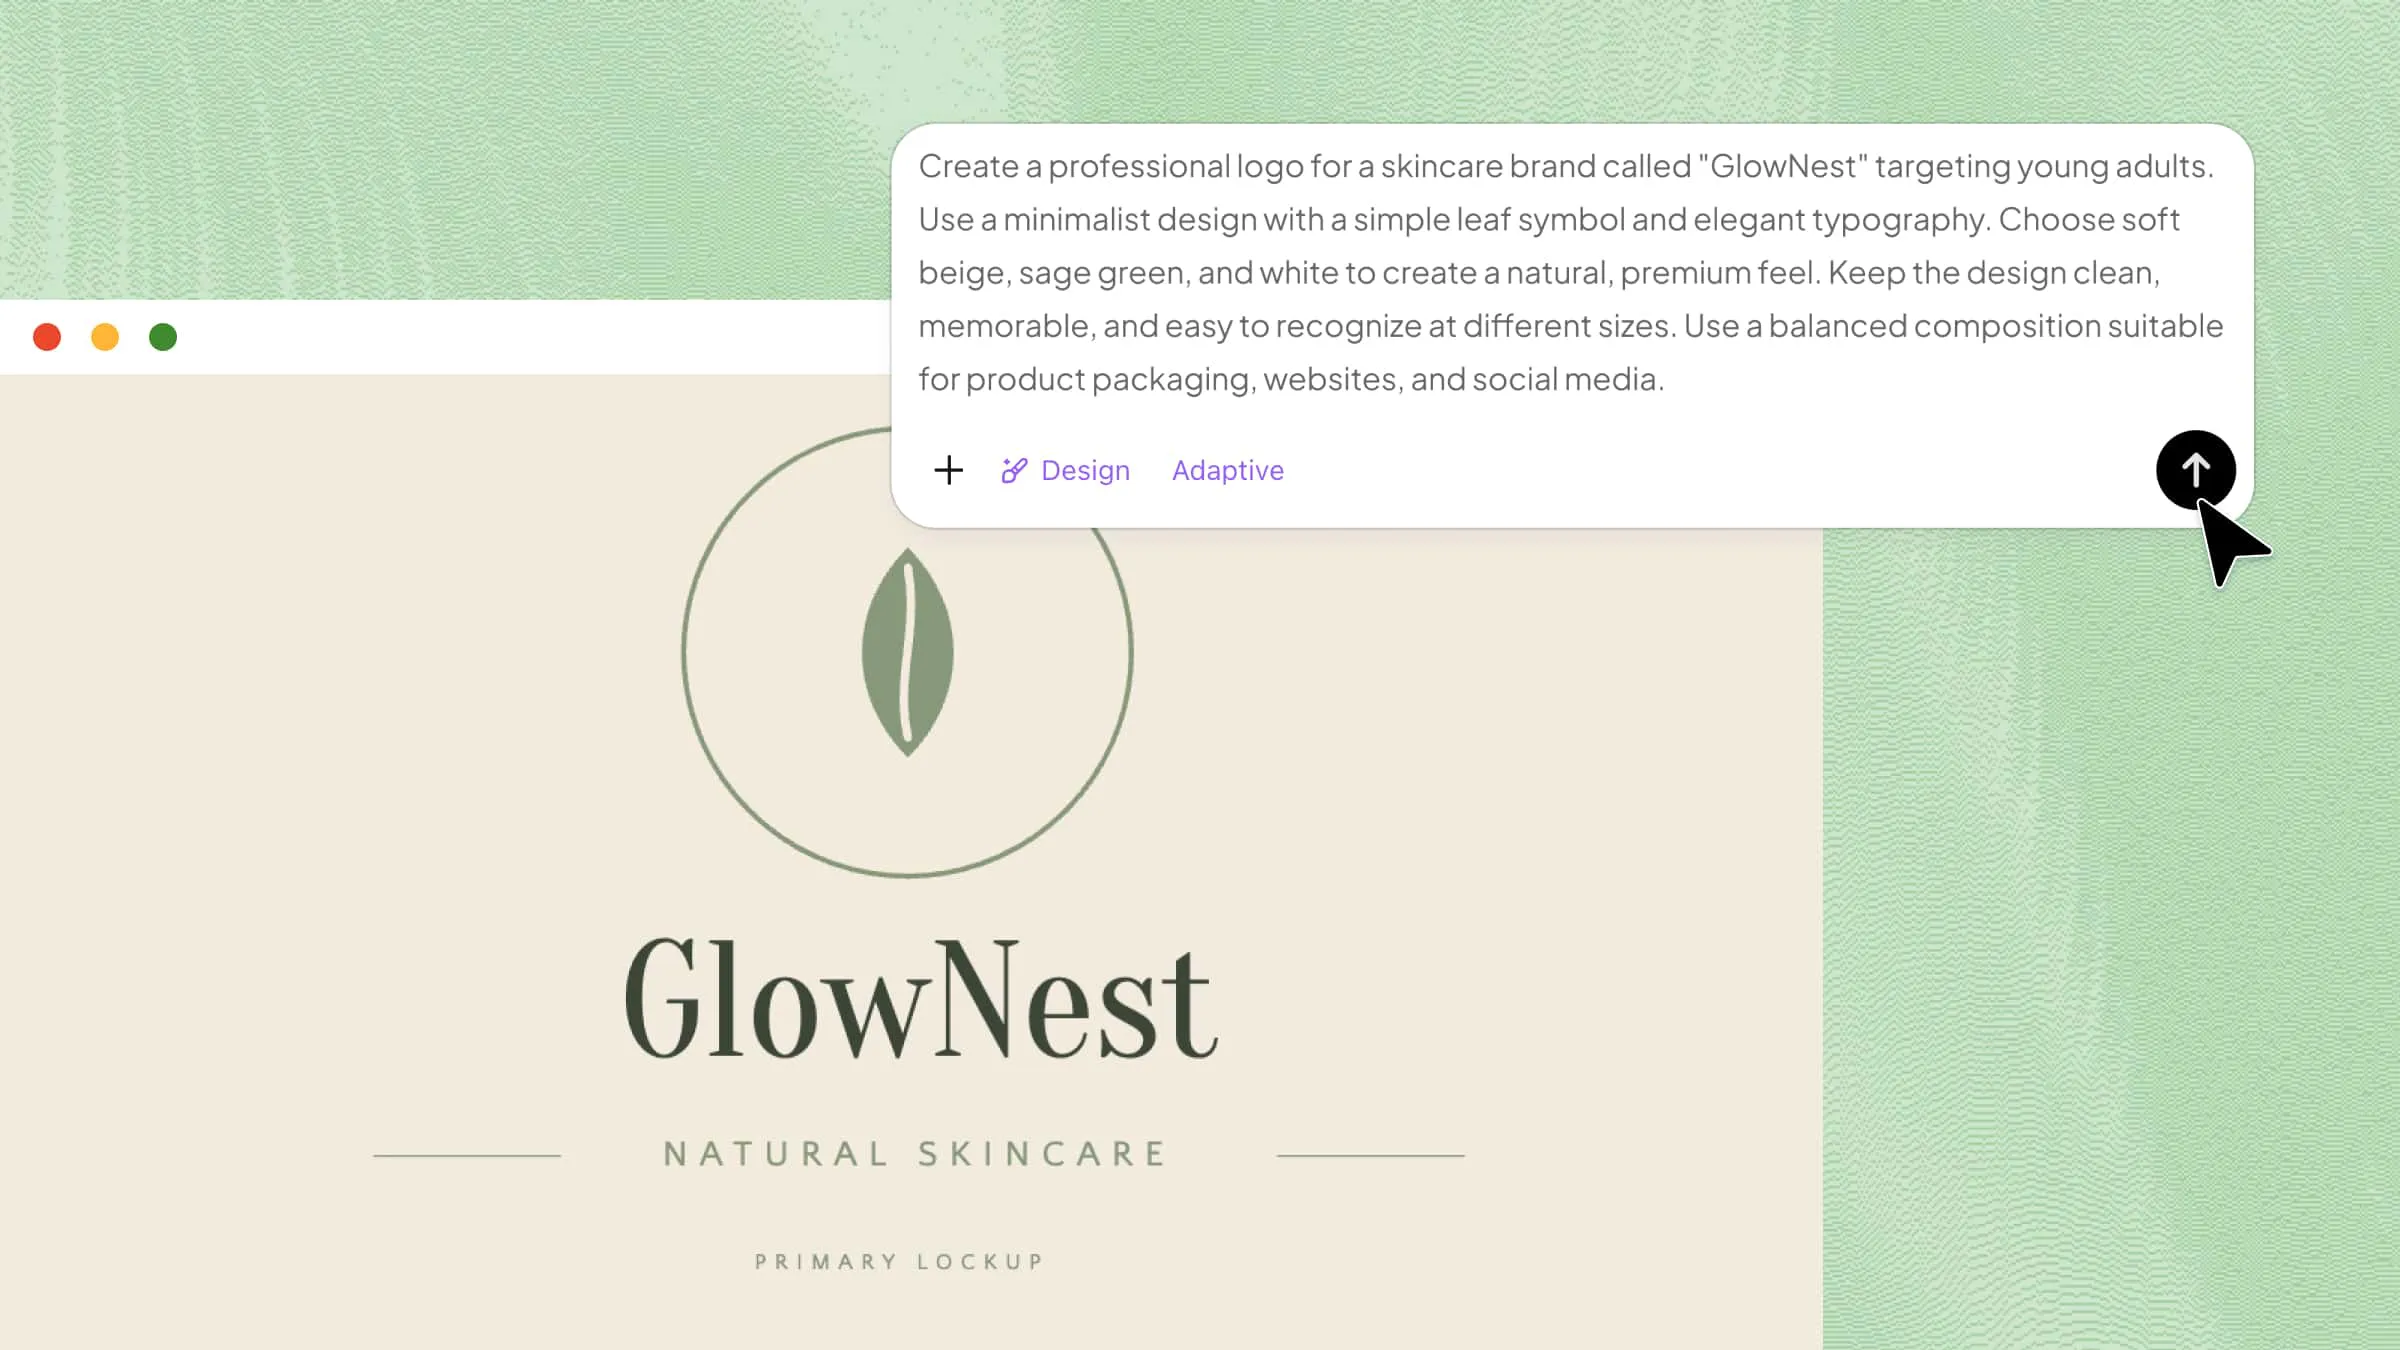
Start by opening Kimi Design and entering a clear prompt that describes exactly what you want to create. Include details such as the subject, setting, lighting, colors, composition, and visual style to guide the result.
Example prompt:
Step 2: Let Kimi Design generate an AI image
Once your prompt is ready, submit it in Kimi Design and let the tool process your idea. It will turn the written description into a complete image while following the details and style included in your prompt.
Step 3: Preview and export your images
Review the generated image to see how closely it matches your original idea. If needed, refine the prompt and generate another version until you get the look you want, then export the final image for your project.
How to generate AI images based on a reference image
A reference image gives the AI a clear visual direction, making it easier to build on an existing idea instead of describing everything from scratch. Kimi Design lets you combine a reference image with your instructions to create a fresh visual based on the original. Here's how to create AI images using a reference image.
Step 1: Upload your image and enter a prompt
Open Kimi Design and upload the image you want to use as a reference. Then, add a prompt describing how you want to transform or build on the original image, including any new background, style, lighting, or visual details.
Example prompt:
Step 2: Let Kimi Design generate an AI image
Submit your reference image and prompt, then let Kimi Design process them together. The tool will use the uploaded image as visual guidance while applying the changes and creative details described in your prompt.
Step 3: Preview and export your images
Check the generated result and make sure the important elements from your reference image are represented as intended. If something needs changing, adjust your prompt and generate another version before exporting the final image.
How to edit existing images with AI
Editing an image no longer requires complex software or advanced editing skills. With AI, you can make targeted changes simply by uploading an image and describing what you want to change. Kimi Design can help modify backgrounds, remove or add elements, adjust the overall look, and make other visual changes based on your instructions. Follow the steps below to edit an existing image with Kimi Design.
Step 1: Upload your image and enter a prompt
Open Kimi Design and upload the image you want to edit. In the prompt box, clearly describe the changes you want to make while mentioning any important elements that should remain unchanged.
Example prompt:
Step 2: Let Kimi Design edit an AI image
Submit the image and prompt to let Kimi Design process the requested changes. The AI will use your original image as the base and apply the edits according to your instructions.
Step 3: Preview and export your images
Review the edited version to check whether the changes look natural and match your expectations. If anything needs improvement, refine your prompt and try again before exporting the final image.
Why use Kimi Design for AI image creation
Creating AI visuals becomes much easier when one tool can handle different creative needs without making the process feel complicated. Kimi Design brings image generation, editing, customization, and style control together in one place. Here are some of the key features that make it useful for creating polished visuals.
Generate AI images from text, images, and videos: Kimi Design lets you turn different types of input into new visuals, whether you start with a written idea, a reference image, or a video. This gives you more flexibility when creating images from existing content or developing a new concept.
Customize image sizes for different platforms: You can create images in different sizes and aspect ratios to match the platform where you plan to use them. This makes it easier to prepare visuals for social media, websites, presentations, advertisements, and other content.
Refine generated images with comments: Preview the generated image and use comments to tell Kimi Design what to change. Kimi Design can make real-time adjustments based on your feedback, helping you refine elements, styles, and visual details without starting over.
Maintain consistent visual styles across images: Keeping the same visual style across multiple images can be important for branding and content creation. By using reference images and clear style instructions, you can create visuals that feel more consistent across presentations, social posts, and creative projects.
Generate images in batches and export in high quality: When you need several visuals, generating them individually can take unnecessary time. Kimi Design can help you create multiple images efficiently and export high-quality results that are suitable for professional and creative use.
Tips for improving AI image quality
Getting a good AI image often depends on how clearly you communicate your idea to the tool. Small changes to your prompt, visual settings, and instructions can make the final result much more accurate and polished. Use these tips to improve your results and create visuals that better match your vision.
Write clear and detailed prompts
Avoid using short or unclear prompts that leave too much room for the AI to guess. Describe the main subject, setting, important objects, mood, and other details you want to see in the image. The more useful context you provide, the easier it is for the AI to understand your idea.
Define the style, composition, lighting, and colors
Mention the visual style you want, such as realistic, cinematic, minimalist, or illustrated, along with details about how the scene should look. You can also describe the camera angle, subject placement, lighting, shadows, and color palette. These details help create a more controlled and visually balanced result.
Choose the right image dimensions and aspect ratio
Think about where you will use the image before generating it, as different platforms work better with different dimensions. Choose a suitable aspect ratio for social media posts, stories, presentations, websites, or other formats. Using the right size from the beginning can help prevent awkward cropping or loss of details.
Refine prompts and adjust outputs iteratively
Your first result may not always match what you had in mind, and that is completely normal with AI image generation. Review the output and identify what needs to change, then adjust your prompt with more specific instructions. Repeating this process helps you gradually get closer to the exact look and quality you want.
Conclusion
Understanding how to create AI images can make visual creation faster, easier, and more accessible, even if you have little design experience. With the right ideas and a little experimentation, you can turn simple concepts into visuals that fit your creative needs. The key is to keep exploring, refine what works, and let your ideas guide the process. If you're ready to bring more ideas to life, try Kimi Design and see what you can create. Start creating today and turn your next idea into a visual with Kimi Design.