Converting Excel to PDF in landscape can lead to frustrating formatting issues. Generally, the wide spreadsheets may have columns cut off, data pushed onto multiple pages, and text made too small to read. These problems become worse when the PDF keeps the portrait orientation. As a result, important information becomes difficult to review, print, and share. However, the right conversion method can also prevent unnecessary page breaks. In this article, you will explore 3 methods to convert Excel to PDF in landscape without compromising formatting.
Overview of 3 methods for Excel to PDF in landscape
Before choosing a conversion method, it helps to understand what each option offers. Some methods provide more control over page settings. On the other hand, some make the process faster with fewer manual adjustments. The table below compares the three methods of converting Excel to PDF in landscape mode.
| Method | How it works | Key advantages | Suitable for |
|---|---|---|---|
| AI-powered conversion (Kimi Docs) | Uses AI to process the Excel file based on your prompt and prepares it as a landscape PDF. | Reduces manual formatting, supports simple instructions, and helps prepare wide spreadsheets for PDF conversion. | For users who want a quick conversion with less manual setup. |
| Print menu method | Changes the orientation to landscape, sets the print area, and exports the selected spreadsheet as a PDF. | Gives better control over the printable area, page layout, and final PDF output. | For users who want to adjust the spreadsheet before exporting it. |
| Page Layout method | Sets the spreadsheet to landscape orientation and saves the file directly as a PDF through Excel's Save As options. | Simple built-in method, requires no additional tools, and provides direct control over basic page settings. | Users who prefer converting Excel files directly within Microsoft Excel. |
How to convert Excel to PDF in landscape using an AI tool
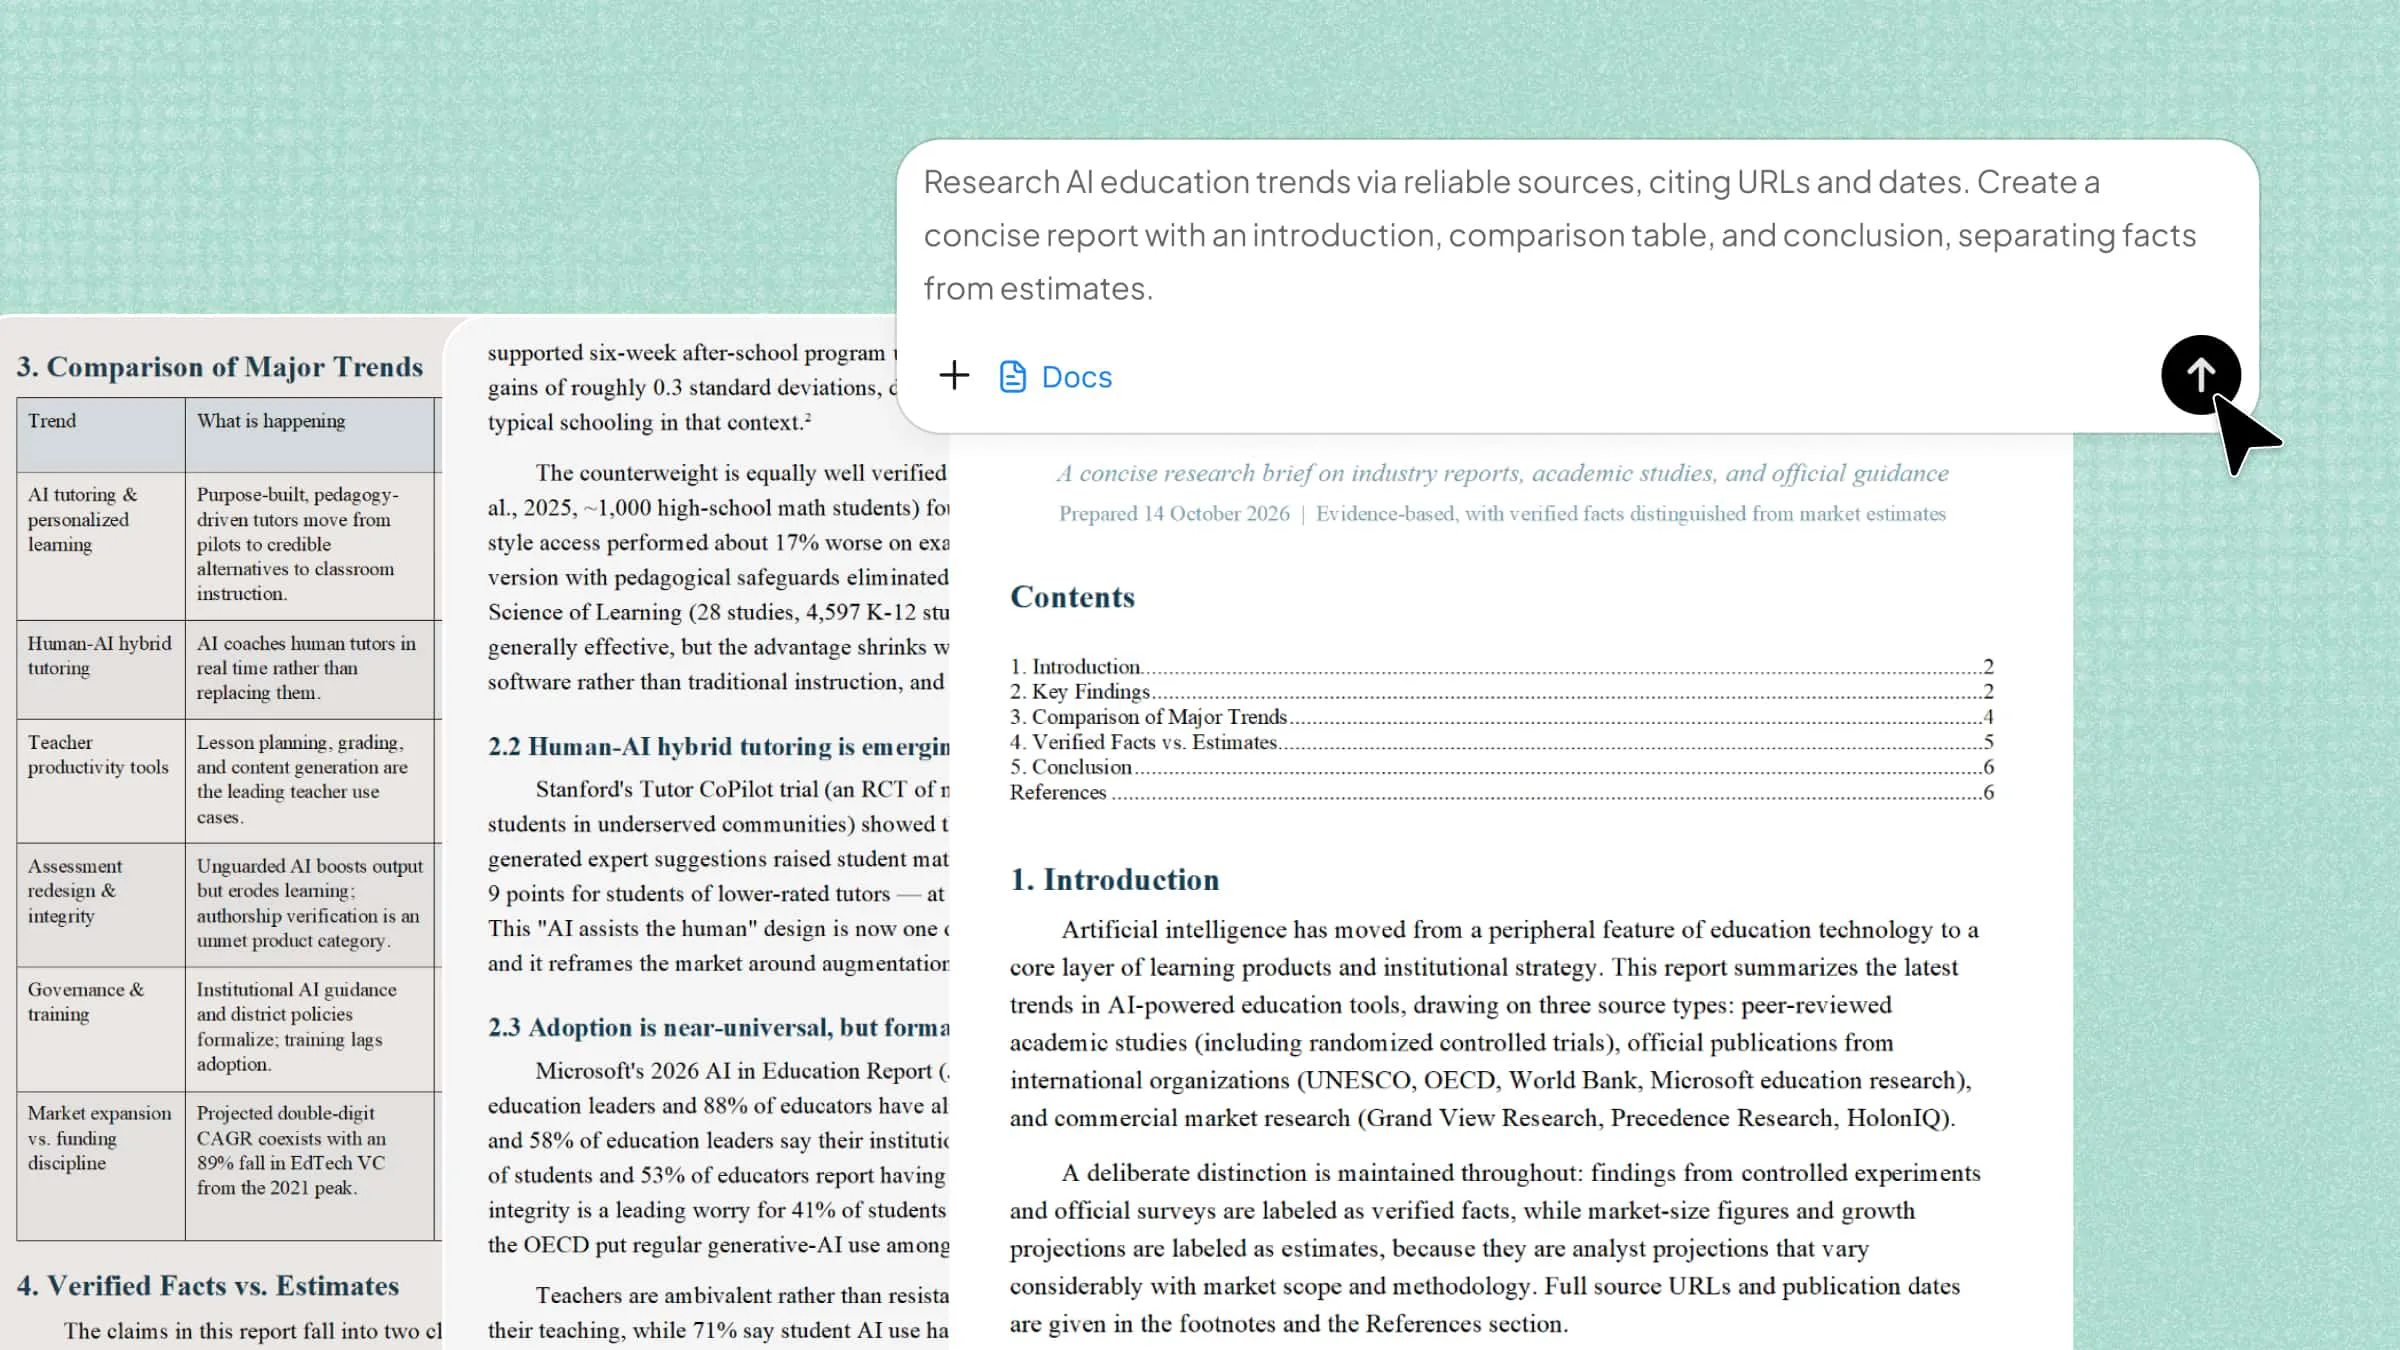
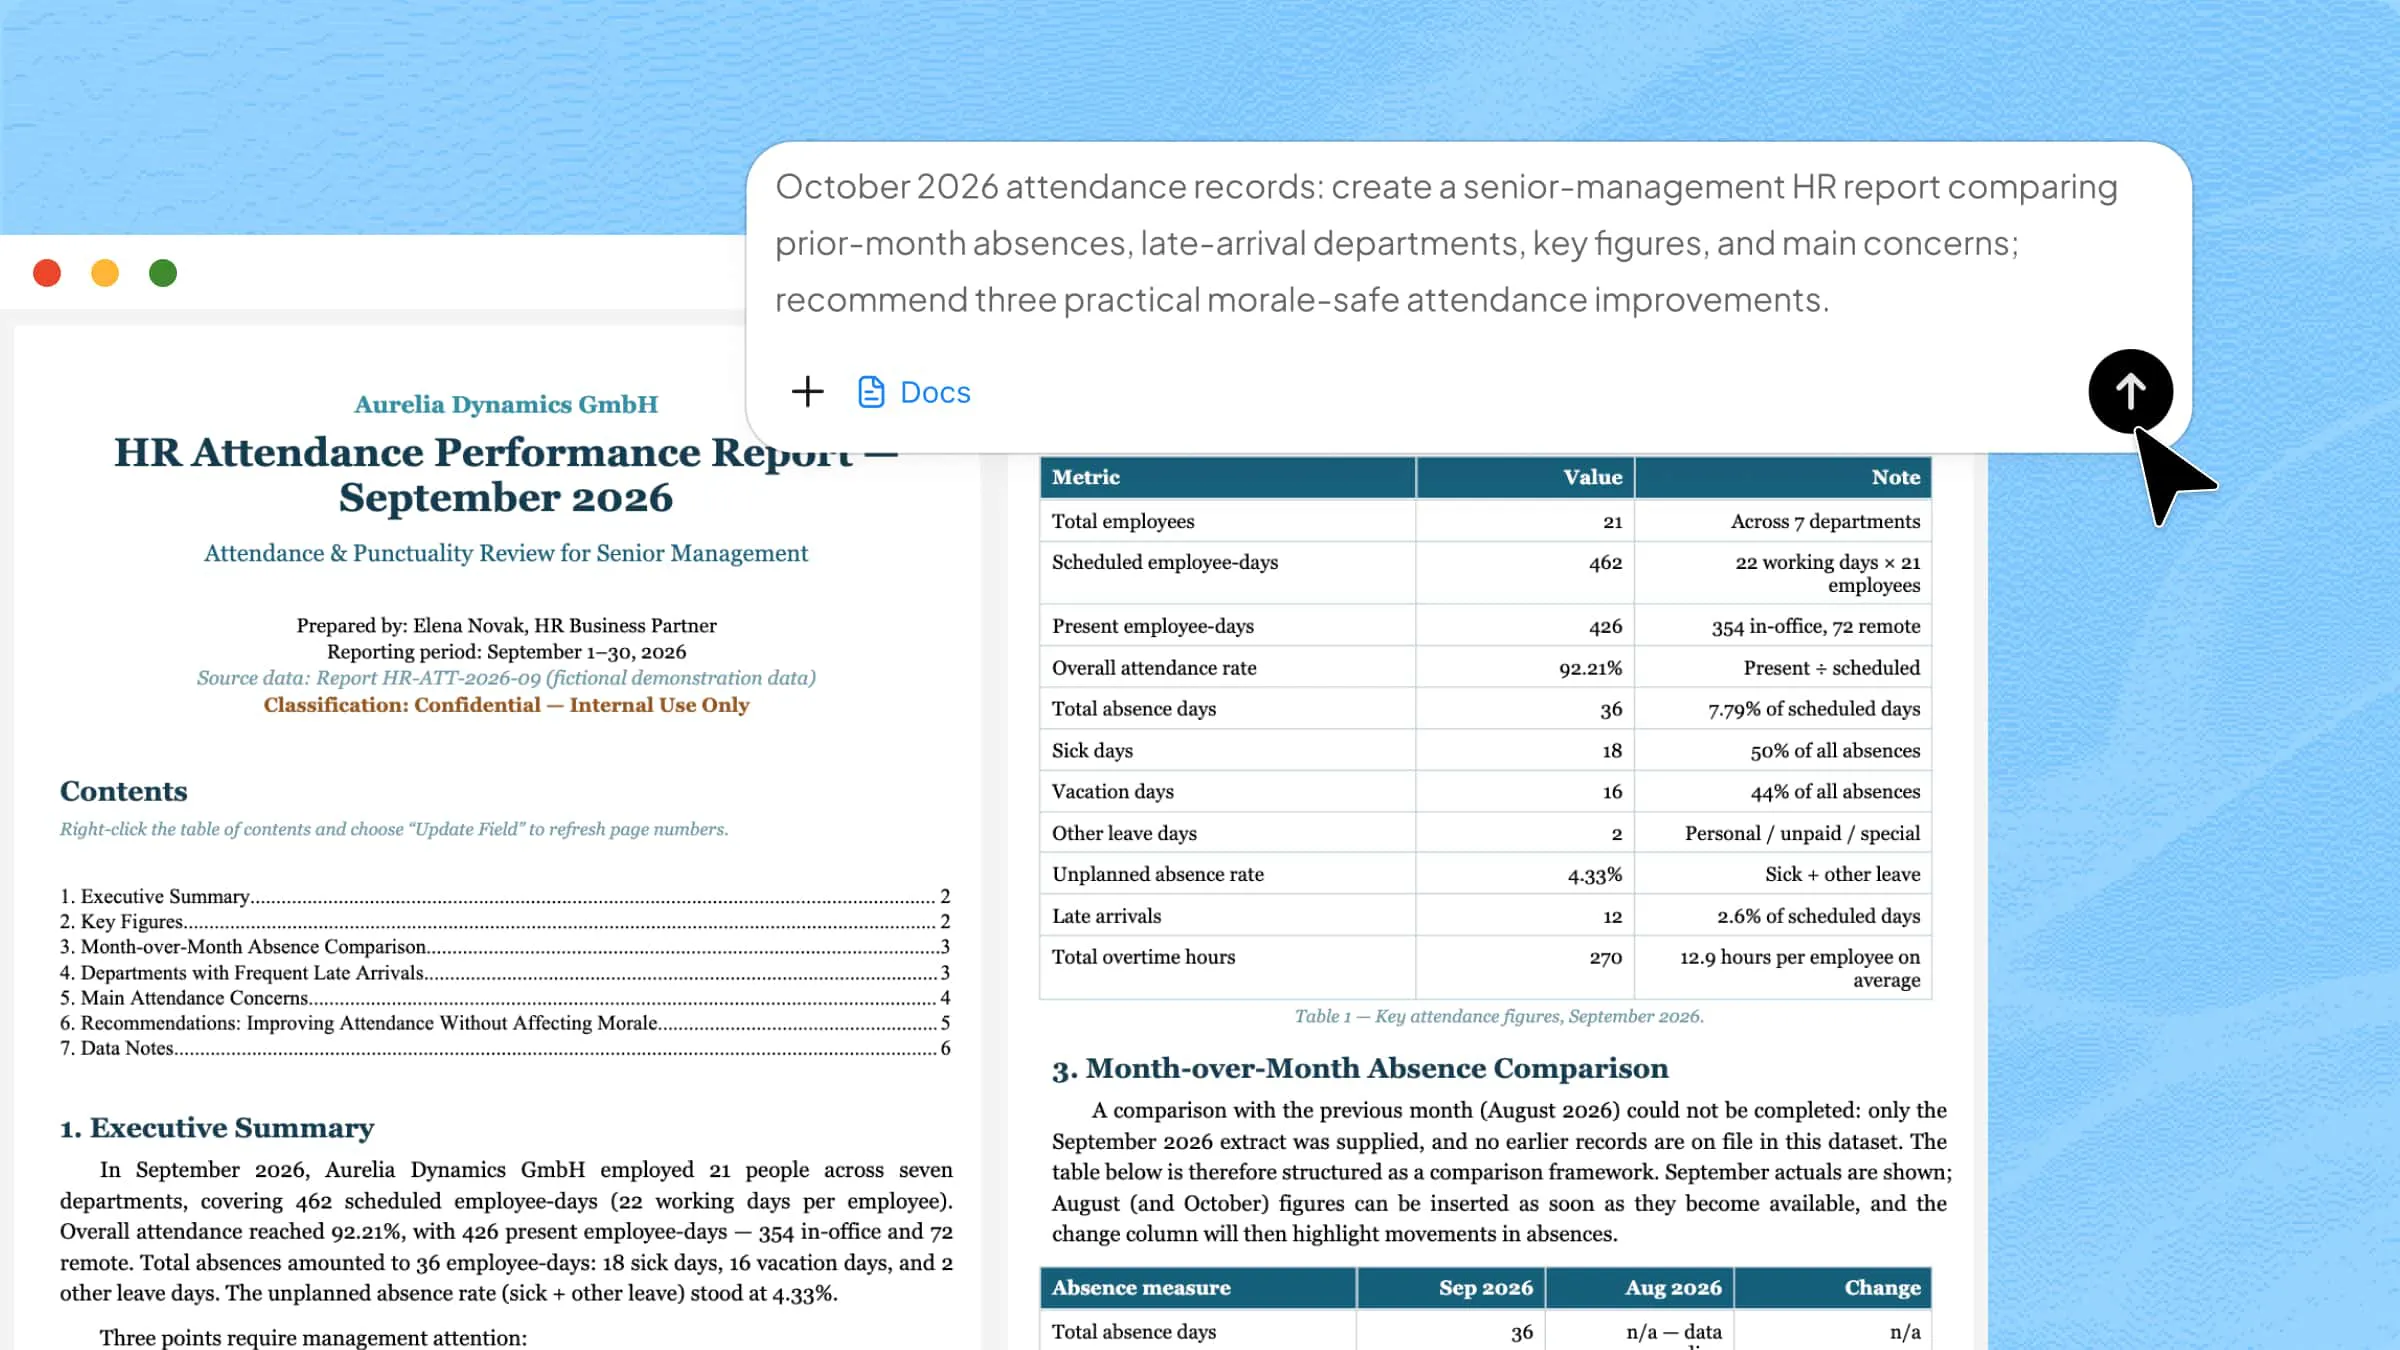
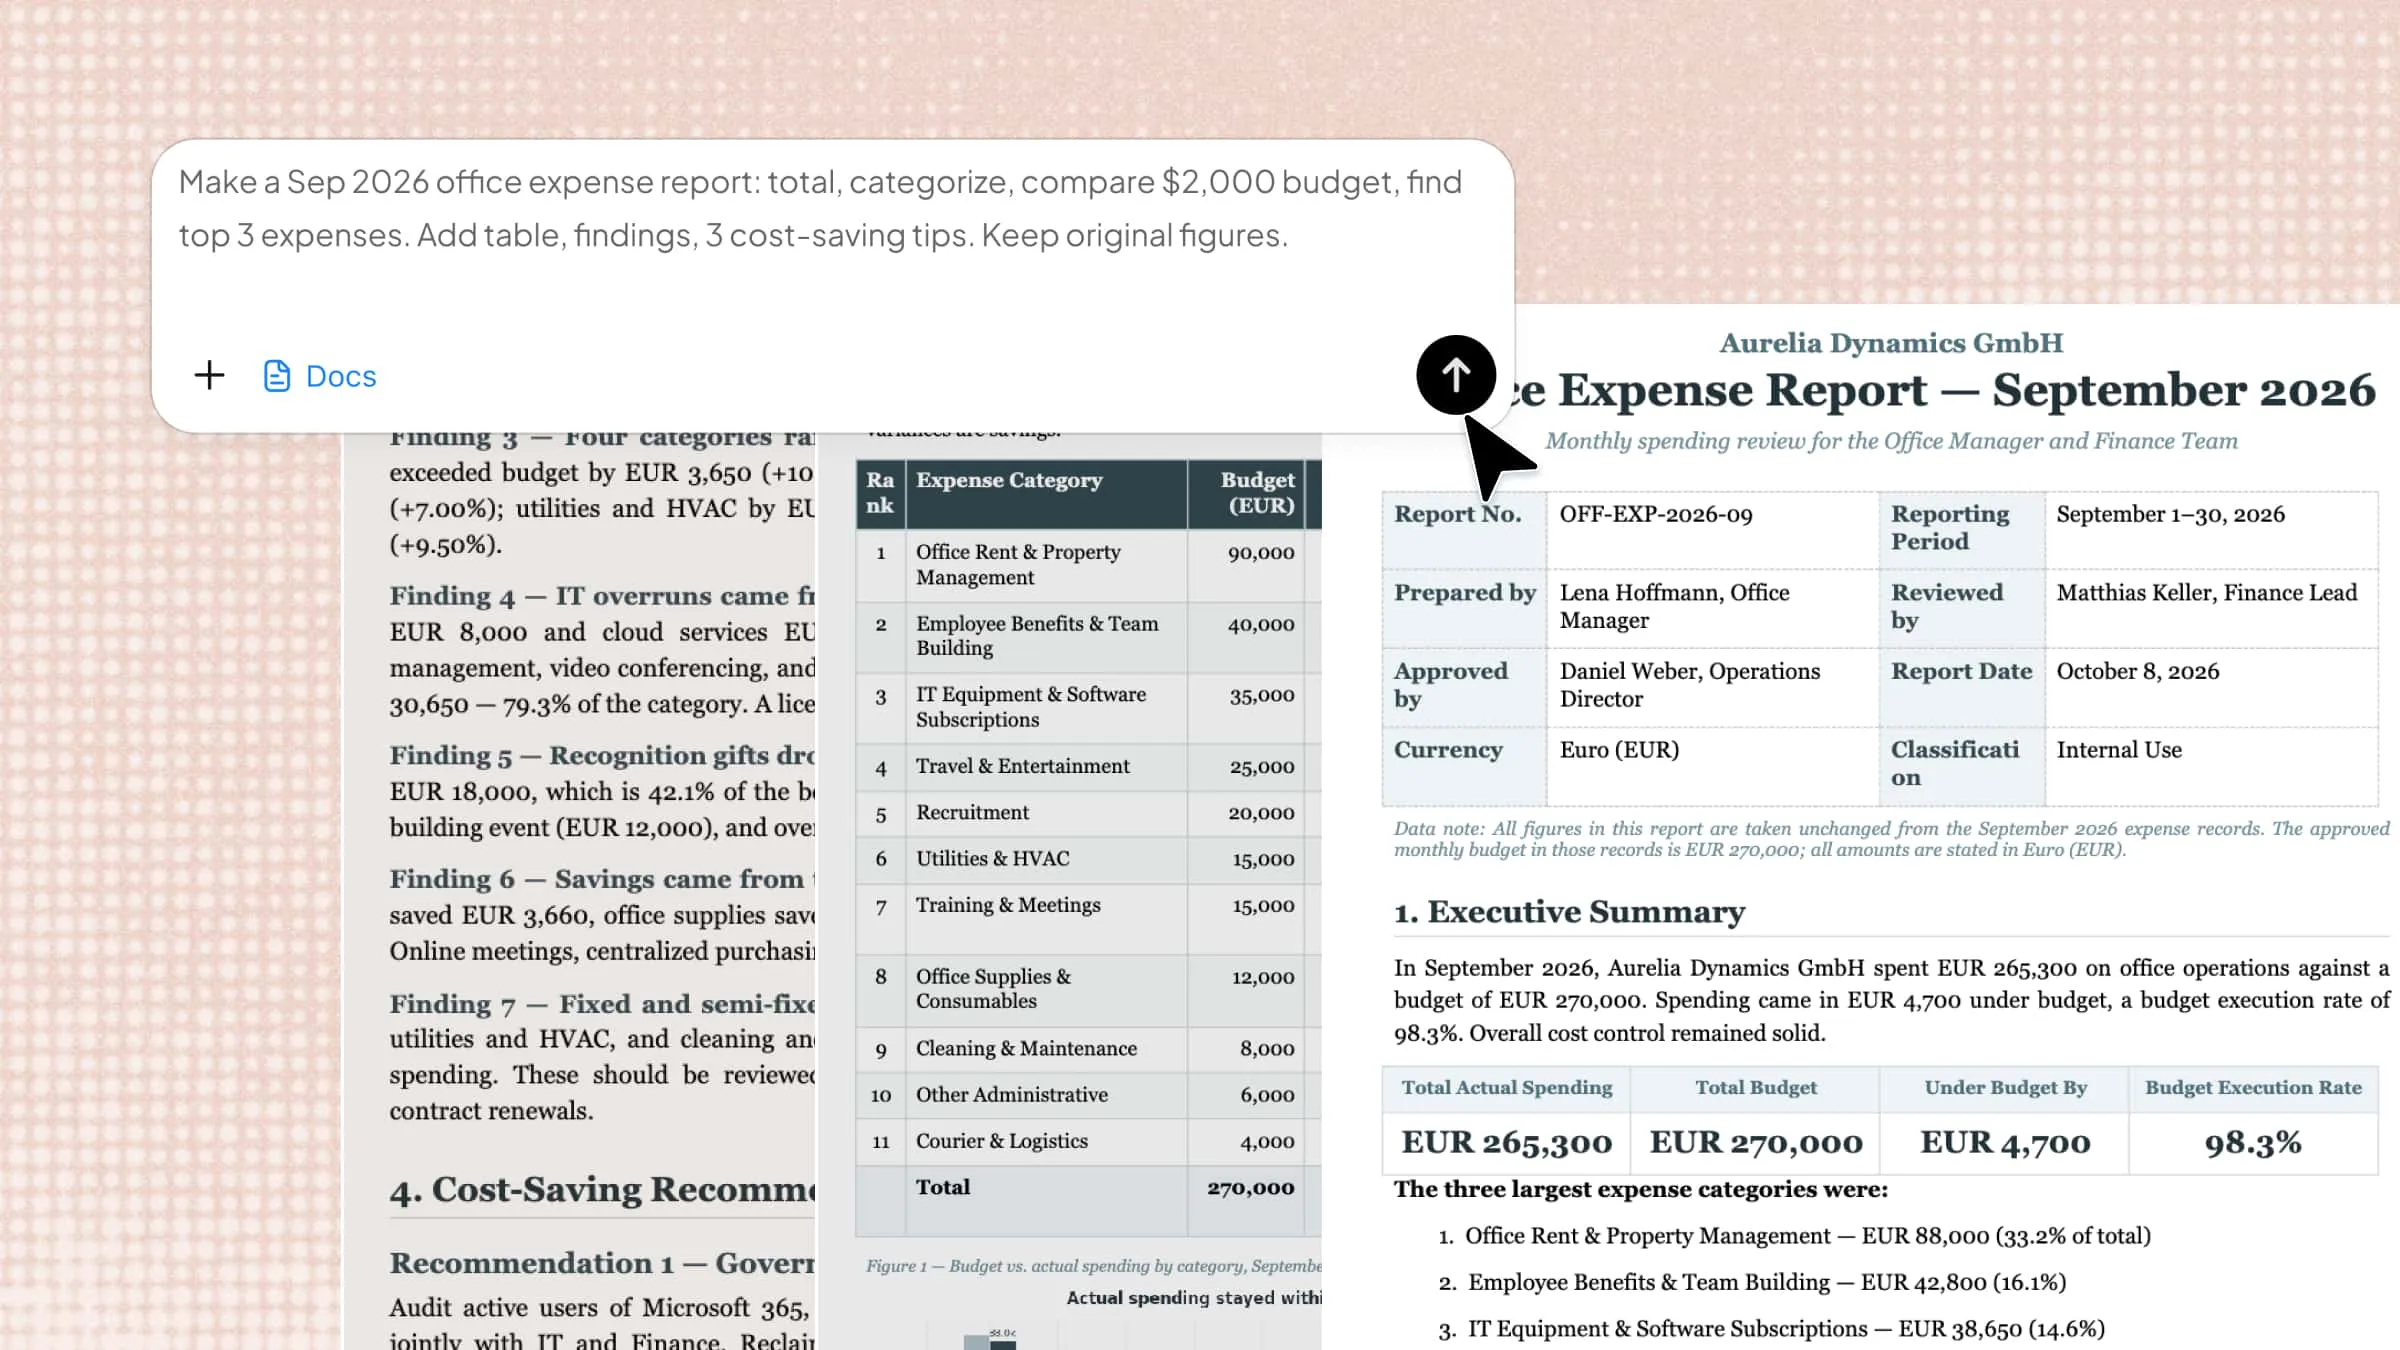
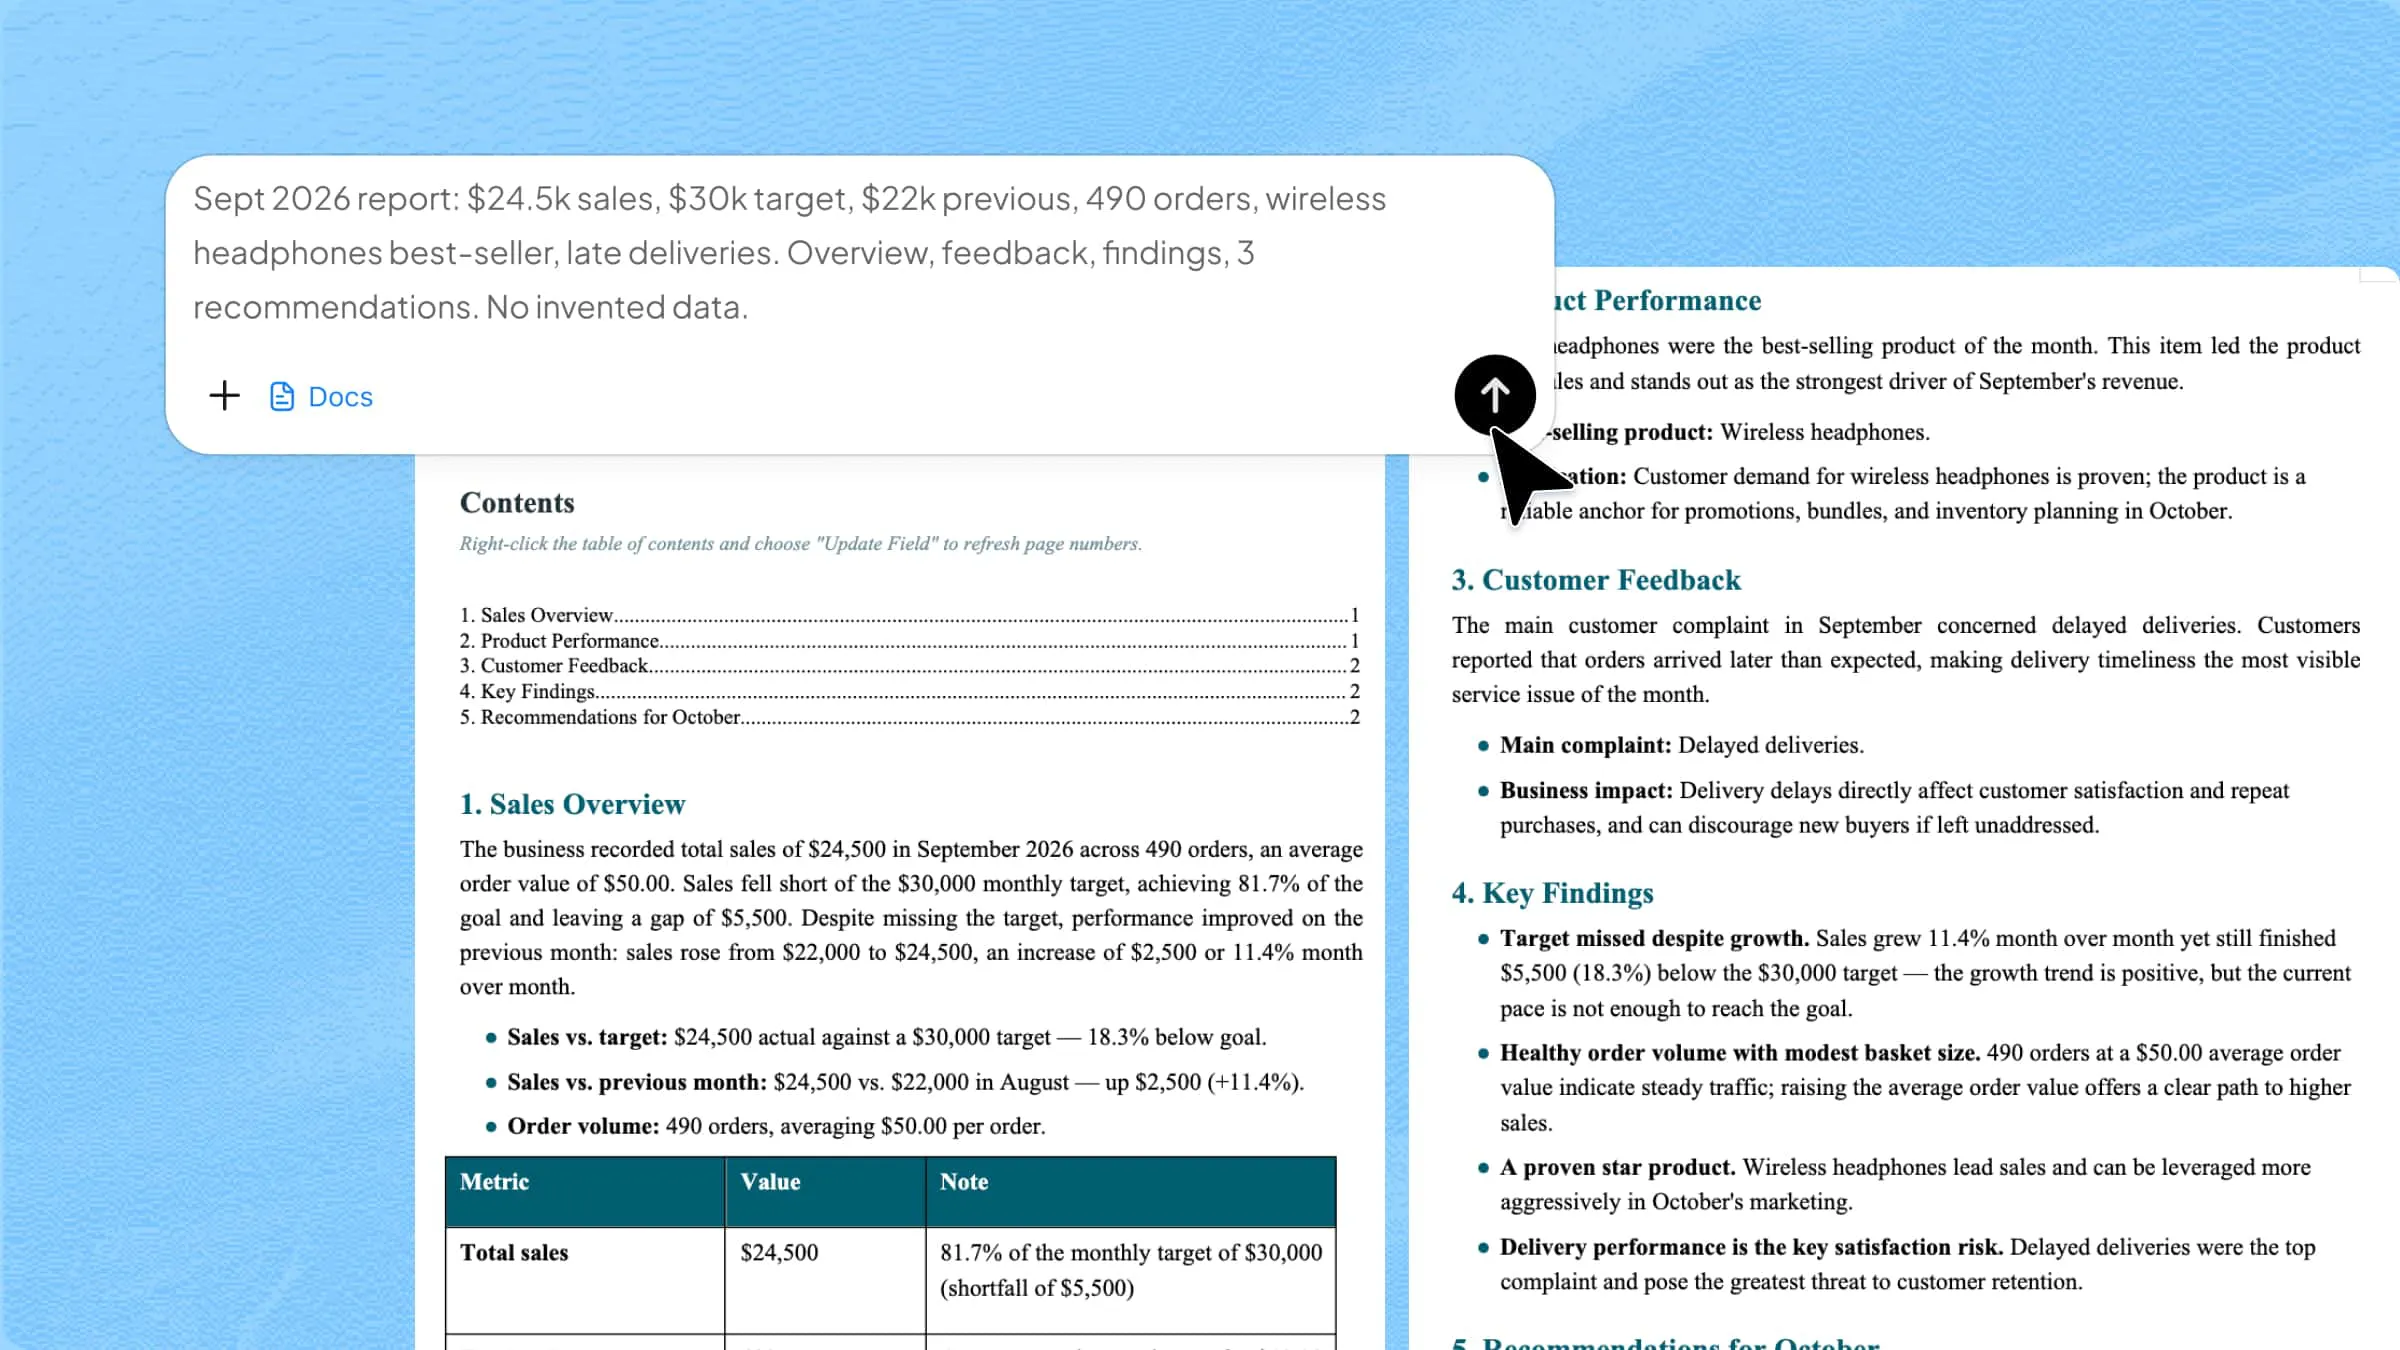
Kimi Docs, an AI document agent, is designed to convert and format files with simple instructions. Instead of manually adjusting pages, margins, and print settings in Excel, you can upload your spreadsheet into the tool interface. Then, tell the tool how you want the final PDF to look. It can process the file based on your instructions and prepare a PDF with a landscape layout. This Excel-to-PDF conversion method is useful for wide spreadsheets that require a landscape layout for better readability.
Step 1: Upload your Excel file and enter a prompt
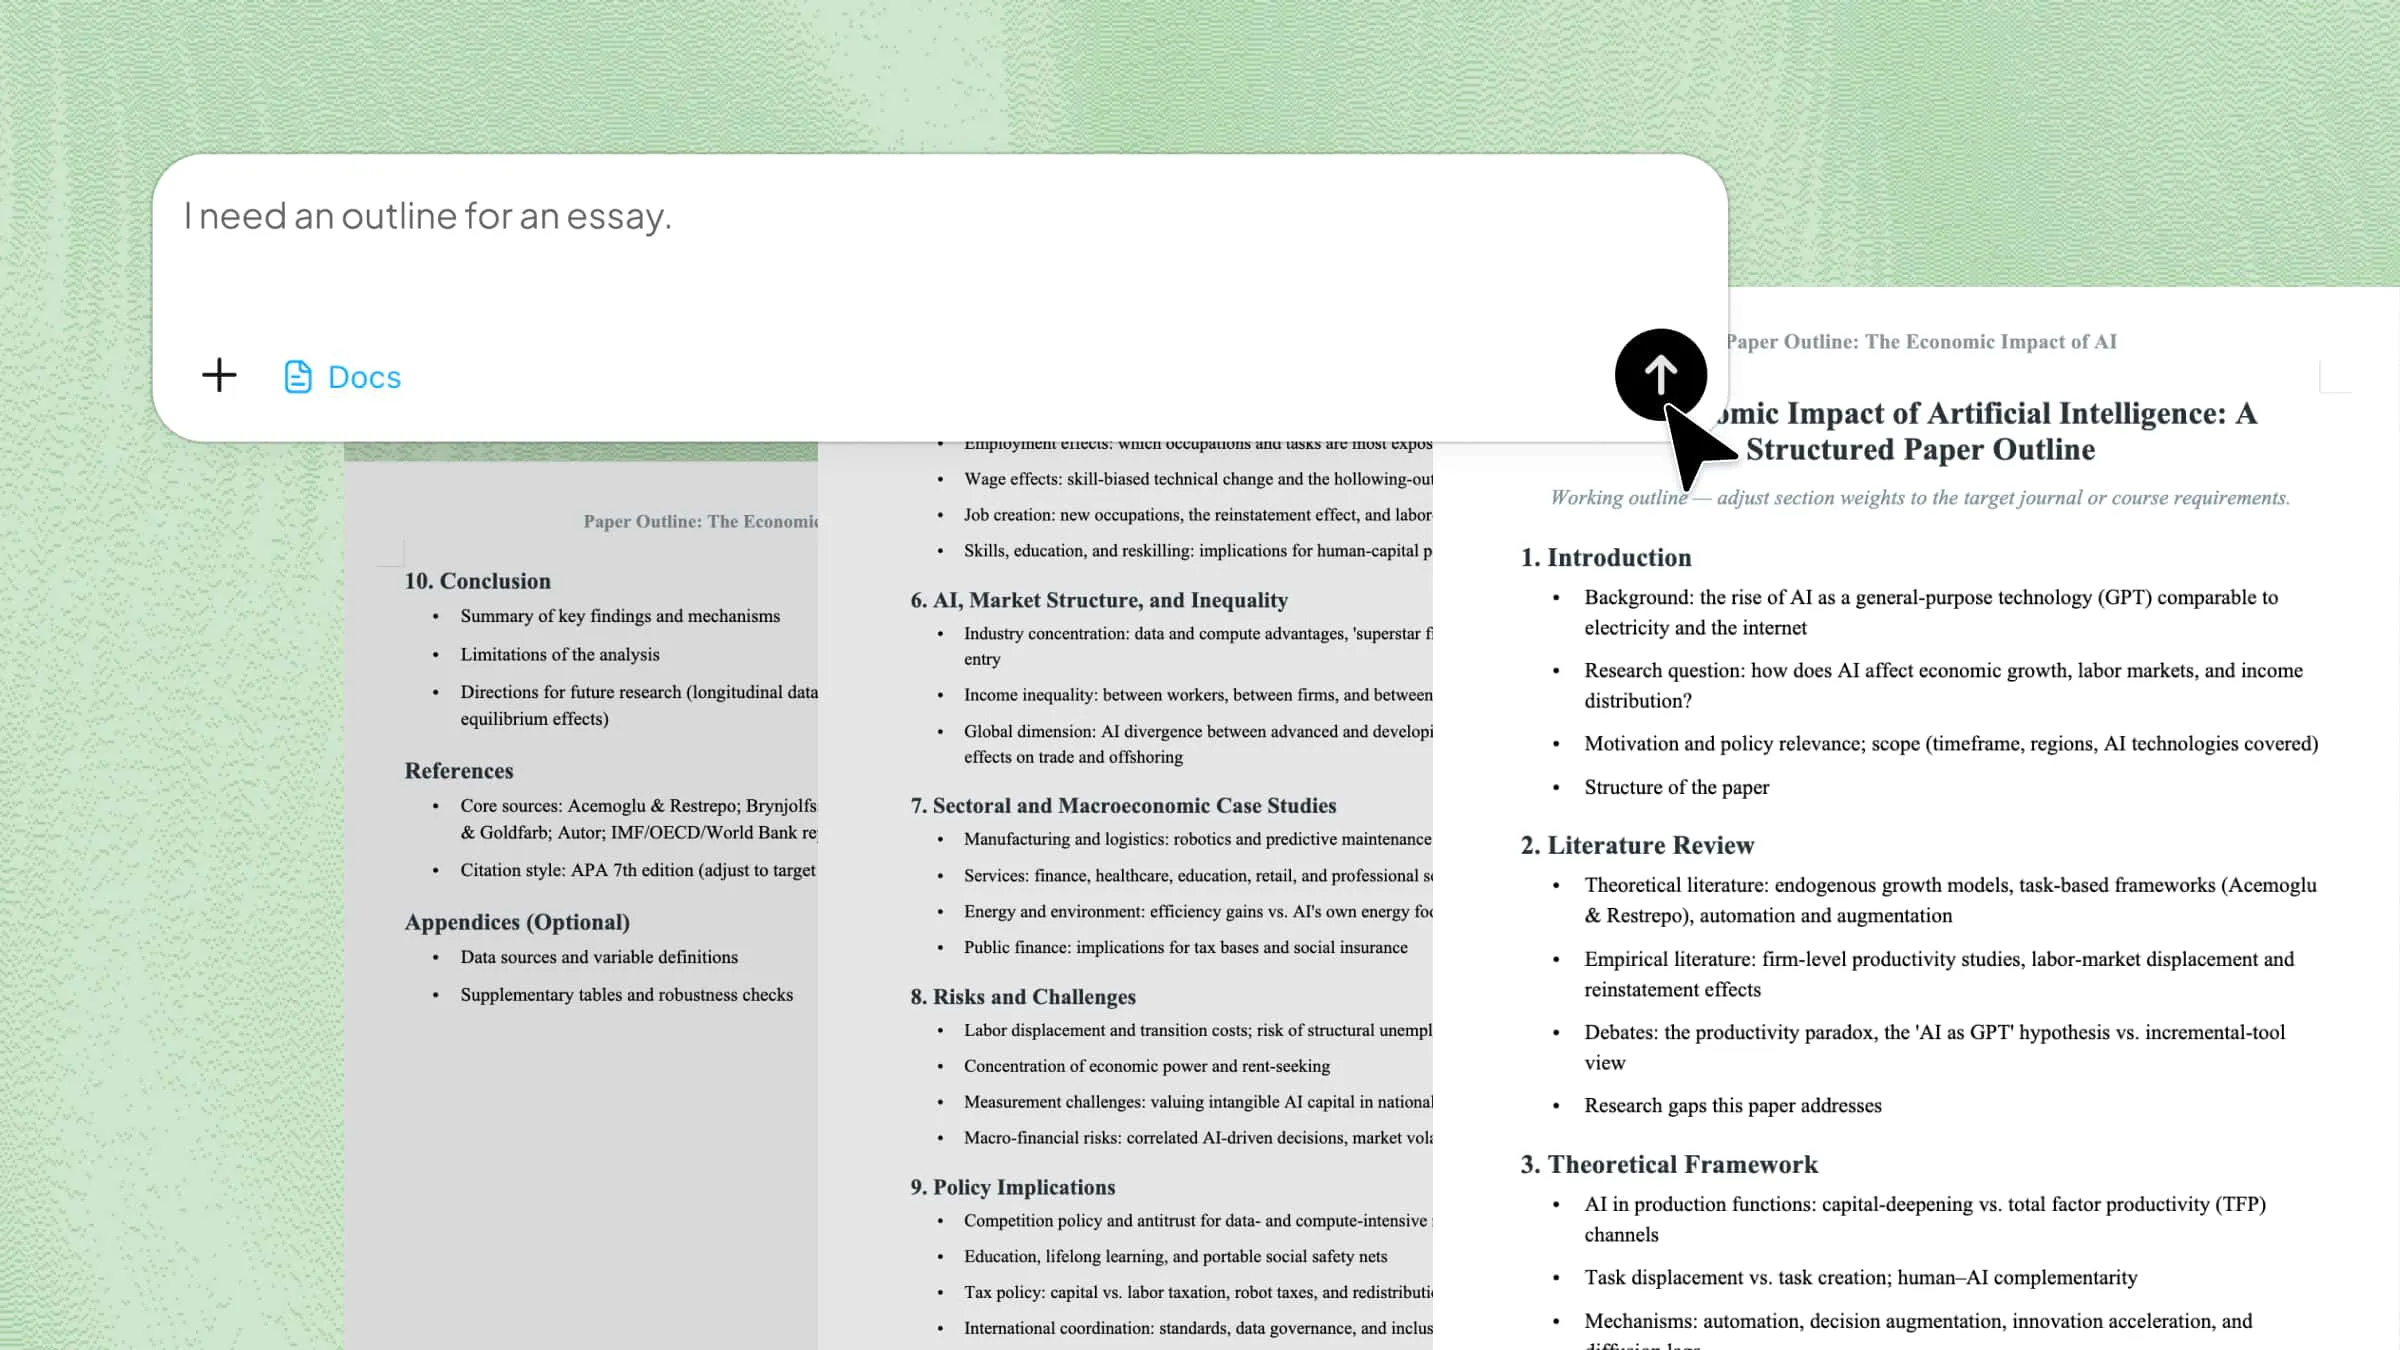
Access Kimi Docs and click the "+" button to upload your Excel file. Next, type an exact prompt so the AI knows how to change the page layout.
Step 2: Let AI process and generate results
Let Kimi Docs process your Excel file. The AI will follow your instructions and generate the PDF with a landscape layout.
Step 3: Download your PDF file
When your PDF is ready, check the final layout and confirm that all important data is visible. If everything looks correct, download the PDF and use it for printing, sharing, or online submission.
Main features of Kimi Docs
The following are some of the features of Kimi Docs that reduce manual formatting work and help convert Excel to a horizontal PDF.
Convert Excel files to PDF with simple prompts
In just a few seconds, you can describe your conversion requirements using a natural-language prompt. The Kimi tool uses those instructions to process the Excel file. Later on, it prepares the file as a PDF. This reduces the need to adjust multiple settings manually.
Preserve tables and spreadsheet layouts
With the help of Kimi Docs, you can help keep important spreadsheet elements during conversions. It includes rows, columns, tables, and charts. This tool keeps these elements organized. Therefore, it prevents your complex data from becoming confusing or difficult to read in the final PDF.
Prepare wide spreadsheets for landscape viewing
All the wide spreadsheets are designed to use more horizontal space. So, it displays their data properly. However, Kimi Docs can help prepare large tables and datasets for landscape viewing. You can easily make reports, dashboards, and summaries without unnecessary layout problems.
Handle multiple Excel files efficiently
It's too frustrating to handle multiple Excel files manually. When you need to convert several spreadsheets, processing can take extra time. But the Kimi Docs can help handle multiple Excel files efficiently. This makes the preparation of batches of reports or documents easier without repeating the same process for every file.
Export and share PDF files conveniently
Once the conversion is complete, you can export and download the PDF for further use. This Excel-to-PDF landscape workflow makes it easier to share professional documents for business reports, data analysis, presentations, and other scenarios that require a consistent PDF format.
How to convert Excel to PDF in landscape via the print menu
The Print menu inside Excel gives you direct control over how your Excel sheet appears in the final PDF. You can set the page to landscape and choose the exact data range. Overall, it avoids exporting unnecessary cells. The print menu method is useful for wide spreadsheets. In any file, it provides more horizontal space and helps keep tables readable. You can preview and adjust the layout before creating the final file. Here are detailed steps for converting Excel to PDF in landscape mode.
Step 1: Check the Print orientation
First of all, open your Excel file and click "File", then select "Print". In the print settings, find the orientation and choose "Landscape Orientation". Make sure to check the preview to ensure the spreadsheet fits the wider page easily.
Step 2: Choose the save location
The next step is to return to the "File" menu and click "Save As". Select "Browse" to open your computer's file window. Choose the folder where you want to save the converted PDF.
Step 3: Select PDF and save
In the Save as type drop-down, select "PDF (*.pdf)" instead of the Excel file format. Here, enter a suitable file name, choose the save location, and click "Save". Excel will create the PDF using the landscape orientation you selected.
How to convert Excel to PDF in landscape via the page layout
With Page Layout, you can simply prepare an Excel spreadsheet for landscape PDF conversion. With this method, you have full control over the final file. It is especially helpful for wide sheets because landscape orientation provides more horizontal space for columns and tables. You can also check the print preview. Since the PDF option is built into Excel, there is no need to use another converter. Below are detailed sights of how to convert Excel to PDF in landscape mode.
Step 1: Change Orientation to Landscape
The first step is to open your Excel sheet and go to the "Page Layout" tab. Here, tap on "Orientation" and select "Landscape". This changes the page to a horizontal layout, giving wide tables more space.
Step 2: Set the Print Area
To avoid any issues, highlight the cells you want to include in the PDF. Under the "Page Layout" tab, click "Print Area" and select "Set Print Area". Excel will use this selected range when creating the PDF.
Step 3: Export and publish the PDF
Once you mark the print range, click "File" > "Export", and choose "Create PDF/XPS Document." Click "Create PDF/XPS", choose a file name and location, then click "Publish" to create your landscape PDF.
Tips for accurately converting Excel to PDF in landscape
The process of converting a wide Excel sheet to PDF does not always give you the expected result. Sometimes, you may face certain layout issues. This includes columns moving to another page, and extra blank pages may appear. Here are tips to accurately convert Excel to PDF in landscape.
Set landscape orientation before conversion
Make sure to set the page orientation to Landscape before starting the conversion. This changes the page horizontally. Furthermore, it gives wide spreadsheets more room for columns. It is especially useful for reports with many fields or large tables.
Define the print area and check page breaks
It is best to choose the exact cells you want to include and set them as the Print Area. This setting prevents unused cells and extra content from appearing in the PDF. Quickly check where Excel places the page breaks. If a table is split, make sure to adjust the breaks. Therefore, the related information stays together.
Adjust column widths and content layout consistently
Before finalizing conversion, quickly review each column and adjust the width based on the information. If your file columns are too narrow, they can hide text. Additionally, overly wide columns can waste valuable page space. Make sure to keep headings, tables, and other content aligned throughout the sheet.
Use fit-to-page scaling to keep Data readable
When your spreadsheet is wider than the page, you can use Excel's scaling options to reduce its size. Make sure to choose Fit All Columns on One Page. This setting can work well for wide reports and keep the rows on multiple pages. It's best to avoid forcing a very large sheet onto one page.
Review margins and page settings before exporting
Before exporting the DPF file, take the time to check the Margins, Paper Size, and other page settings. Generally, narrower margins can provide extra space for wide tables. Furthermore, the correct paper size helps the content fit properly. Make sure these settings are consistent with your landscape orientation.
Preview the PDF output before final conversion
Lastly, you have to use the "Print Preview" to see how the spreadsheet will appear before saving it as a PDF. It is best to check every page for cut-off columns and awkward breaks. You have to pay attention to text size and table alignment as well. If anything looks wrong, adjust the settings before completing the conversion.
Conclusion
To summarize, converting Excel to PDF in landscape mode is simple when you use the right page settings. Excel lets you adjust orientation, print area, and scaling, while Kimi Docs offers a quicker AI-powered option through simple prompts. Choose the method that suits your workflow, preview the layout, and make any final adjustments before saving.