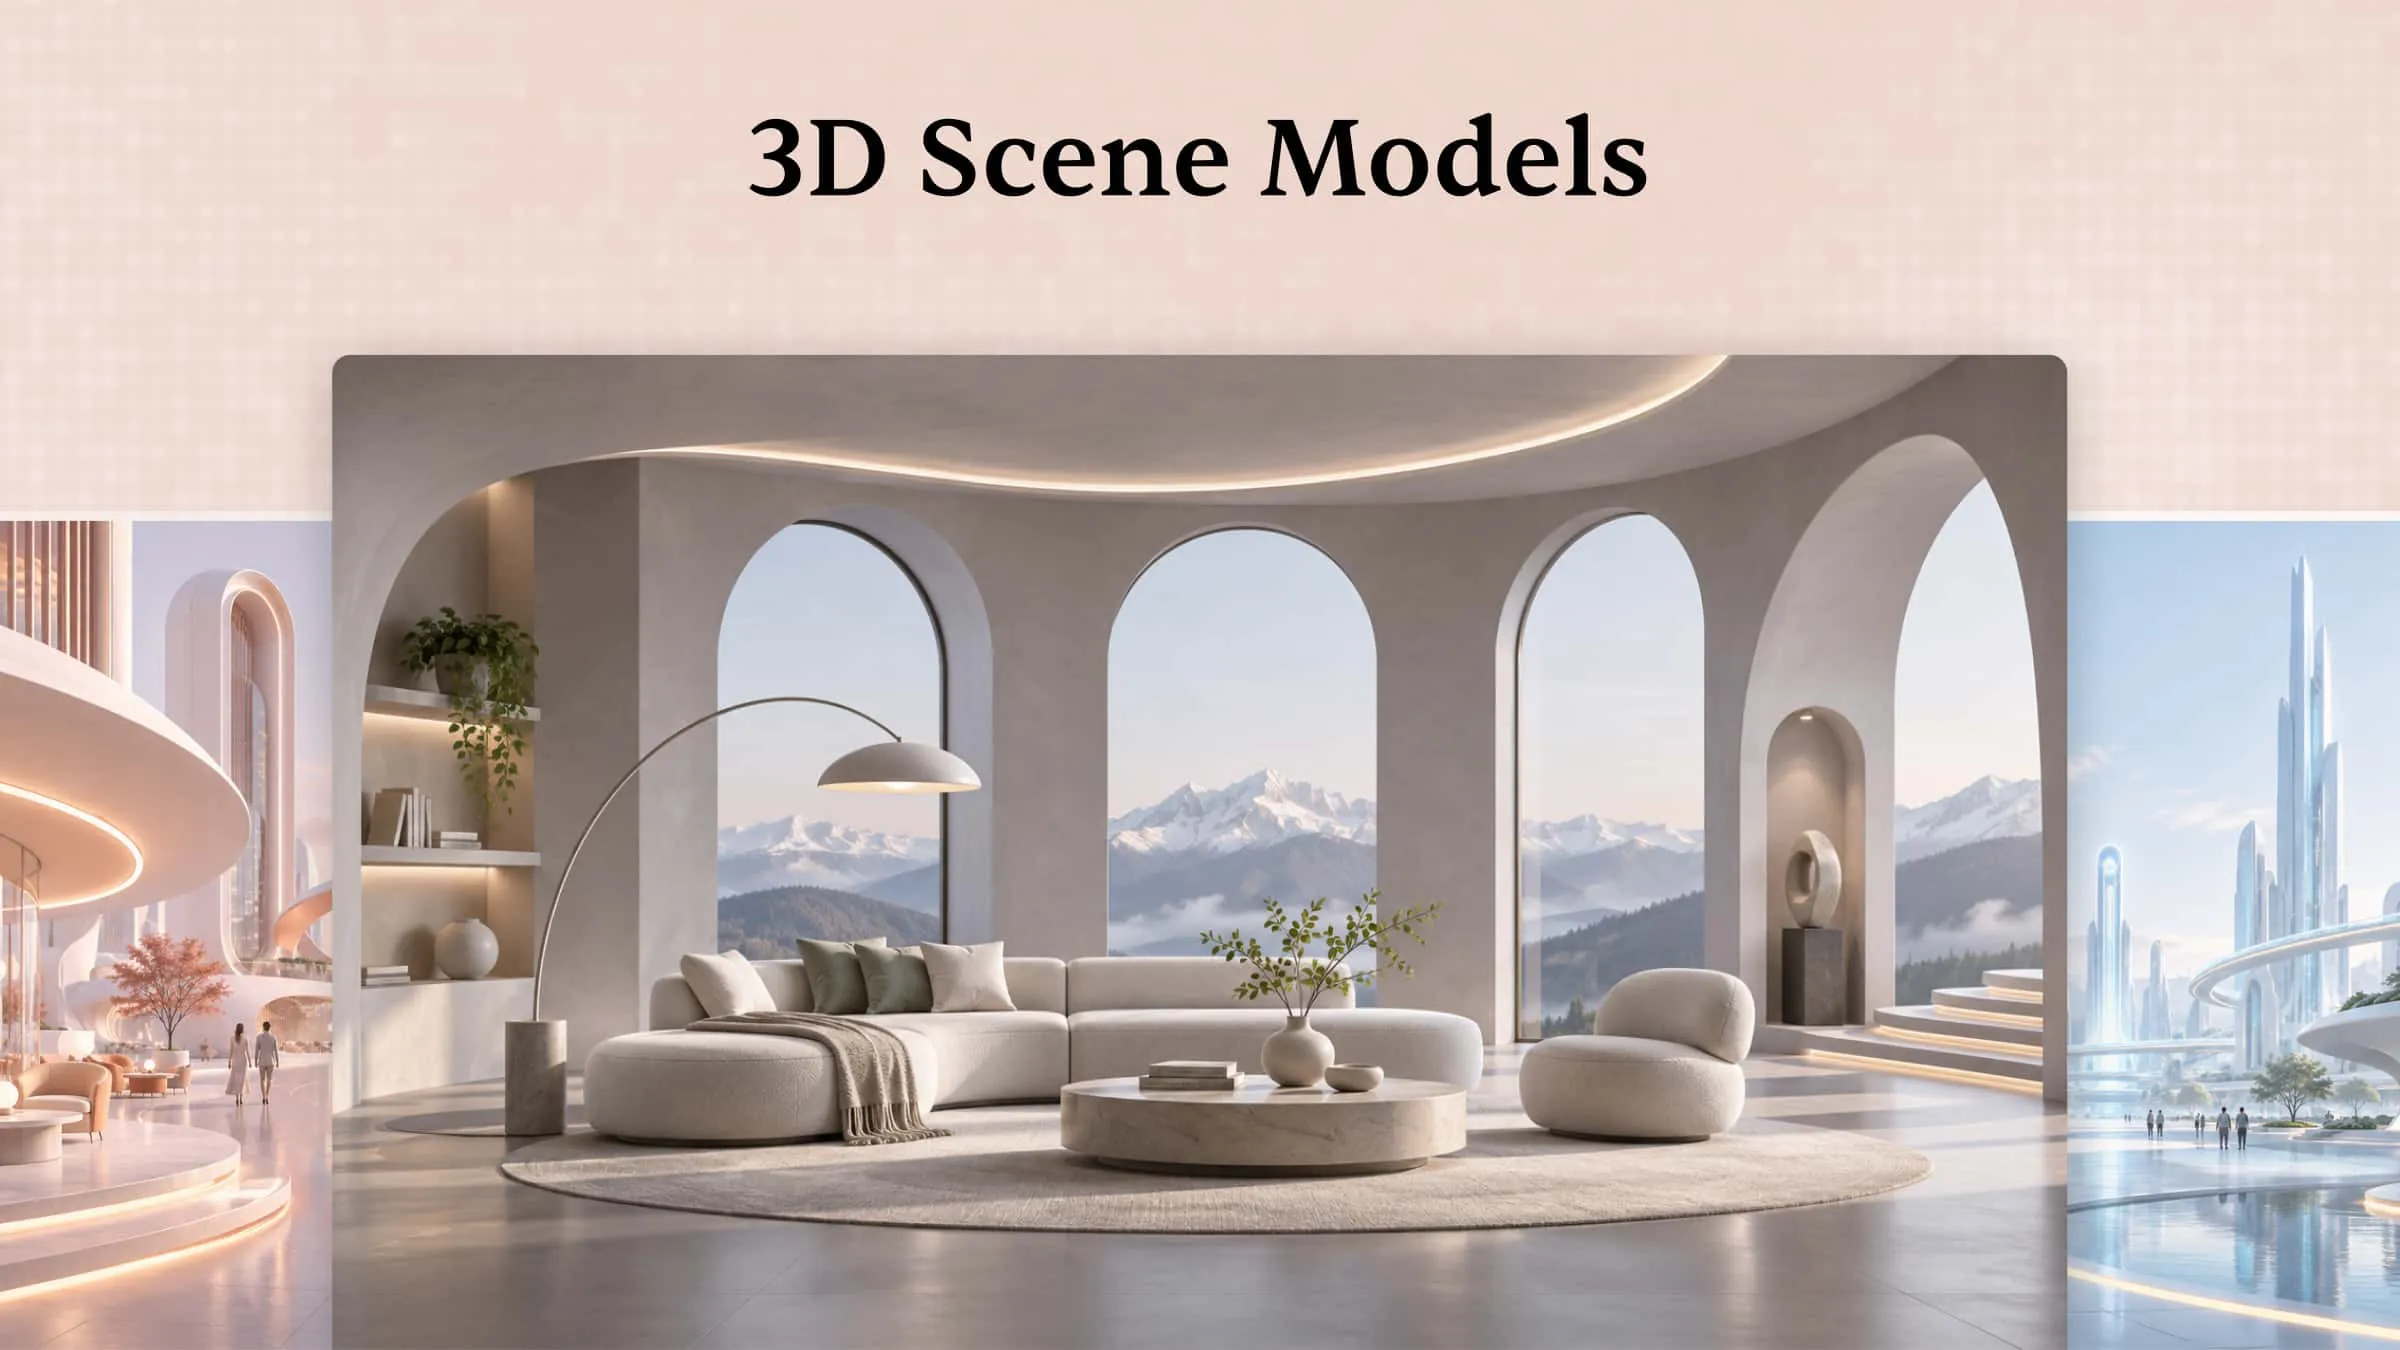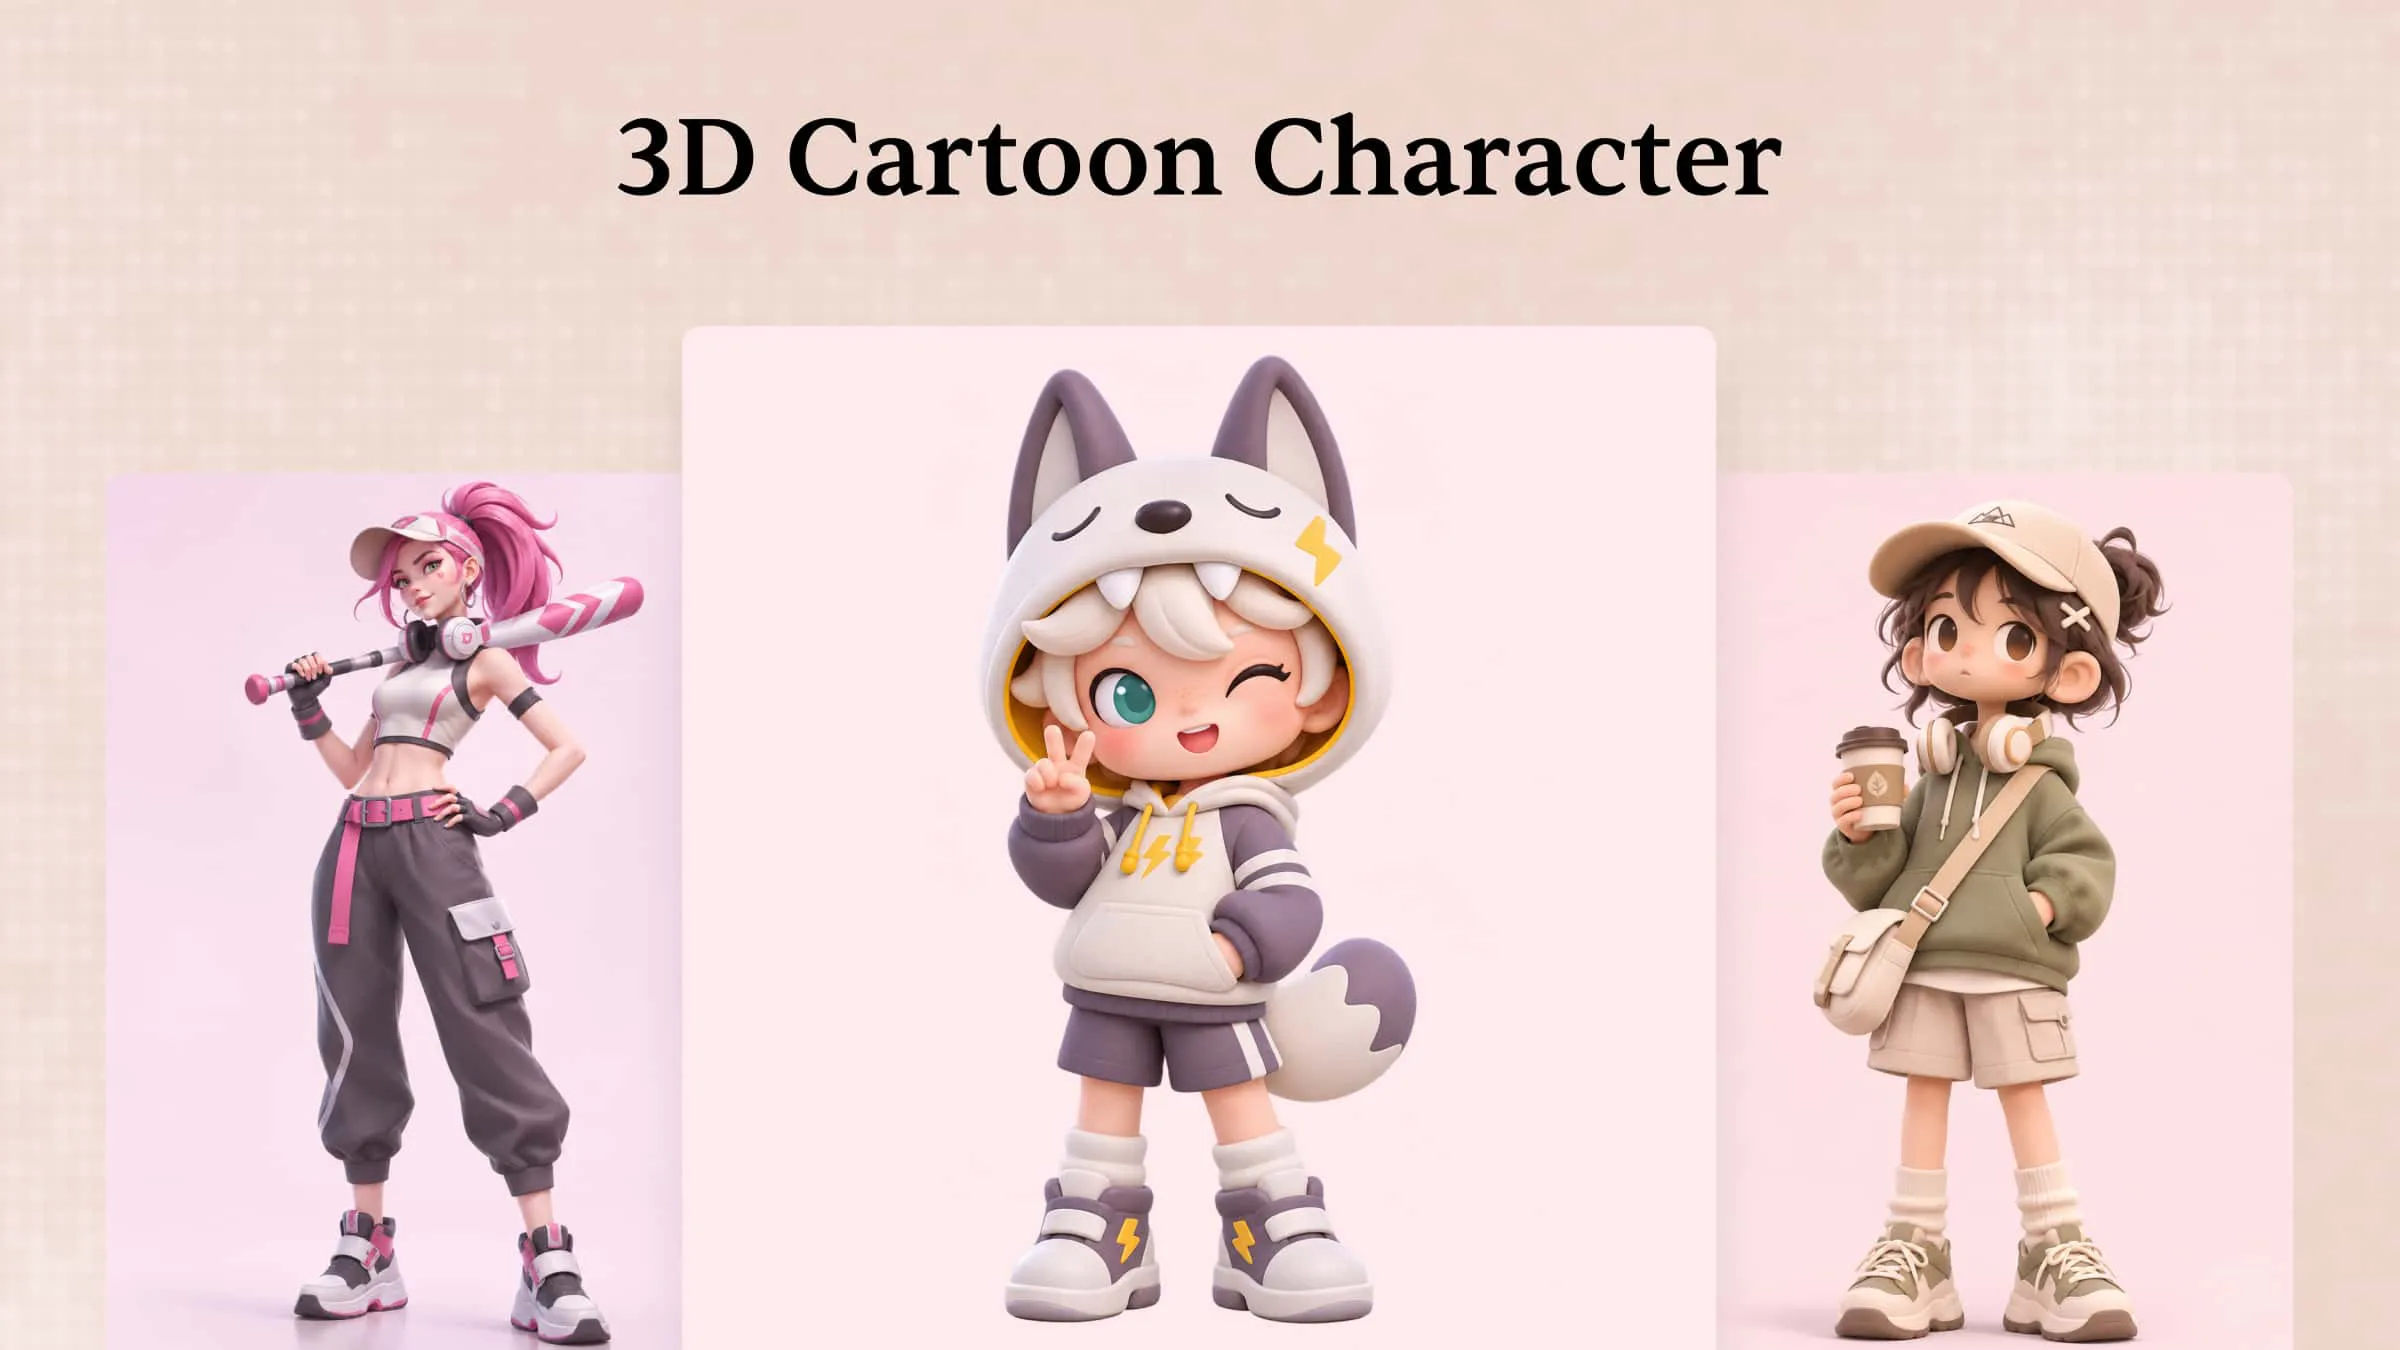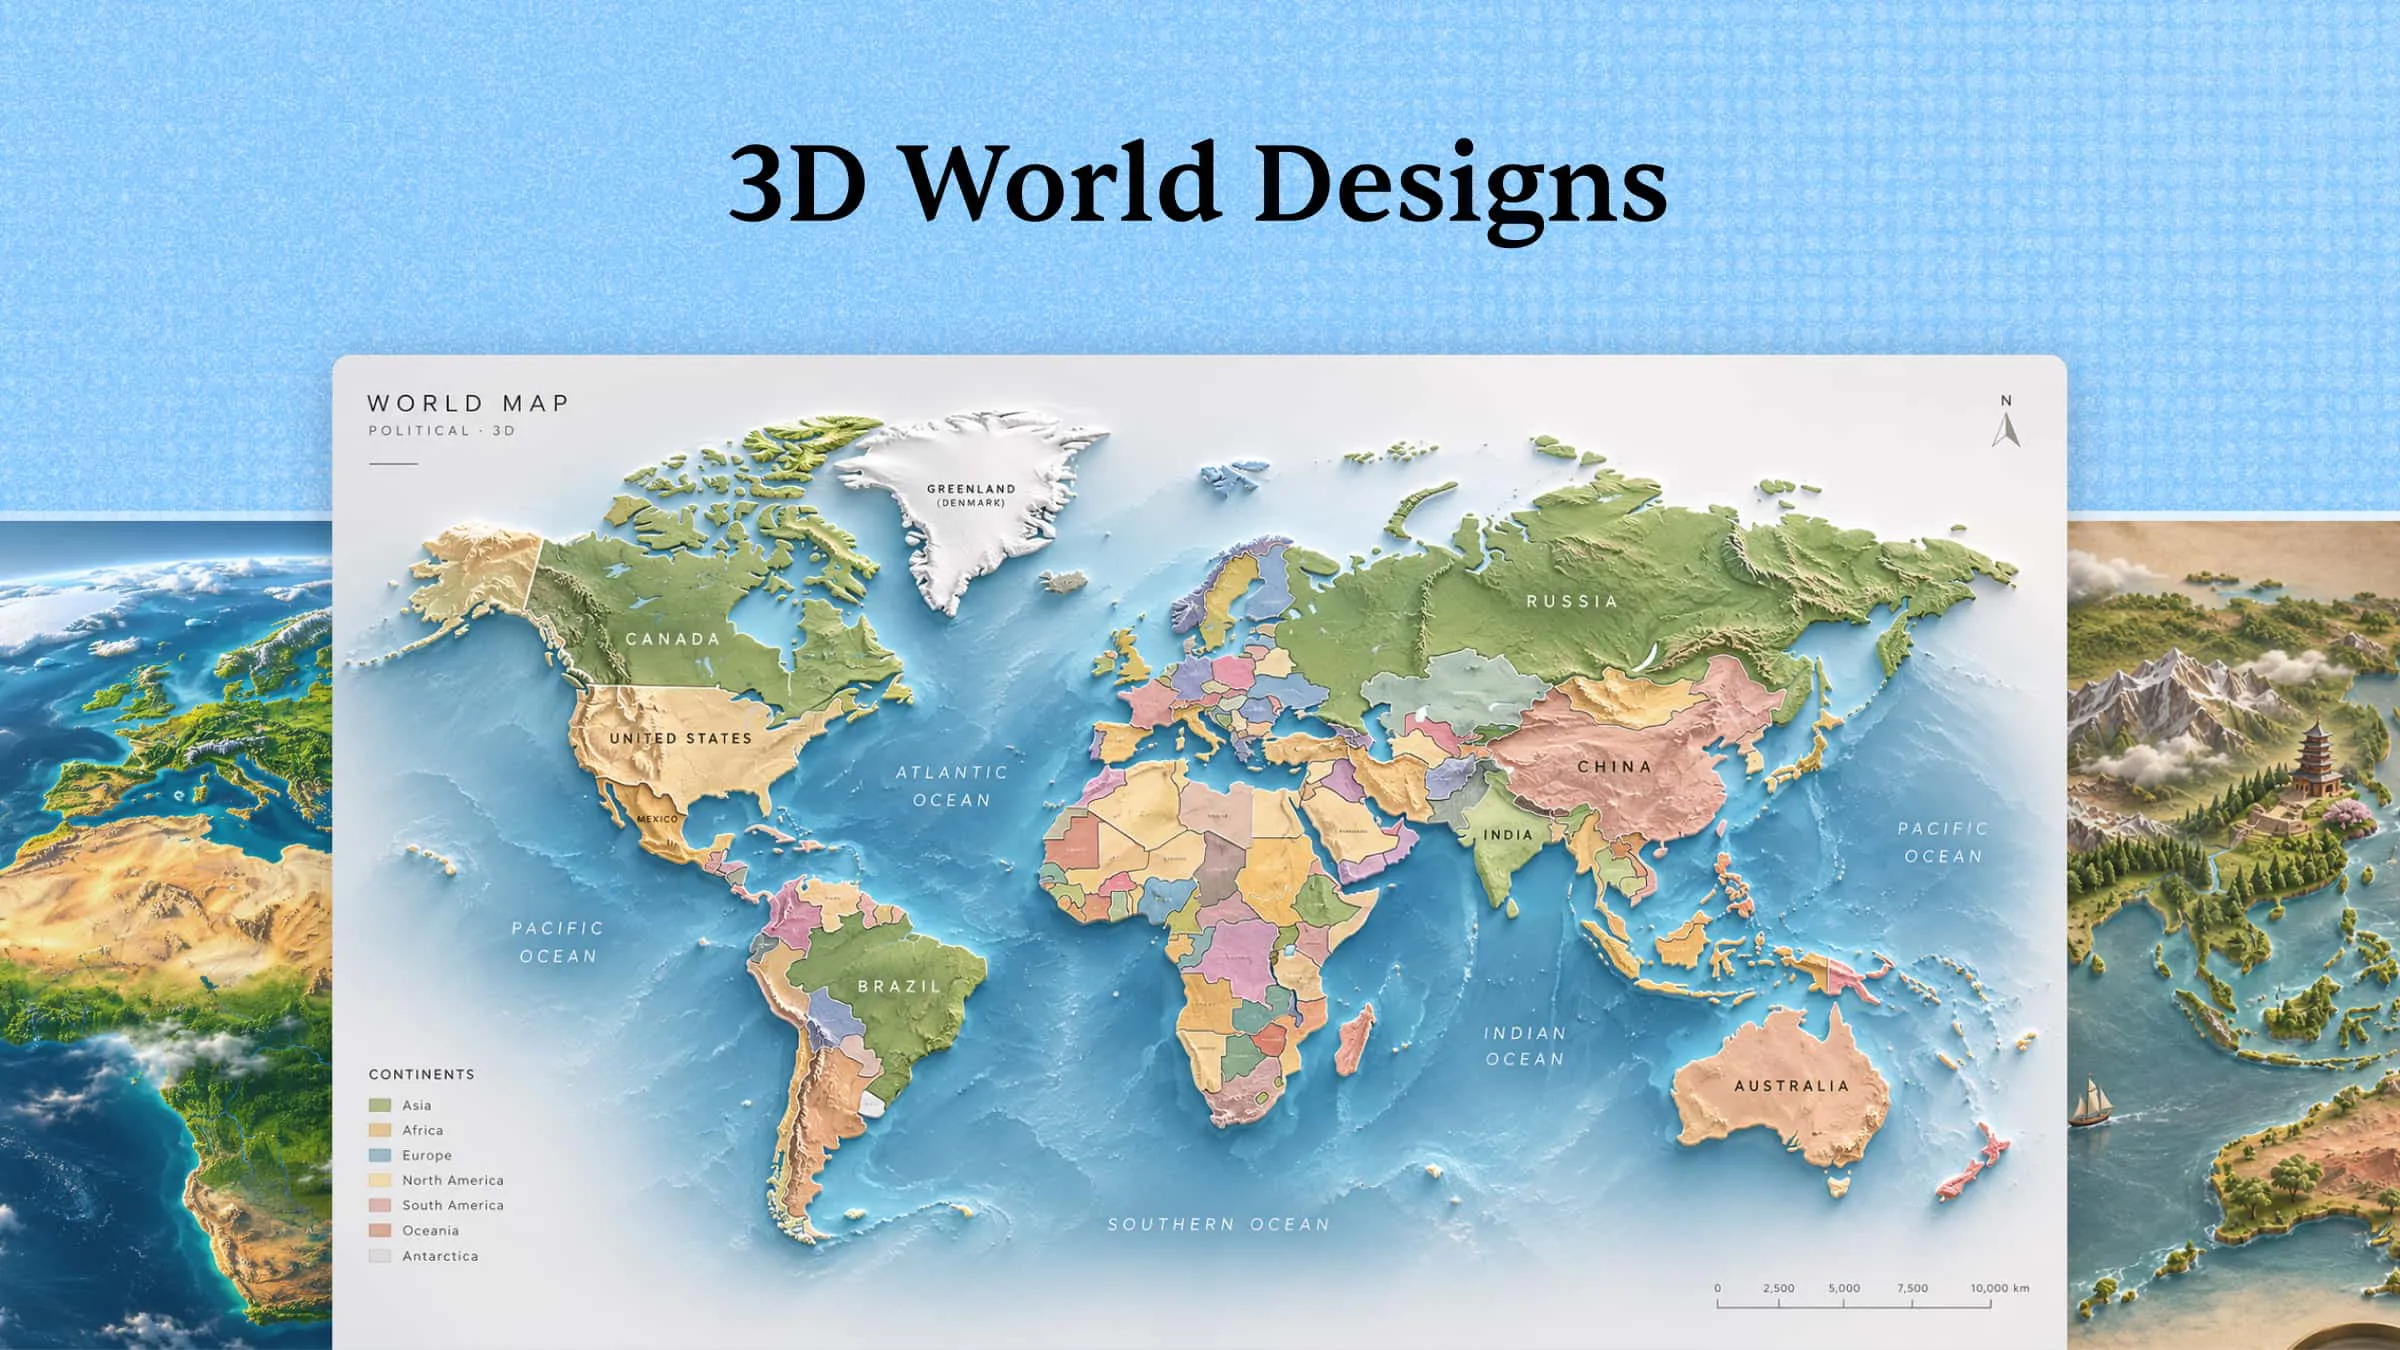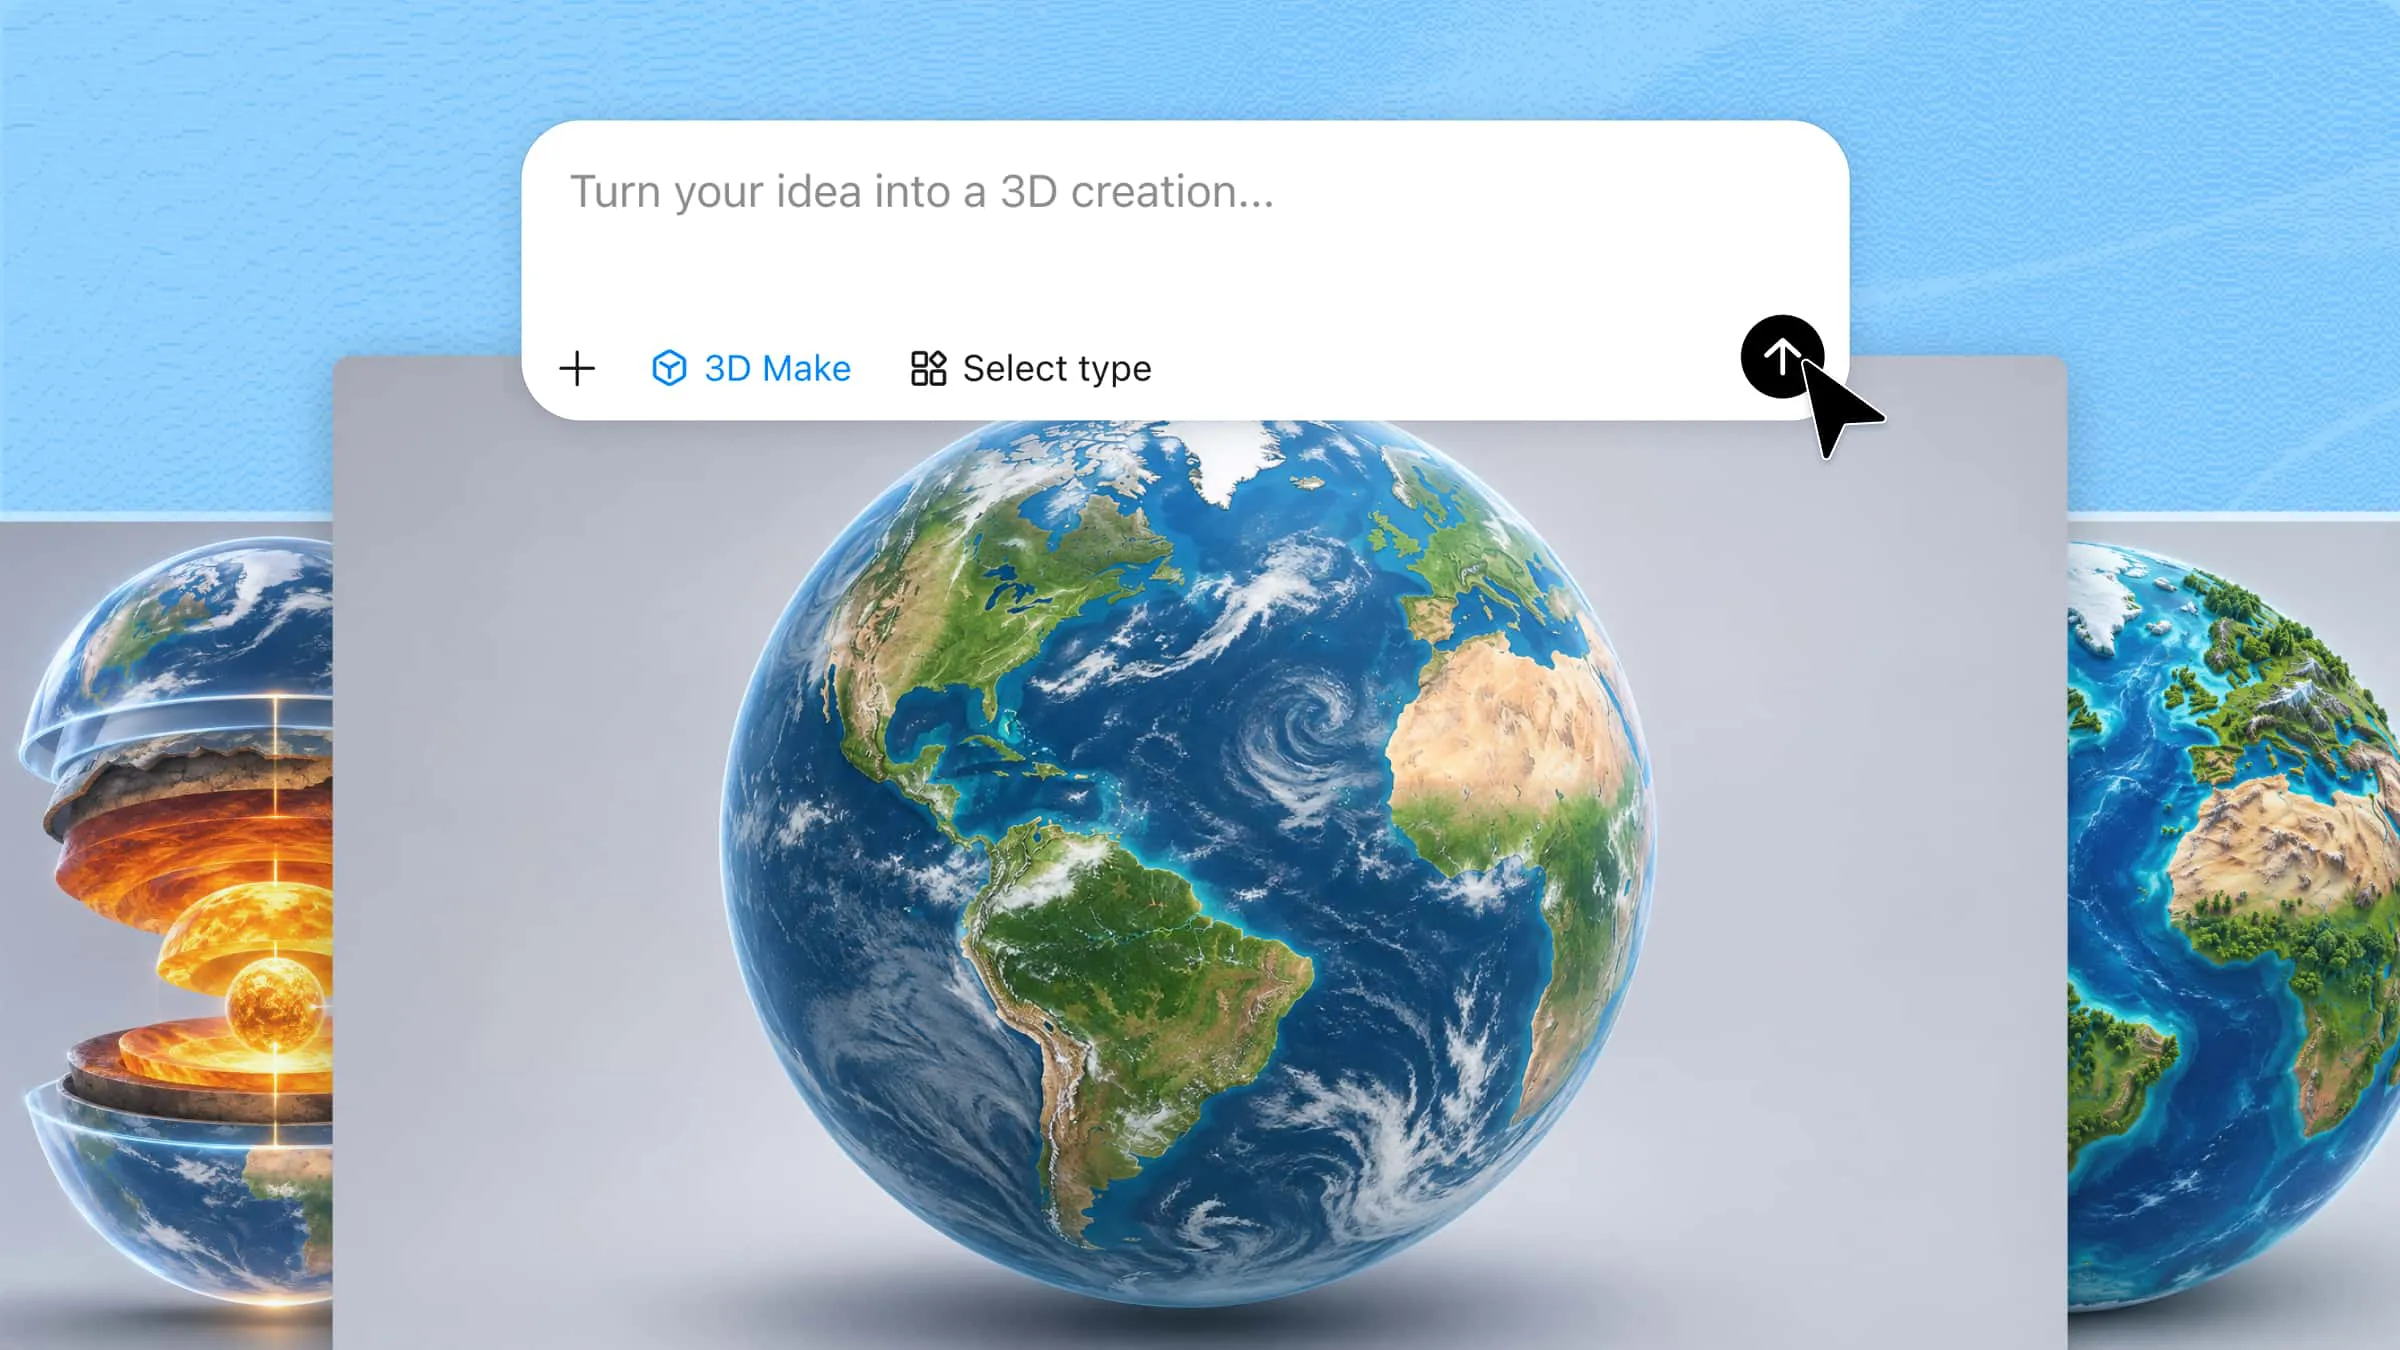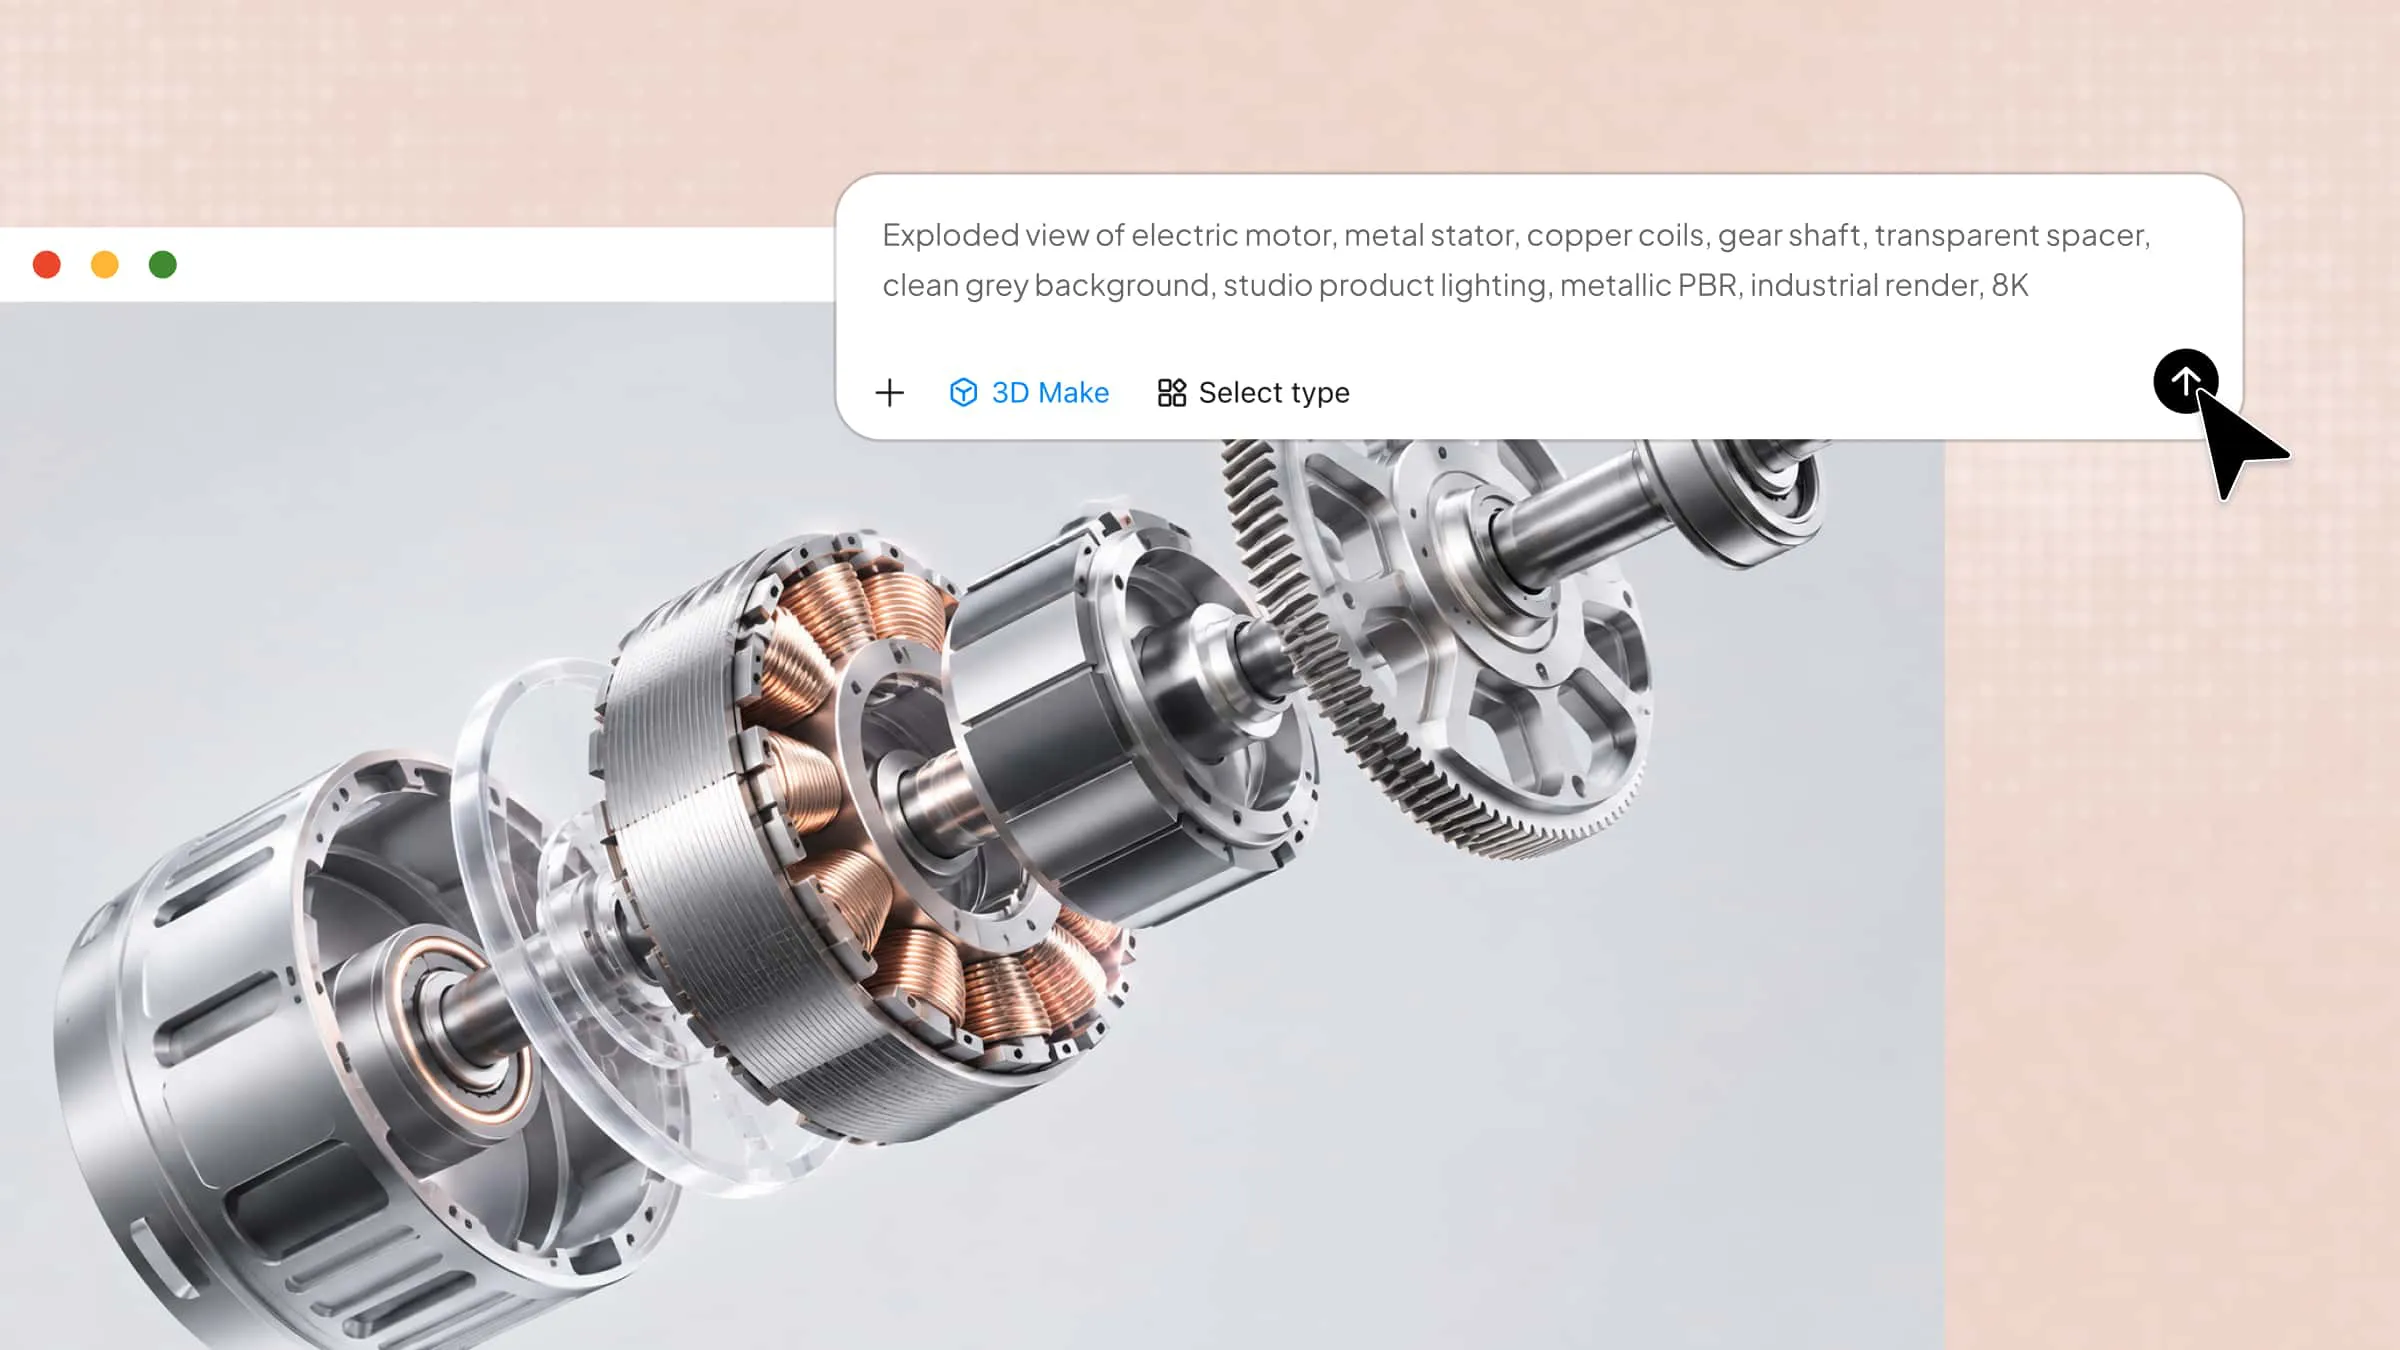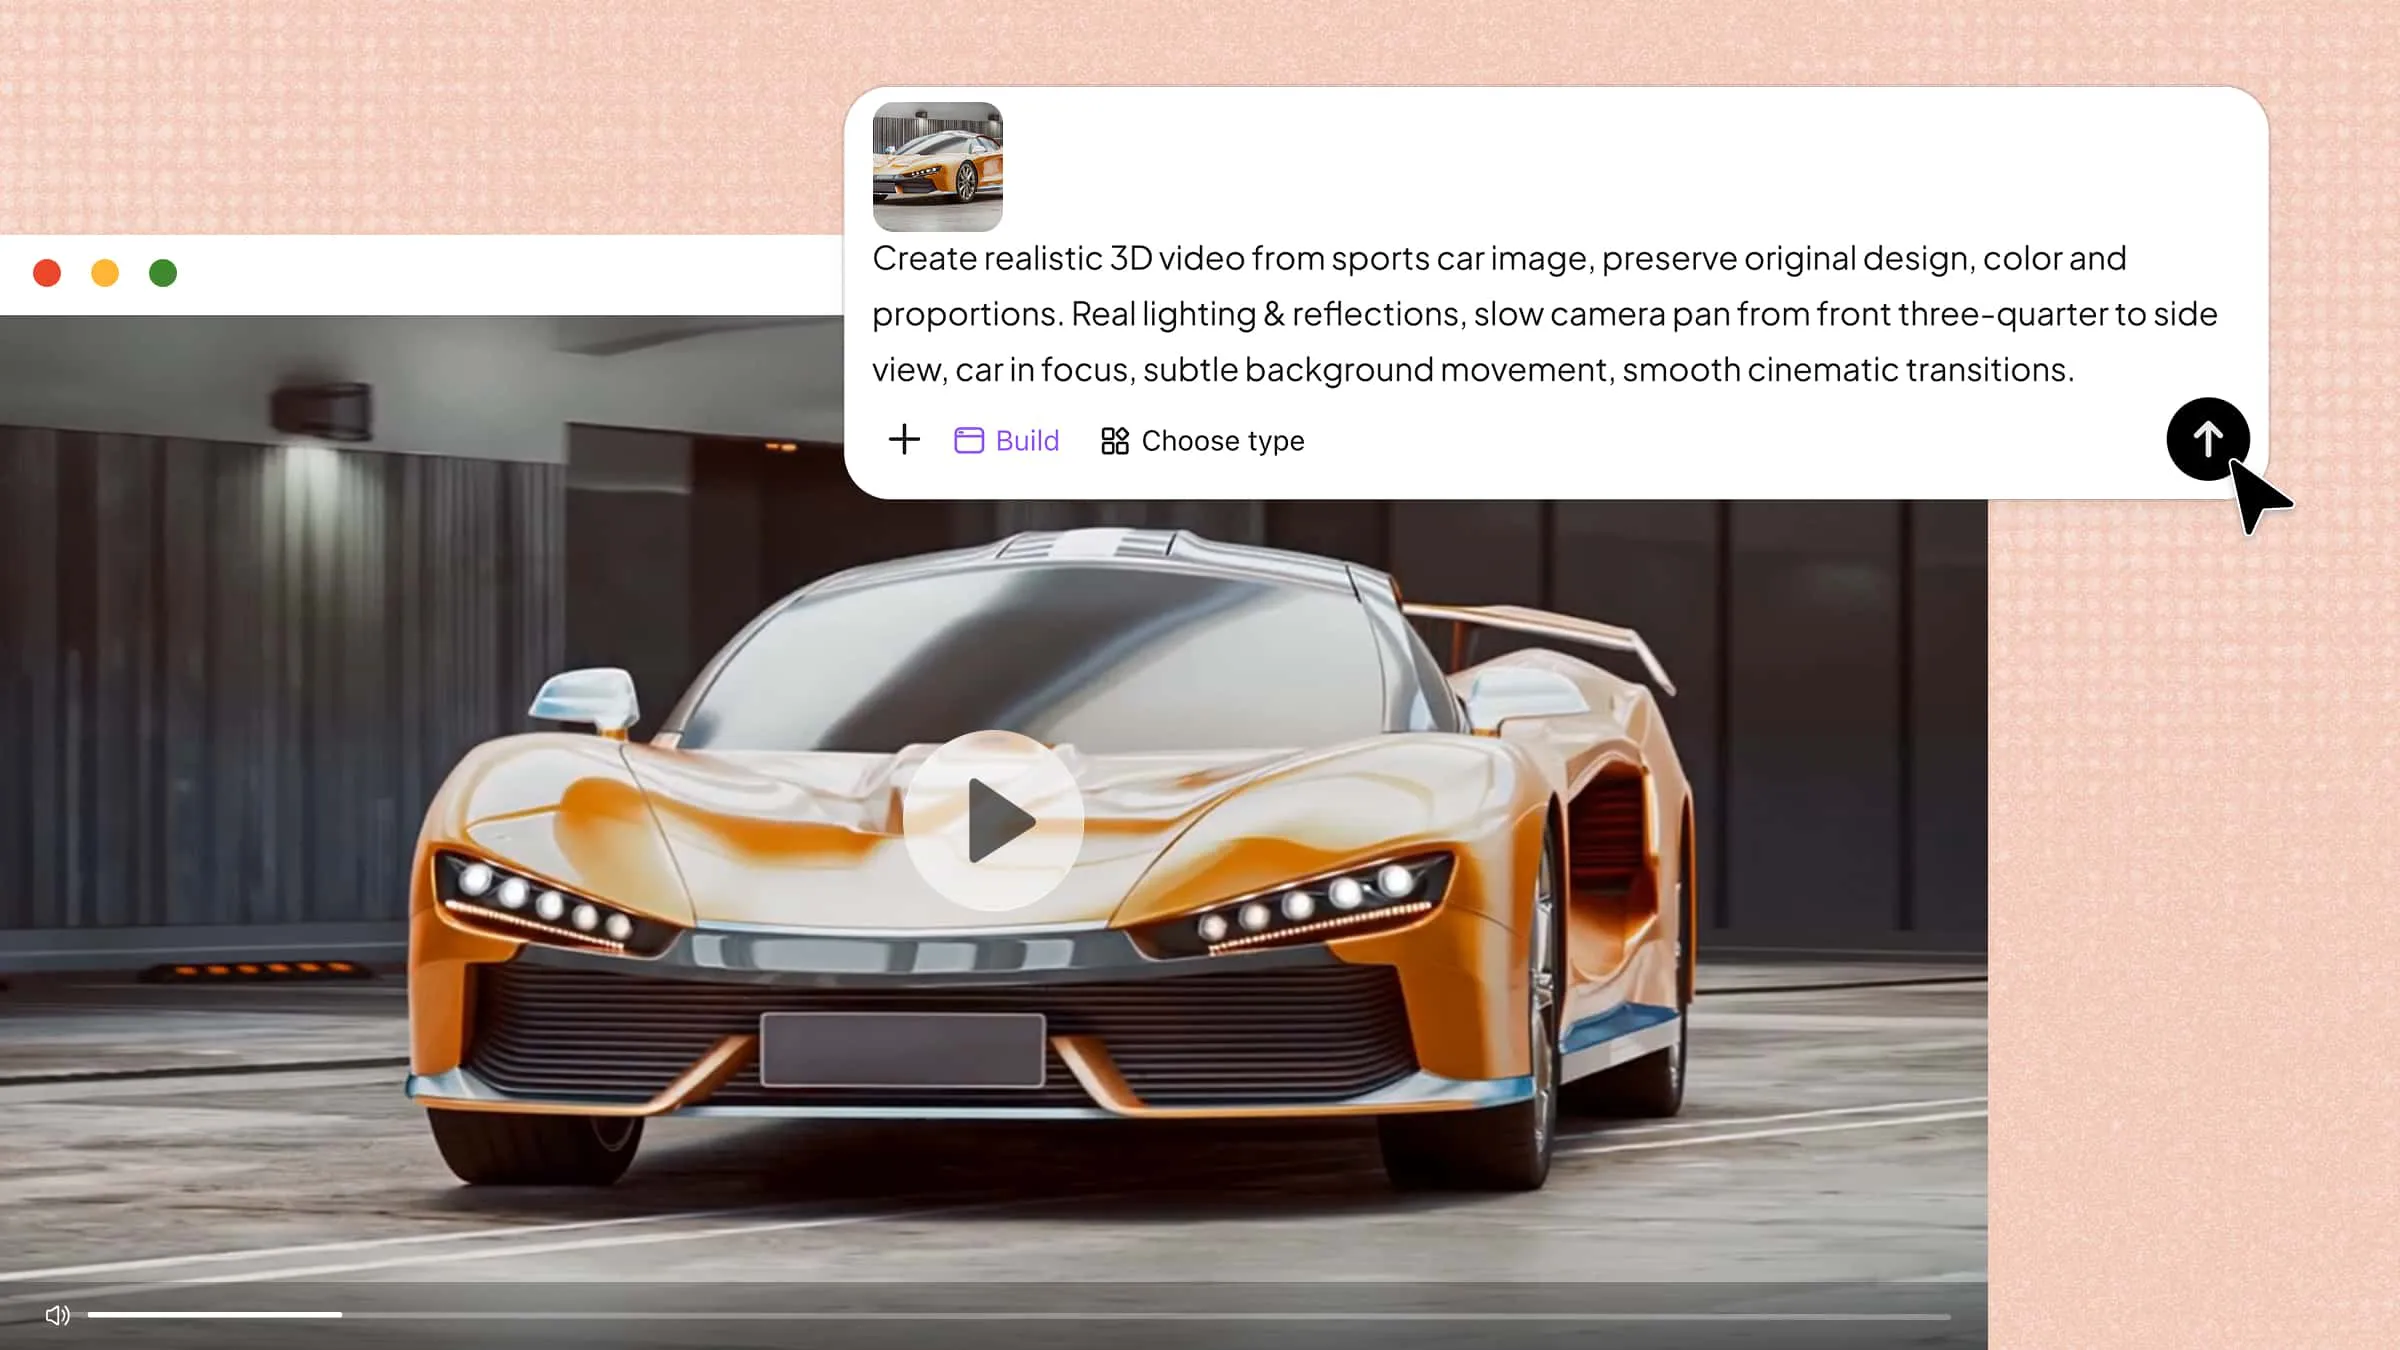
A still image can capture a moment, but adding movement can make it feel more real and bring your idea to life. You can convert image to 3D video online with AI by using a clear image and describing how you want the scene to move. With tools like Kimi 3D Make, you can explore 3D ideas, add motion, and turn simple visuals into more engaging videos. Read on to learn how to create your own 3D videos from images and refine the results.
How to convert images to 3D video with AI
Kimi 3D Make is an AI-powered tool that helps you turn text prompts and images into 3D scenes and visual concepts without complex modeling skills. You can upload visual references, describe the look and movement you want, and let AI help bring your ideas to life. It also allows you to refine your results with simple prompts, making it easier to explore different styles and details. Follow the steps below to get started and create your 3D video concept using AI.
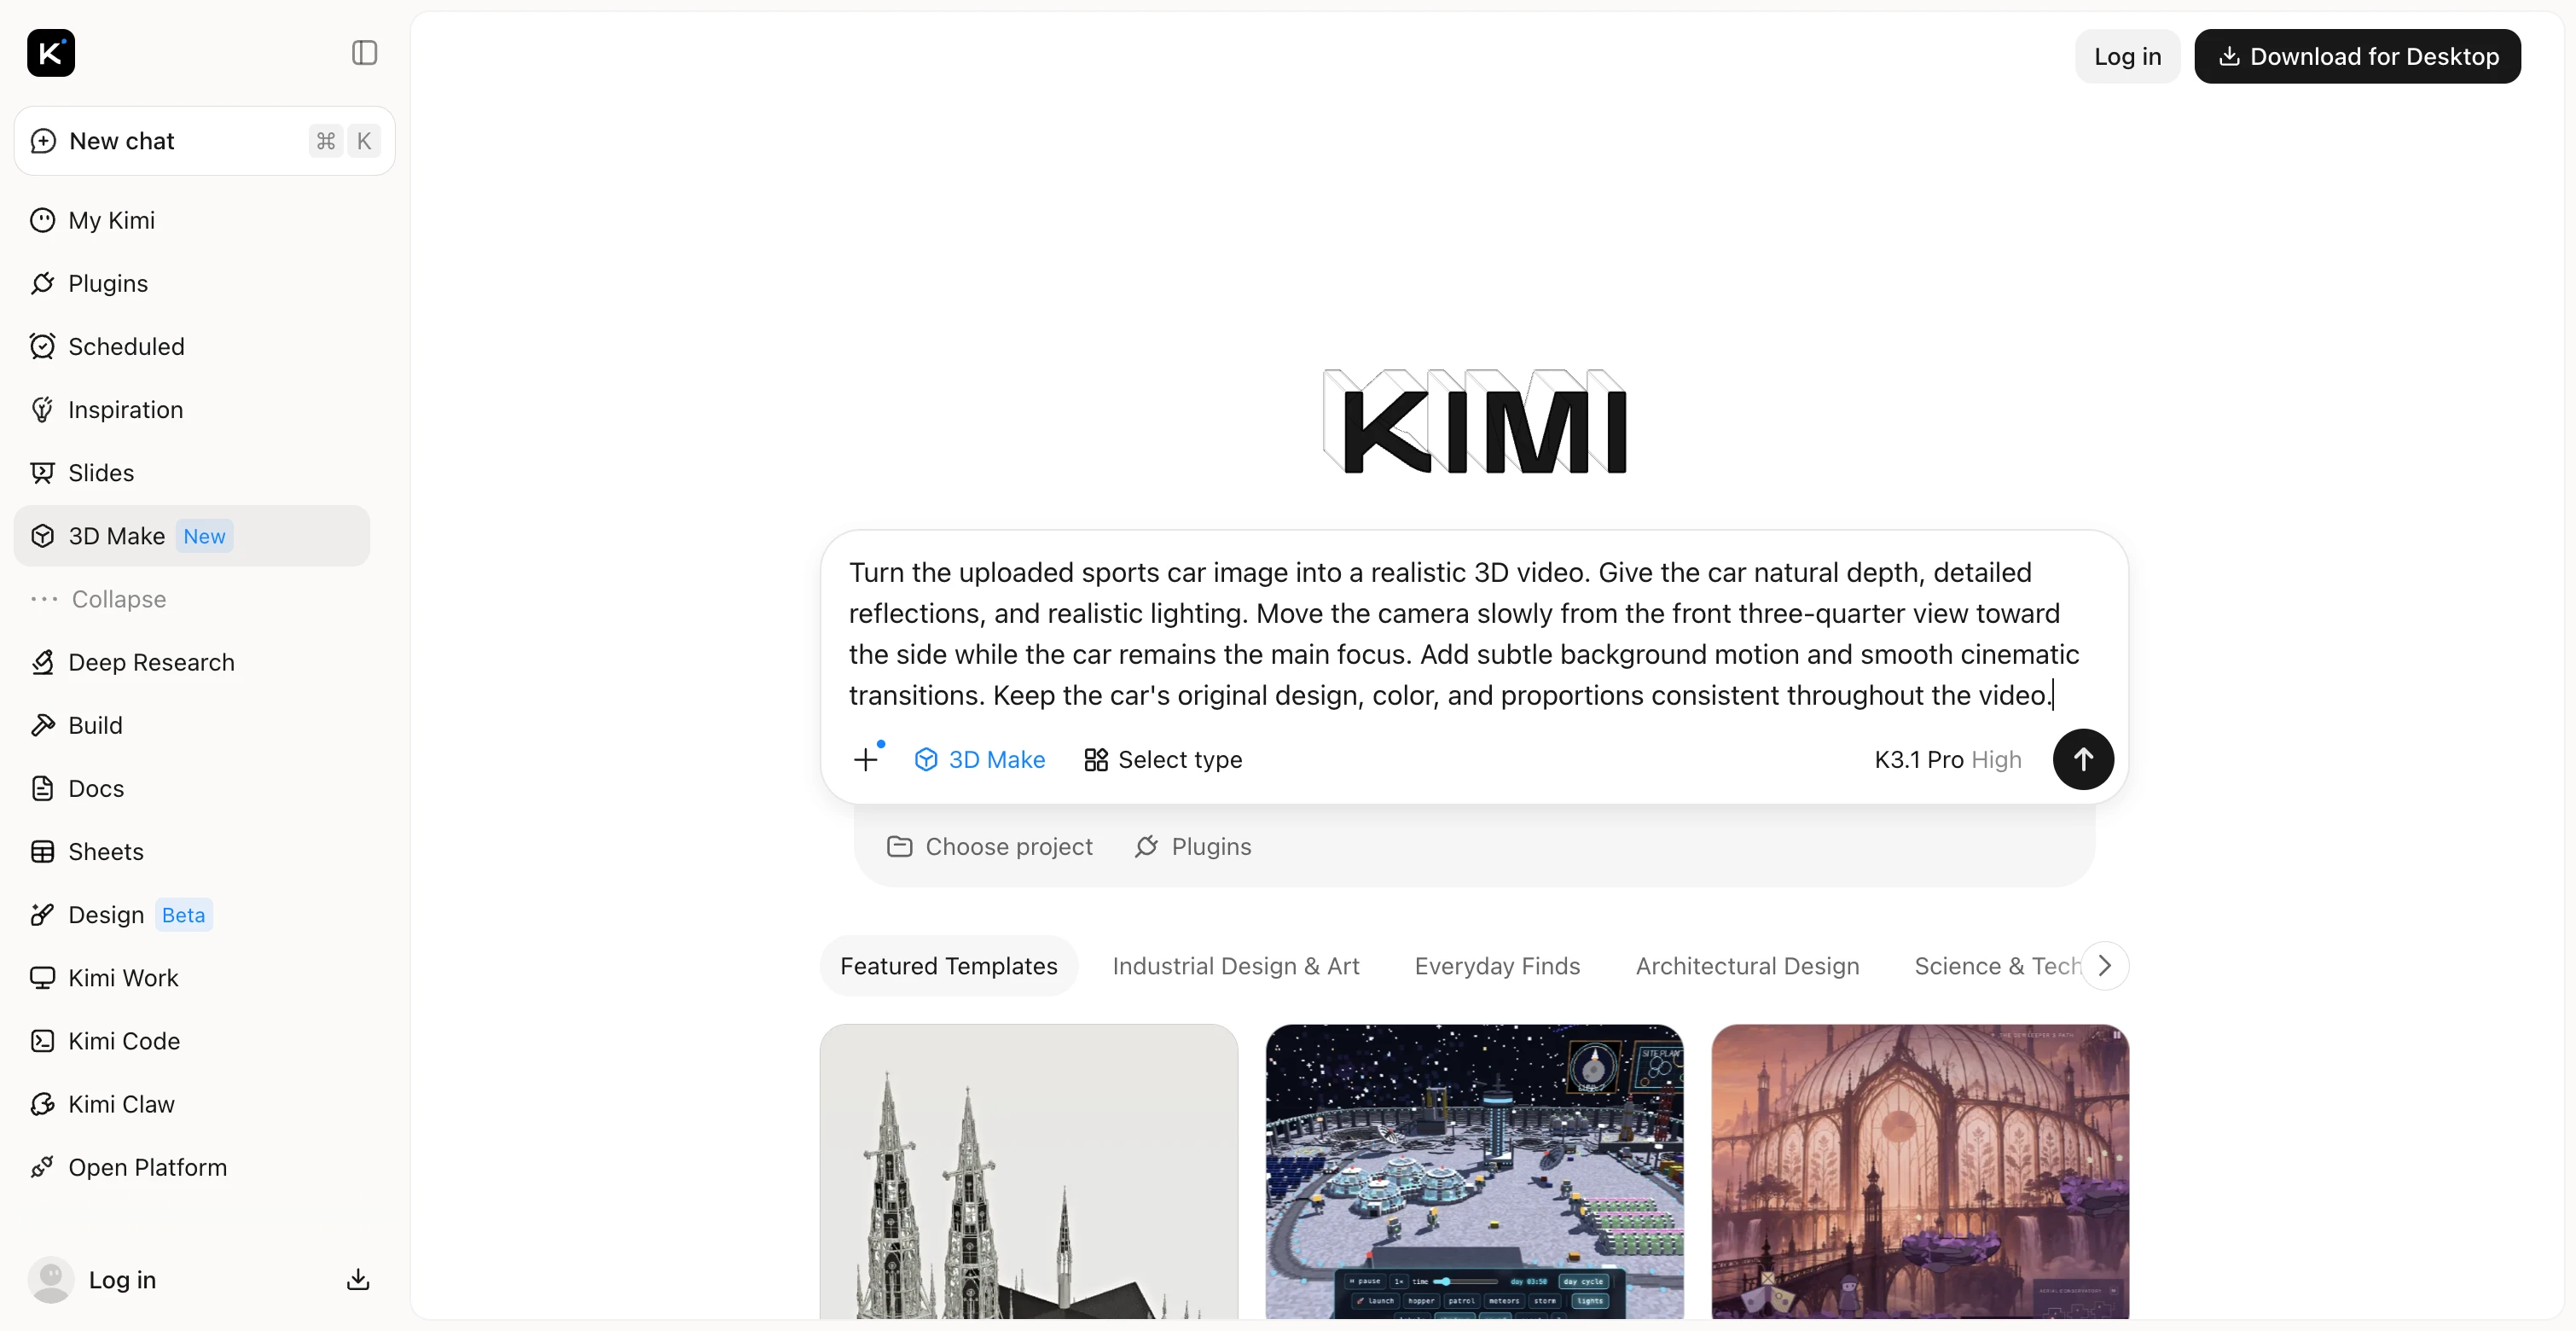
Step 1: Upload your images and enter a prompt
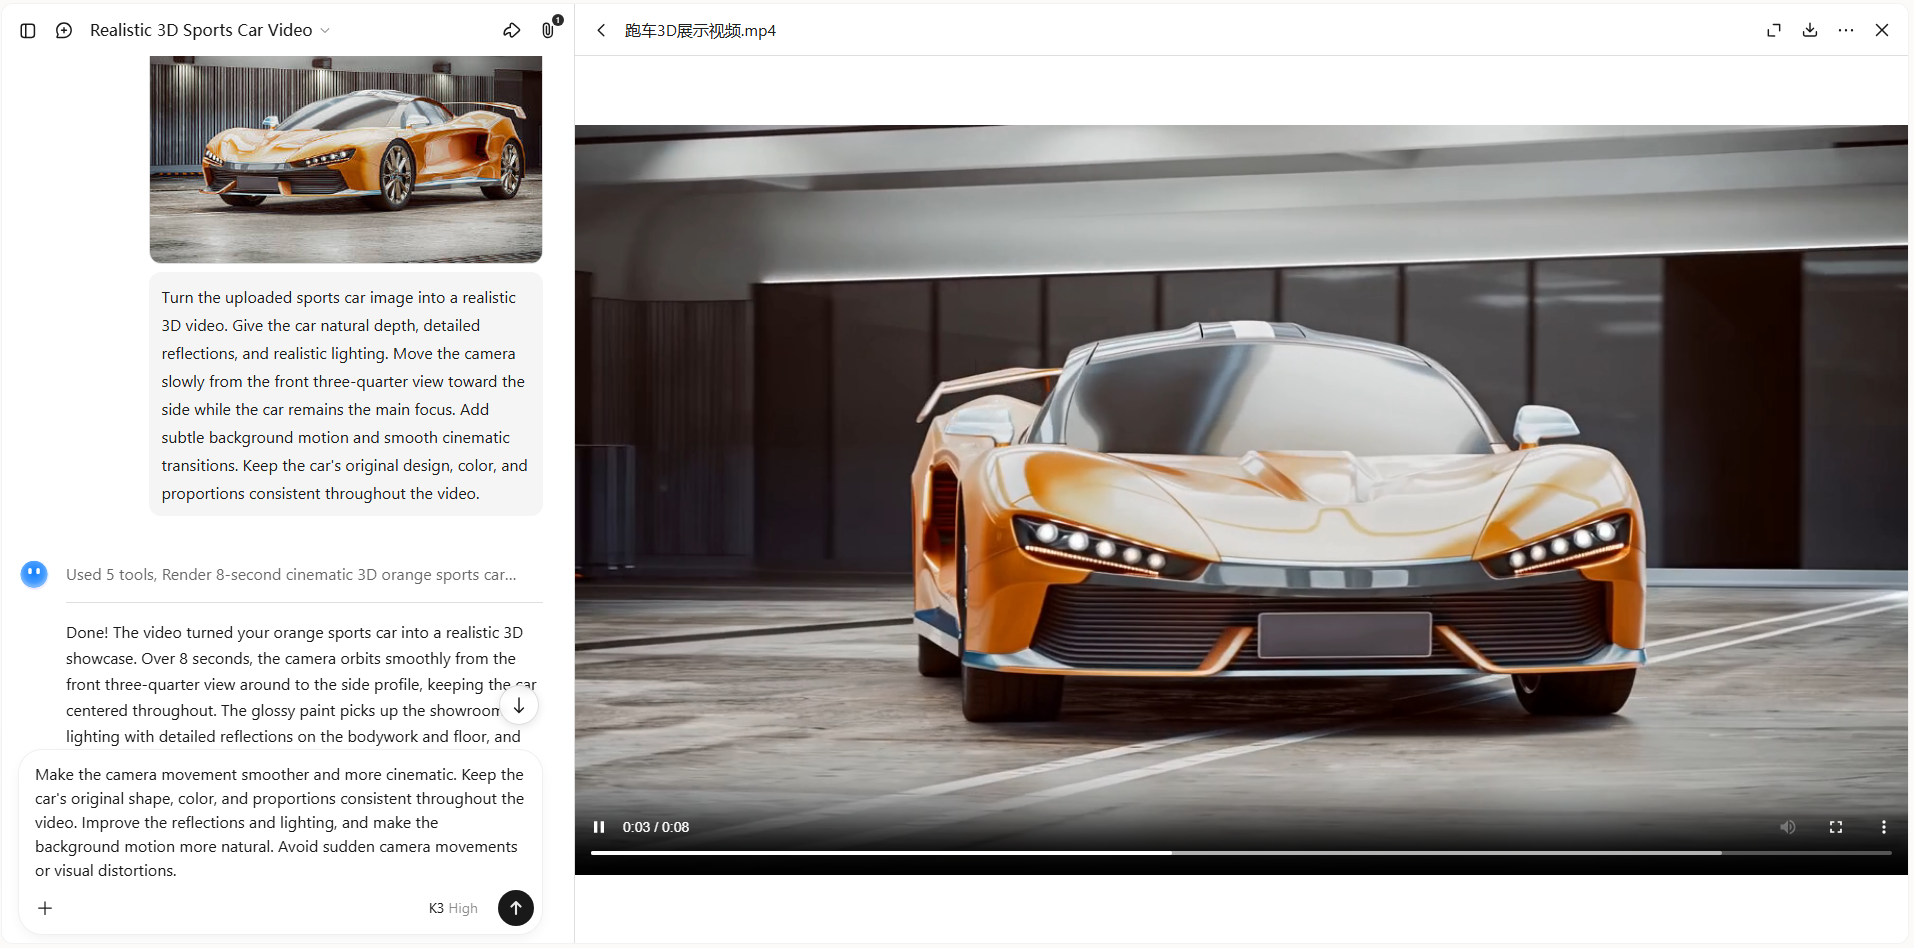
Upload a clear image of a sports car with the full vehicle visible against a simple background. Then write a prompt describing the 3D effect, camera movement, and animation you want to create.
Example prompt:
Step 2: Let Kimi 3D Make convert your image to a 3D video
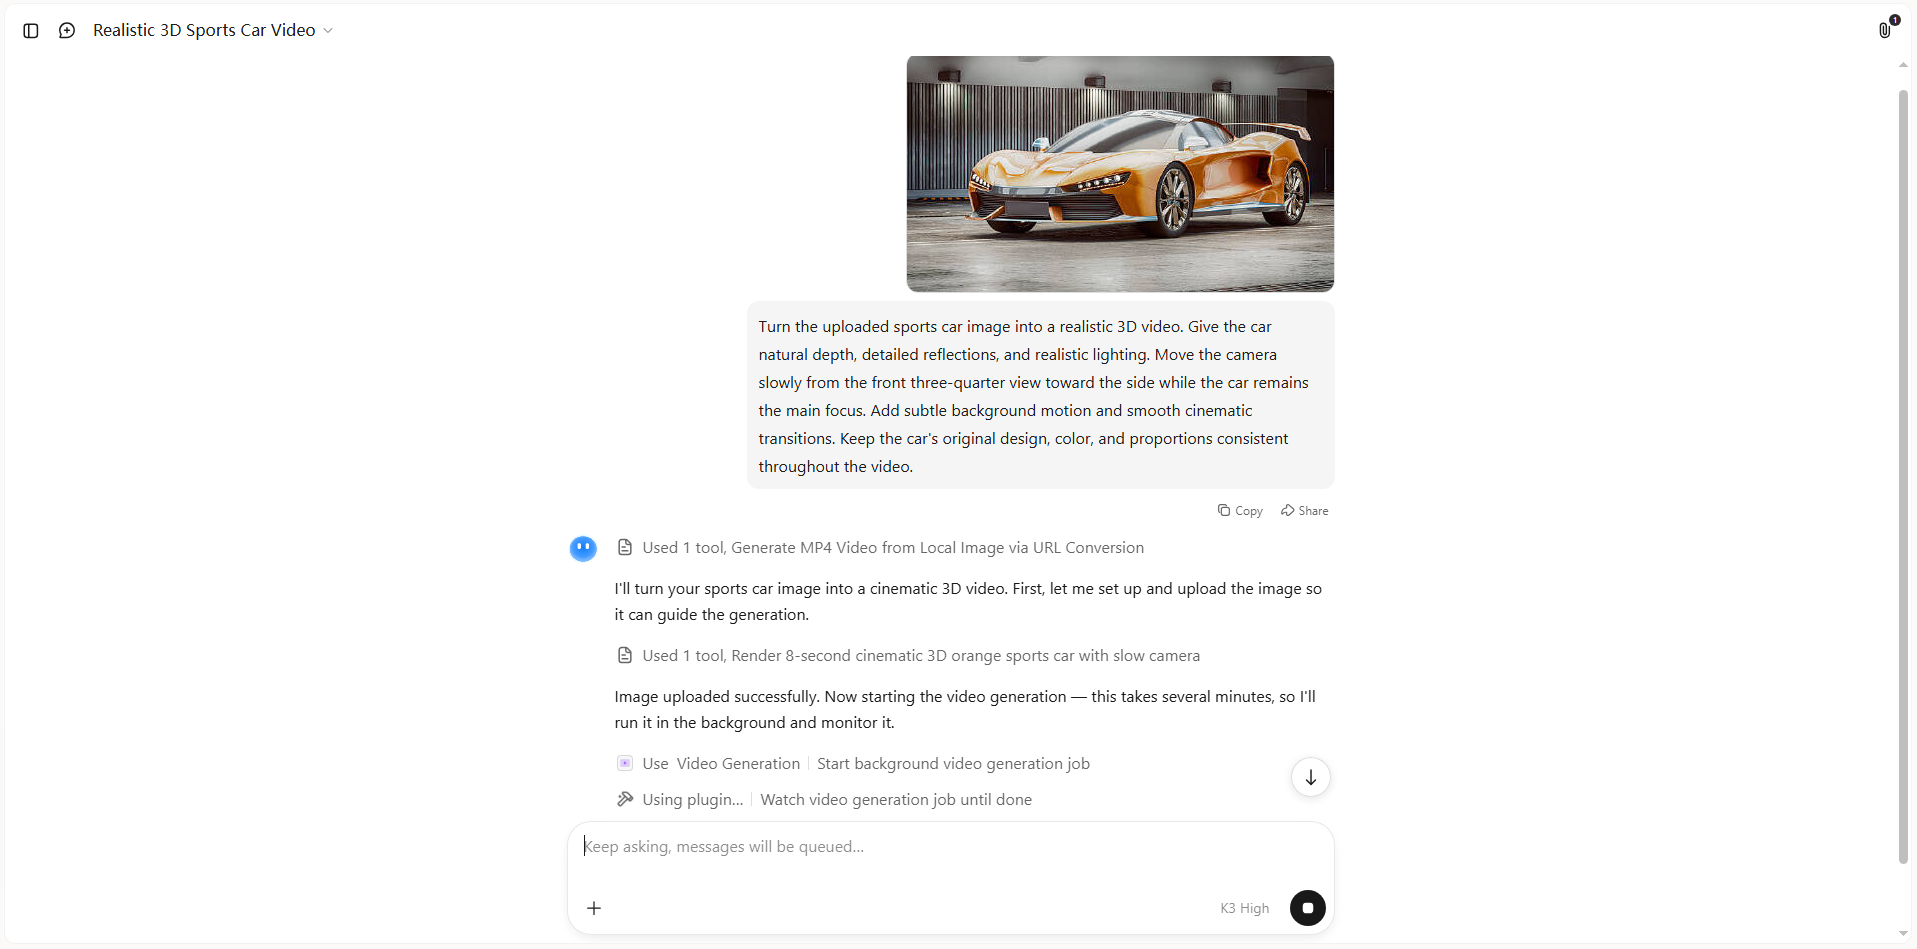
Kimi 3D Make processes your uploaded image and prompt to create a 3D visual with depth, lighting, and camera movement. Wait for the generation to finish, then check how the car looks in motion and whether the result follows your instructions.
Step 3: Edit and refine a 3D video
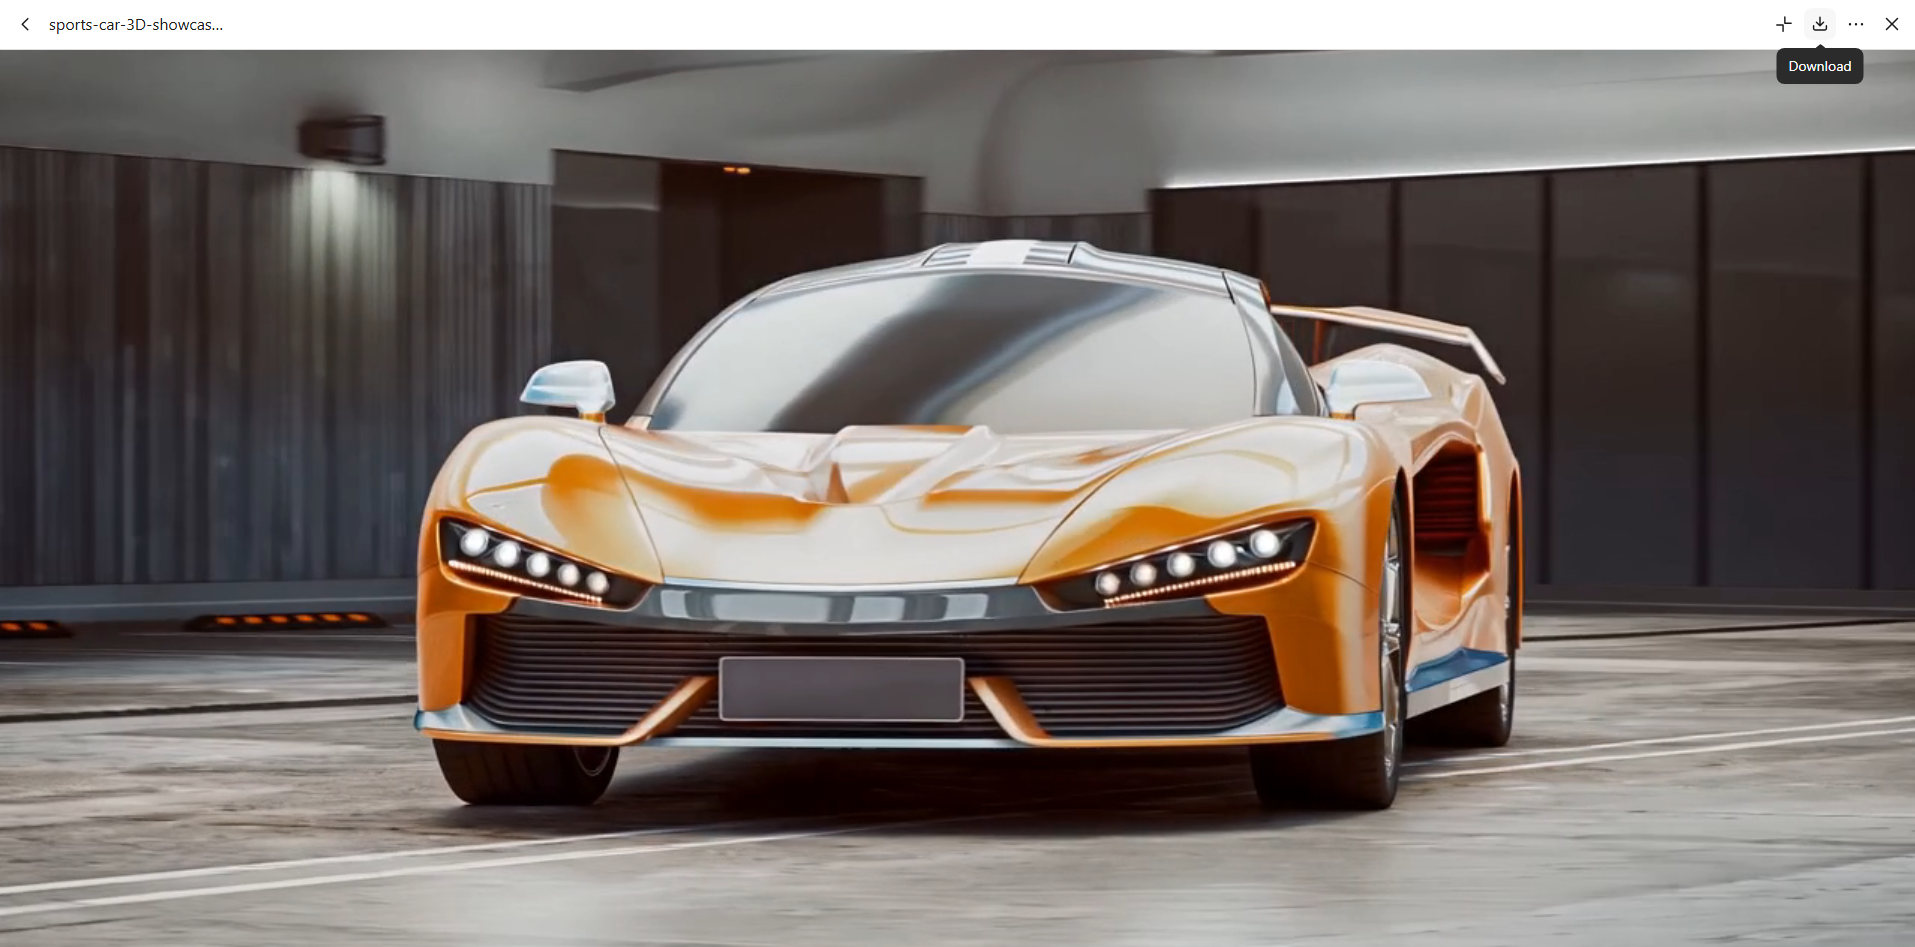
Review the generated video for unnatural movement, changes in the car's design, or inconsistent lighting. If the result needs improvement, enter a follow-up prompt to refine the motion and visual details.
Step 4: Review and export the final video
Watch the video from beginning to end and check the car's shape, lighting, and movement. Once you're happy with the result, use the available export or download option to save the video, if supported by the tool.
Why choose Kimi 3D Make for converting images to a 3D video
Creating a 3D video is easier when you can guide the result instead of relying on random effects. Kimi 3D Make lets you combine images with simple text instructions, giving you more control over how your visuals look and move. Here's why it's a practical choice for creating engaging 3D videos.
Image and prompt guidance for 3D video creation
Kimi 3D Make supports reference images and natural-language prompts to guide visual creation. Images establish the subject, shapes, colors, and visual style, while text instructions specify movement, camera angles, lighting, and scene details.
Cohesive aesthetics and compelling visual composition
Kimi 3D Make helps bring 3D video concepts together with coordinated color palettes, detailed textures, balanced compositions, and a clear sense of depth. From stylized animations to realistic product showcases, create visually engaging results suited to promotional videos, social media content, and other creative projects.
Flexible design editing and refinement
Follow-up prompts and conversational instructions let users refine visual styles, object details, and scene composition. Comments on specific elements and manual adjustments, where supported, provide additional control over individual design details without requiring a complete restart.
Version history and export options
Previous design versions remain available for reviewing alternatives and rolling back changes when needed. Supported export formats make it possible to save finished work for use in other creative projects.
Engaging ideas for 3D videos from images
A single image can become much more engaging when you add depth, movement, and a fresh perspective. Whether you want to share personal memories or create content for social media, AI makes it easier to explore different 3D video styles. Here are some creative ideas you can try with your own images.
Animated family photos
Turn old family photos into short videos with gentle movement and a sense of depth. You can add subtle camera motion, natural expressions, or a soft zoom to make the moment feel more alive. These clips are a lovely way to revisit memories or create something special to share with family.
Rotating product showcases
Use a product image to create a video that highlights its shape, design, and details from different angles. Smooth camera movement and realistic lighting can make items such as shoes, watches, or electronics look more appealing. This style works well for online stores, product promotions, and social media ads.
Parallax portraits
Create a parallax effect by making the person in a portrait appear separate from the background. As the camera moves, the foreground and background shift at different speeds, giving the image a sense of depth. This effect is useful for profile videos, creative portraits, and eye-catching social media posts.
3D travel clips
Bring travel photos to life with slow camera movement, layered scenery, and a sense of distance between objects. A picture of mountains, a beach, or a city street can feel more immersive when the camera gently moves through the scene. These clips are great for travel reels, digital albums, and destination promotions.
Virtual property walkthroughs
Transform property photos into engaging 3D videos with smooth camera movement and added depth. Highlight room layouts, furniture, and interior details to give viewers a better sense of the space. These clips are useful for real estate listings and rental promotions.
3D logo intros
Give a flat logo more visual impact by adding depth, lighting, and smooth motion. You could make the logo emerge from the background, rotate slightly, or appear with a subtle shadow effect. These short animations are useful for video openings, brand presentations, and business social media content.
Tips for better image-to-3D conversion
Even a simple photo can produce an impressive 3D video when you prepare it well. Choosing the right image and checking the generated motion can help you get a cleaner result with fewer visual errors. Keep these tips in mind when you convert an image to 3D video using AI.
Use high-resolution images
Start with a sharp, high-resolution image so the AI can better identify small details, textures, and shapes. Blurry or pixelated photos may lead to unclear edges and unrealistic surfaces in the final video. A clear image gives the tool more visual information to work with.
Choose subjects with clear edges
Start with a sharp, high-resolution image so the AI can better identify small details, textures, and shapes. Blurry or pixelated photos may lead to unclear edges and unrealistic surfaces in the final video. A clear image gives the tool more visual information to work with.
Keep backgrounds simple
A simple background helps keep attention on the main subject and reduces visual distractions. Too many objects, patterns, or overlapping shapes can make it harder for AI to separate the subject from the scene. If possible, choose a photo with an uncluttered background for a cleaner 3D effect.
Pick evenly lit photos
Use an image with balanced lighting so the subject's details remain visible. Very dark areas or harsh shadows can hide important shapes and affect how the AI interprets depth. Soft, even lighting also helps create more natural-looking surfaces and reflections in the generated video.
Test short clips first
Start with a short clip to test the camera movement, depth, and overall quality. This helps you spot issues without spending too much time on each attempt. Once you're happy with the result, apply the same prompt and style to longer projects.
Check for distortions before export
Watch the entire video before saving it, paying attention to changes in the subject's shape, flickering details, and unnatural movement. Look closely at edges, textures, and areas that move as the camera changes angle. If you notice problems, refine your prompt and generate another version before exporting the final video.
Conclusion
Turning still images into 3D videos opens up new ways to share ideas, tell stories, and make visuals more engaging. The key is to start with a clear goal and experiment until the result feels right. When you want to convert an image to 3D video online, the right AI tool can make the process easier and more creative. Try Kimi 3D Make to explore your ideas and see what you can create from a simple image.