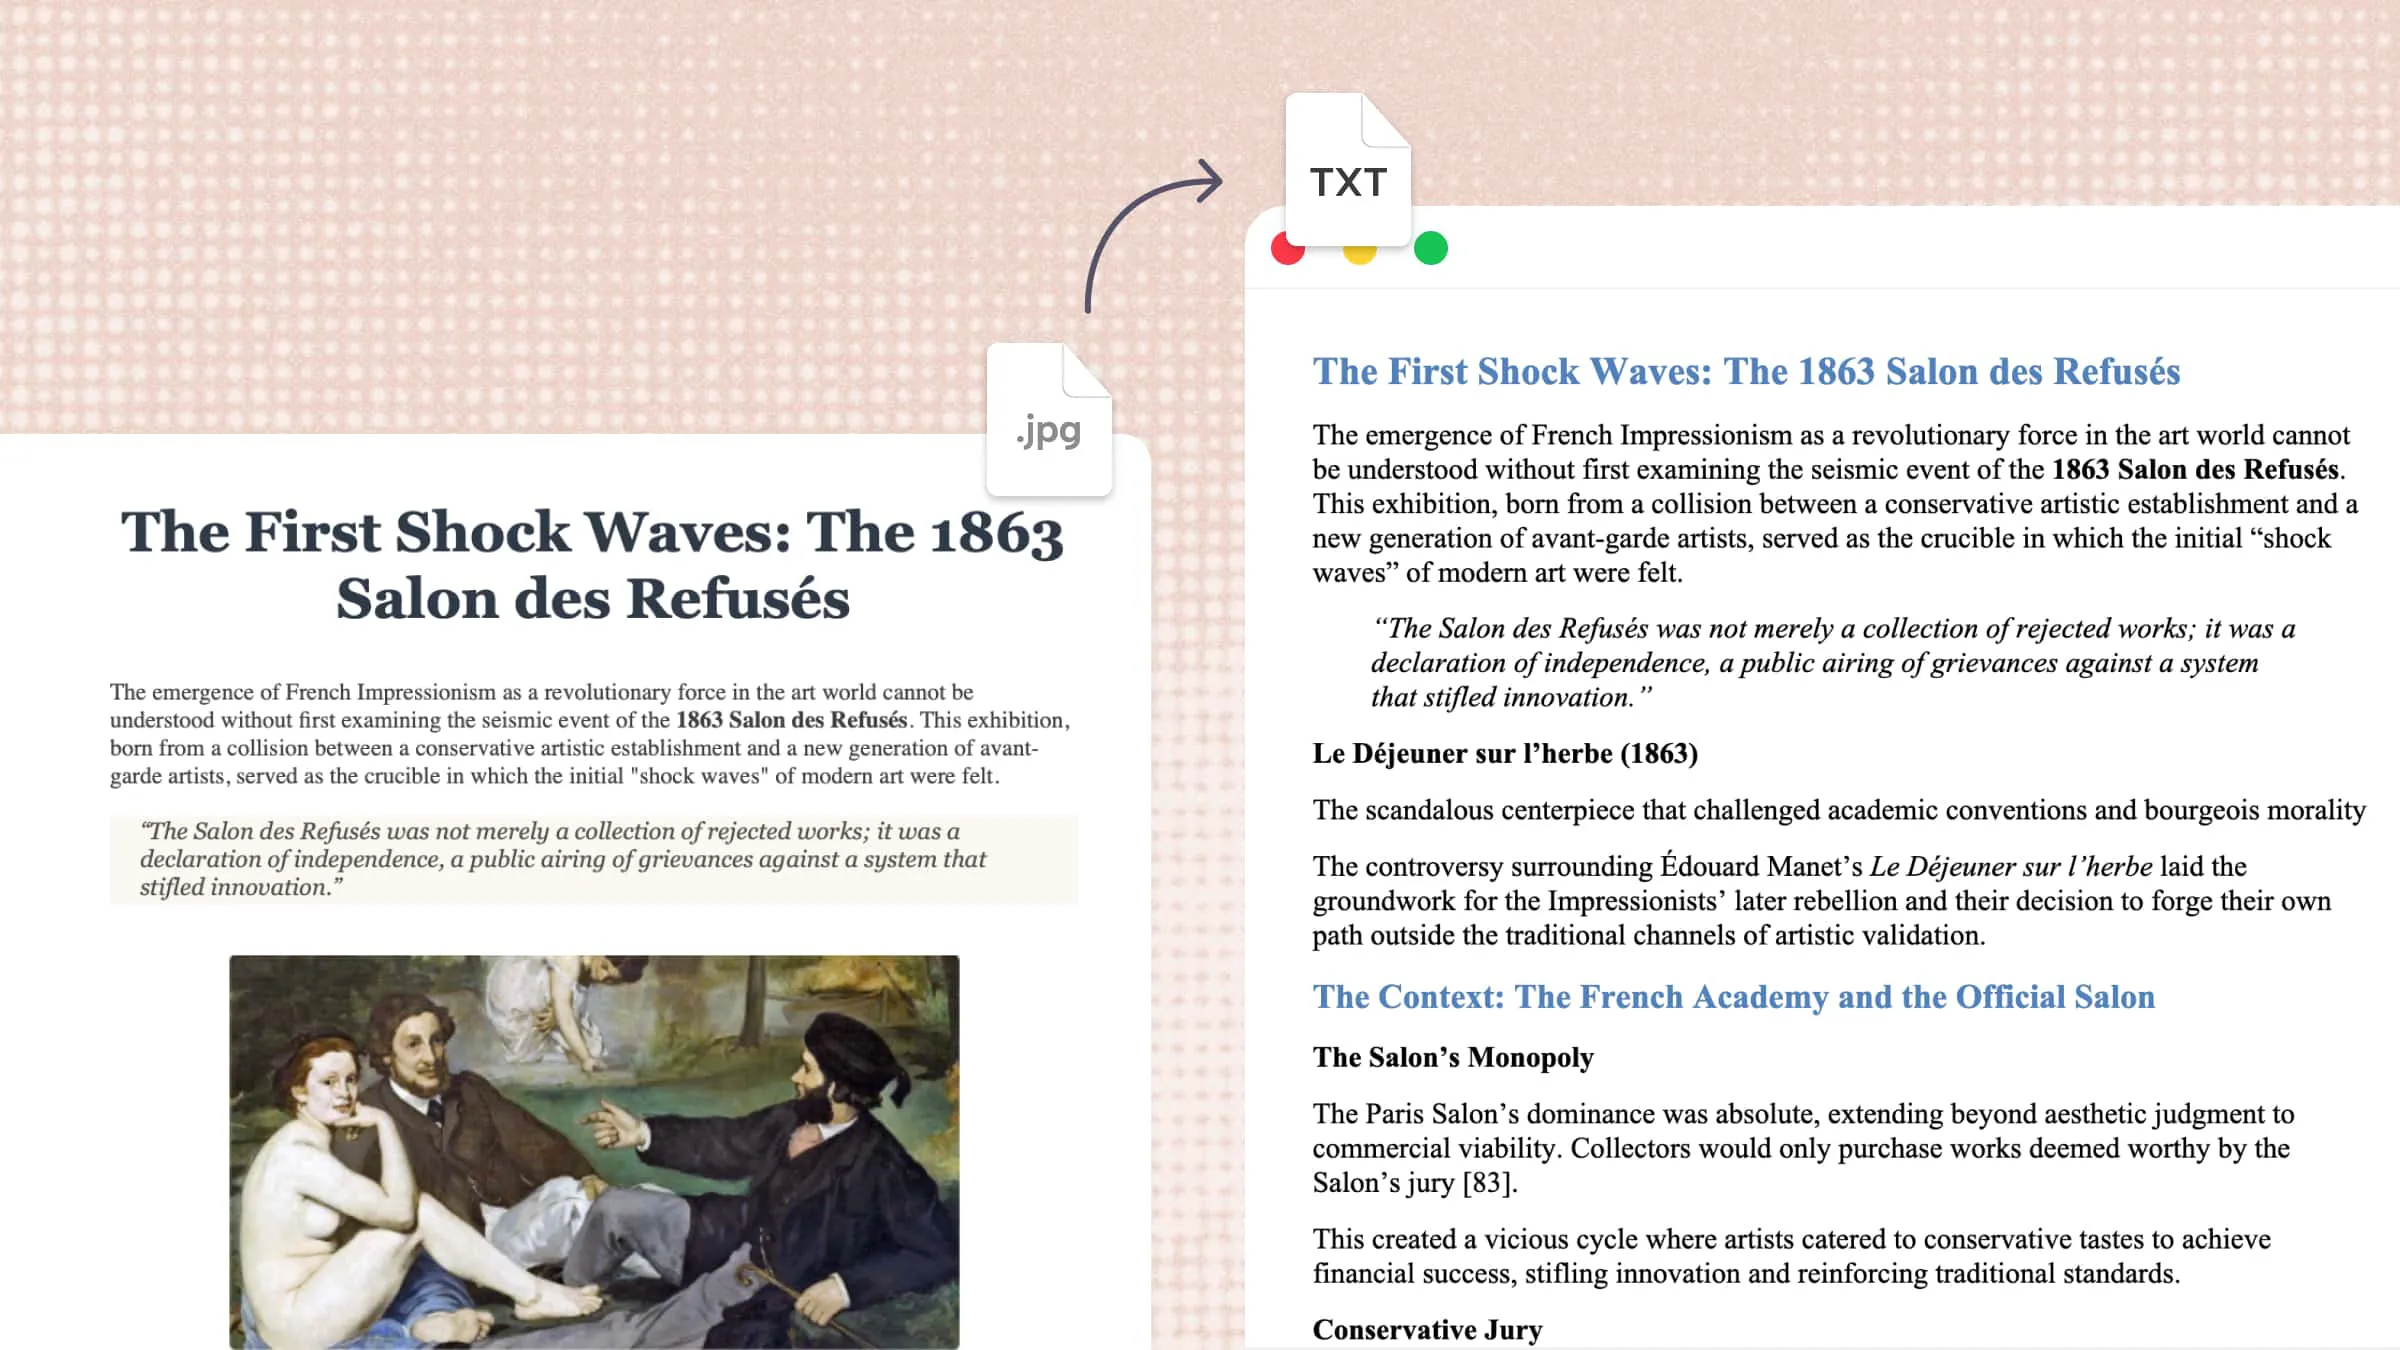
If you have text trapped inside a picture, typing it out by hand can take a lot of time and lead to mistakes. Whether it is a document, note, receipt, or screenshot, getting editable text from an image should not be difficult. The right tools let you convert pictures to text quickly and make the content easier to edit, copy, and share. Continue reading to find simple ways to convert images into text on any device.
Overview of 5 methods to convert a picture to text
You can convert images to text in several ways, depending on your device and how much you need to do with the extracted content. The table below compares the main methods, from AI-powered document processing with Kimi Docs to built-in text recognition features on Windows, Mac, Android, and iPhone.
| Tool | Platform | How it works | Suitable for |
|---|---|---|---|
| Kimi Docs | Web, Desktop, and Mobile | Upload an image, enter a prompt, let AI extract and process the text, then download the result | Extracting, editing, organizing, and converting image content into documents |
| Windows Photos – Scan Text | Windows | Open an image in Photos, use Scan Text, then copy the recognized text | Quickly copying text from images on Windows |
| Apple Live Text | Mac | Open an image in Preview, select the recognized text, and copy it | Extracting text from photos on Mac |
| Google Photos + Google Lens | Android | Open an image in Google Photos, tap Lens, select the detected text, and copy it | Extracting text from photos on Android |
| Apple Live Text | iPhone | Enable Live Text, open an image in Photos, select the text, and copy it | Extracting text from photos and screenshots on iPhone |
How to convert an image to text online using AI
Kimi Docs, an AI document agent, can detect and extract text from image files. It analyzes visual content, identifies characters and words, and converts them into editable digital text. This makes it useful for extracting text from scanned documents, screenshots, notes, and other image-based content without manual typing. Here's how to convert an image to text with AI using Kimi Docs.
Step 1: Upload your image and enter a prompt
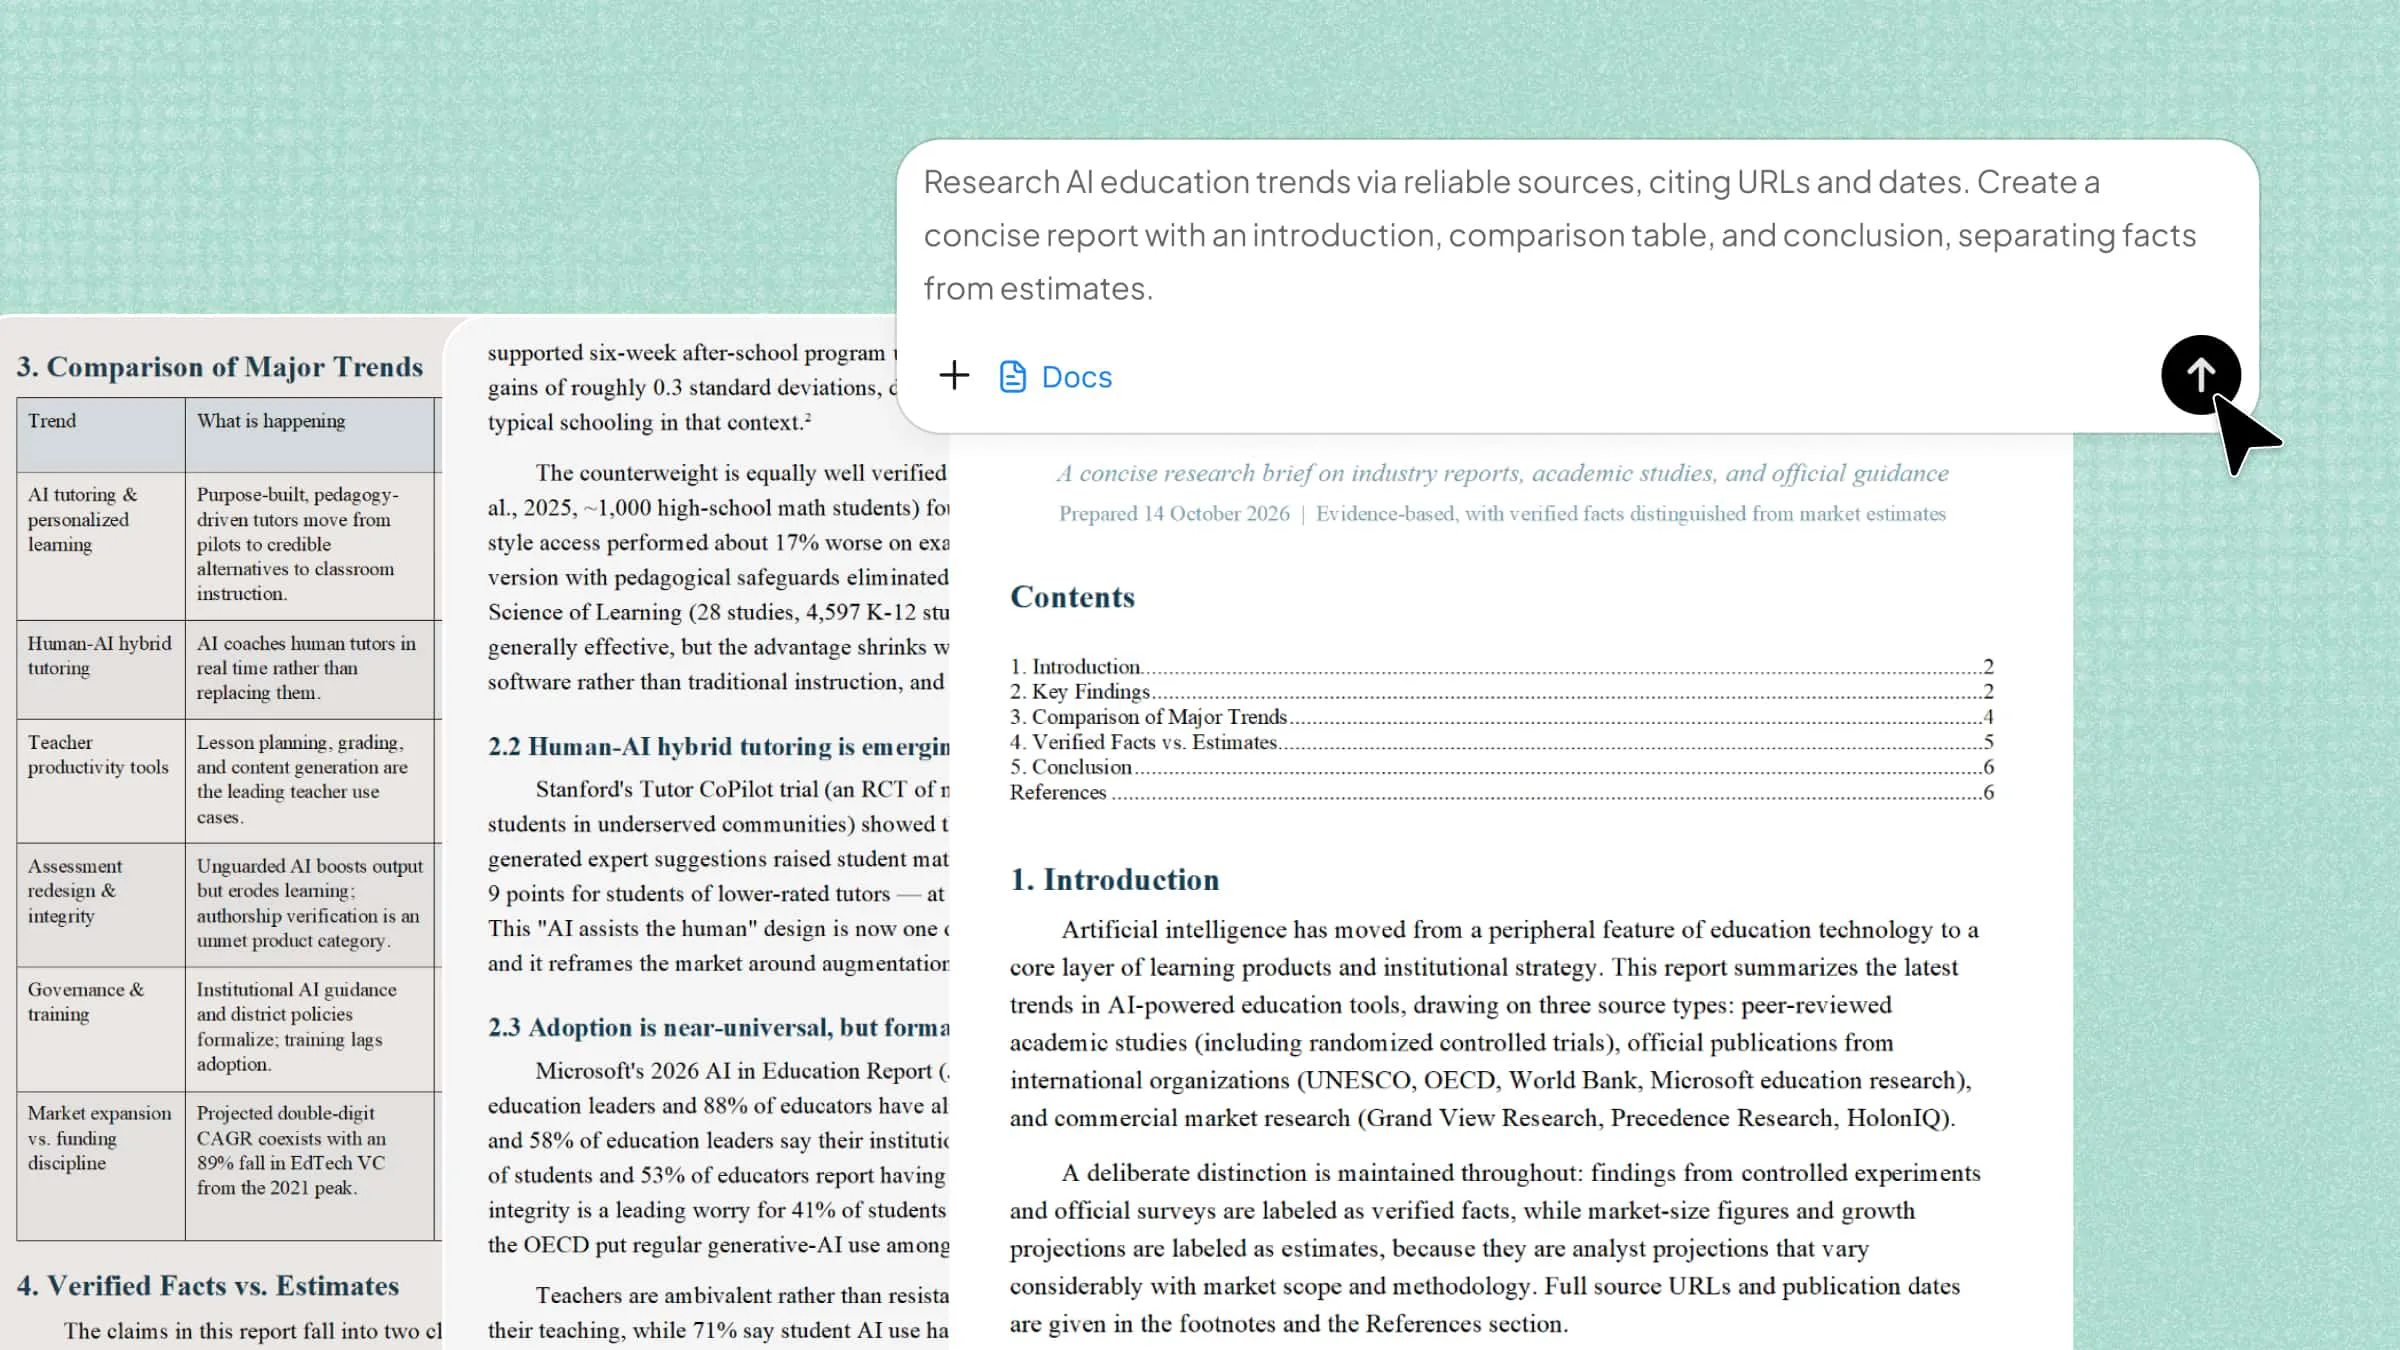
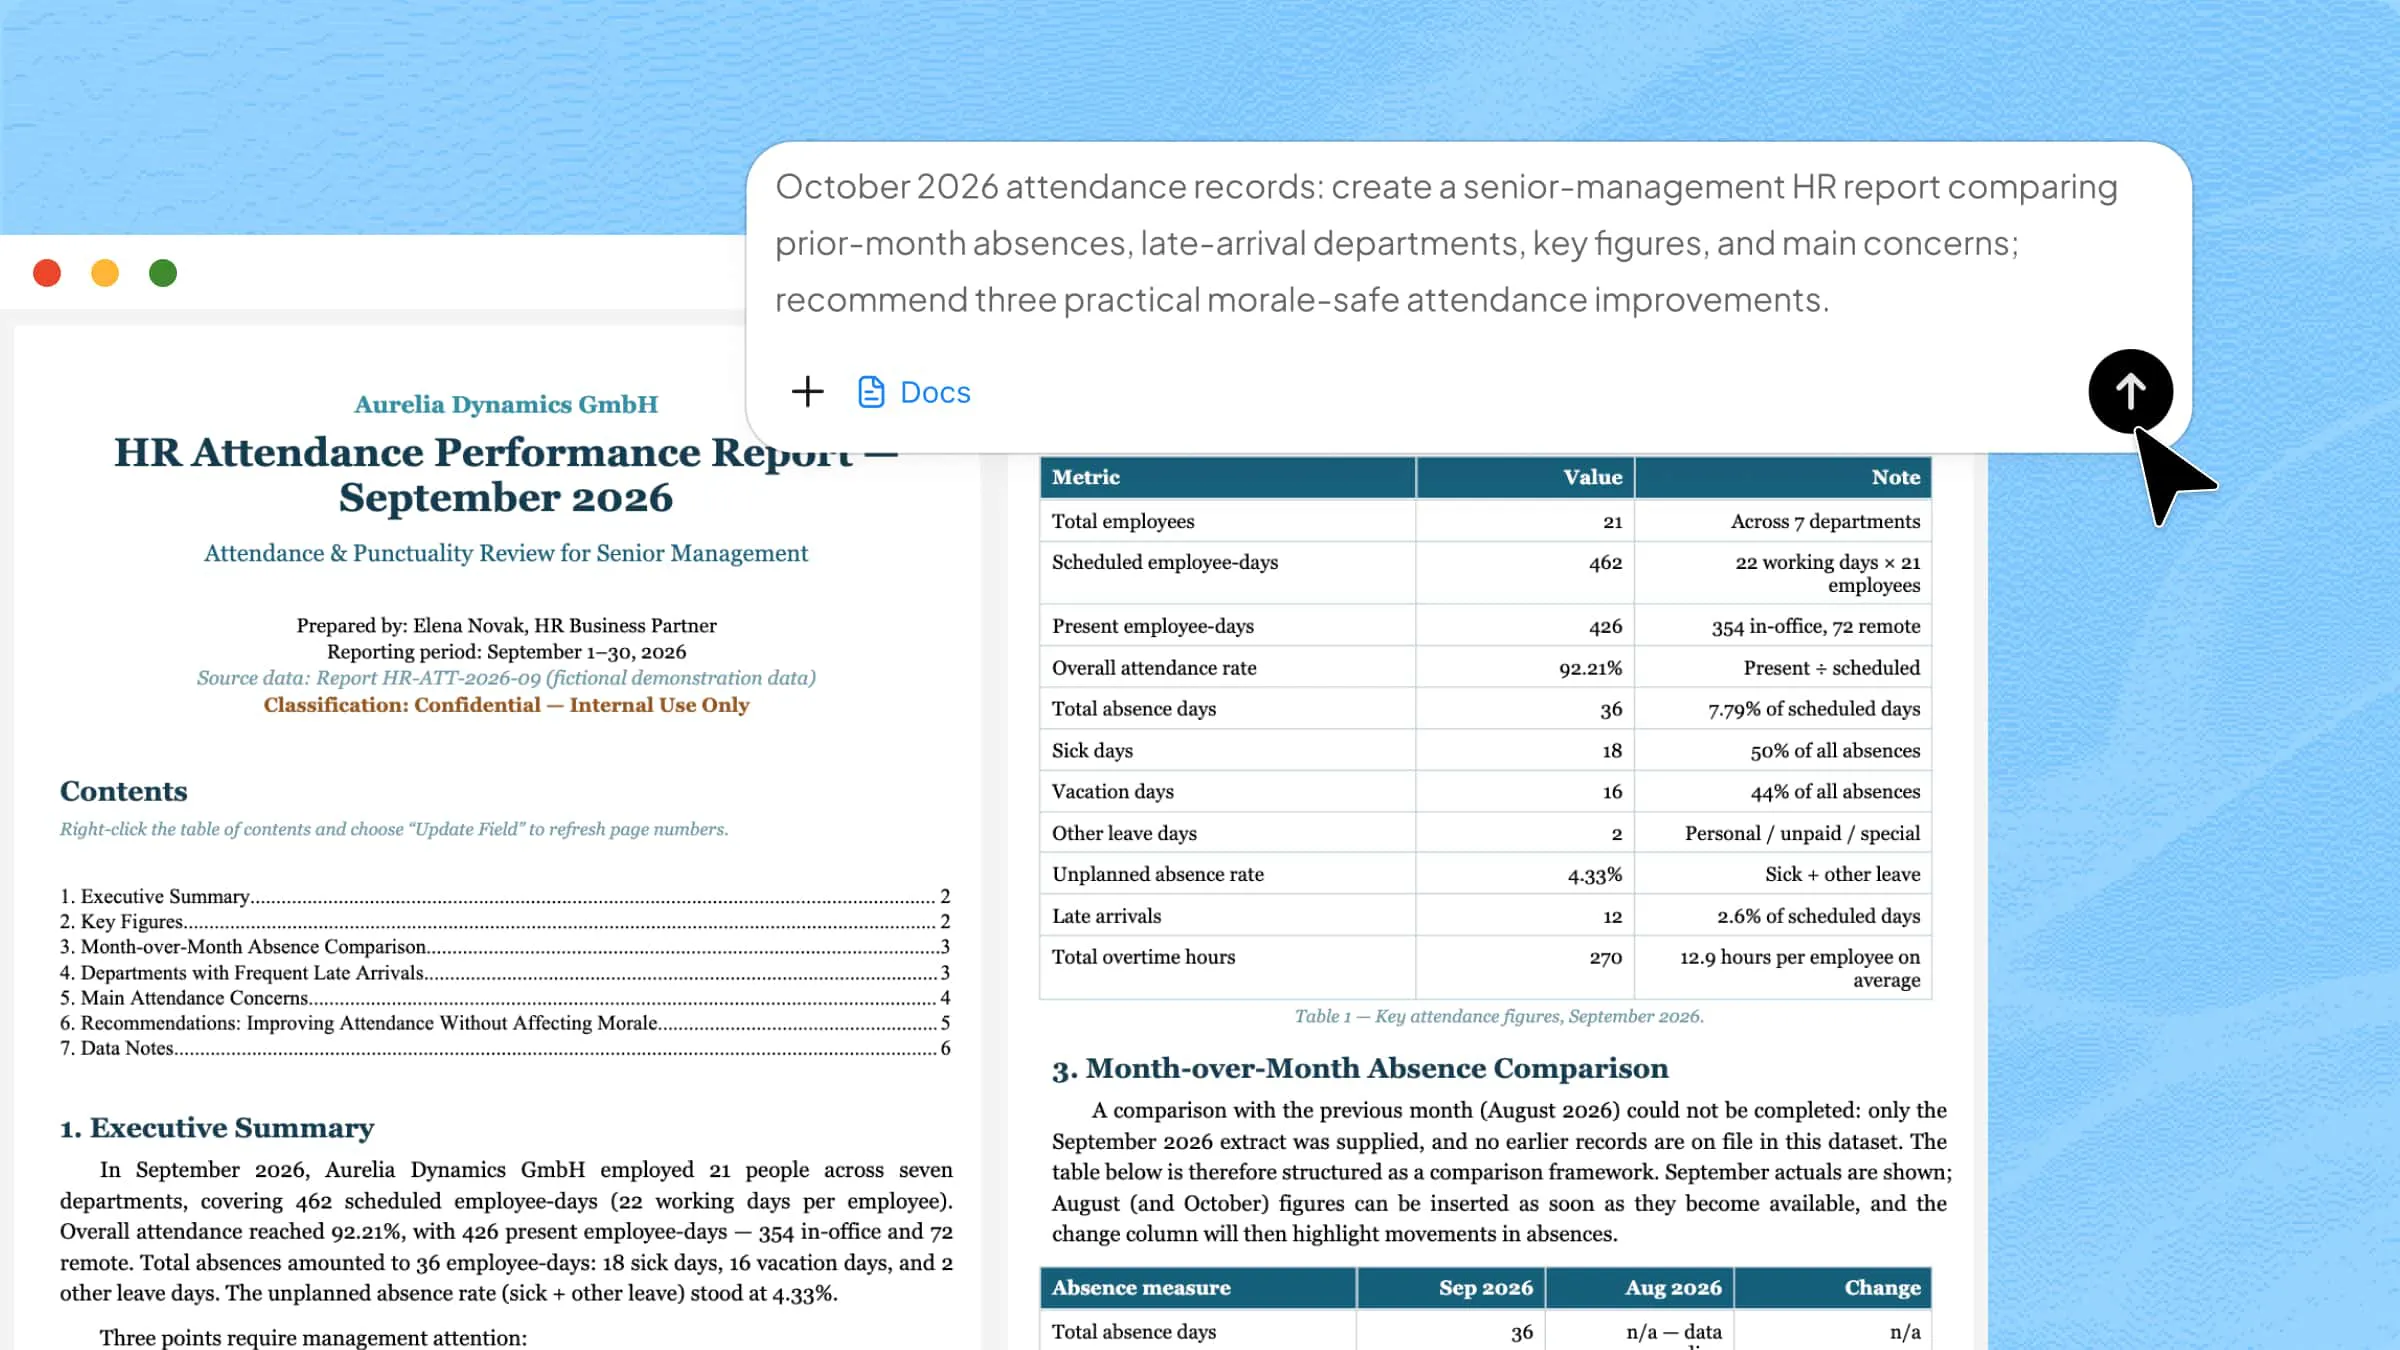
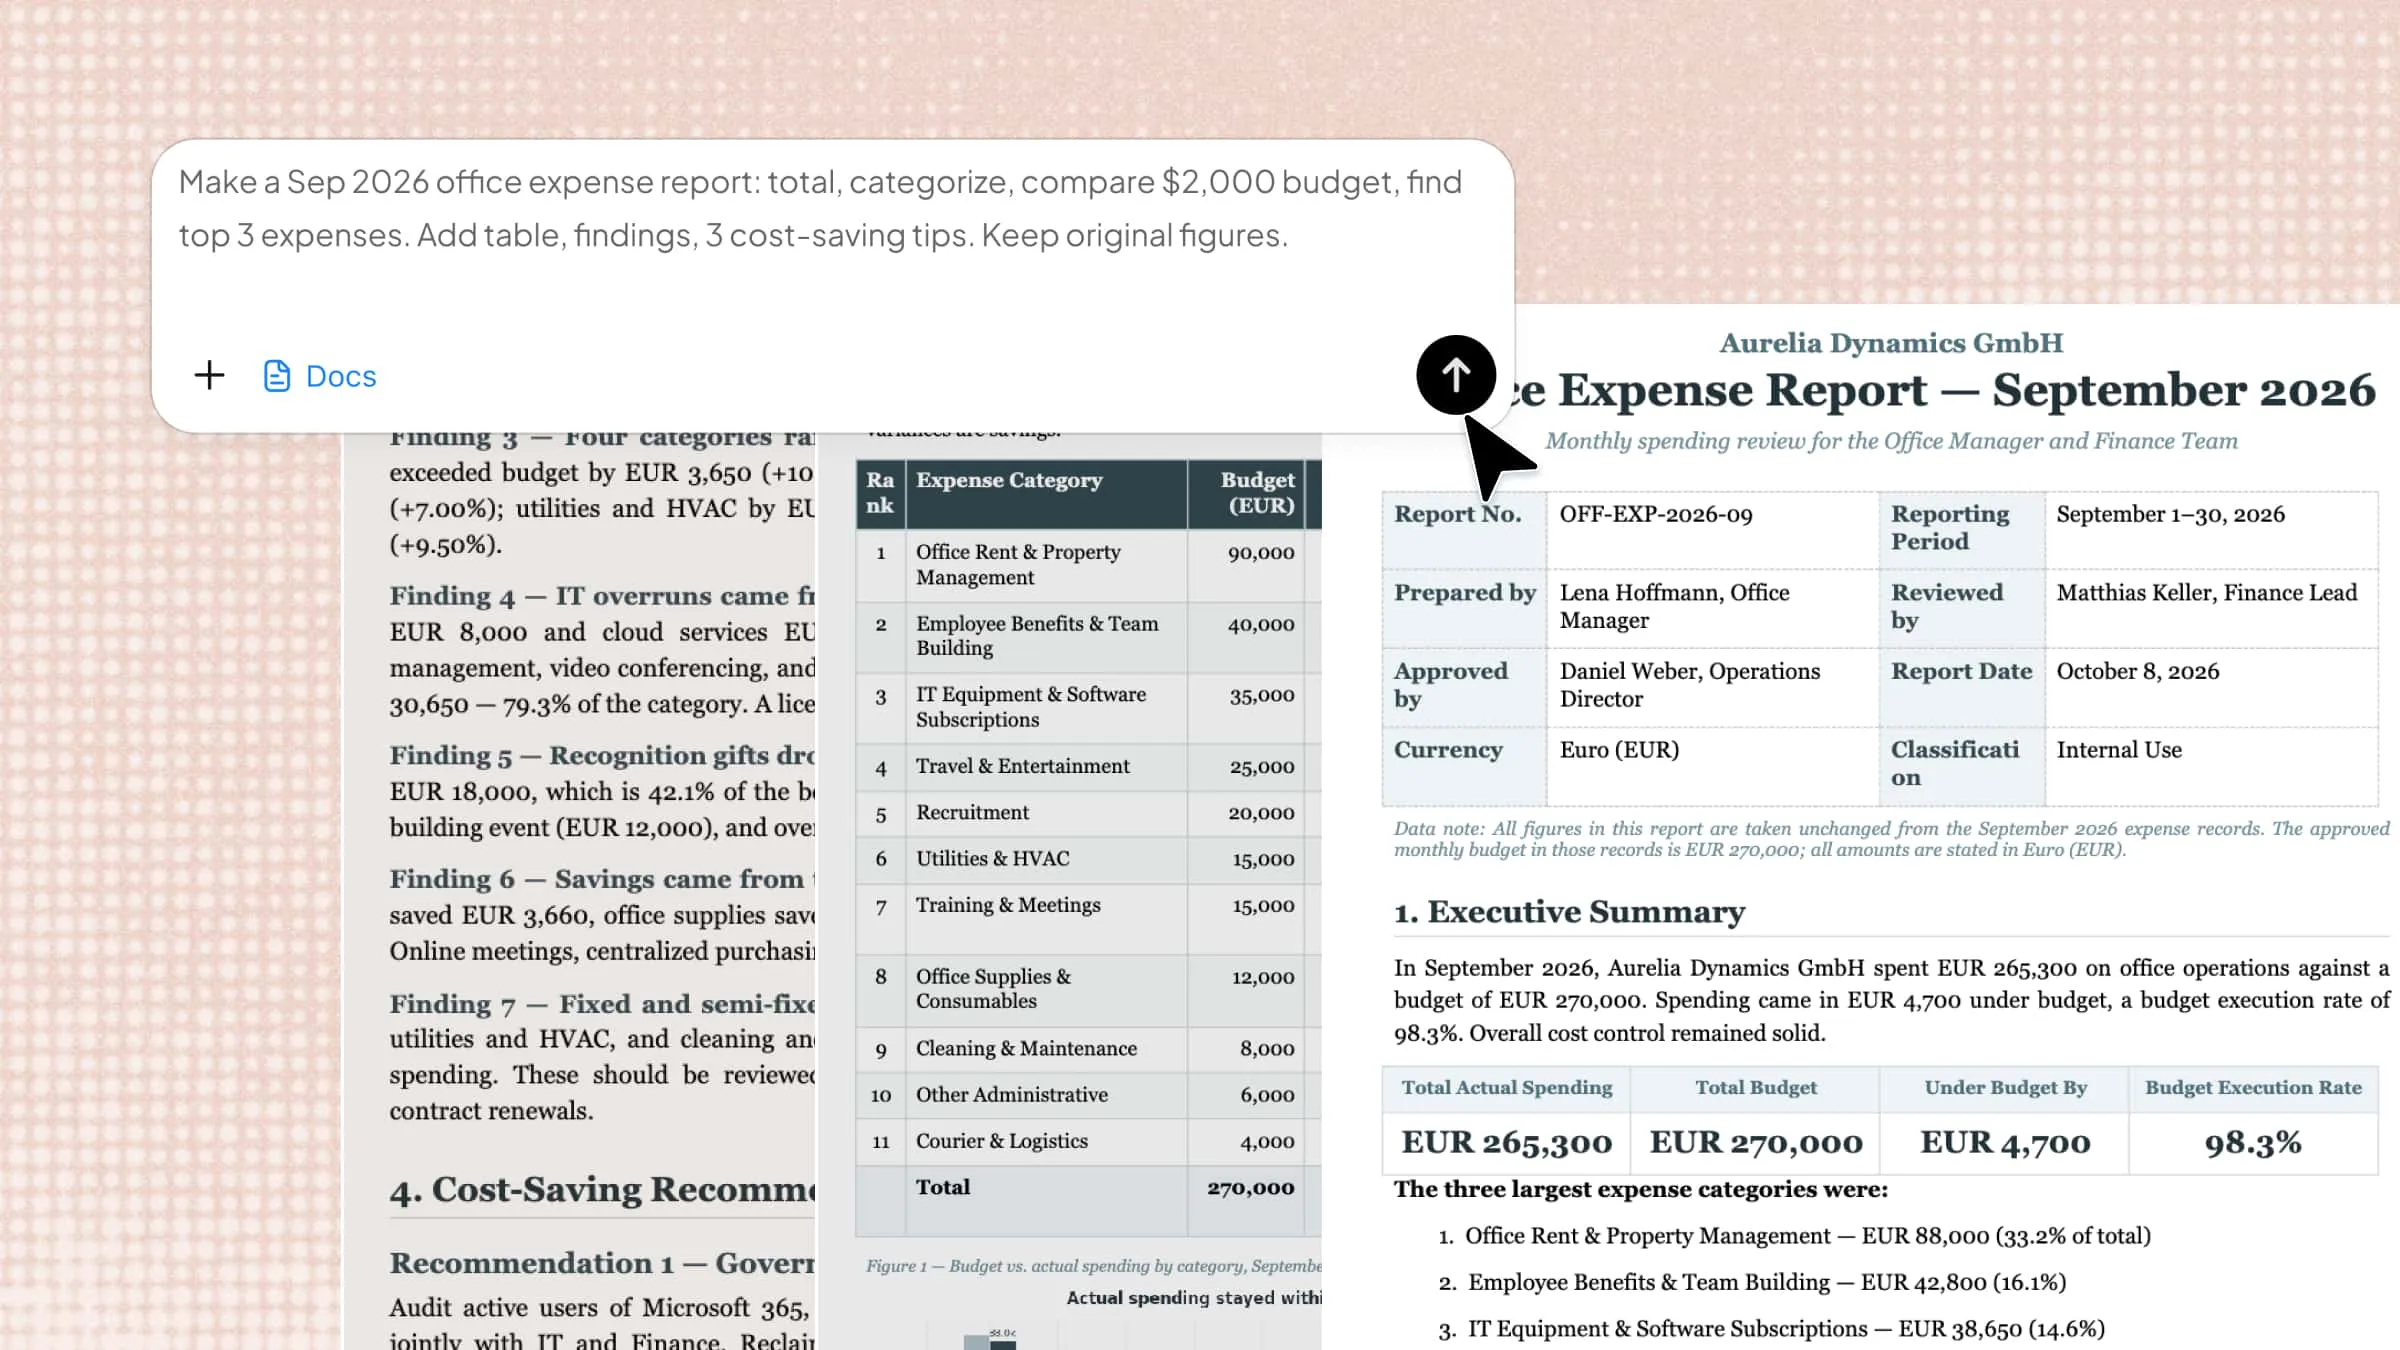
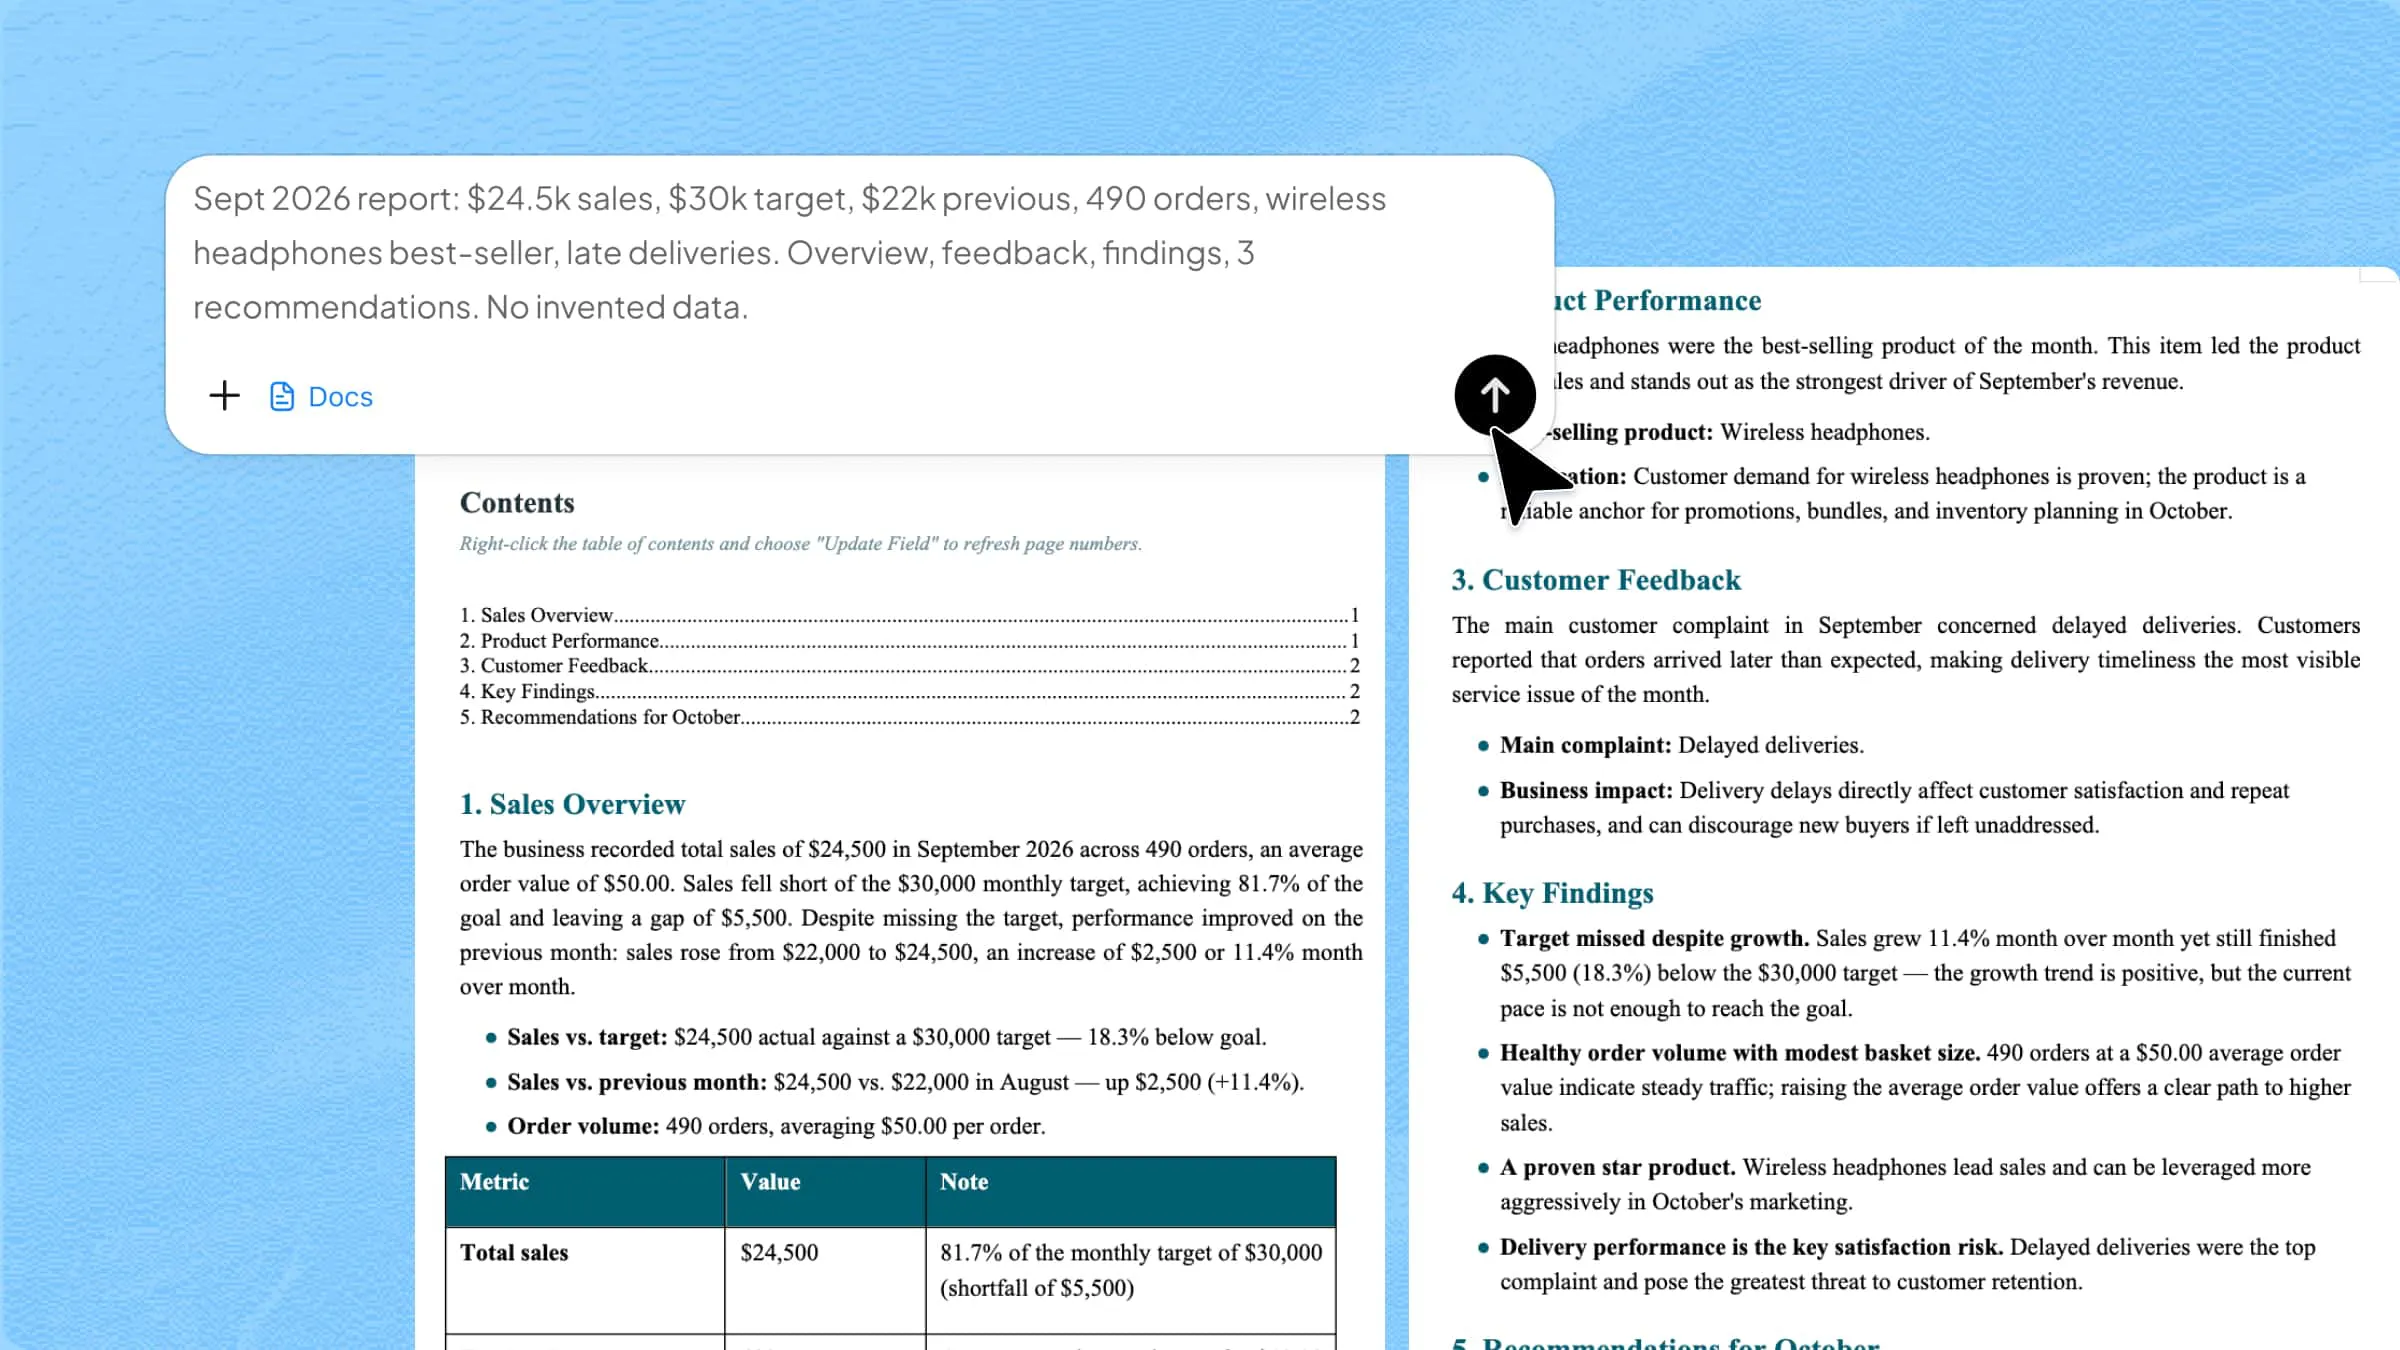
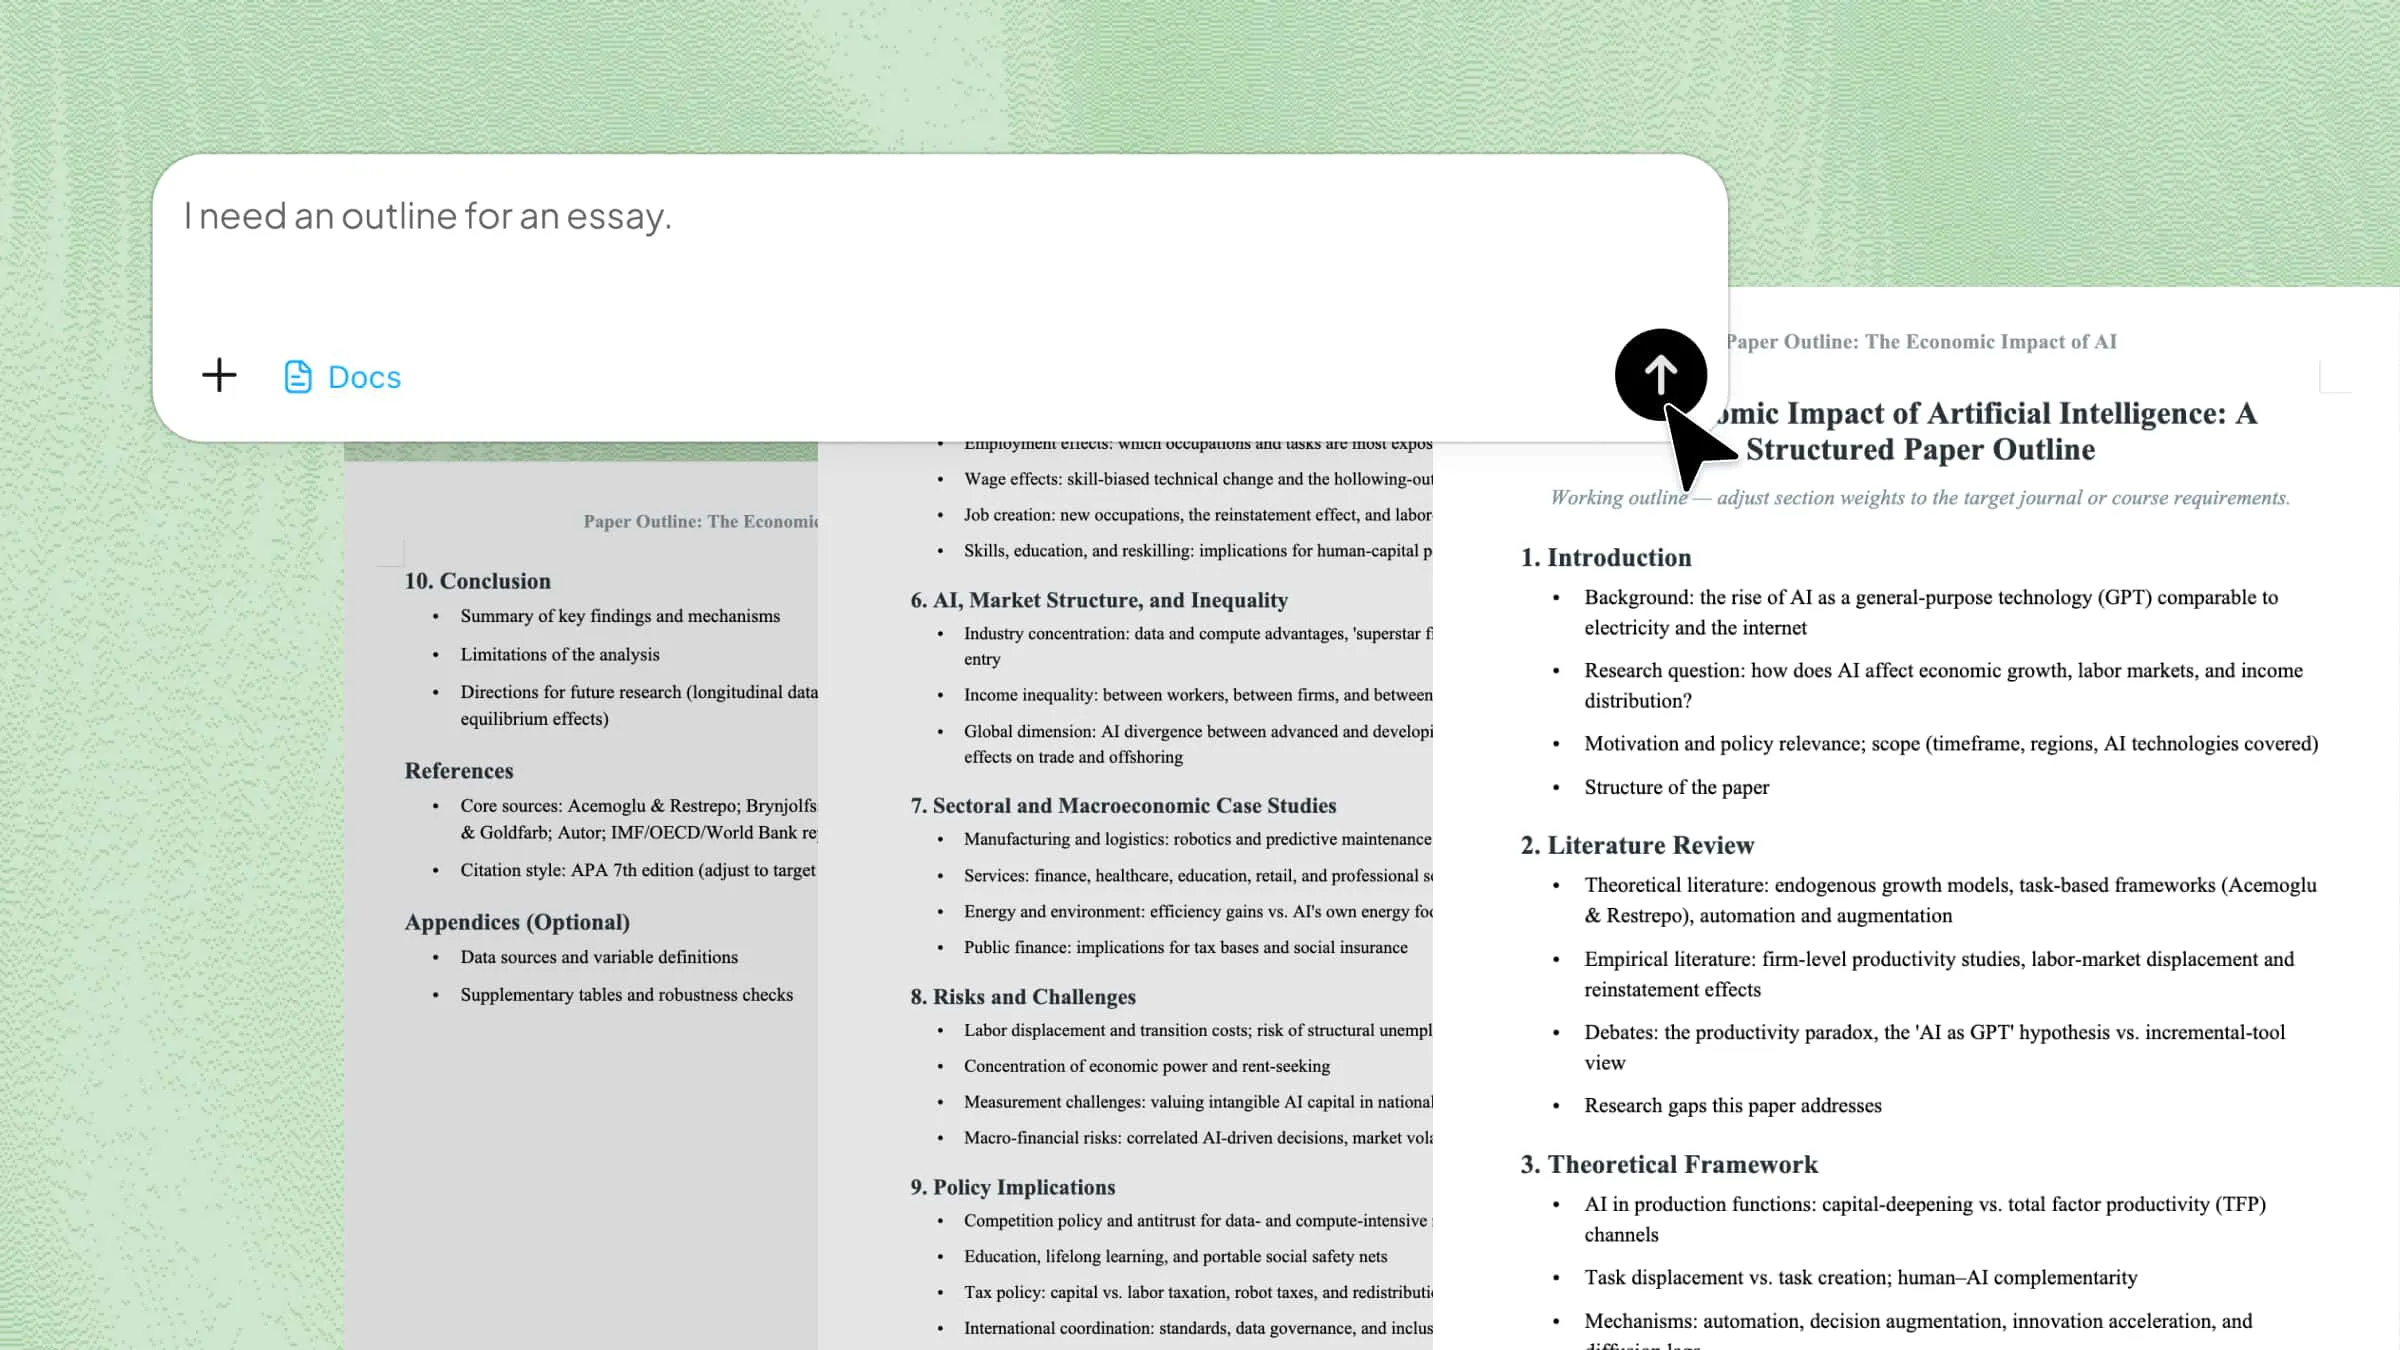
Upload the image you want to convert into text. Then, enter a clear prompt telling the AI to extract all visible text while keeping the original wording and structure as accurate as possible.
Example prompt:
Step 2: Let AI process and generate results
Once you submit the prompt, Kimi Docs analyzes the image and extracts the text from it. The AI processes the visual content and generates an editable version that you can review for accuracy.
Step 3: Download your file
Review the extracted text and make any necessary corrections. Once the content looks right, download the generated file and use the editable text for your documents, notes, or other work.
Main features of Kimi Docs
Kimi Docs goes beyond basic image-to-text conversion by offering useful features that make extracted content easier to work with. From recognizing text and preserving document structure to handling multiple languages and creating polished files, these features can simplify the entire process. Here are the main features to know.
Accurate text extraction from images: Upload images containing documents, screenshots, or notes, and Kimi Docs can recognize the content and turn visual information into editable text for easier reuse.
Understand and summarize extracted content: After converting pictures into text, Kimi Docs can analyze the information, summarize key points, and help users quickly understand long documents or research materials.
Preserve original document structure: Beyond extracting words, Kimi Docs helps maintain important formatting elements such as paragraphs, tables, and organized layouts, making converted content easier to edit and review.
Handle multilingual image content: Convert text from images in different languages and continue with tasks such as translation, rewriting, or bilingual document creation within the same workflow.
Transform extracted text into professional documents: Turn converted text from images into polished Word or PDF files with structured formatting, tables, headings, and other document elements.
How to turn a photo into text on Windows
Windows Photos provides a quick way to extract text from an image without installing another tool. Its built-in text scanning feature can recognize visible text and let you copy the result directly. Follow these steps to find the option and extract your text.
Step 1: Open the image in Photos
Open the image containing the text with the "Photos" app on your Windows device. Make sure the image is clear enough for the text to be recognized properly.
Step 2: Select Scan Text
At the bottom of the Photos app, click the "Scan Text" icon. Windows will automatically detect the text in the image and display it for you.
Step 3: Copy the extracted text
Select the text you need and click "Copy" or "Select All Text" to copy everything at once. You can then paste the extracted text into any document or app.
How to turn a photo into text on Mac
If you use a Mac, you can extract text from photos without installing a separate OCR tool. Apple's built-in Live Text feature can recognize text in images and let you copy it directly. You can use it through apps such as Preview, Quick Look, and Photos. Here's how to extract text from a picture on Mac.
Step 1: Open the photo in Preview
Open the image in "Preview" and move your pointer over the text until it changes into a text-selection cursor. Click and drag to select the text you want to extract.
Step 2: Select and copy the text
Once the text is selected, go to "Edit" > "Copy" or press "Command + C". You can select specific words or the entire text, depending on what you need.
Step 3: Paste the extracted text
Open "TextEdit" or another text editor and choose "Edit" > "Paste", or press "Command + V". The extracted text will appear as editable content that you can reuse or modify.
How to convert an image to text on Android
Android devices make it easy to extract text directly from images using the Google Photos app and Google Lens. You do not need to type the content manually or install a separate text extraction tool. Just open the image, let Lens recognize the text, and copy the parts you need. Here's how to do it step by step.
Step 1: Open the image in Google Photos
Open "Google Photos" and select the image containing the text you want to extract. Choose a clear image so Lens can recognize the text more accurately.
Step 2: Tap Lens
Tap "Lens" at the bottom of the screen and let Google Lens scan the image. It will detect the text and highlight the words it can recognize.
Step 3: Select and copy the text
Tap "Text", select the content you want, and choose "Copy". You can then paste the extracted text into any app or document.
How to extract text from an image on iPhone
iPhone users can extract text from images using Apple's built-in Live Text feature. Once enabled, it can recognize text in photos and screenshots, allowing you to select, copy, and reuse it in other apps. Follow these steps to change an image to text on iPhone:
Step 1: Enable Live Text
Open "Settings" > "General" > "Language & Region" and scroll down to find "Live Text". Make sure the option is turned on before trying to extract text.
Step 2: Open the image in Photos
Open "Photos" and select the image or screenshot containing the text. Press and hold on the text you want to extract until the selection handles appear.
Step 3: Copy and paste the text
Adjust the selection to include the text you need, then tap "Copy". Open "Notes" or another text app, tap where you want the content, and select "Paste" to use the extracted text.
Tips to improve picture-to-text accuracy
The quality of the original image can directly affect the text extraction results. A few simple adjustments can make the text easier for OCR tools to recognize and reduce common errors. Consider the following tips before converting your images.
Ensure good contrast with the background
Make sure the text stands out clearly from the background. Dark text on a light background, or vice versa, is usually easier for text recognition tools to process. Avoid images where the text blends into the background or has distracting colors that make characters harder to identify accurately.
Use clear, well-lit images
Use images that are sharp and have enough lighting to make every character easy to see. Blurry, dark, or overexposed photos can make letters and numbers difficult to recognize. Taking the photo in good lighting can improve the final text and reduce errors caused by unclear or hidden characters.
Scan flat, not angled documents
Keep documents flat when taking a photo instead of capturing them from an angle. Angled images can stretch or distort the text, which may affect recognition accuracy. Place the document on a flat surface and capture it from directly above to keep the text properly aligned and easier for OCR tools to read.
Crop out unnecessary background clutter
Remove extra objects, borders, and empty areas around the text before processing the image. A cleaner image helps the text recognition tool focus on the content that matters. This can also make the extracted result more organized and accurate by removing visual elements that could confuse the recognition process.
Conclusion
Turning an image into usable text no longer needs to be a slow, manual task. The right method can help you save time and make work much easier. Whether you need a quick conversion or more control over the content, choose the option that fits your needs. If you regularly convert pictures to text, Kimi Docs is worth trying for a smoother workflow. Give Kimi Docs a try and see how easily it can turn image content into text you can use.