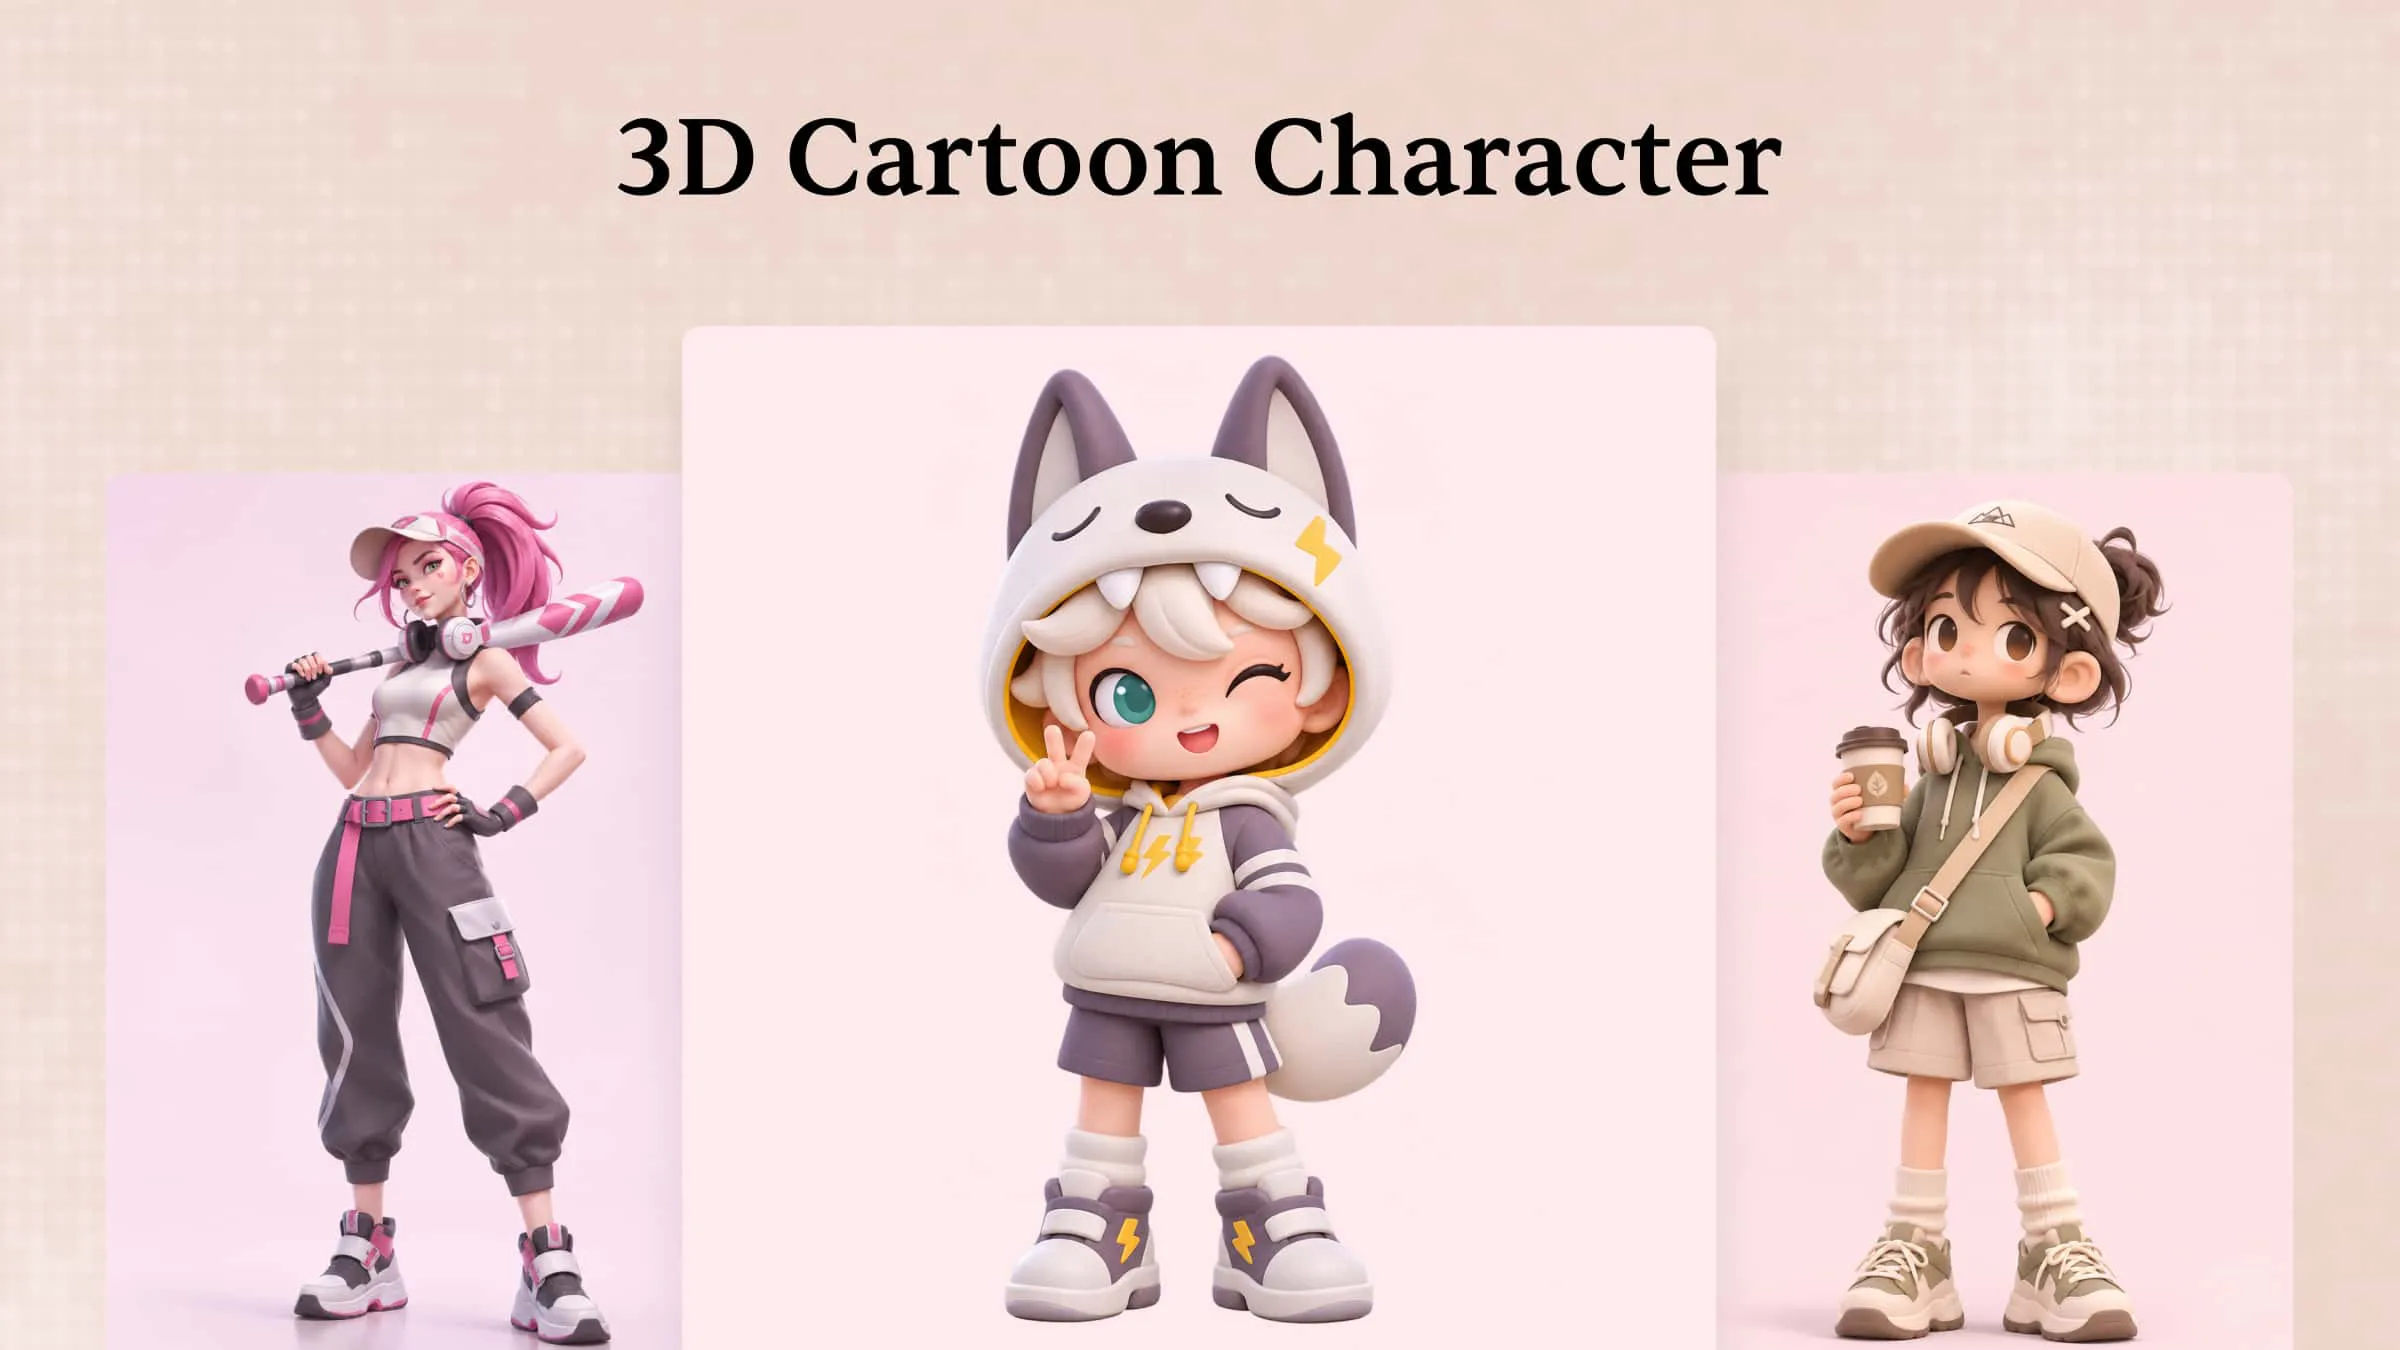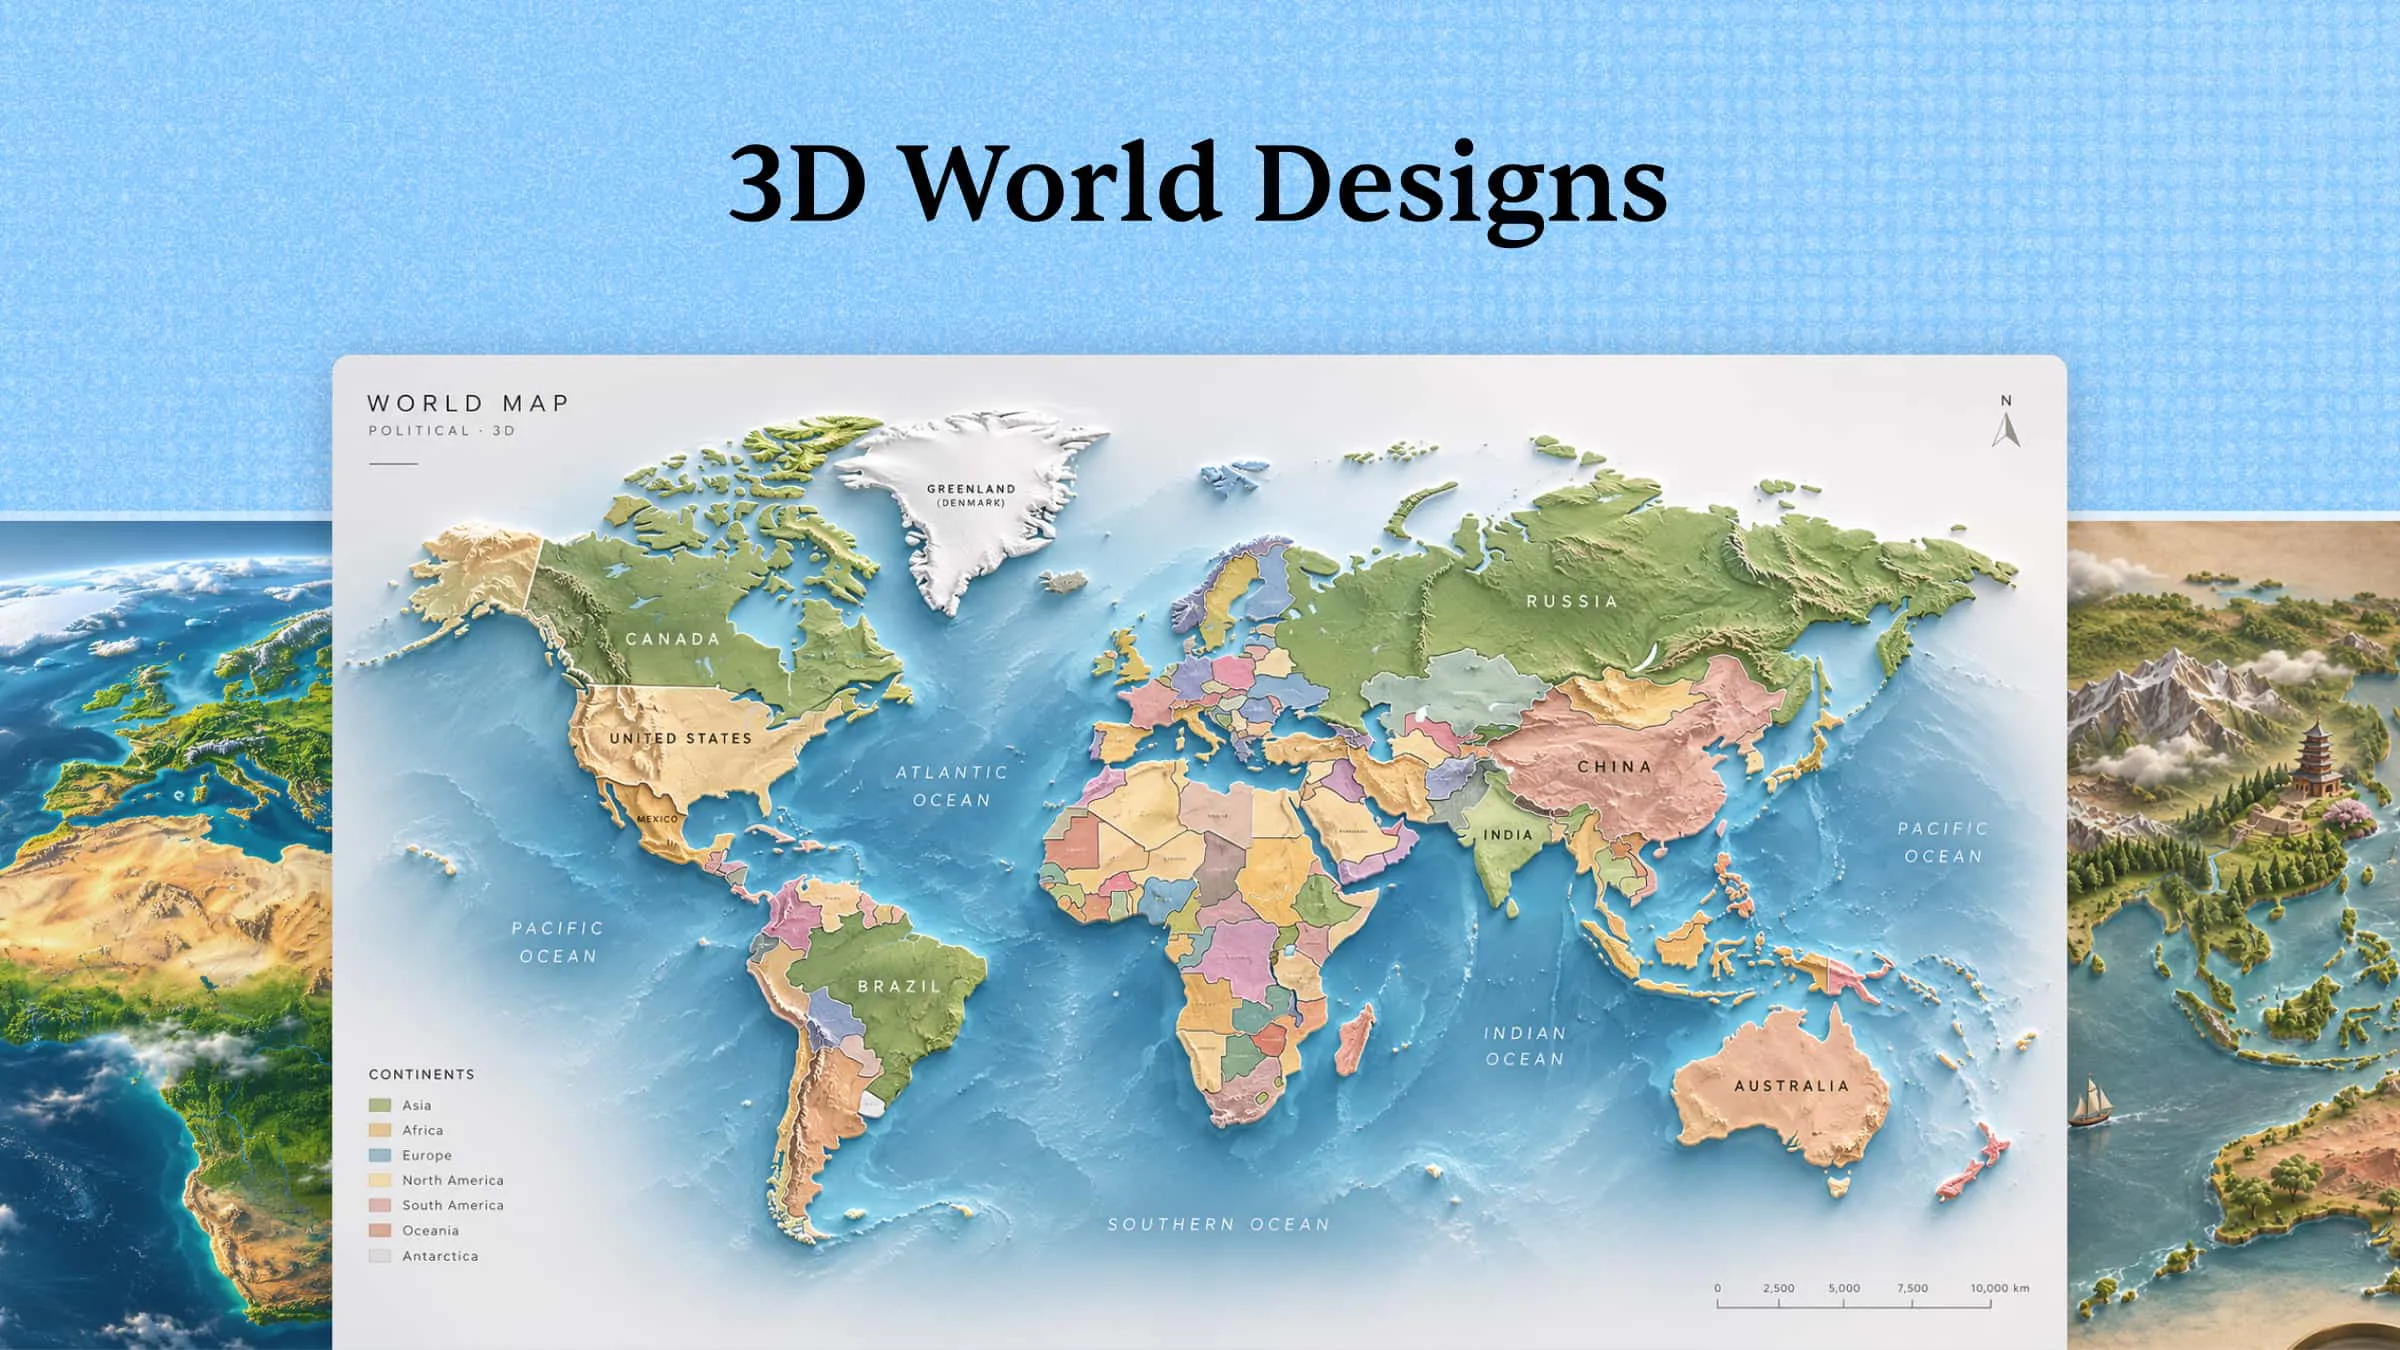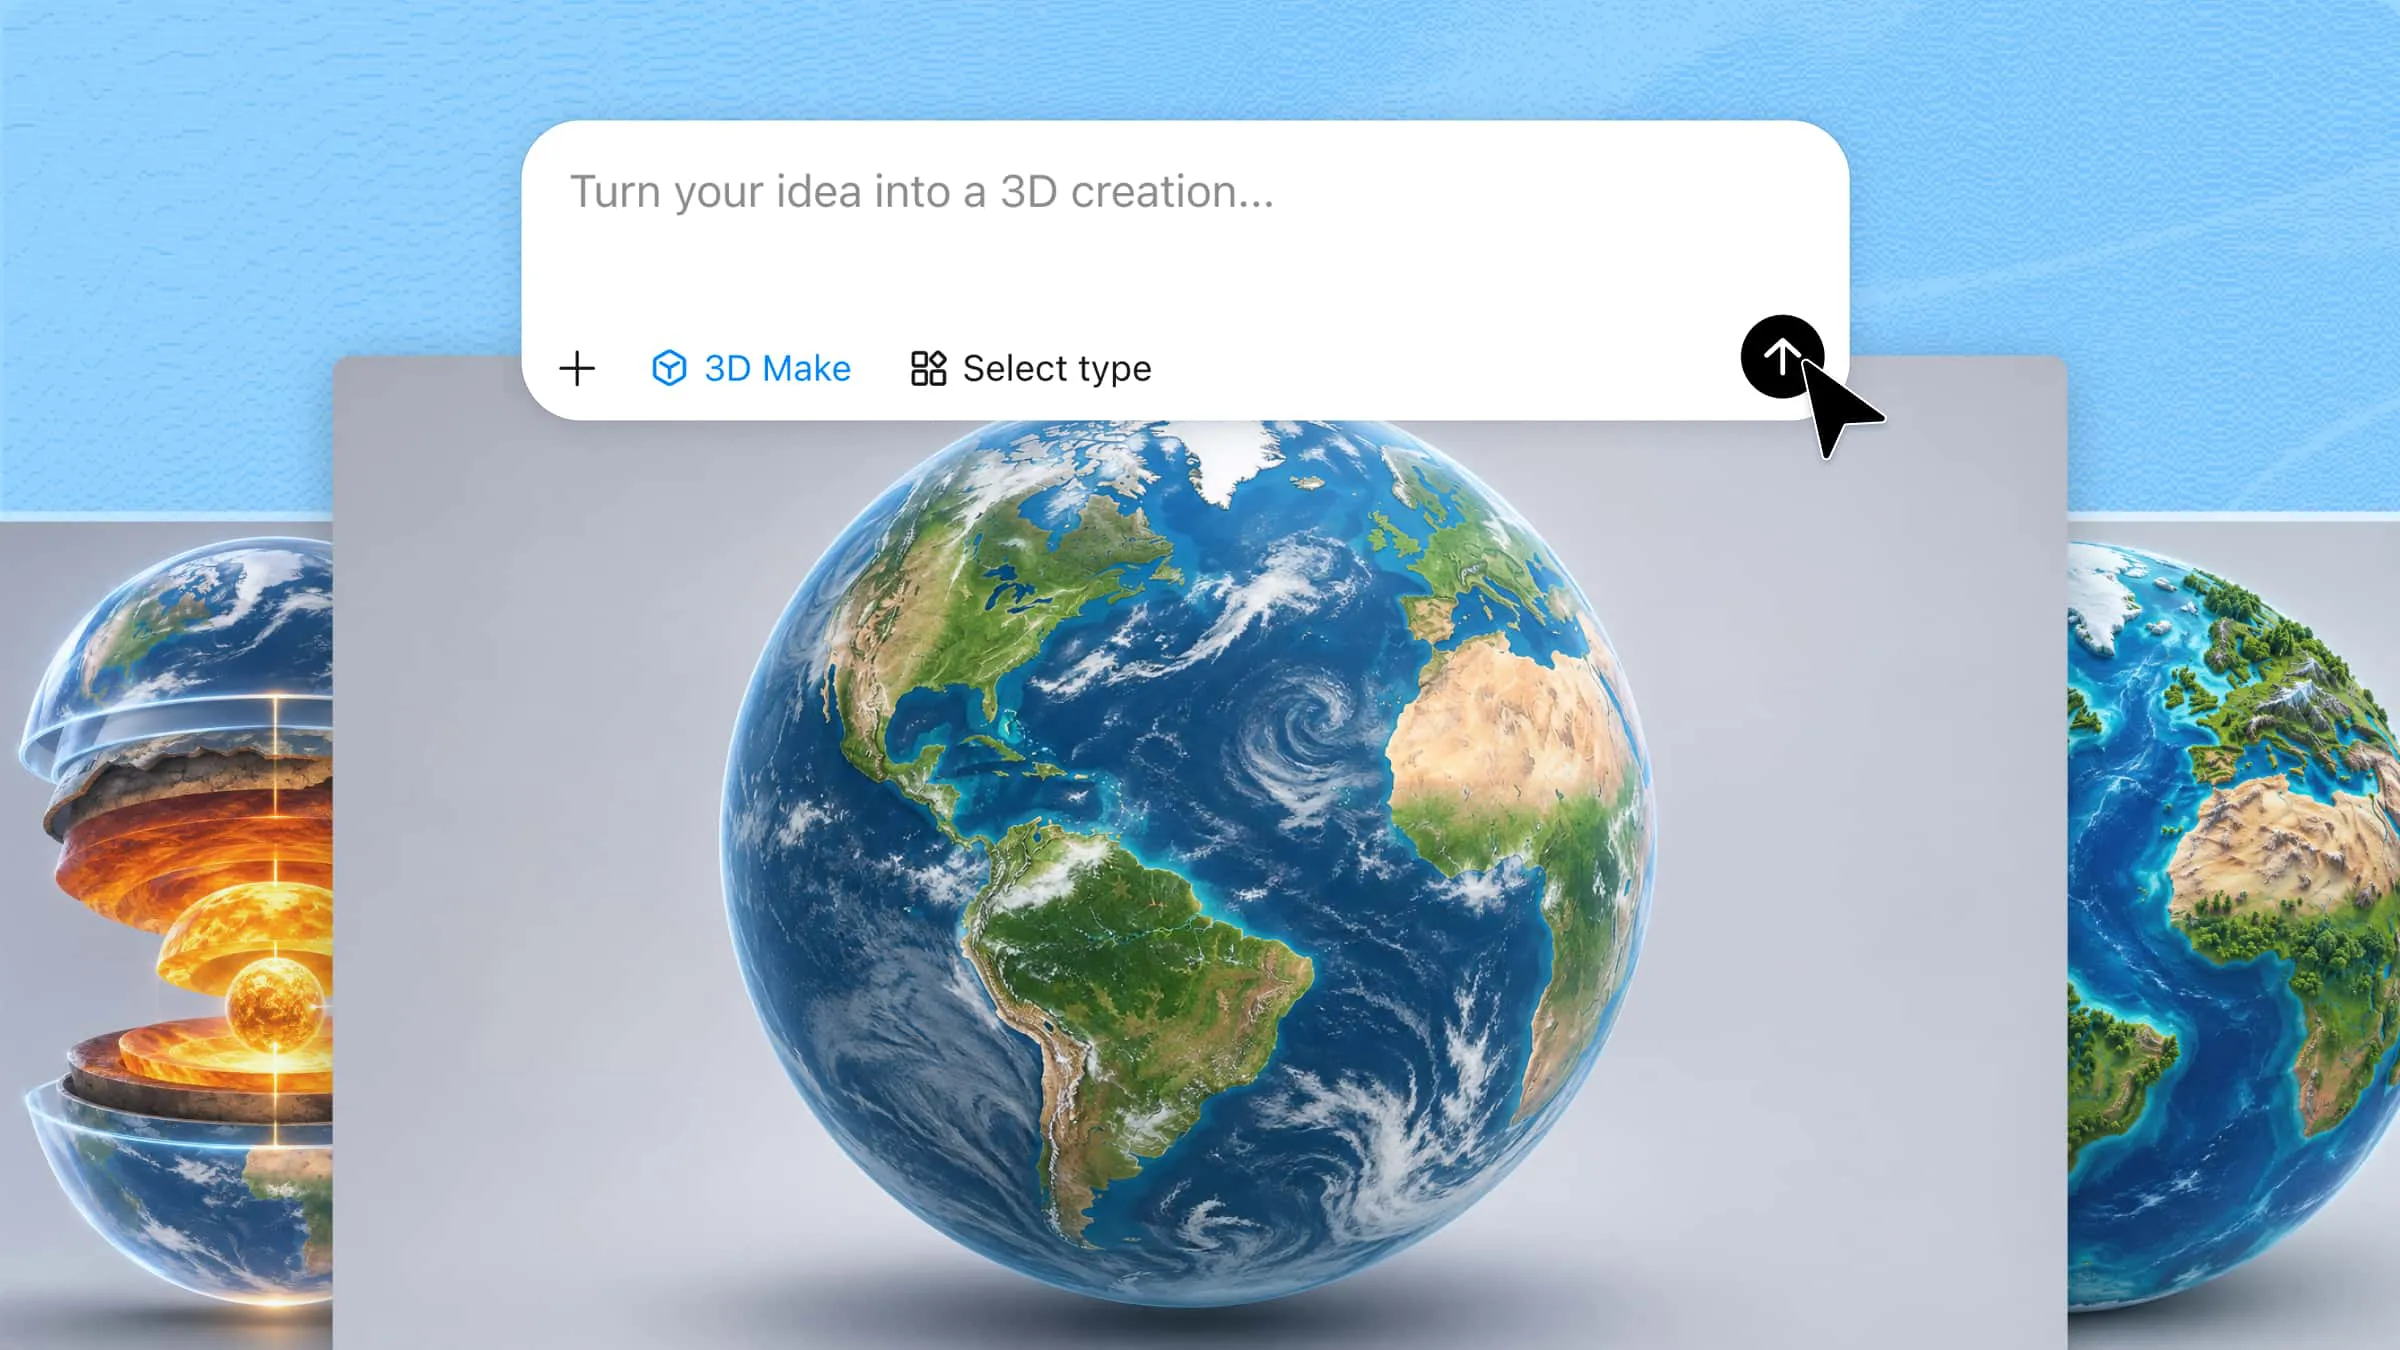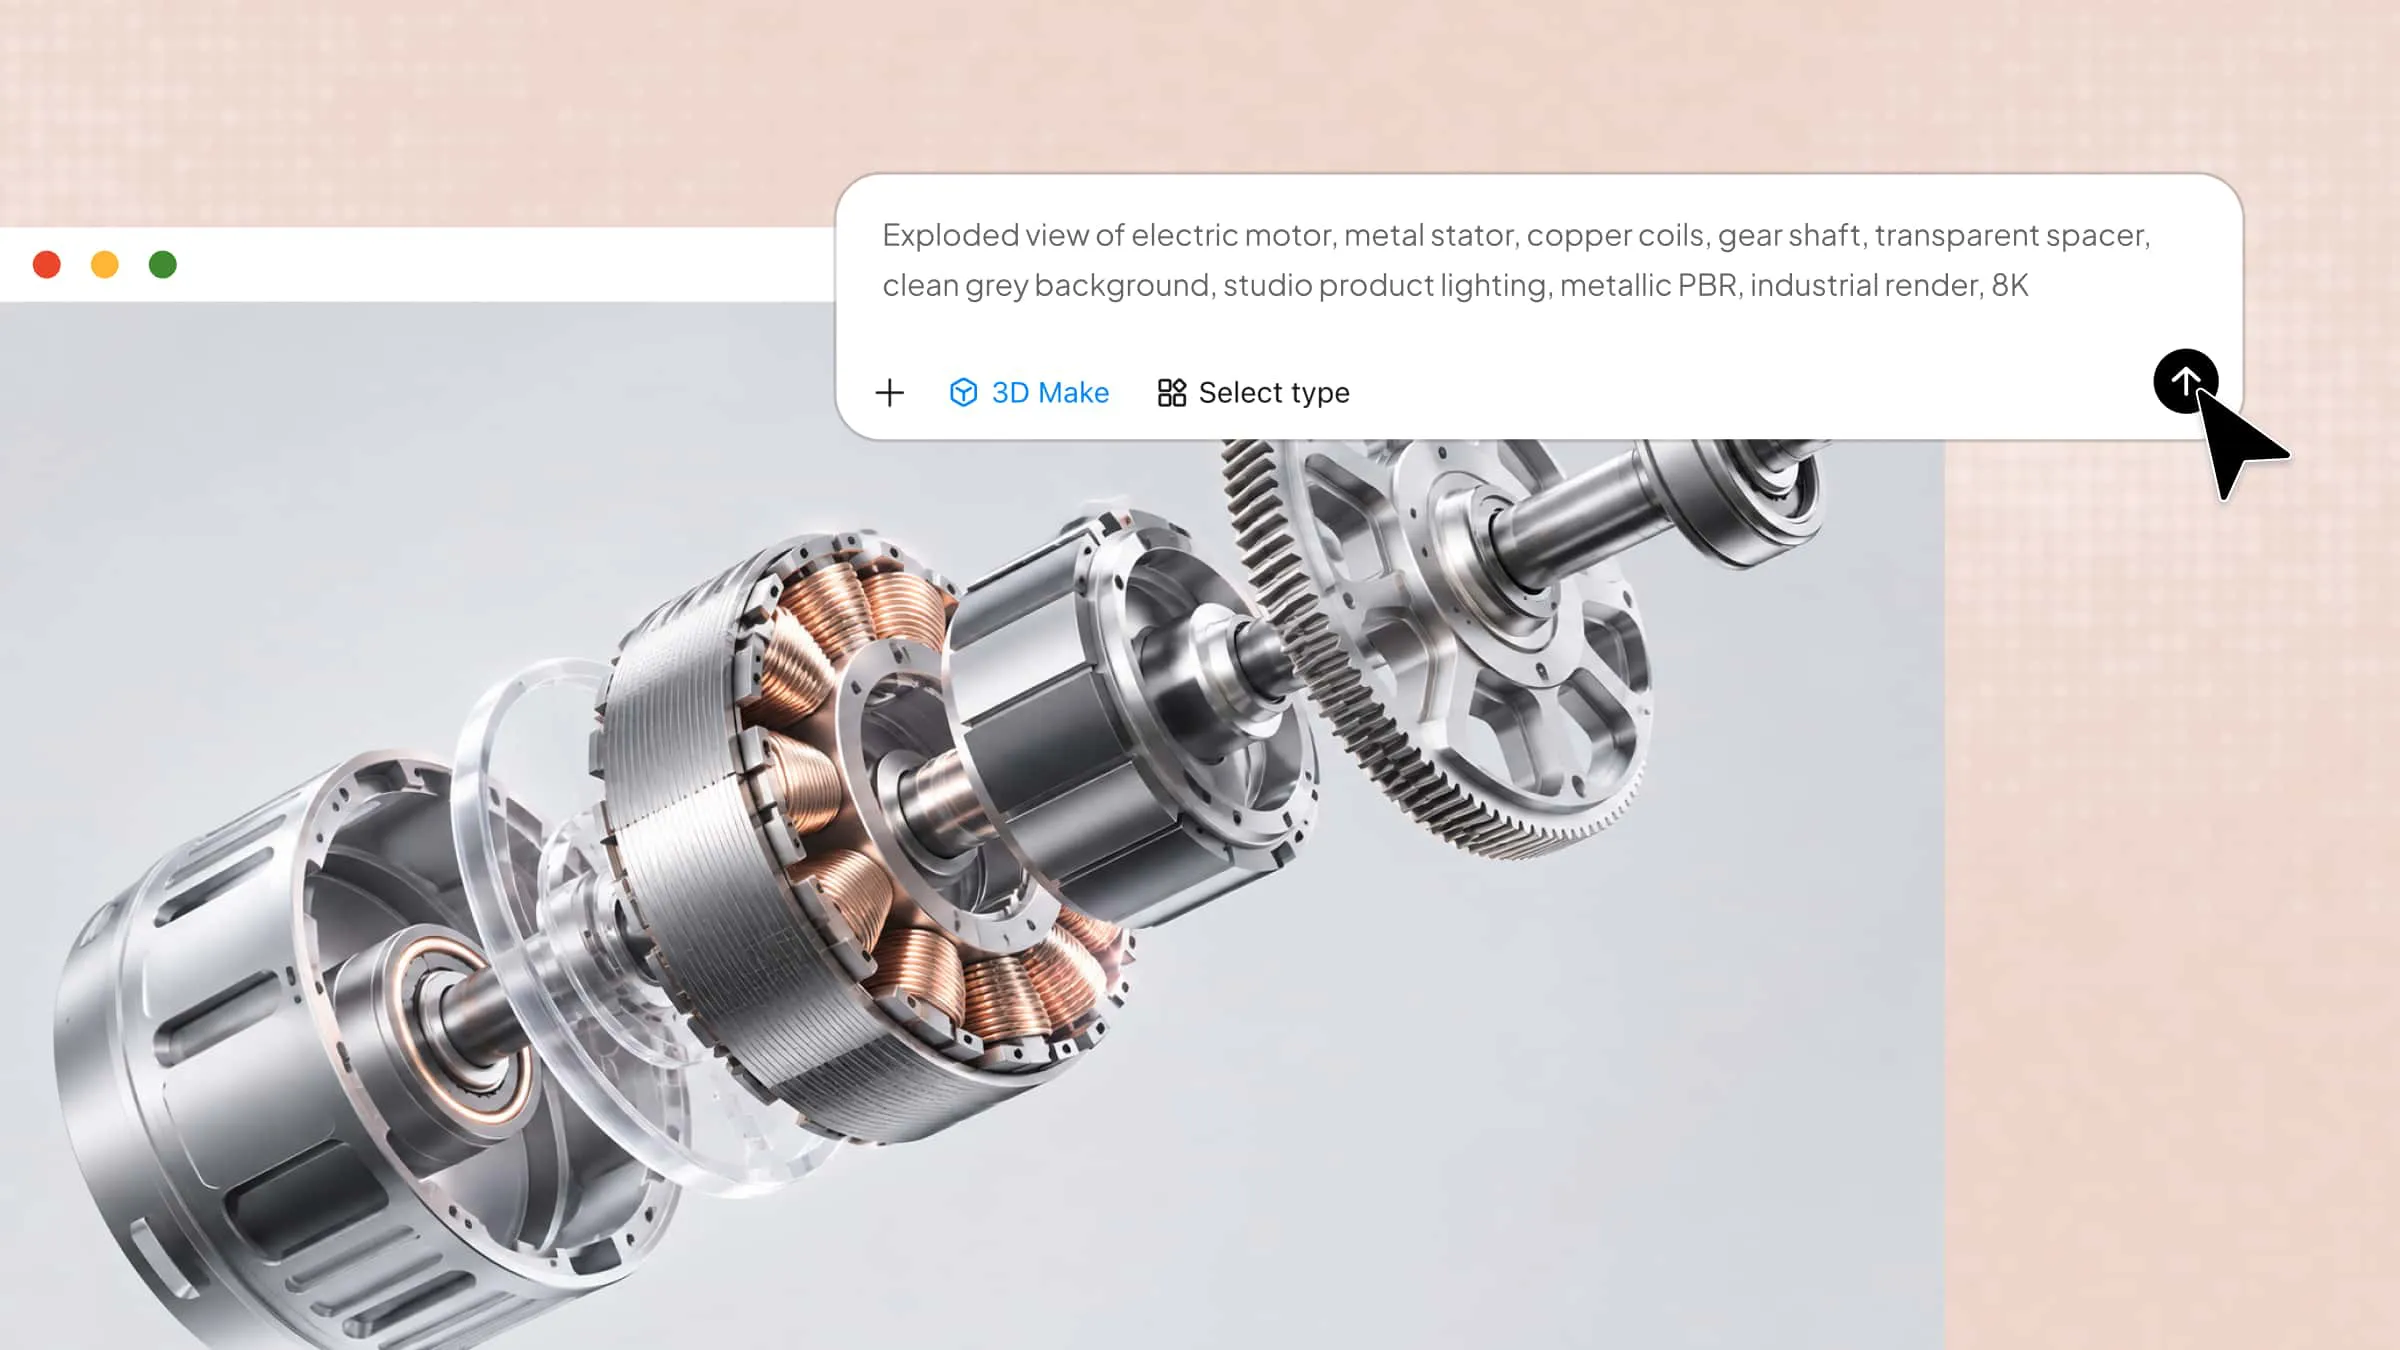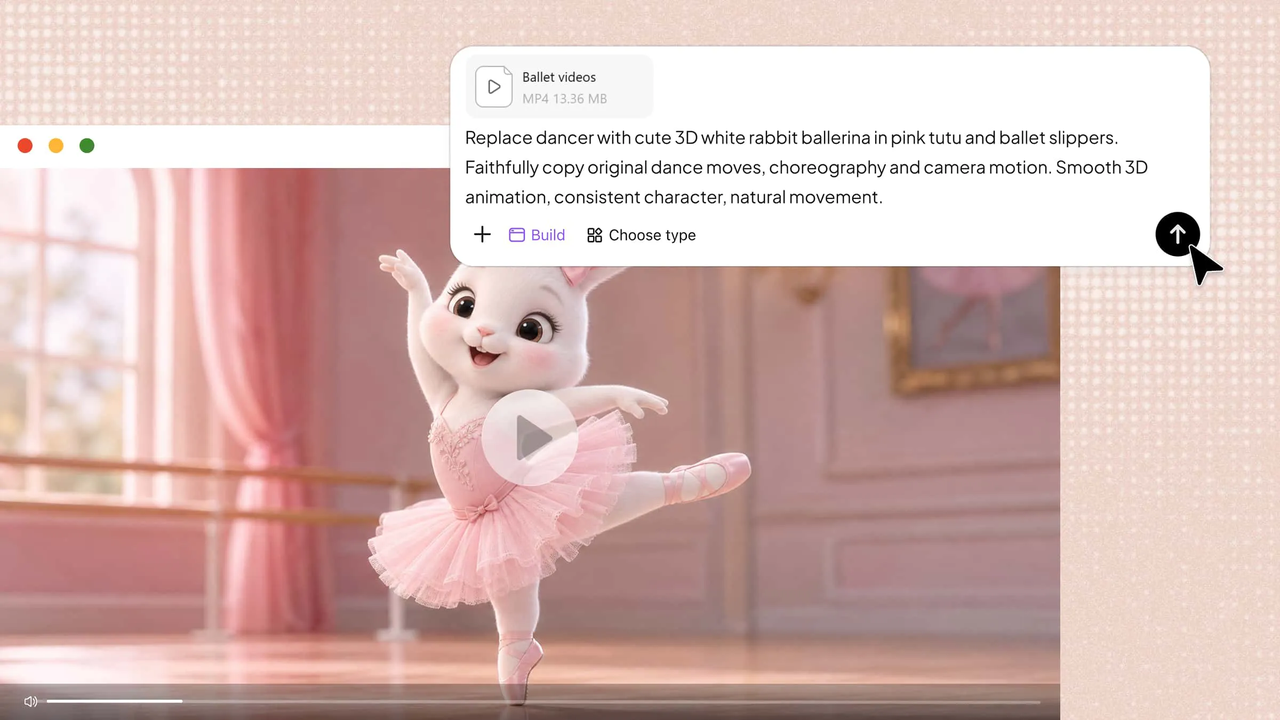
A regular video can be a great starting point for creating 3D scenes, animated objects, and more engaging visuals. With AI tools, you can convert video to 3D animation online and use visual references to bring your ideas to life without building everything from scratch. Kimi 3D Make offers a flexible way to explore 3D styles, shape your creations, and refine details with simple prompts. Read on to learn how to use Kimi 3D Make for this process and create 3D content that fits your vision.
How to convert video to 3D animation online
Kimi 3D Make helps you transform existing videos into 3D-style animations using AI. You can upload a video and describe the animation style, character movements, lighting, and visual effects you want to achieve. The tool uses your input to create a more dynamic 3D animated look, helping you bring real-life footage or creative scenes to life without manually animating every frame. Here's how you can get started with it.
Step 1: Upload the video and enter the prompt
Upload your AI-generated reference video to Kimi 3D Make, then enter a prompt describing the 3D animation style you want. Use a clear description of the character, movements, colors, and background to guide the creation process.
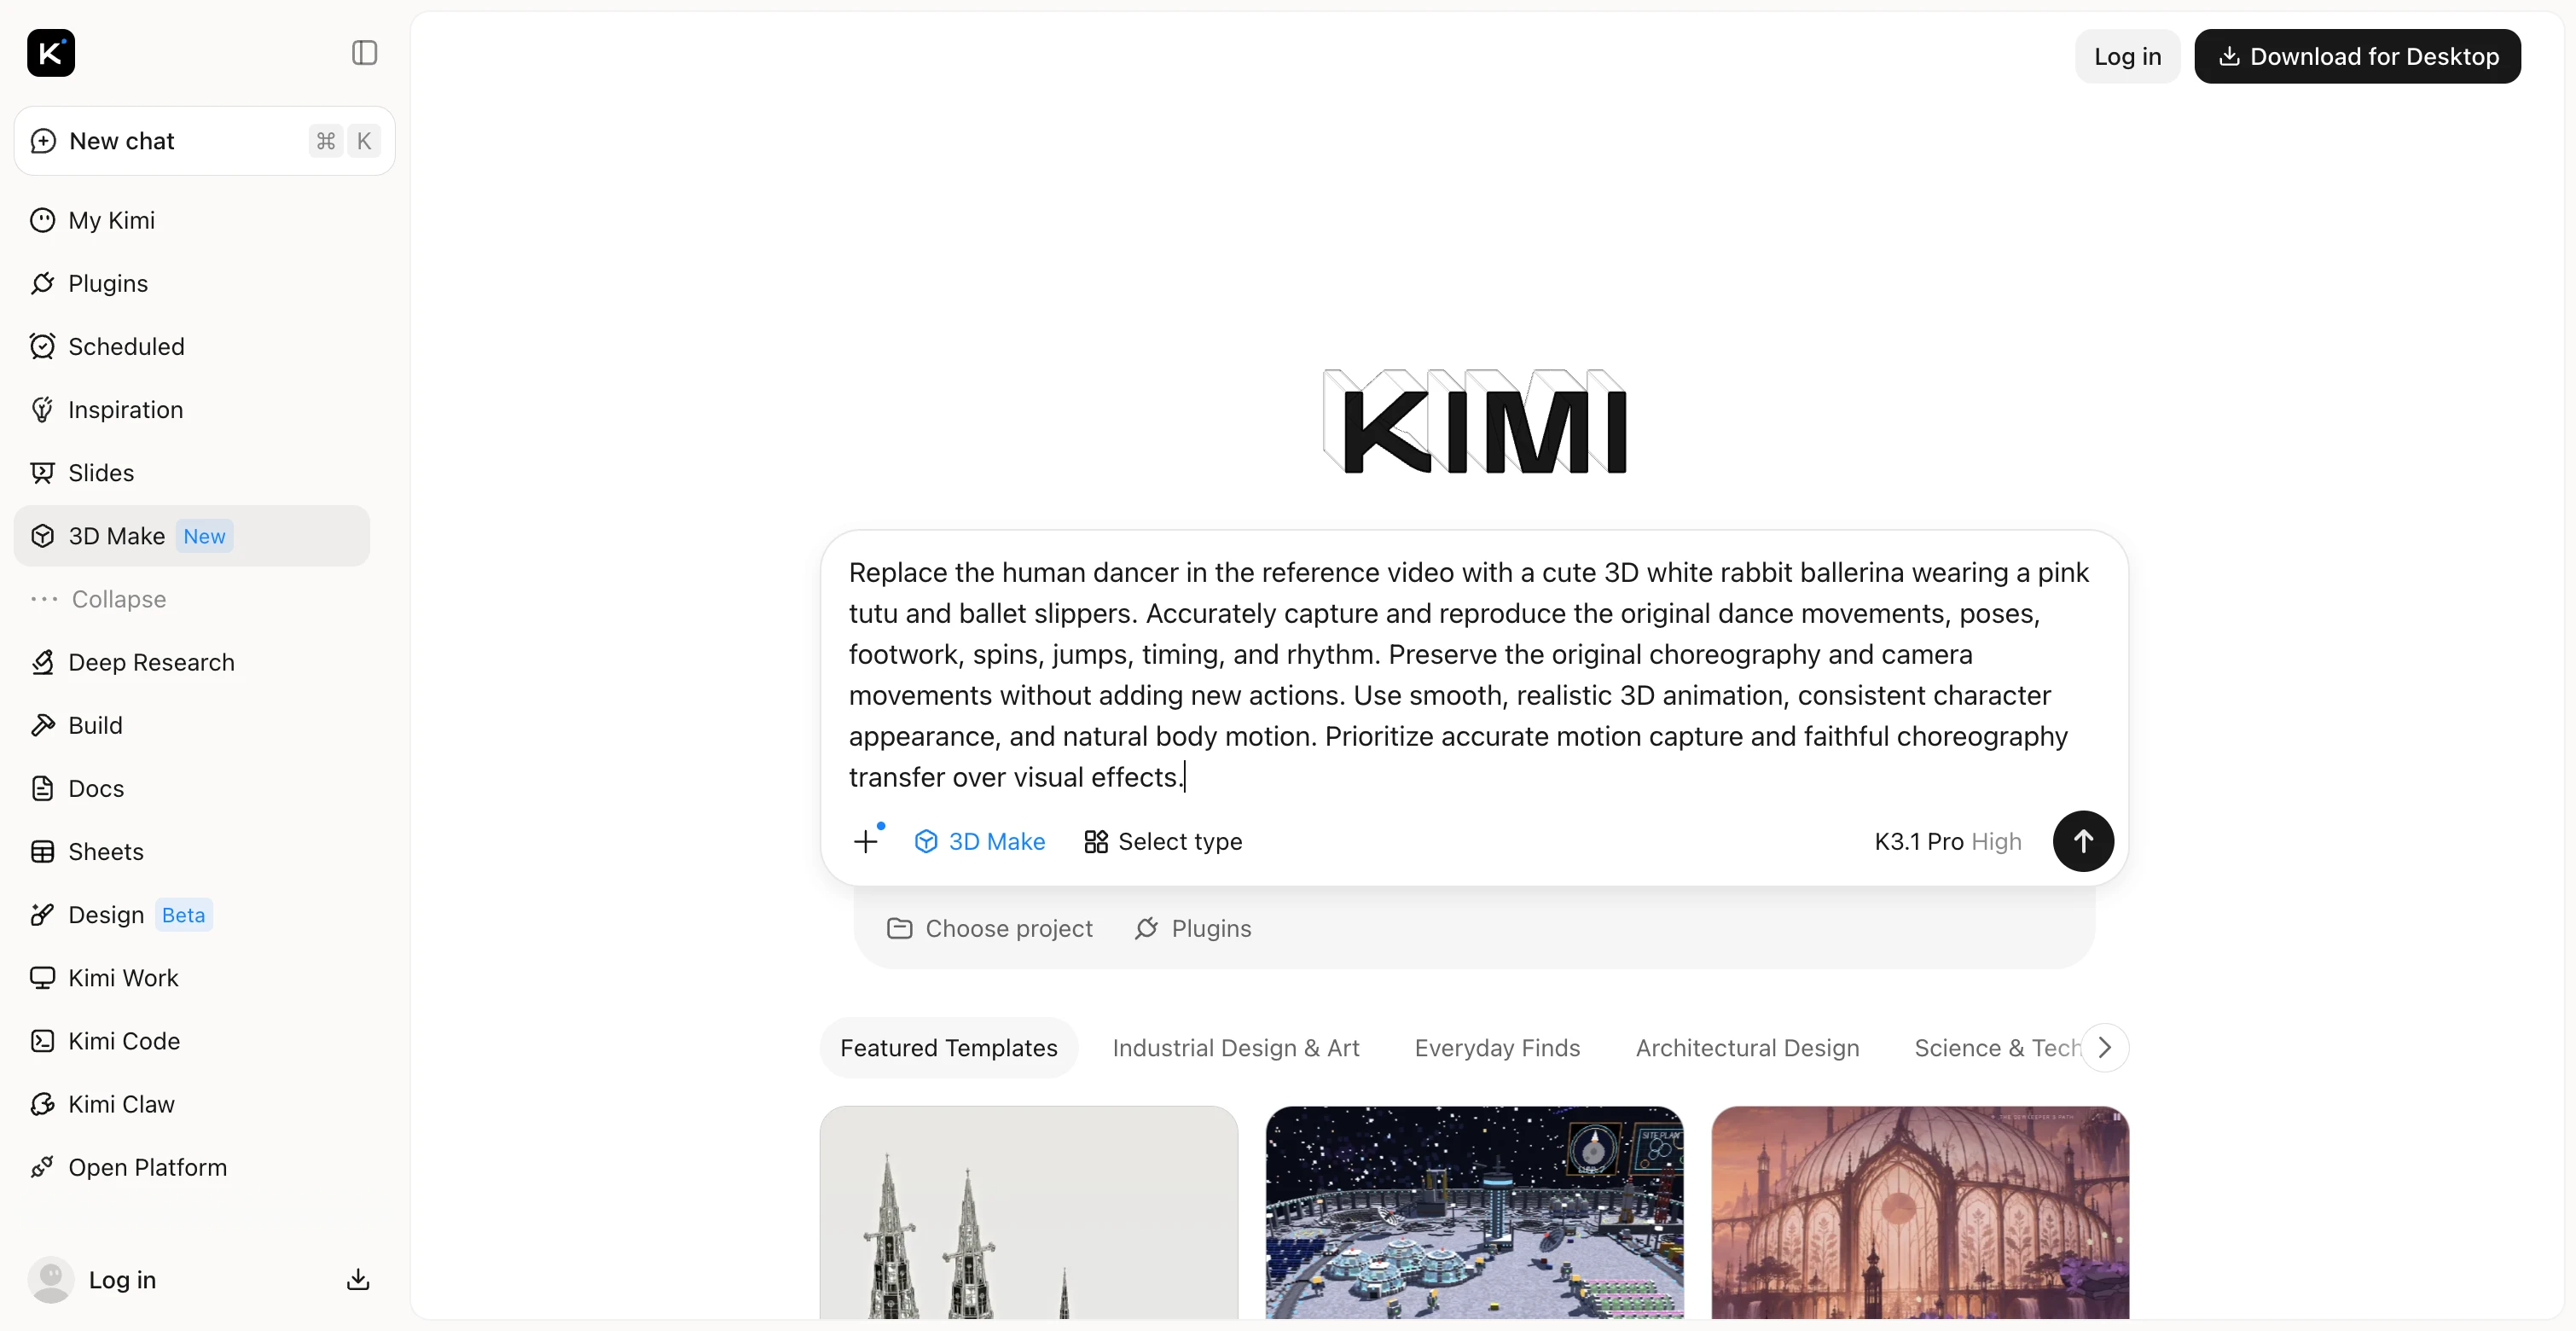
Step 2: Let Kimi 3D Make convert your video to 3D animation
Kimi 3D Make uses your prompt and available visual references to guide the generation of 3D content. AI helps establish the character's shape, materials, proportions, and surroundings, giving you a starting point without requiring you to build every element manually.
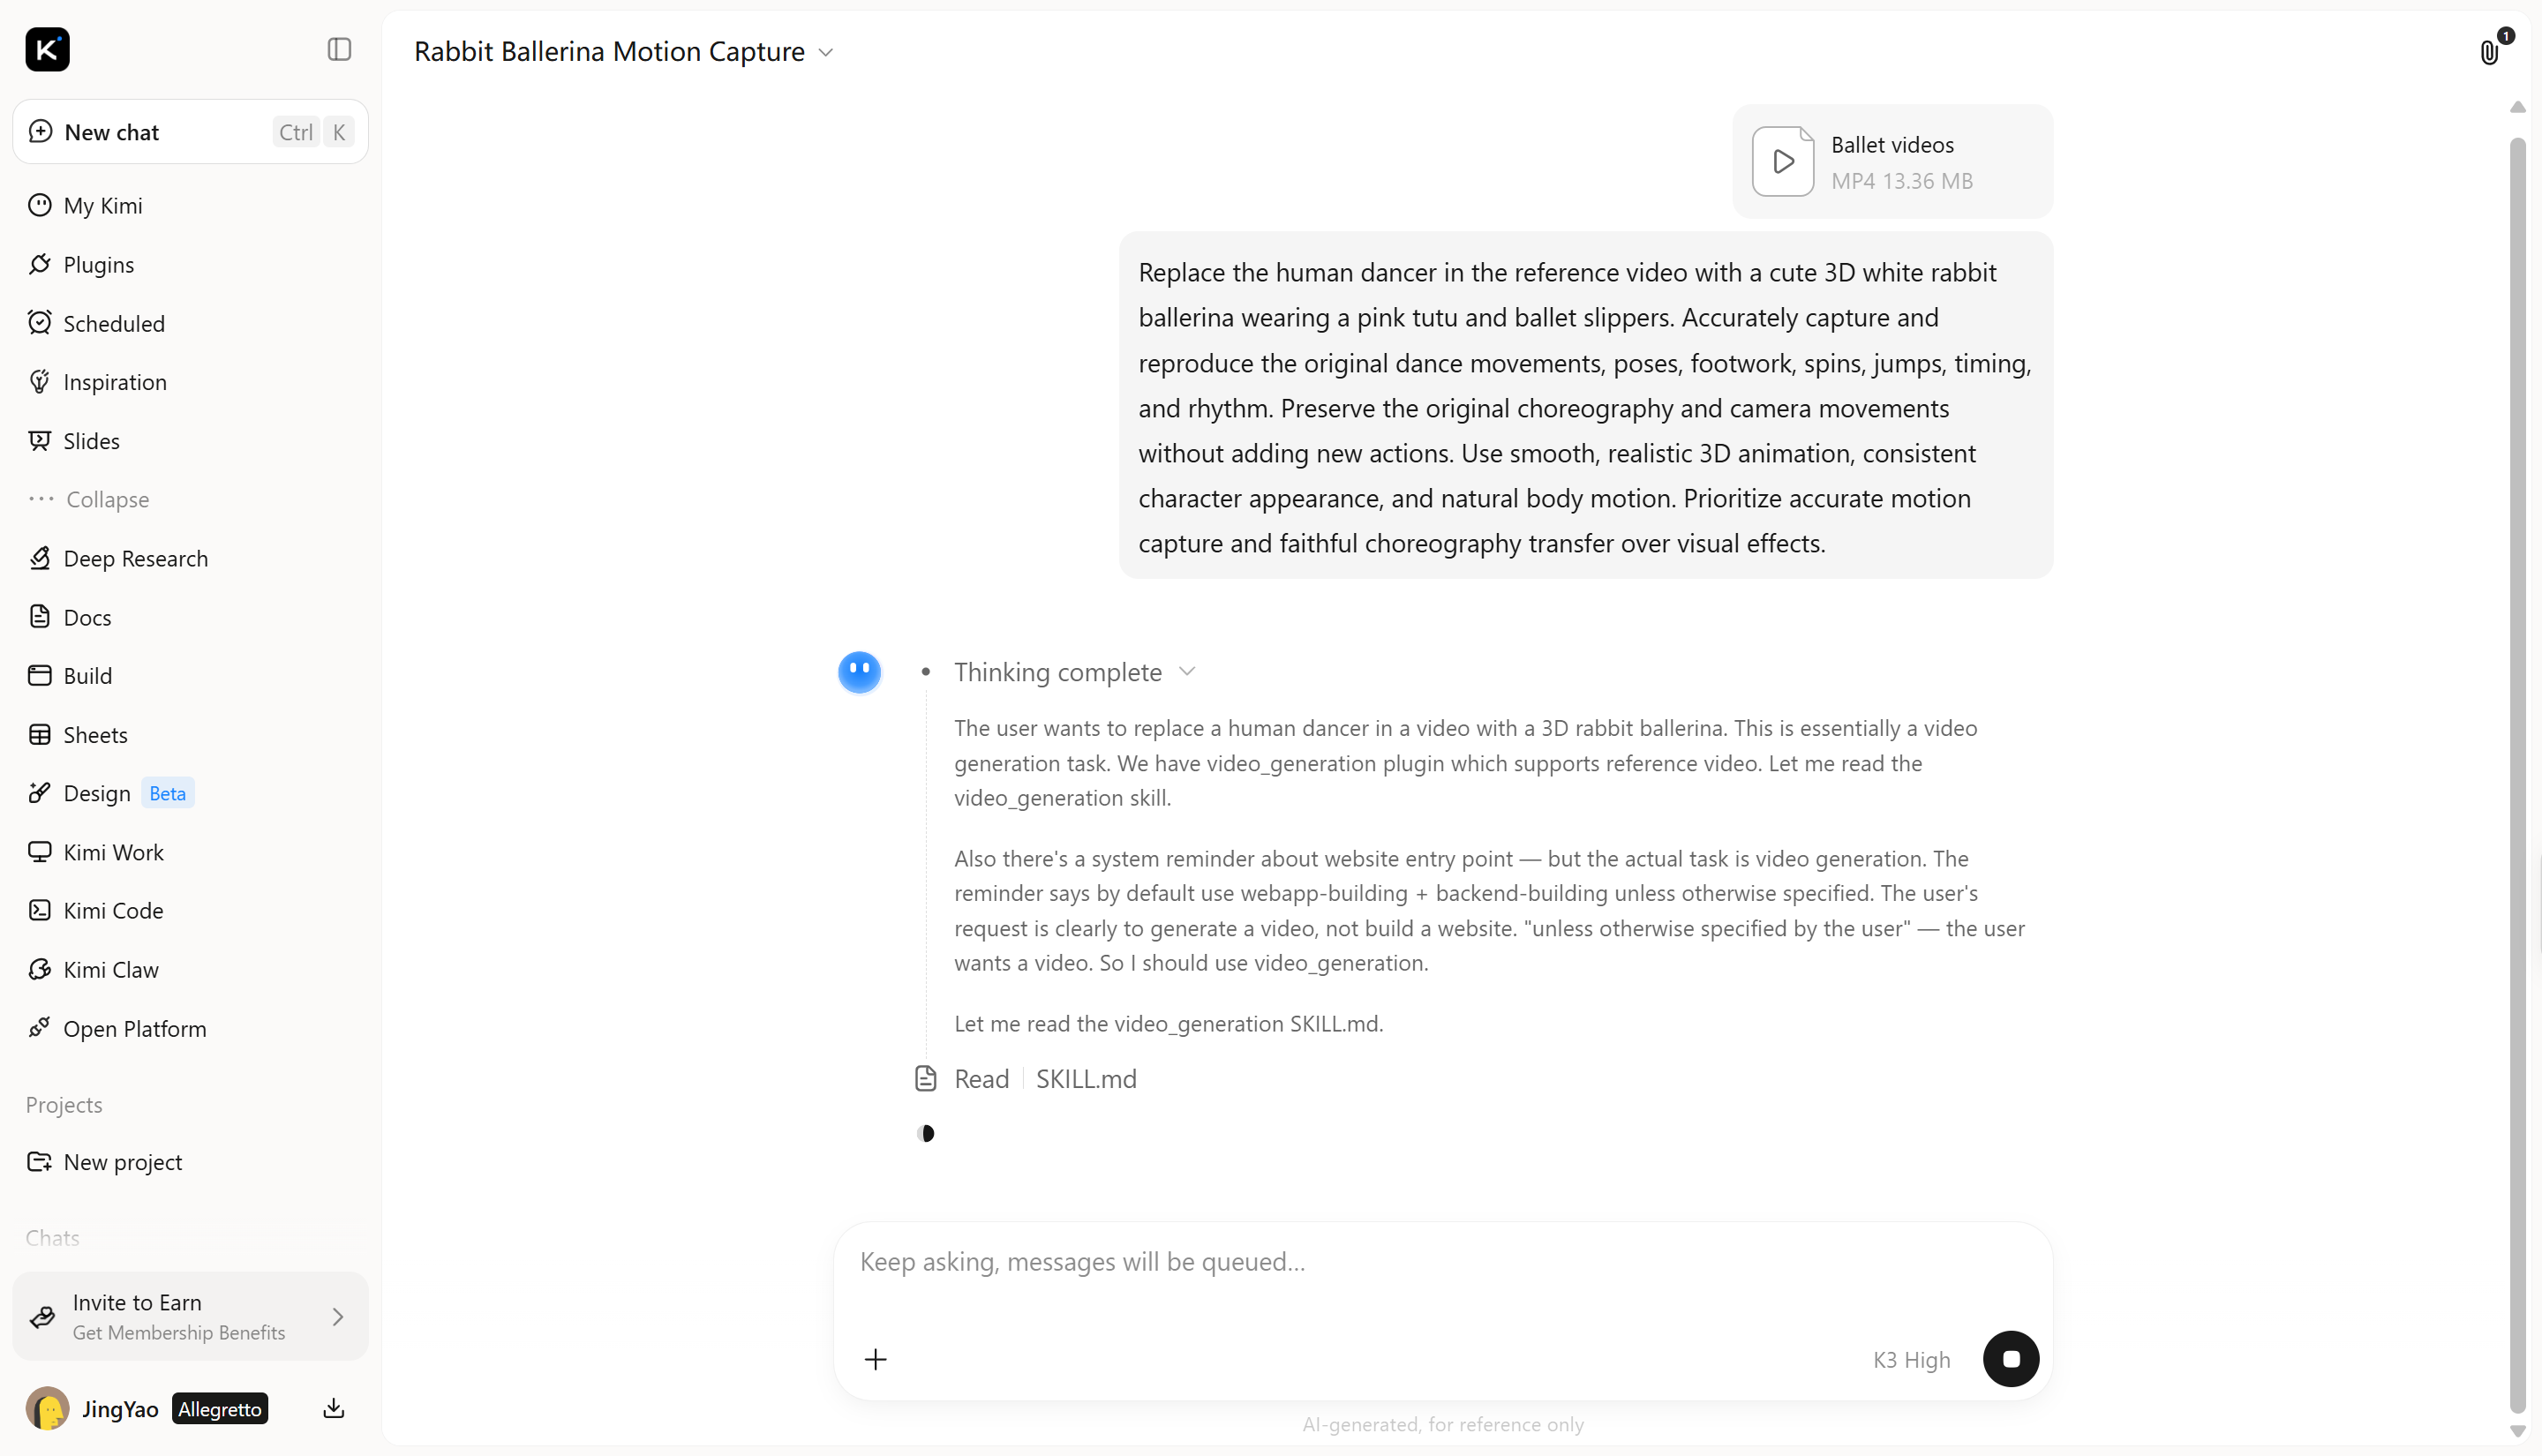
Step 3: Customize the 3D animation with AI editing
Refine the generated result with additional prompts to improve textures, lighting, clothing details, and colors. Make focused changes to specific elements while keeping the overall design consistent.
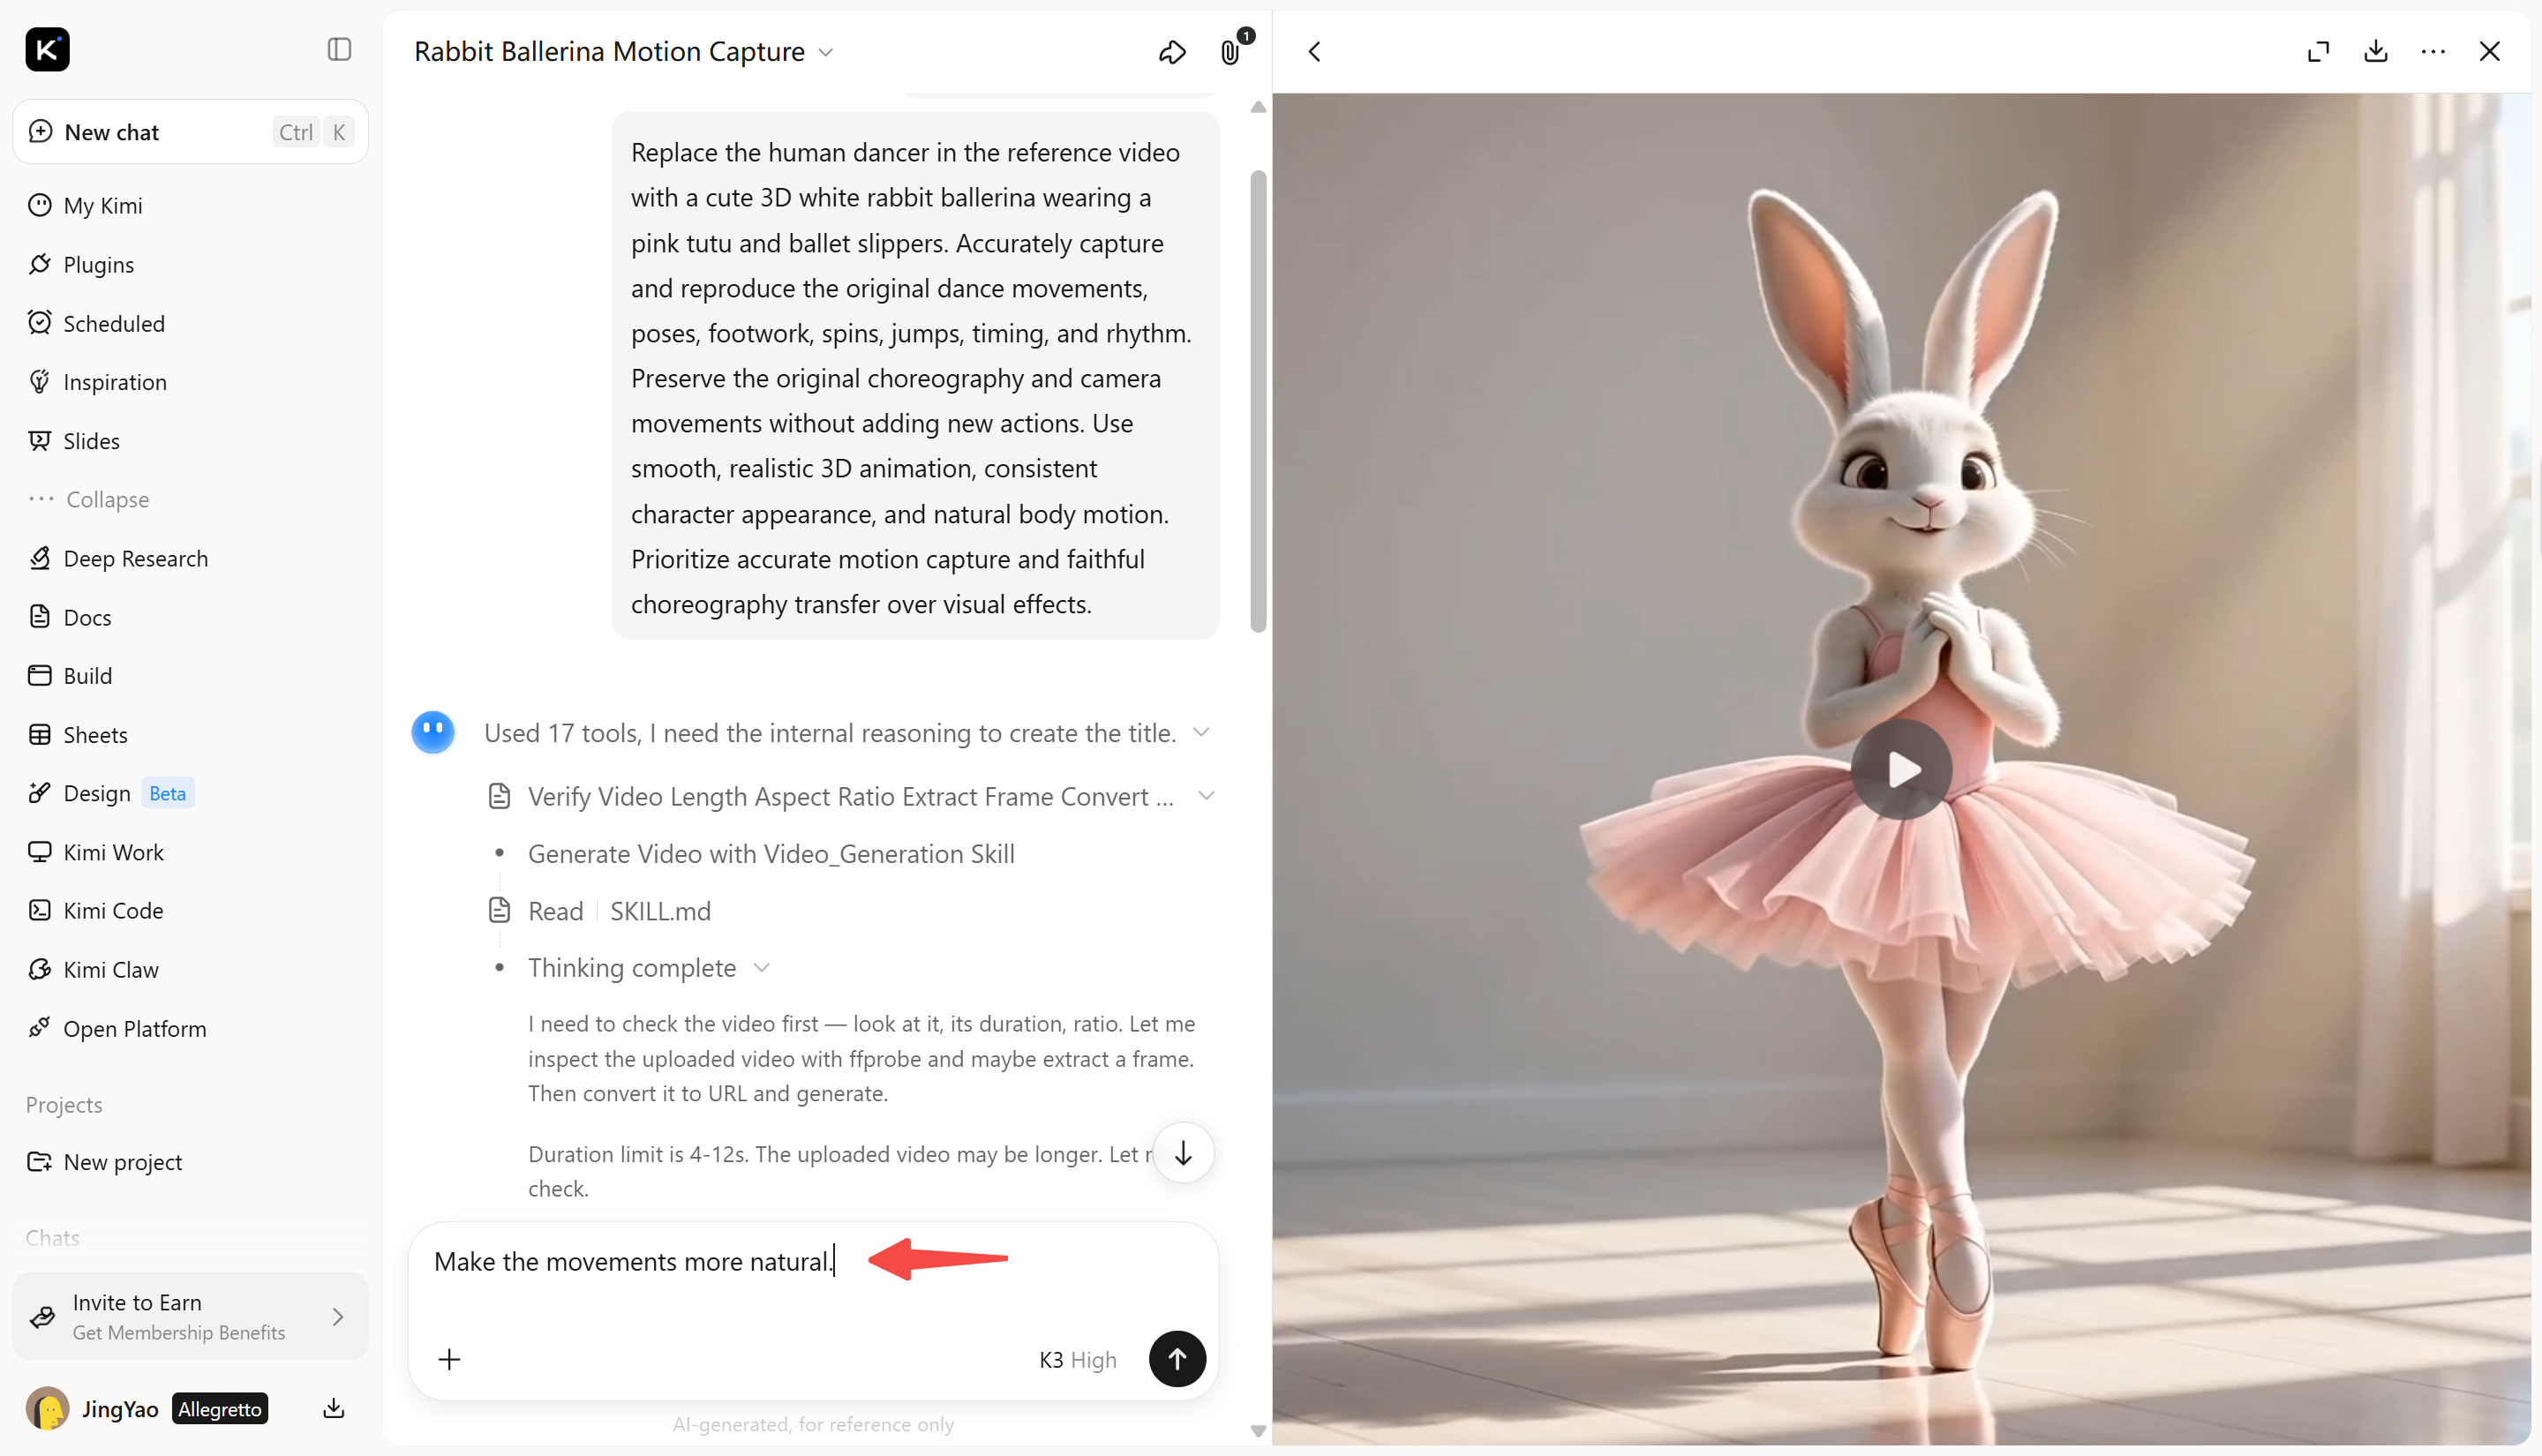
Step 4: Export the final 3D animation
Once you’re satisfied with the animation, export the final video in MP4 format. Review the playback to ensure the motion, timing, and visual effects look as intended before using the video for social media, presentations, or other projects.
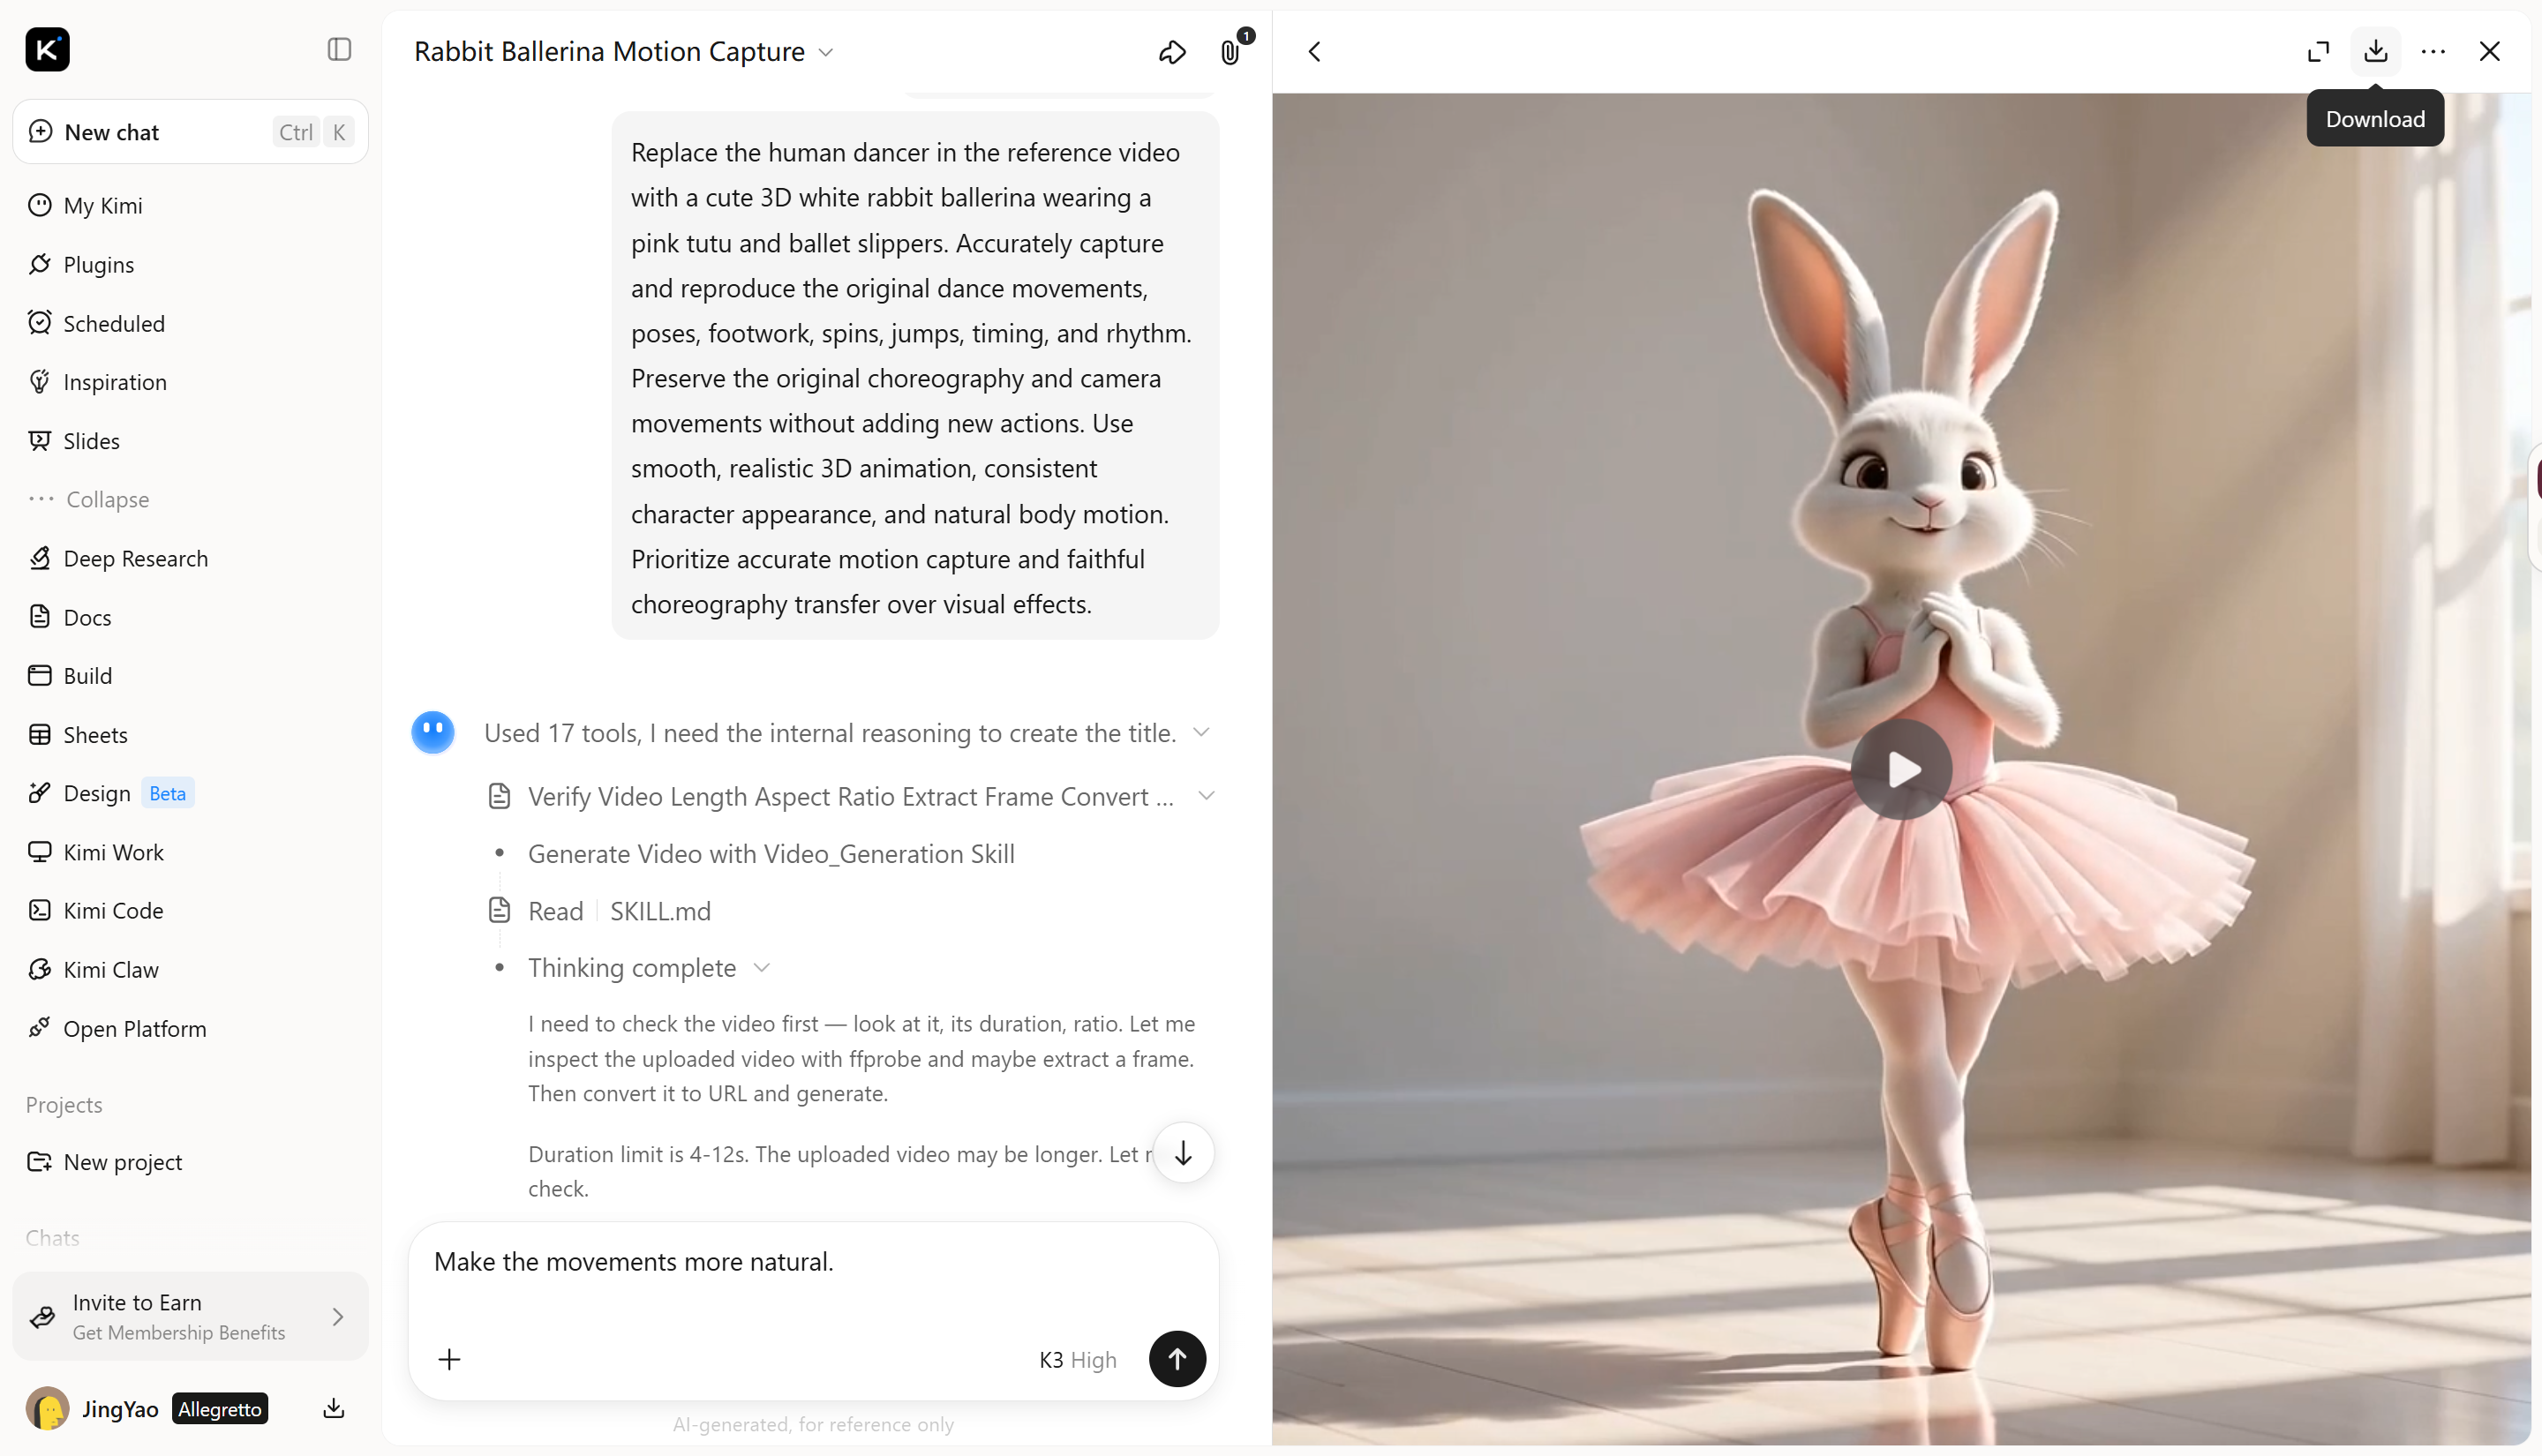
Why choose Kimi 3D Make for converting video to 3D animation
Kimi 3D Make makes it easier to explore 3D concepts using text prompts and visual references. Its AI-assisted modeling features help you develop detailed assets and refine their appearance, making it a useful option for the following tasks.
Turn video motion into 3D animation concepts
Use video footage to communicate movement, timing, and visual direction for your 3D animation. Combine your reference clip with a clear prompt to guide the generated result and explore how real-world motion can translate into dimensional visuals.
Refine animations with conversational prompts
Describe the changes you want in natural language and adjust the result through follow-up instructions. Refine movement, shapes, materials, colors, and visual details to develop an animation that better matches your creative vision.
Create visually polished 3D animations
Kimi 3D Make supports 3D animations with cohesive visual styles, expressive movement, and carefully rendered details. Create realistic product demonstrations for marketing campaigns, stylized character animations for games, or dynamic motion graphics for social media and promotional videos. These visual options help bring creative concepts to life across different projects and platforms.
Iterate on designs without losing progress
Review previous versions and return to an earlier result when a new direction does not work as expected. Compare creative approaches and continue refining your animation while keeping useful iterations available.
Tips for getting high-quality 3D animations
The quality of your reference footage can make a significant difference in the final 3D result. Before you convert AI video to 3D animation, prepare your clip to help the AI interpret the subject, movement, and environment more clearly. Here are some tips to achieve cleaner visuals and a more consistent result.
Use clear, high-resolution video
Choose footage with sharp details so the character, clothing, and background remain easy to identify. Higher-resolution video can provide clearer visual references, helping you convert normal video to 3D animation with fewer ambiguities in important details and better overall visual accuracy.
Keep footage steady, well lit, and uncluttered
Use consistent lighting and avoid excessive camera shake or distracting background elements. A clean composition helps the AI distinguish the main subject from its surroundings and interpret the scene more effectively during the 3D modeling process.
Capture smooth, natural movement
Select footage with fluid movements and minimal motion blur. Sudden changes in direction or partially obscured body movements can make it harder to interpret poses and proportions when creating a 3D representation with consistent character positioning and natural-looking details.
Trim the clip to the key action
Focus on the specific movement or scene you want to recreate instead of including unnecessary footage. A shorter, relevant clip makes it easier to concentrate on the main subject and provides a clearer reference when you convert AI video to 3D animation with fewer distracting visual elements.
Preview the animation and correct motion issues
Review the generated result to identify inconsistencies in character proportions, movement, or scene details. Use targeted prompts to refine individual elements and improve visual consistency without changing parts that already look right, helping you achieve a more polished final result.
Choose the right export format
Choose a video format that suits your intended use. MP4 works well for social media, websites, and presentations. Before exporting, check the resolution and frame rate to ensure your 3D animation looks smooth and clear.
Conclusion
Creating 3D animations from video footage is a practical way to explore new visual ideas and bring creative concepts to life. The right approach depends on your reference material, desired style, and how you plan to use the final result. If you want to convert video to 3D animation online, Kimi 3D Make is worth exploring for your next project. Try different prompts to see how they shape your results. Give Kimi 3D Make a try and discover new ways to develop your 3D ideas.