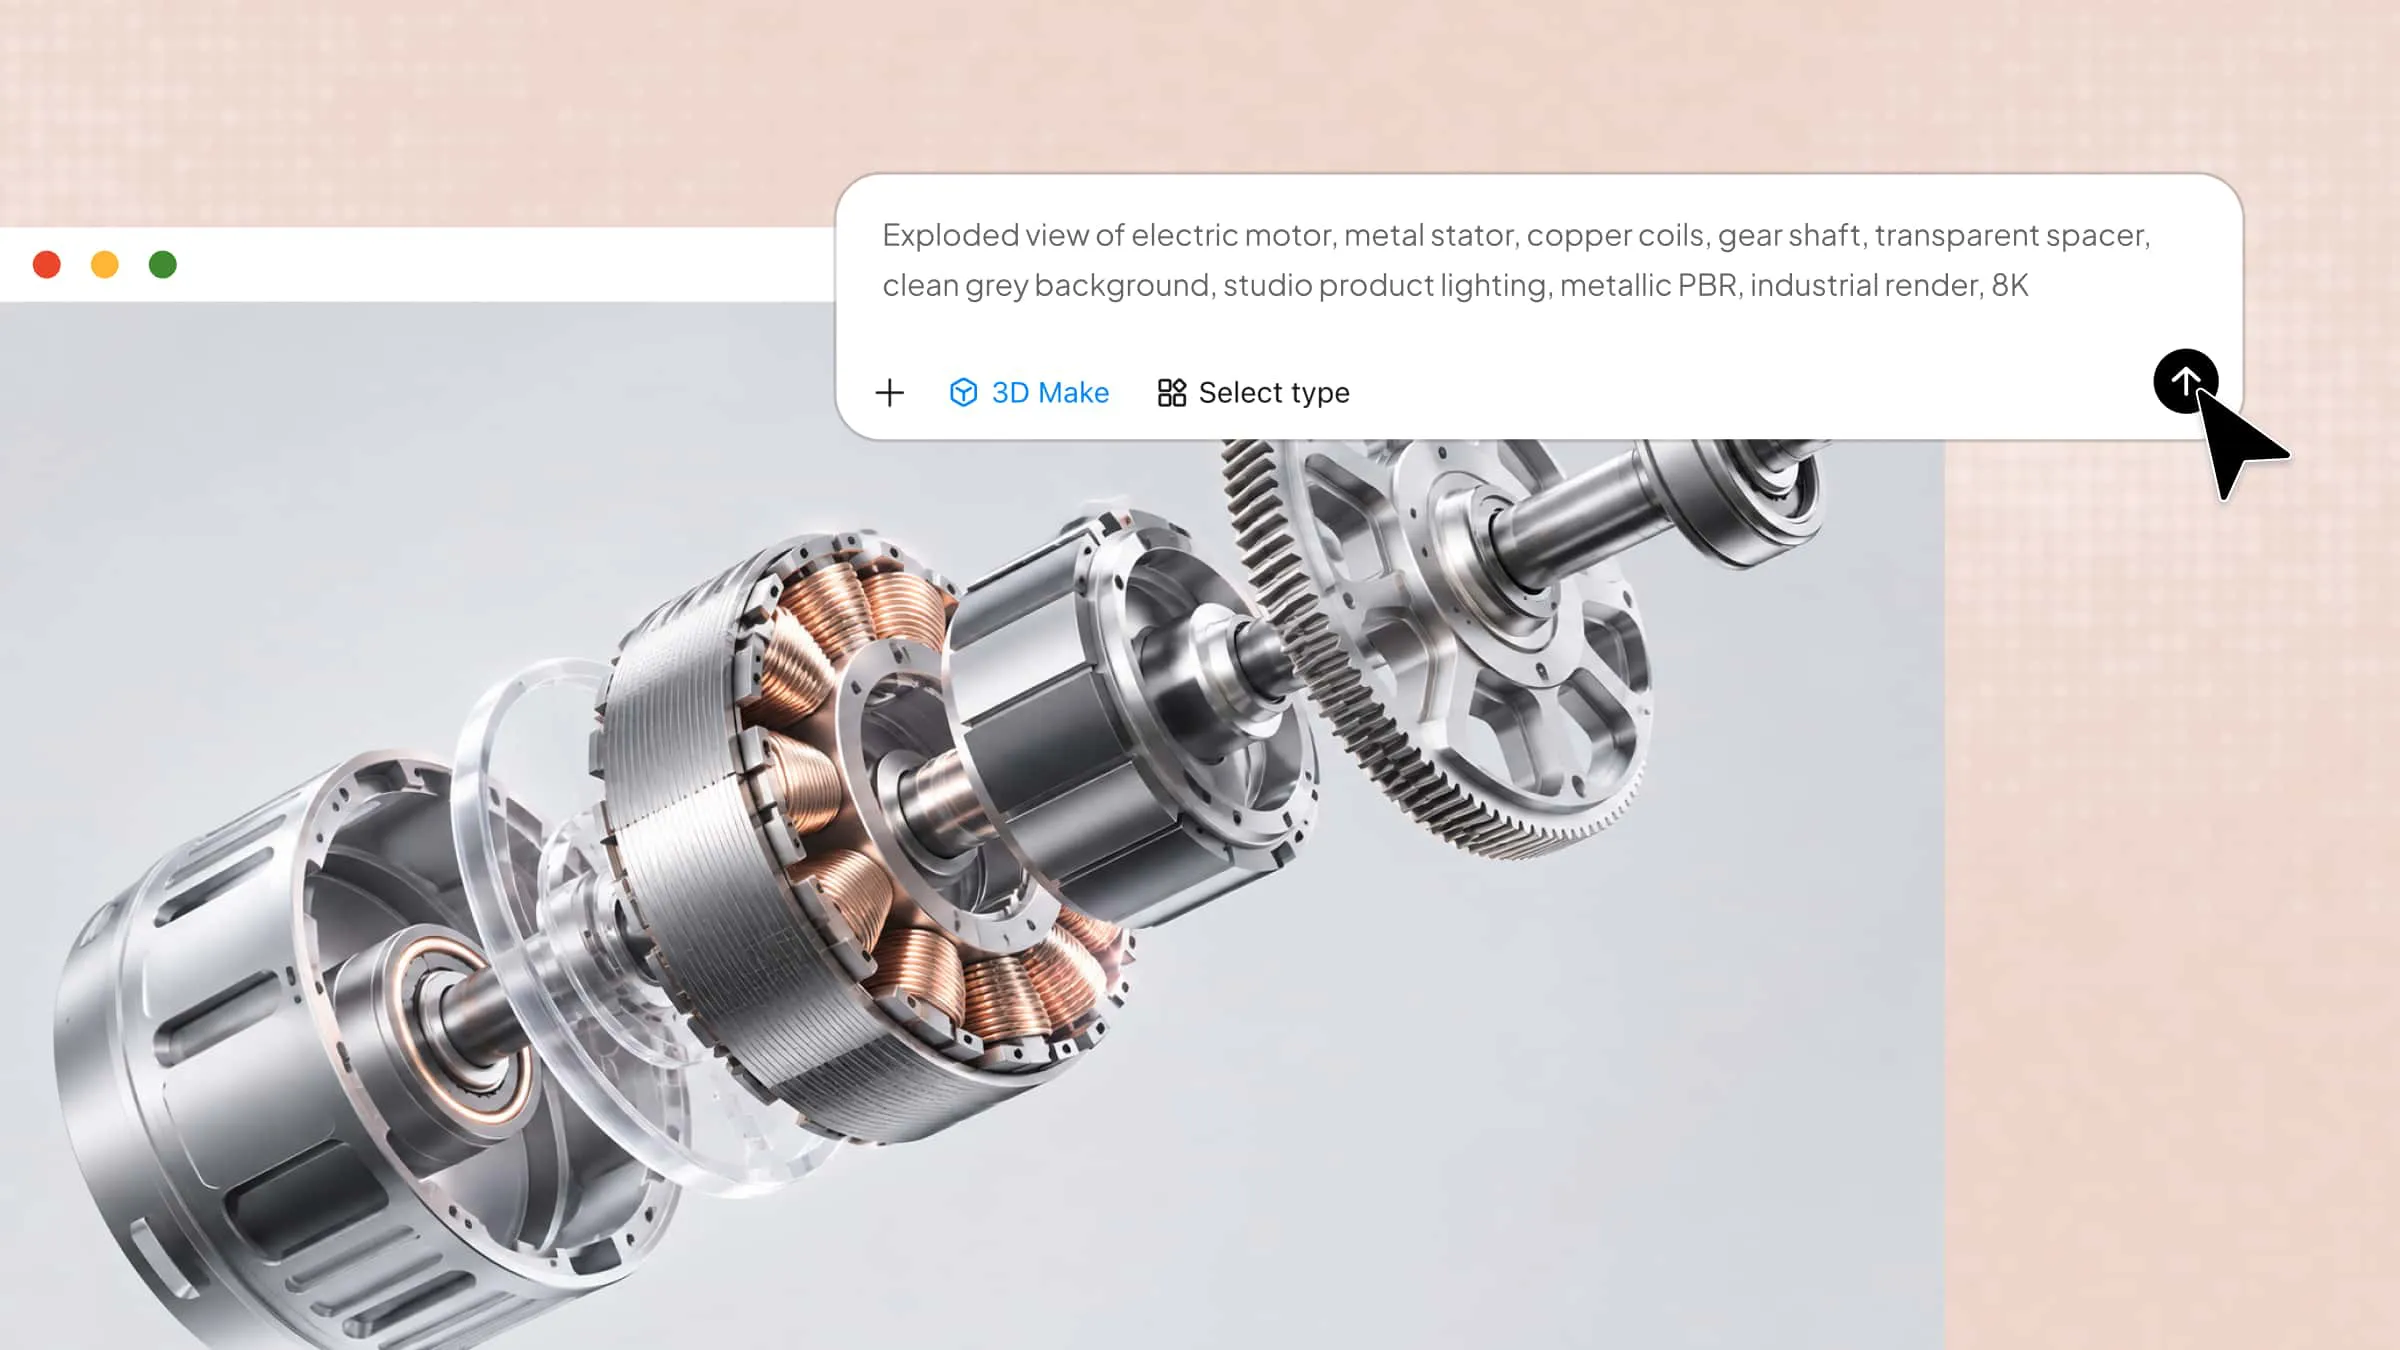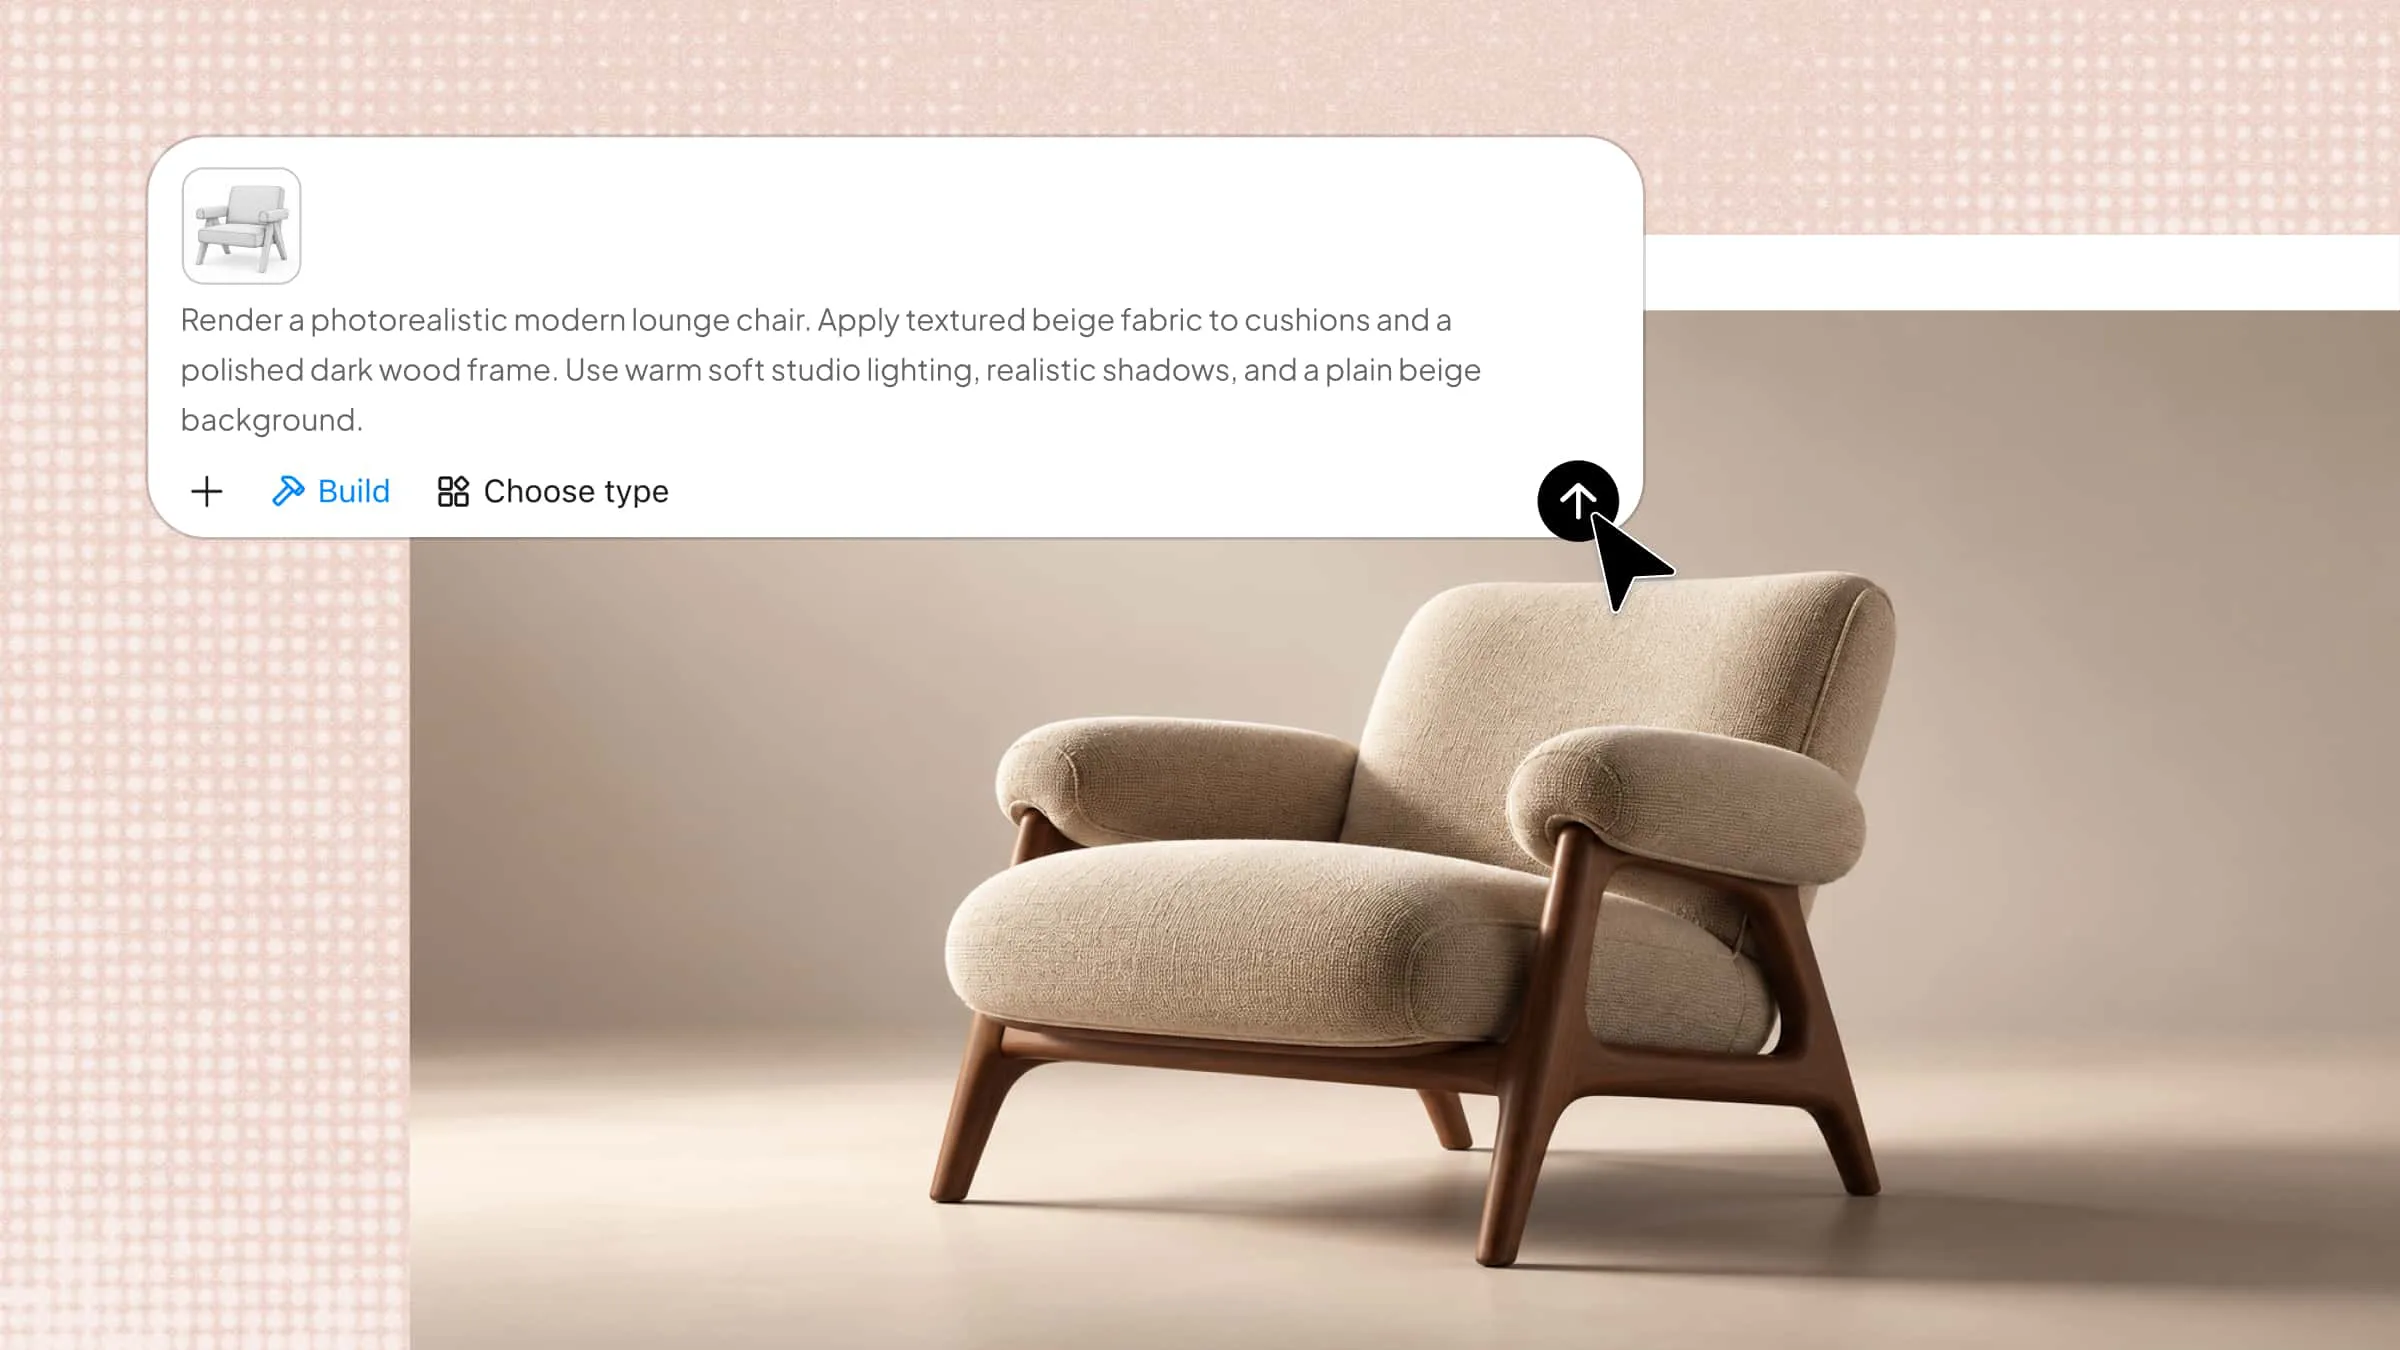
Even a well-shaped 3D model can feel incomplete without the right textures. From realistic wood grain to shiny metal, textures add depth, enhance surface details, and bring materials to life. Blender provides tools to apply image textures, adjust material properties, and fine-tune surface appearances. Keep reading to learn how to add textures in Blender and make your 3D designs look more realistic.
How to add textures in Blender
Getting textures right doesn't have to be complicated, even if you're new to Blender. With a few simple steps, you can apply images, adjust materials, and bring more depth to your 3D models. Let's walk through the process, starting with the basics.
Apply a texture in Blender
Adding a texture in Blender starts with creating a material and loading an image to use on your model. Once the image is applied, you can adjust its placement and scale so the pattern fits the object's surface. Follow these steps to apply a texture to your 3D model and get it looking right.
Step 1: Create a material and load the texture
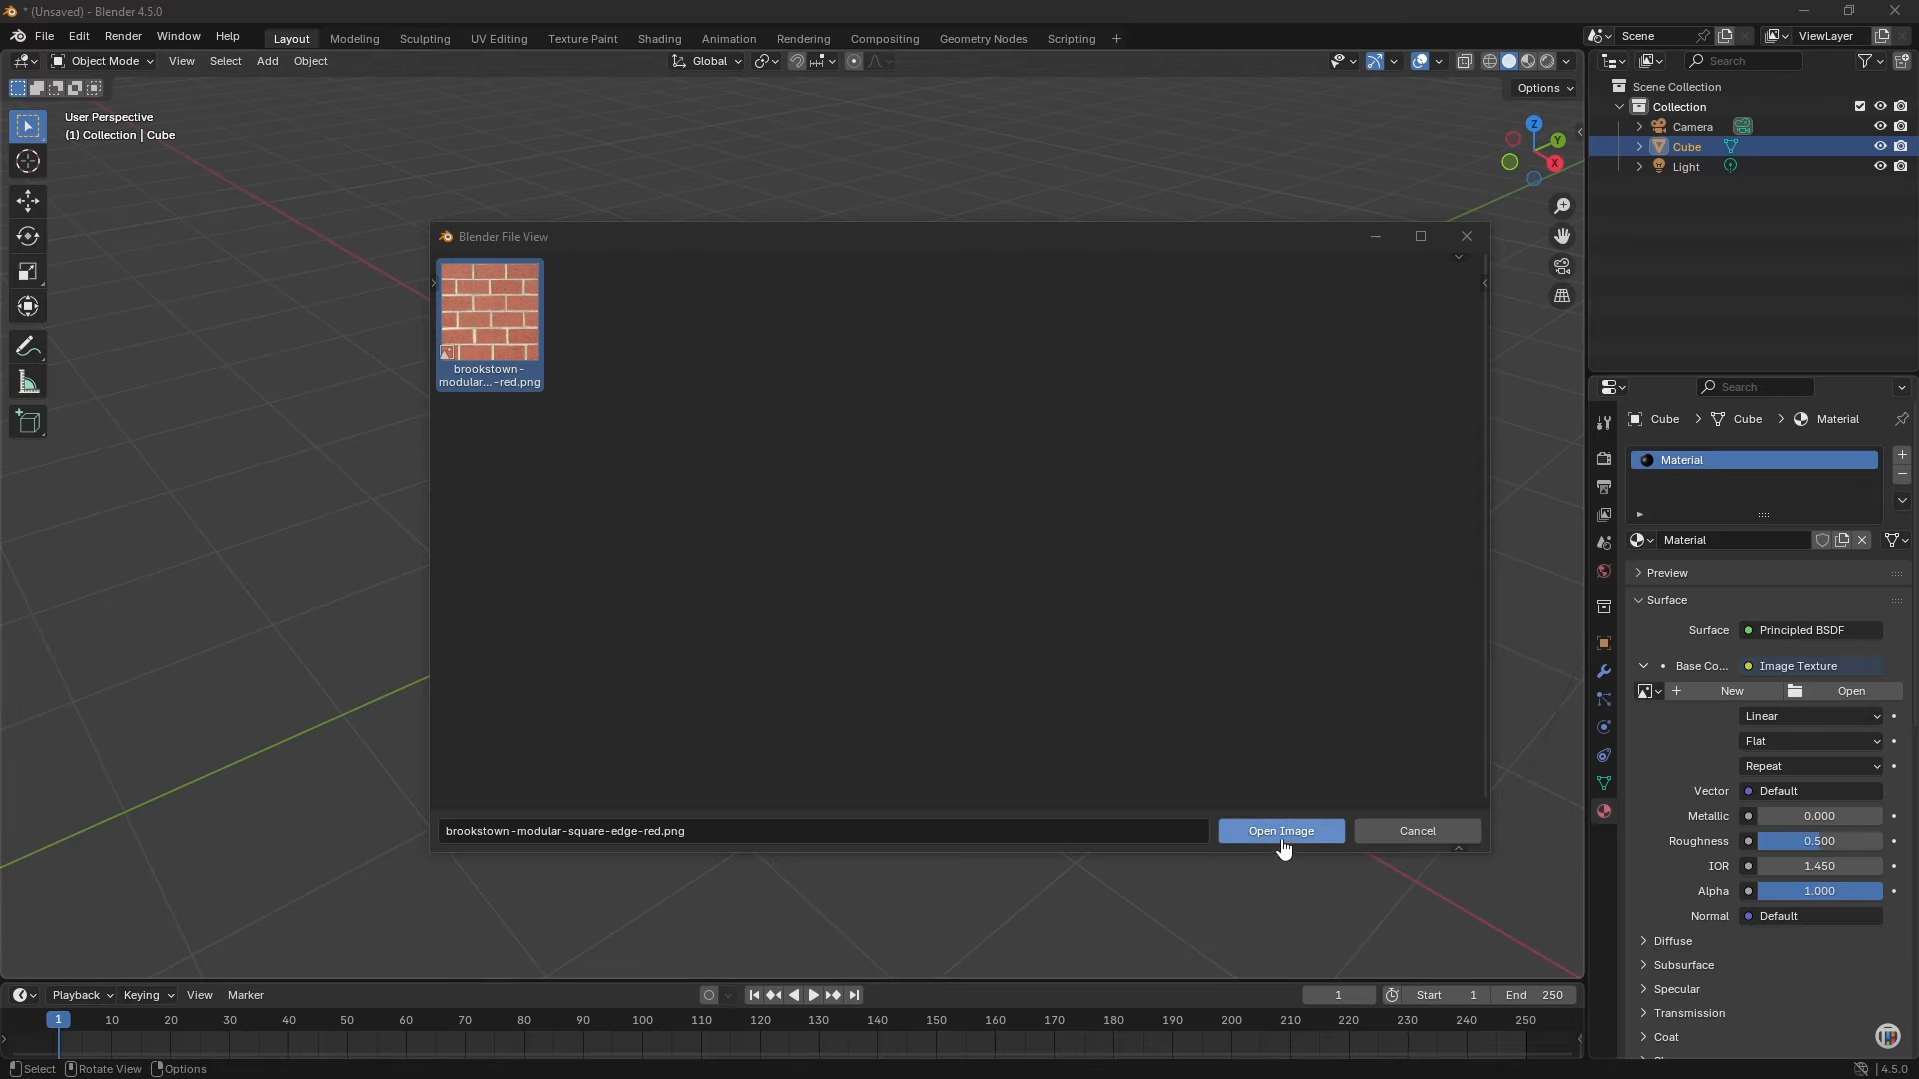
Select your 3D object, then open the "Material Properties" tab on the right side of the screen.
Under "Base Color," click the yellow circle and choose "Image Texture" from the available options.
Click "Open," select the image file you want to use, and click "Open Image" to load it into the material.
Step 2: Preview the texture on your model
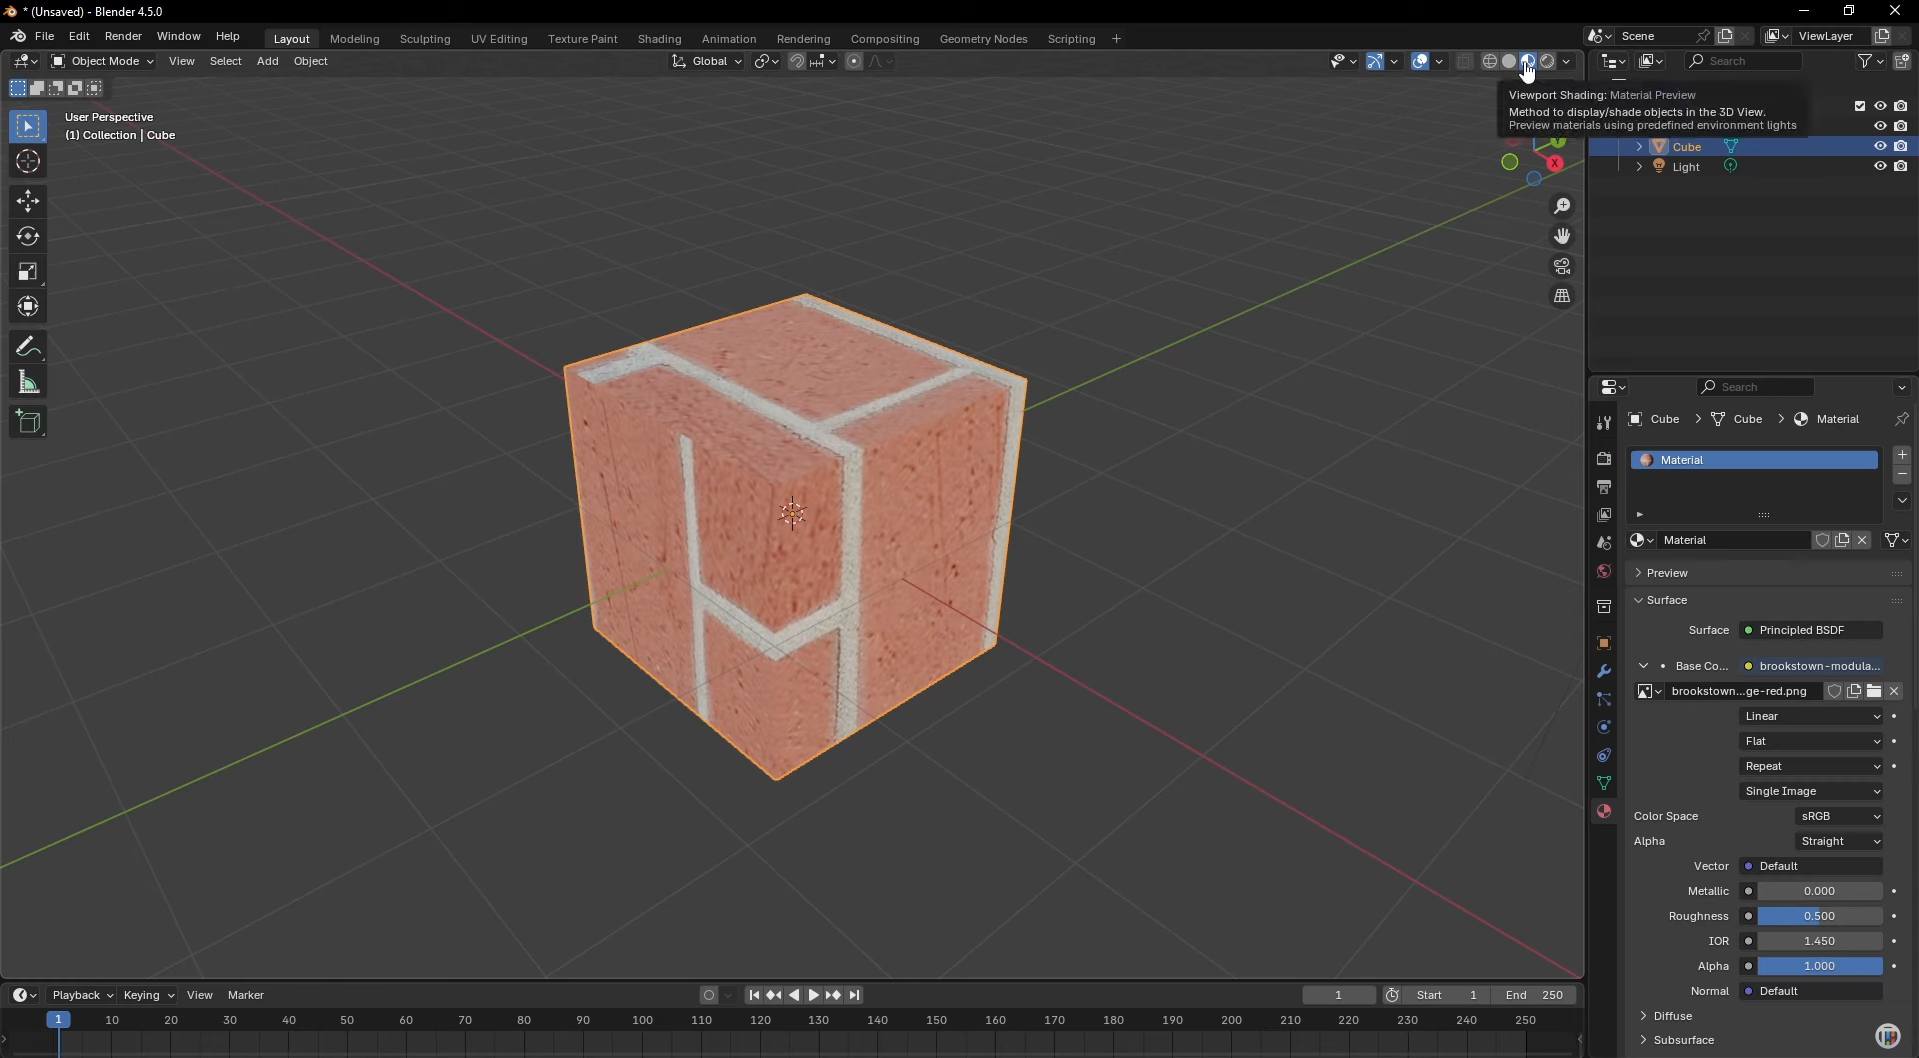
Look at the viewport shading options in the top-right corner of the 3D Viewport.
Click "Material Preview" to display the texture on your object, or choose "Rendered" to see it with scene lighting.
If the object still appears gray, check that the image is loaded correctly and that you have selected the right material.
Step 3: Adjust the texture using UV mapping
Press "Tab" to enter "Edit Mode," then press "A" to select all faces of your object.
Switch one editor area to "UV Editor" using the "Editor Type" menu in the corner of that area.
In the UV Editor, select the UV layout and press "S" to scale or "G" to move it until the texture fits the model's surfaces. Use "R" to rotate the layout if the pattern appears in the wrong direction.
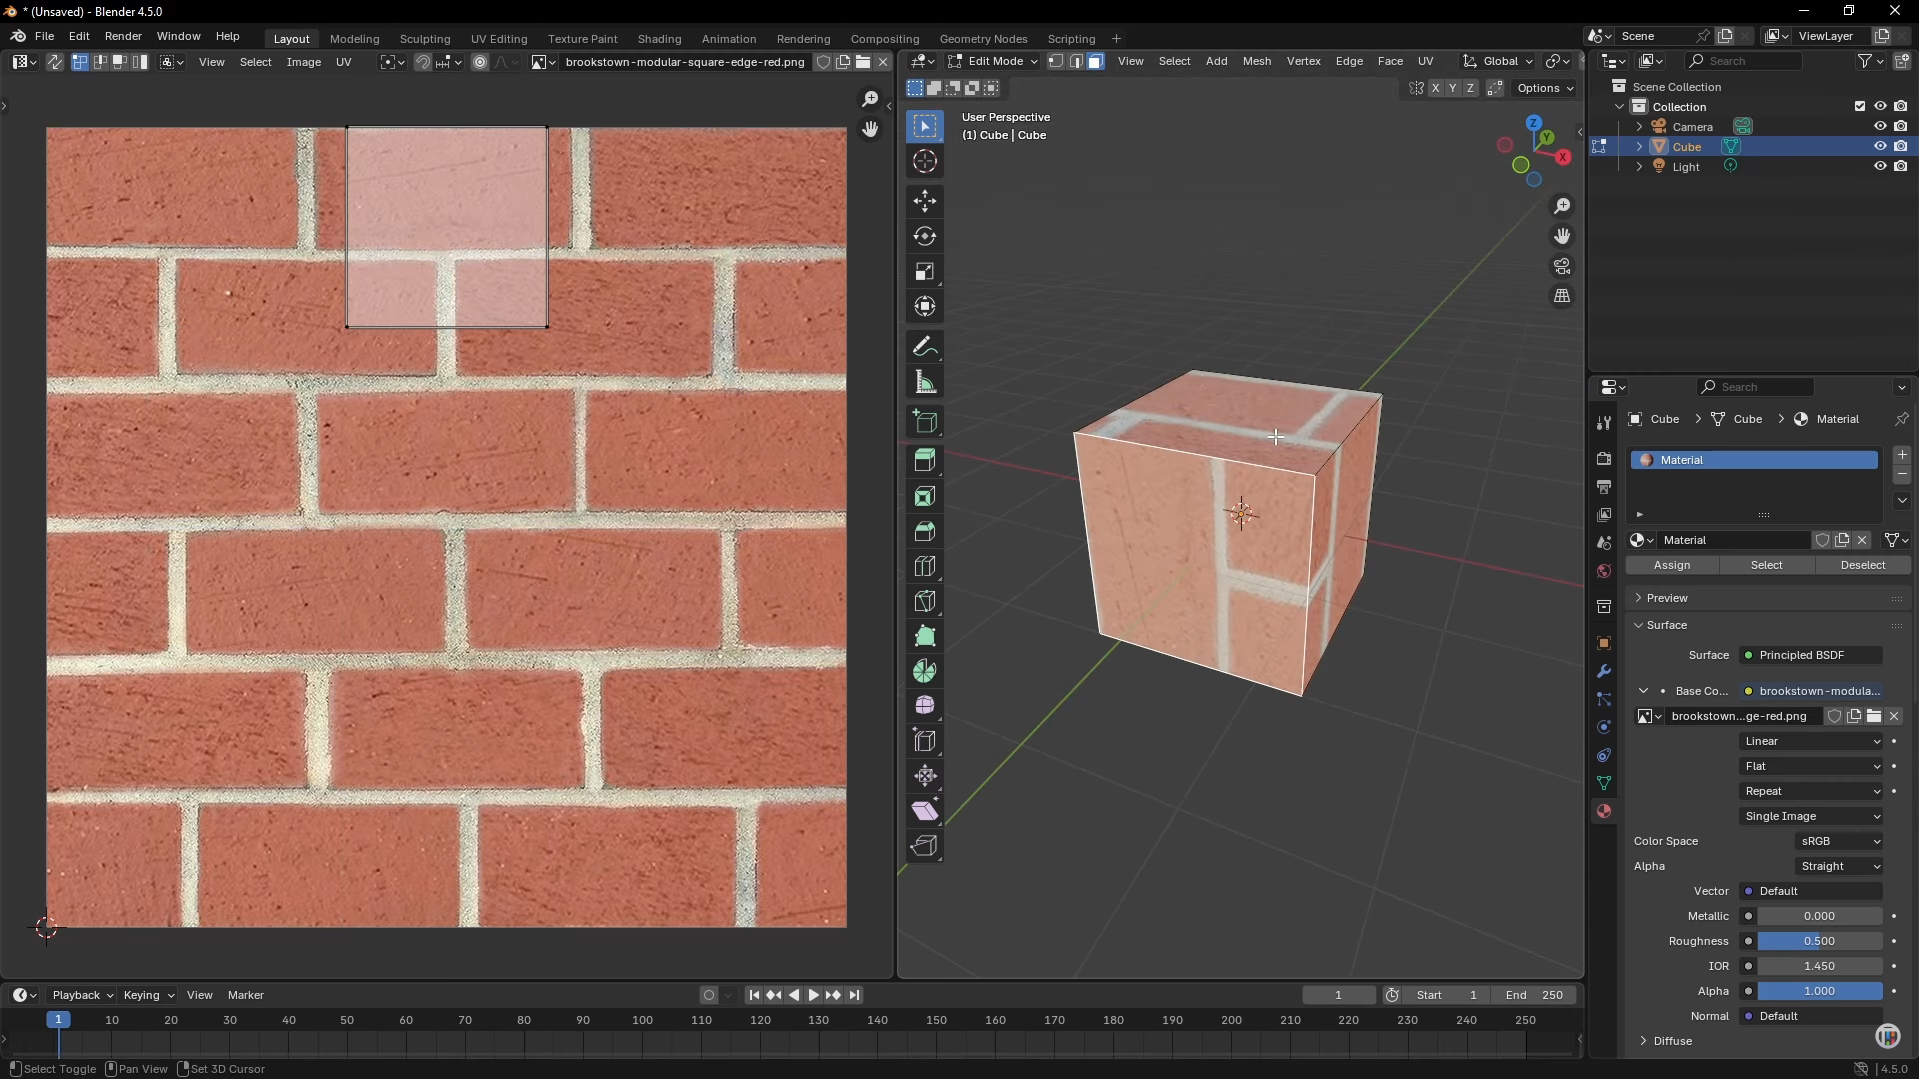
Step 4: Apply texture to a specific face
In "Edit Mode," switch to "Face Select" using the face-selection icon or by pressing "3" on the keyboard's number row.
Under "Material Properties," click "+" to add a material slot, select "New," and adjust its "Base Color" if you want a separate material for other faces.
Select the face you want to texture, choose the material containing your image texture, and click "Assign" to apply it only to that face.
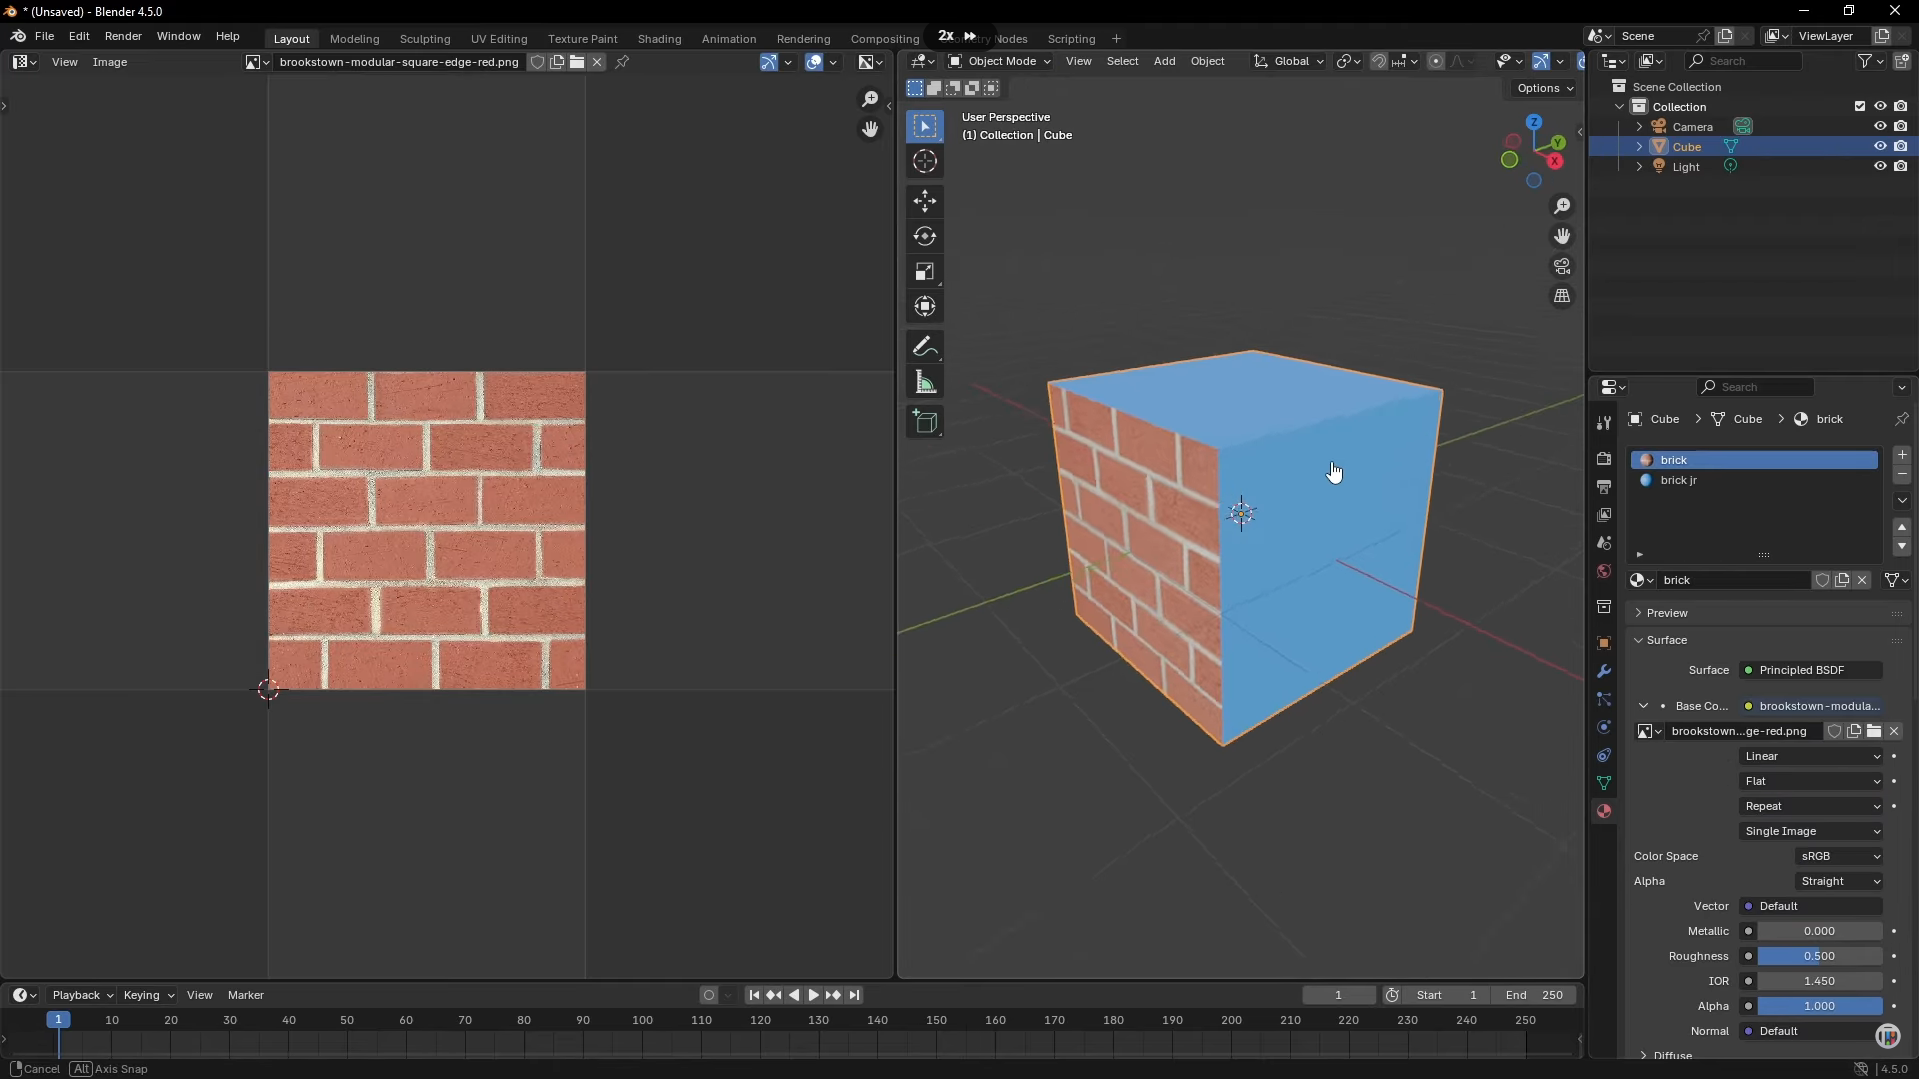
Add multiple textures to an object in Blender
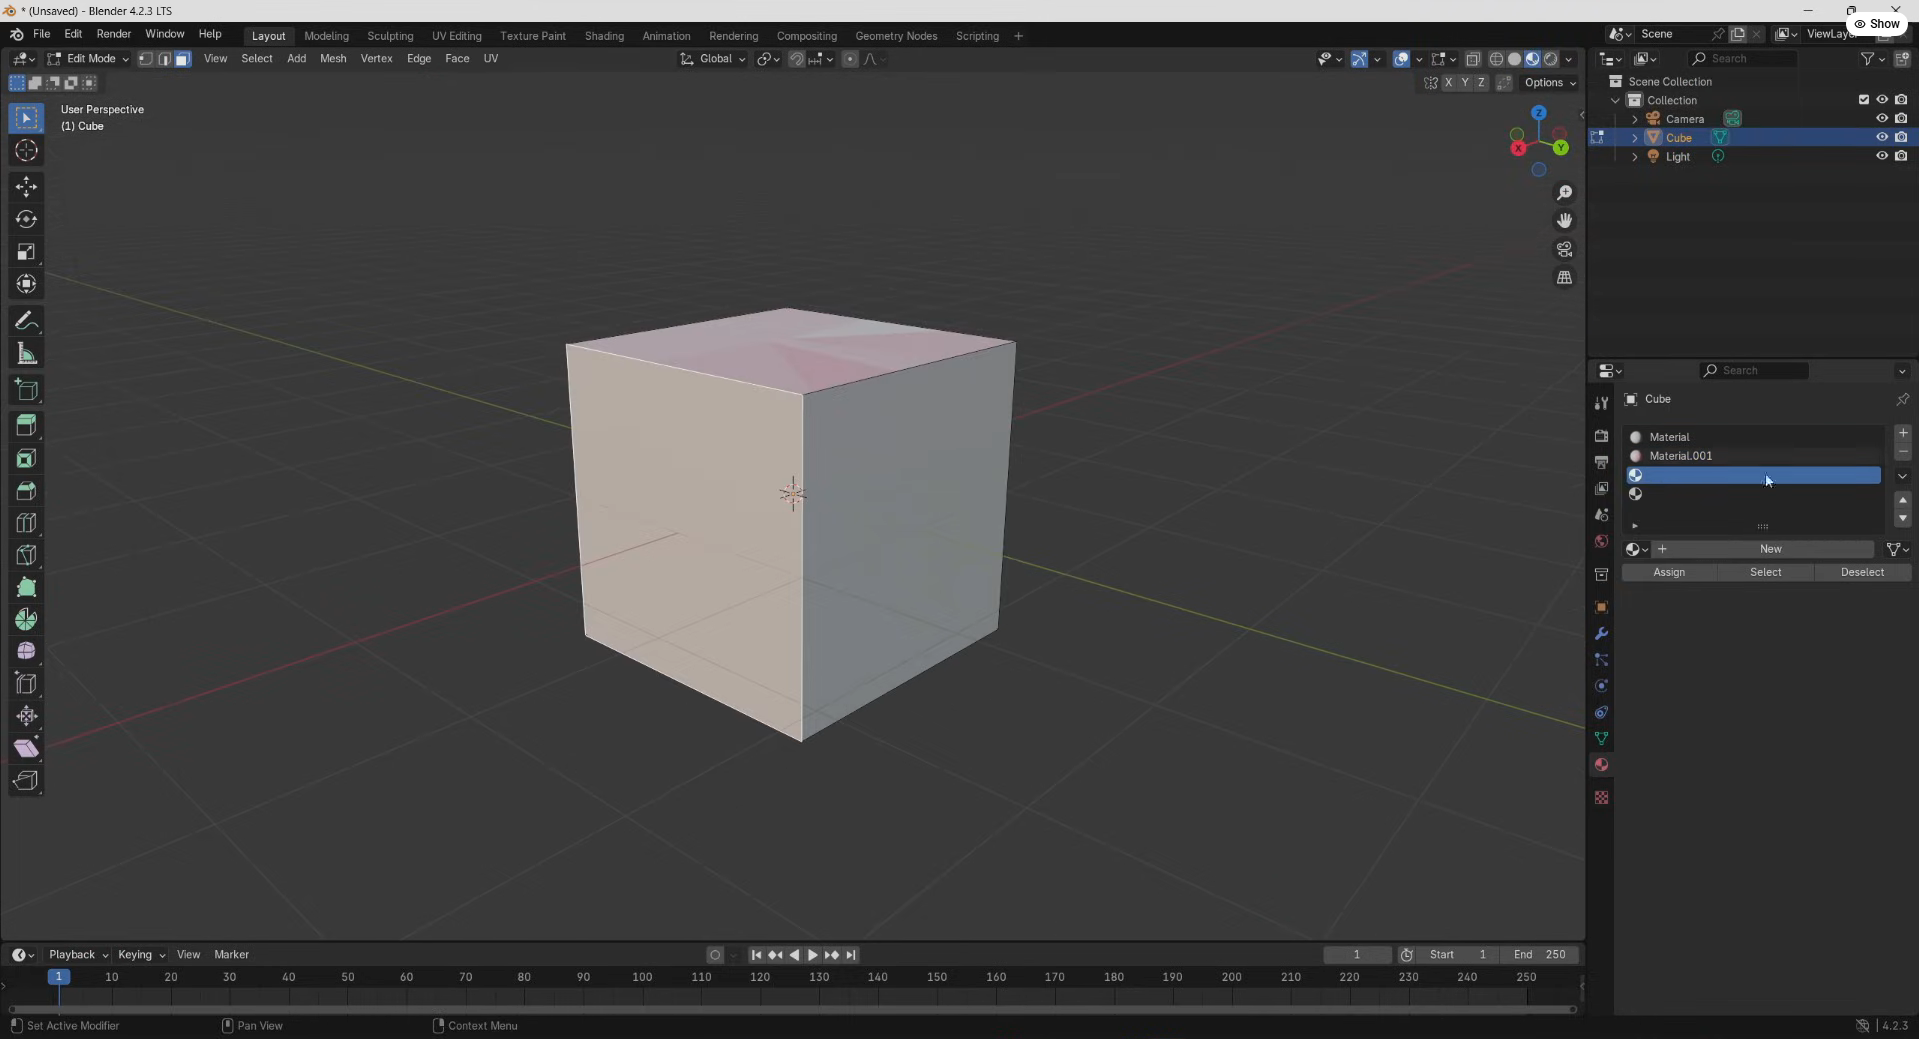
Blender lets you apply different textures to individual faces of the same object, making it easier to combine materials such as wood, metal, and stone in one model. You can do this by creating separate material slots and assigning each one to the faces you want. Here's how you can do it step by step.
Step 1: Create separate material slots
Select your object and press "Tab" to enter "Edit Mode."
Open "Material Properties" on the right and click "+" to add a new material slot for each texture you want to use.
Select each slot, click "New," and give the materials clear names so you can easily identify them later.
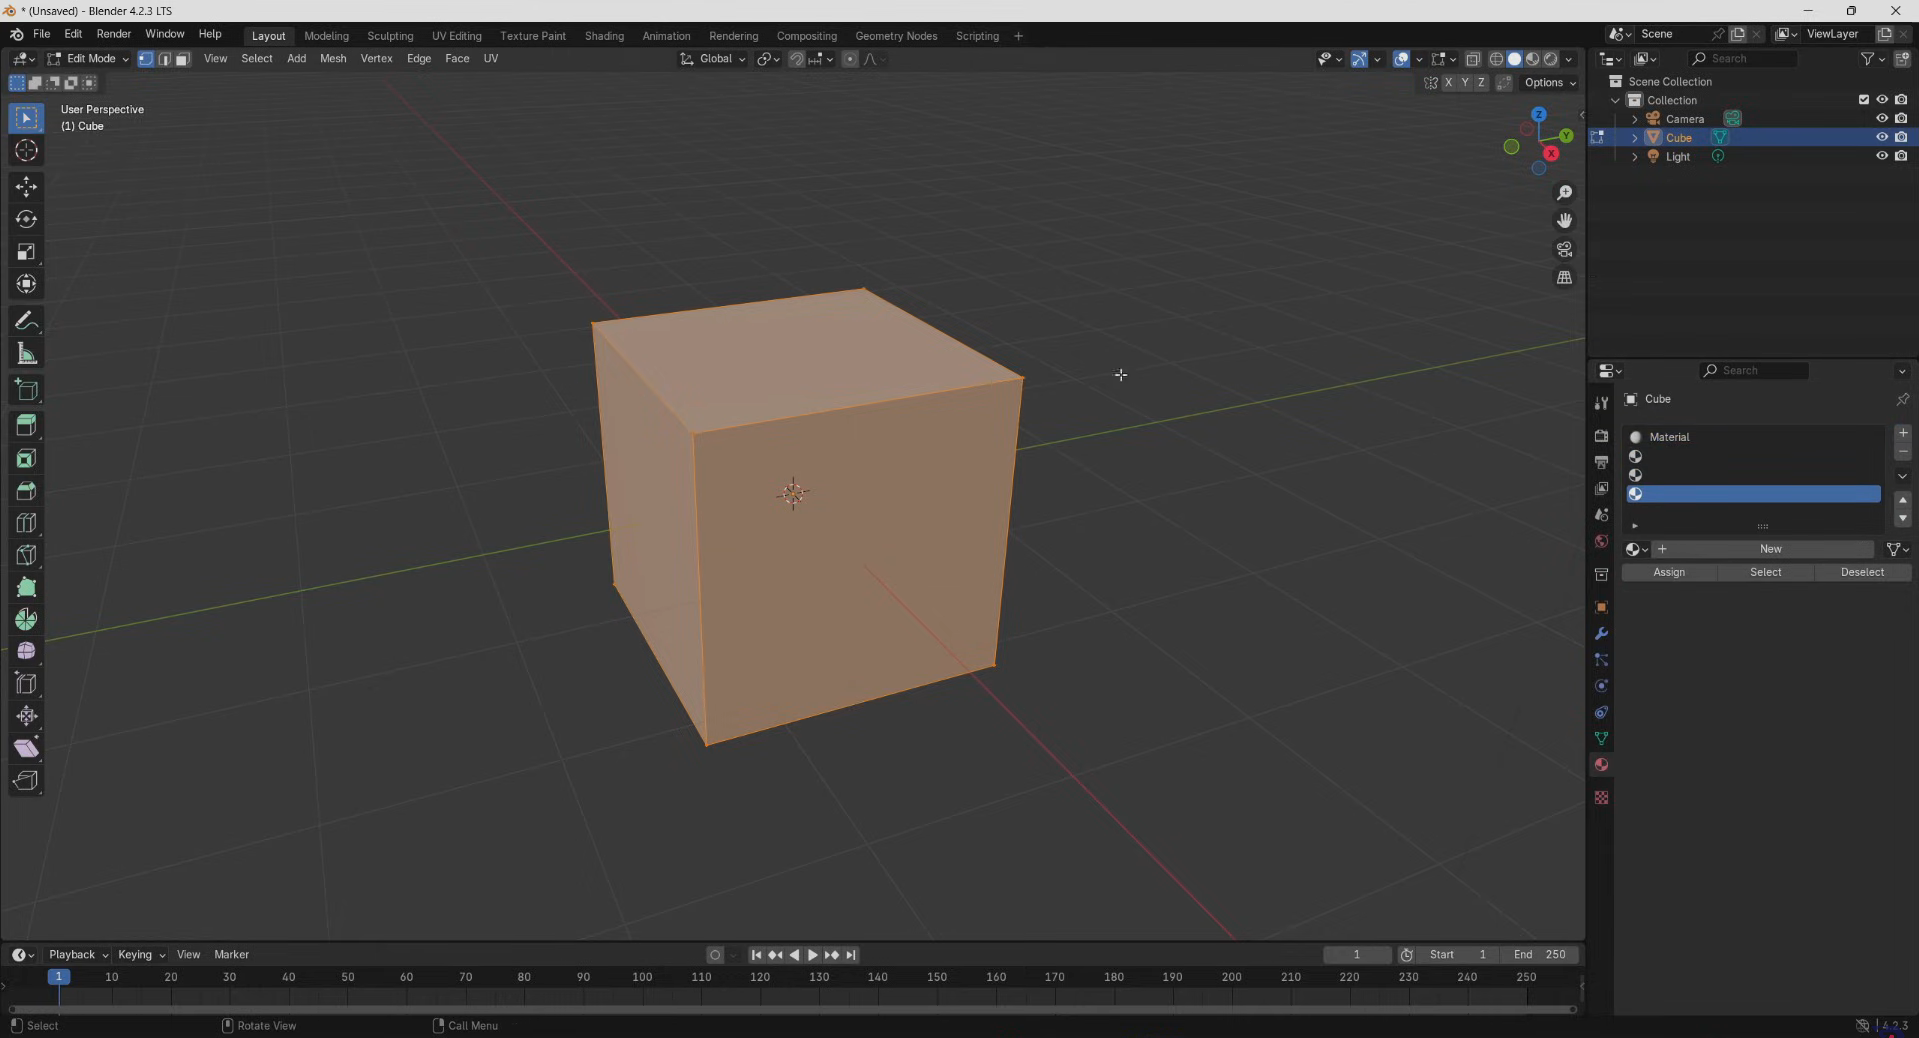
Step 2: Assign materials to different faces
Switch to "Face Select" using the face-selection icon in the top-left corner, then select the face you want to edit.
Choose the appropriate material slot in "Material Properties" and click "Assign" to apply it to the selected face.
Repeat this process for other faces, selecting a different material slot each time to create separate textured areas.
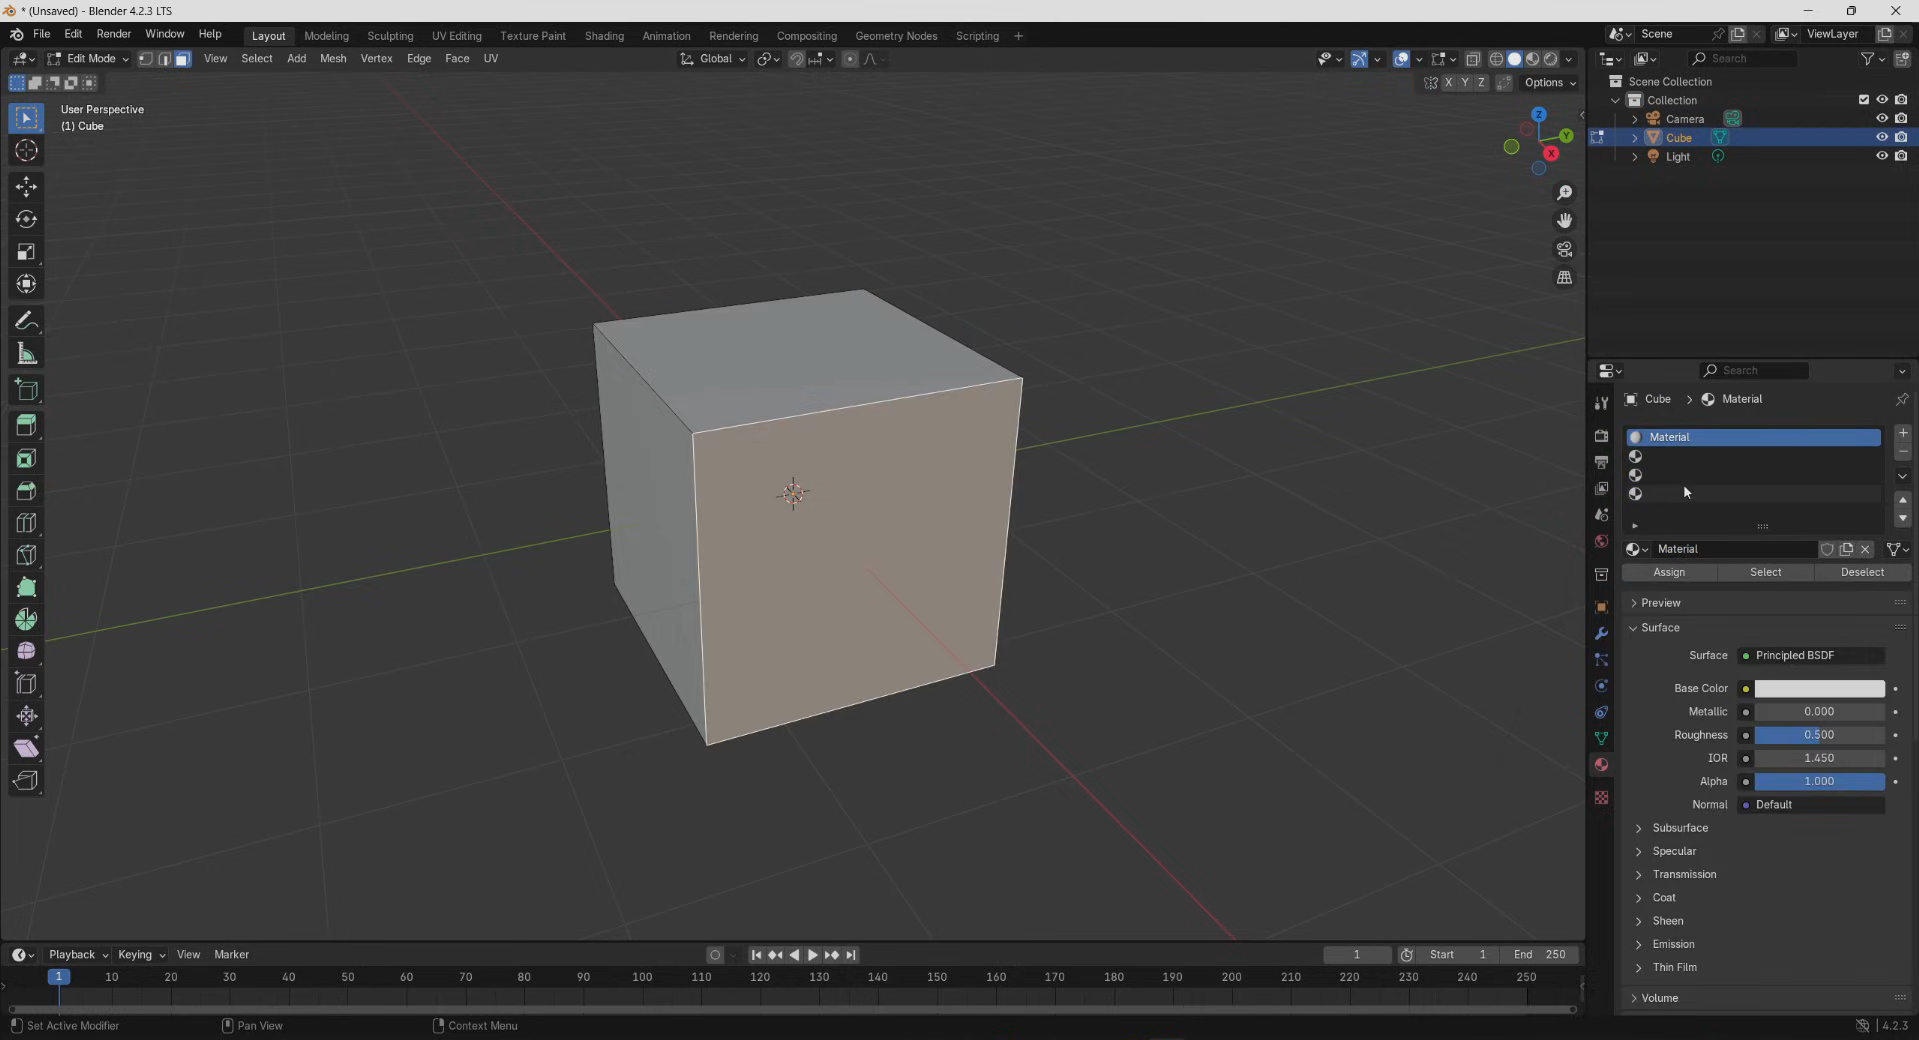
Step 3: Add textures and preview the result
Select a material slot, then click the yellow circle beside "Base Color" and choose "Image Texture."
Click "Open," select your desired image, and click "Open Image" to load the texture into the material.
Switch to "Material Preview" using the viewport shading icons in the top-right corner to check each face, then repeat for the remaining materials.
Types of textures in Blender
Blender offers different types of textures to help you create realistic surfaces, add fine details, and build complex materials. Each type works differently, so choosing the right one depends on your model and the effect you want to achieve. Here are the main types of textures in Blender.
Image textures
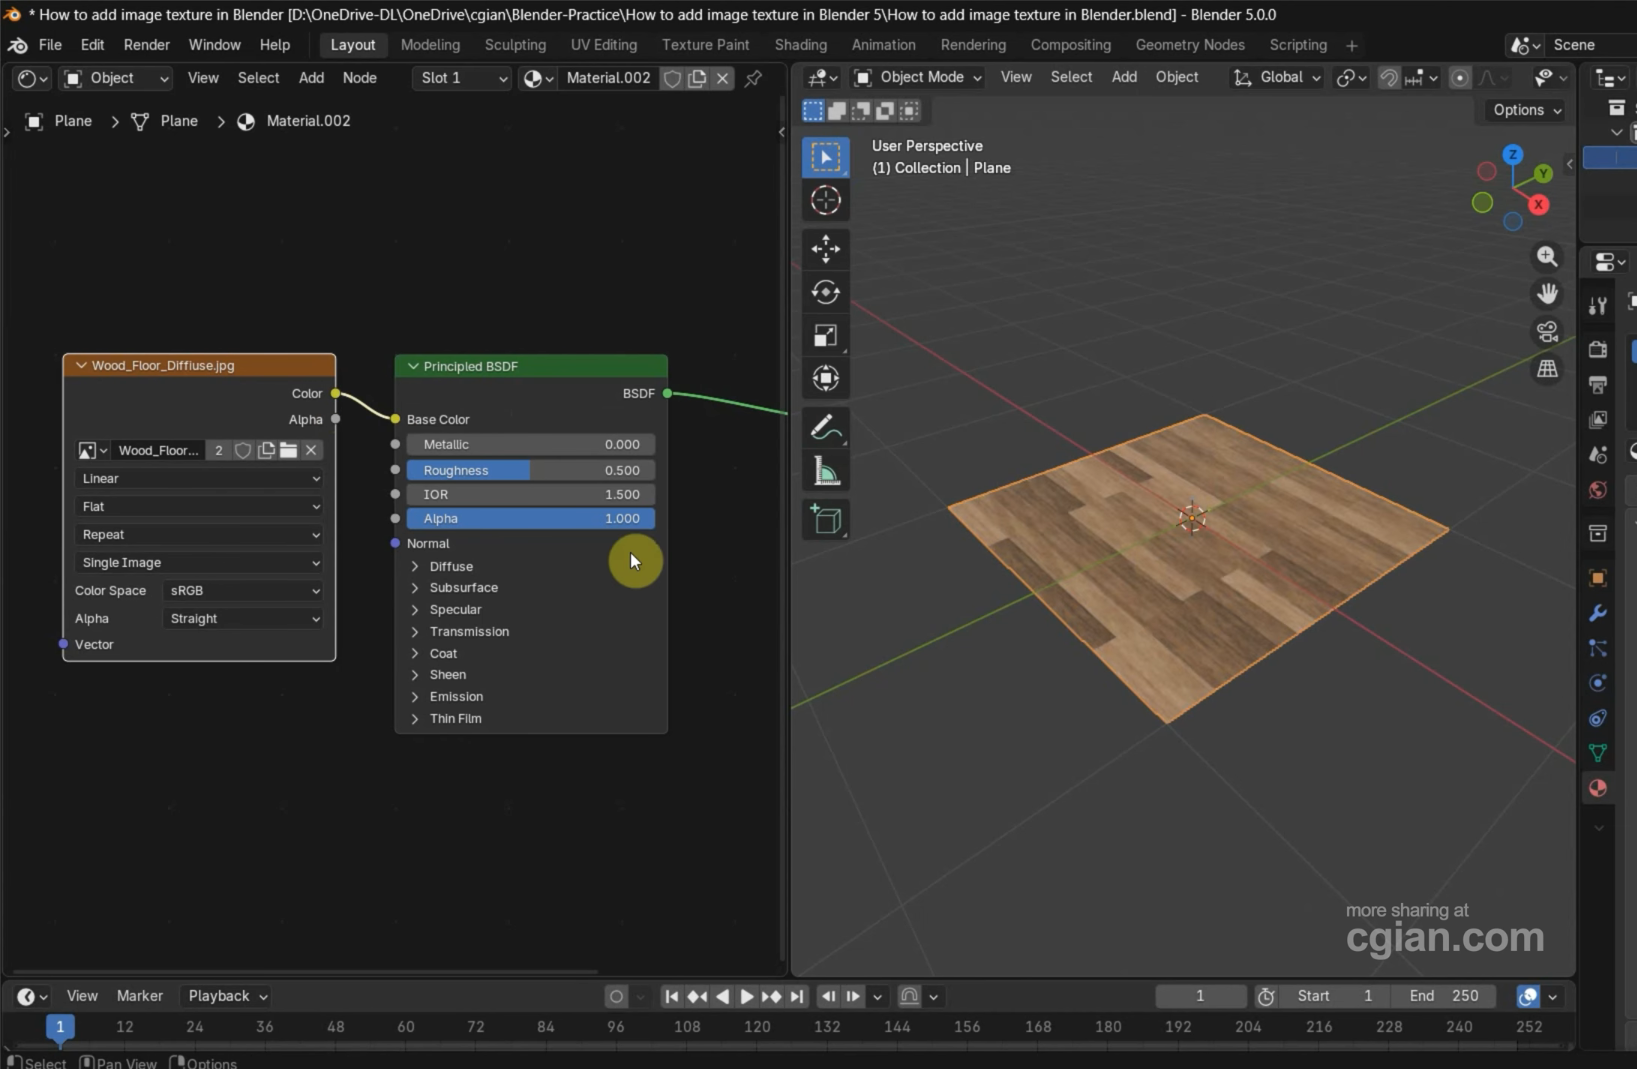
Image textures use external image files to add realistic details, such as wood grain, brick patterns, fabric, or painted surfaces, to a 3D model. You can load an image through the "Image Texture" node in the Shader Editor and connect it to the appropriate shader input. UV mapping helps position the image correctly across the model's surfaces and prevents unwanted stretching or distortion.
Procedural textures
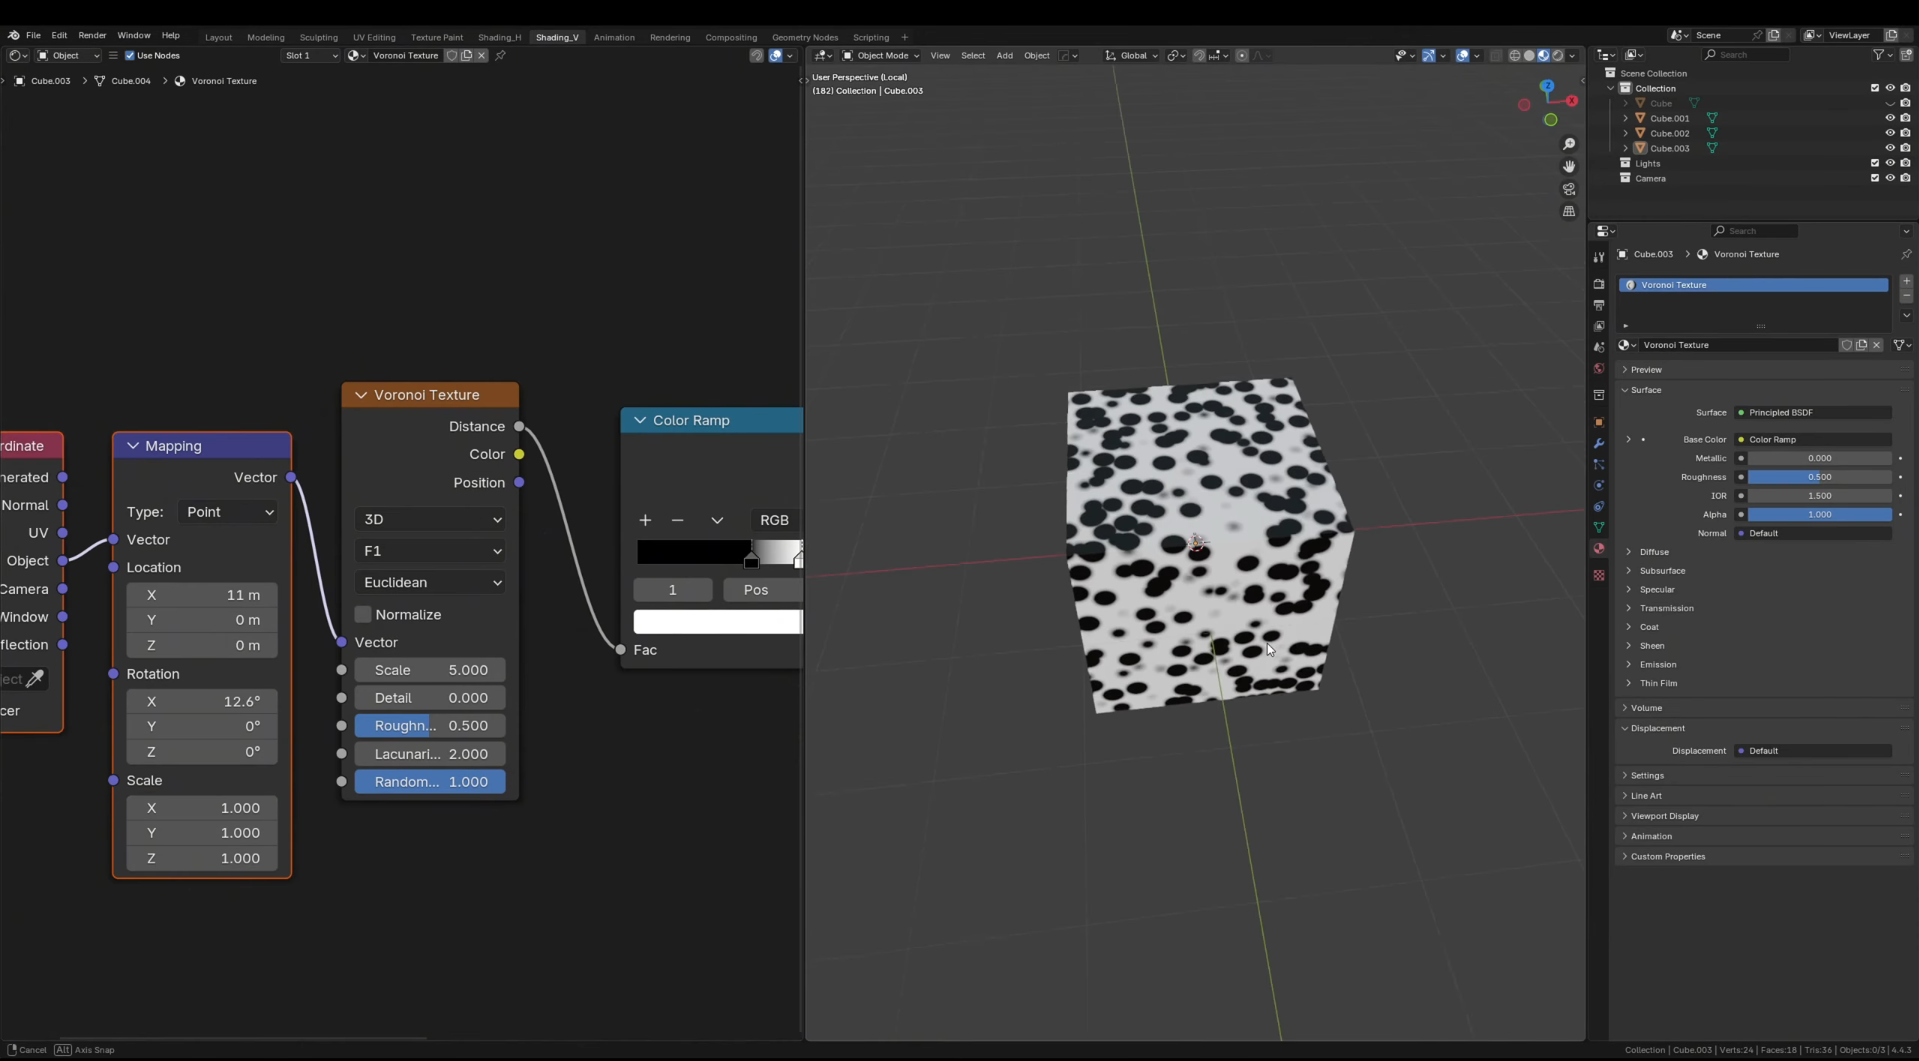
Procedural textures generate patterns using mathematical calculations rather than relying on external image files. Blender includes options such as "Noise Texture," "Voronoi Texture," and "Wave Texture" to create effects like stone, clouds, marble, and uneven surfaces. You can adjust their settings, combine multiple nodes, and reuse the results across different objects without needing separate texture images.
Volumetric textures
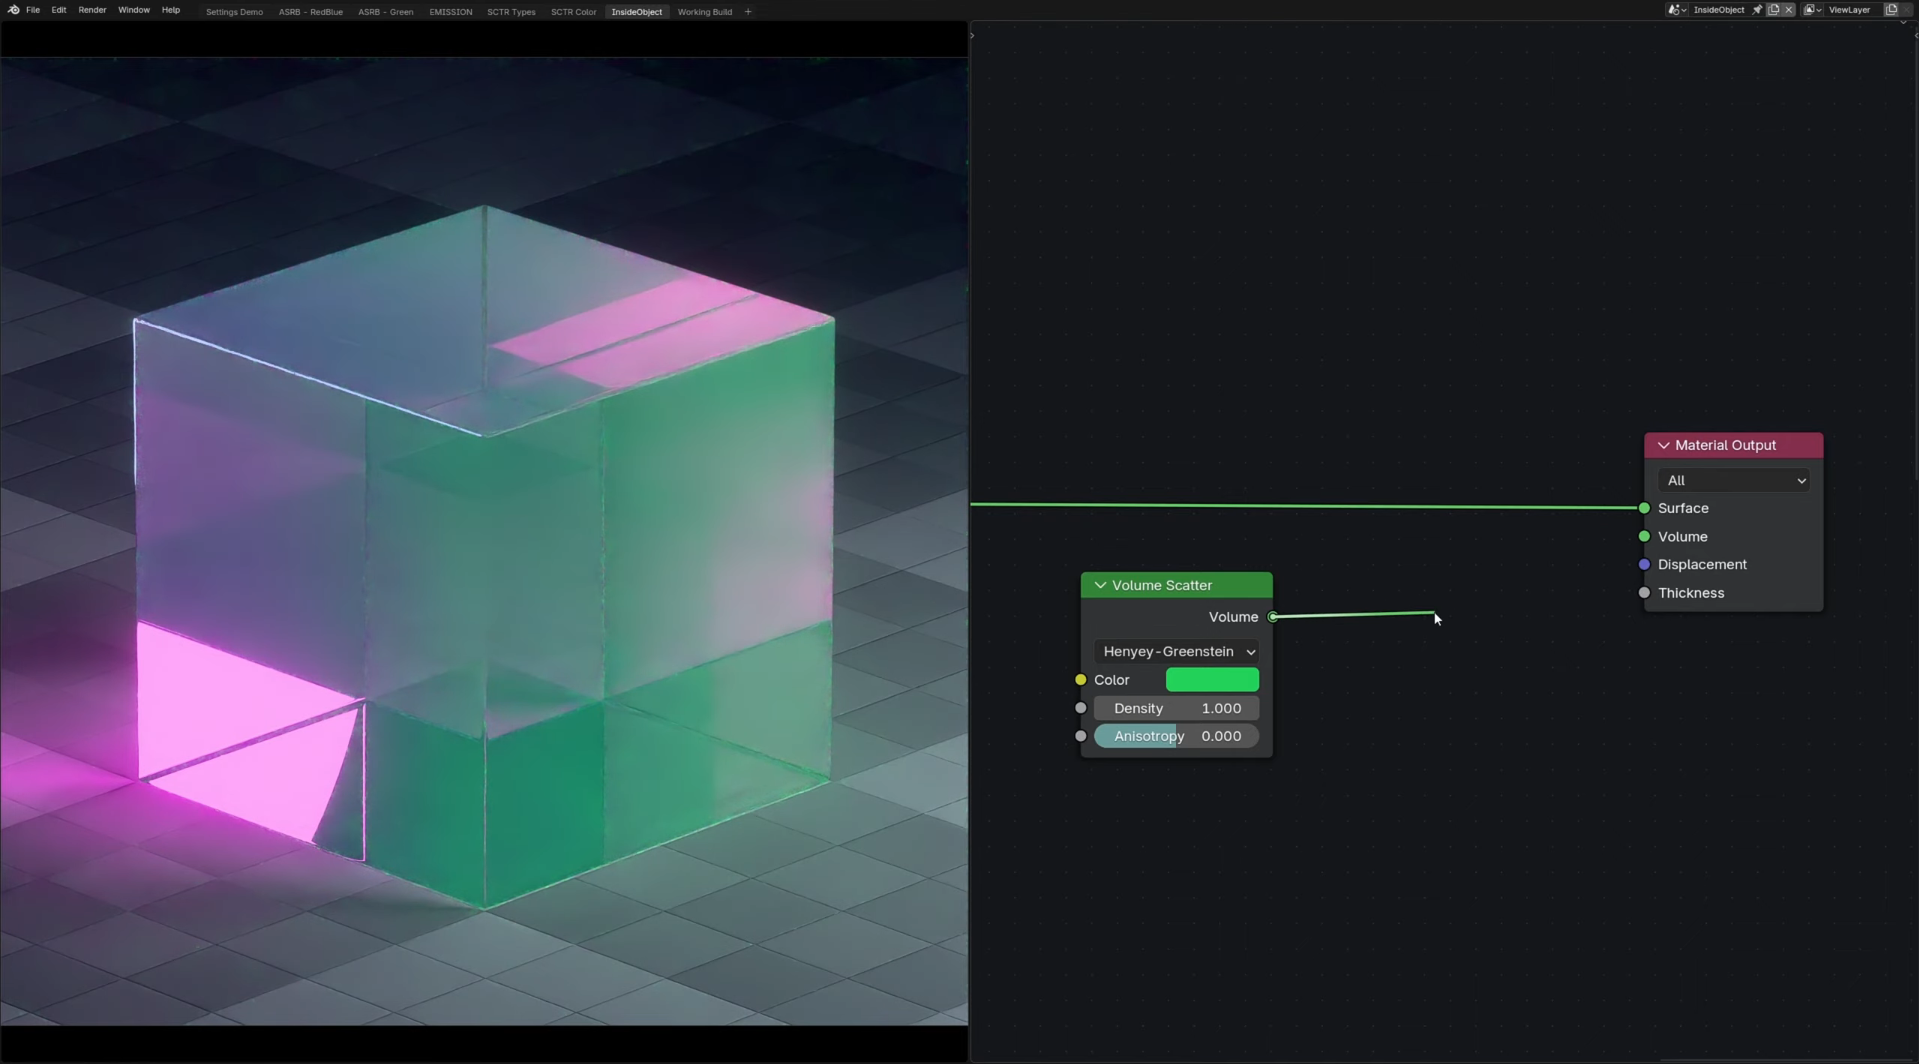
Volumetric textures define details within a three-dimensional space rather than only covering an object's outer surface. They are useful for creating effects such as smoke, fog, clouds, and other materials where density or color changes throughout the volume. In Blender, you can combine volume shaders with procedural textures to control how light interacts with these effects and create more convincing atmospheric scenes.
Environment maps
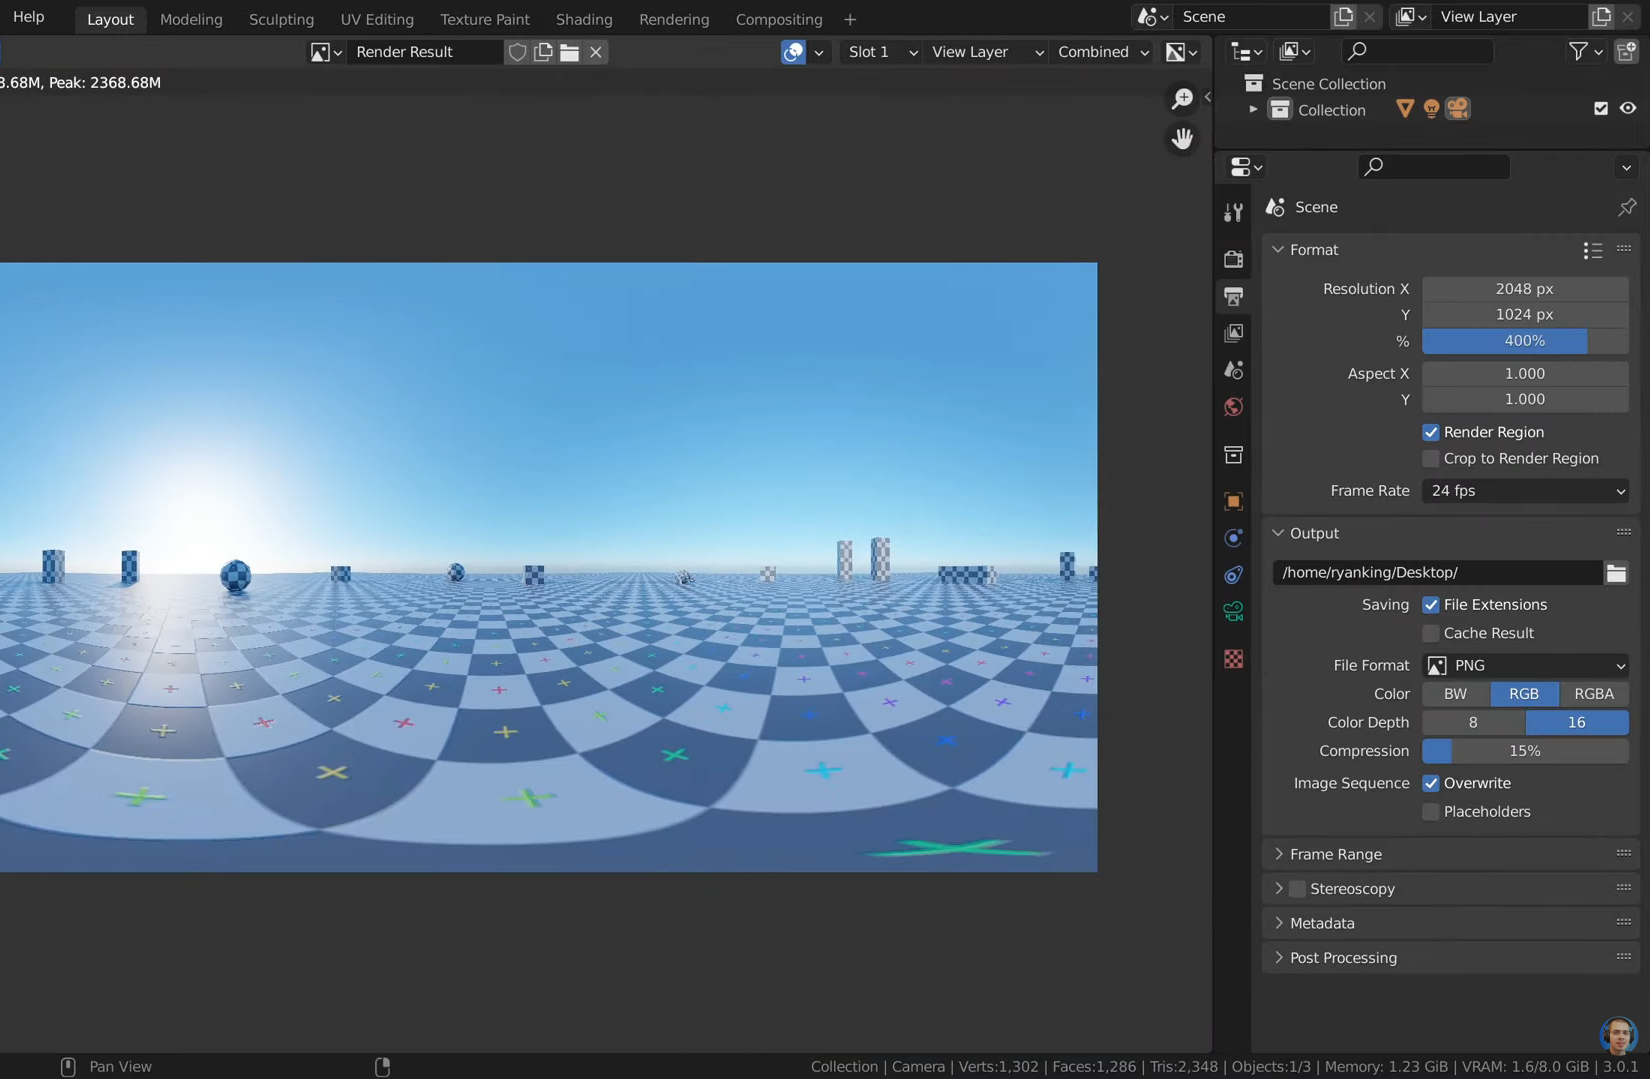
Environment maps capture or represent the surroundings of a scene to provide realistic lighting and reflections. In Blender, you can use an environment image, such as an HDRI, with an "Environment Texture" node connected to the World Shader to illuminate objects and reflect surrounding details. This is useful for product visualization, metallic surfaces, and scenes that need natural-looking environmental lighting.
Data or modifier textures
Data and modifier-based textures influence properties of a model rather than simply adding a visible image. Depending on the setup, texture data can control displacement, deformation, or the distribution of surface details. Blender's modifiers and geometry nodes offer ways to use this information to create varied shapes and procedural effects with greater flexibility.
Brush textures
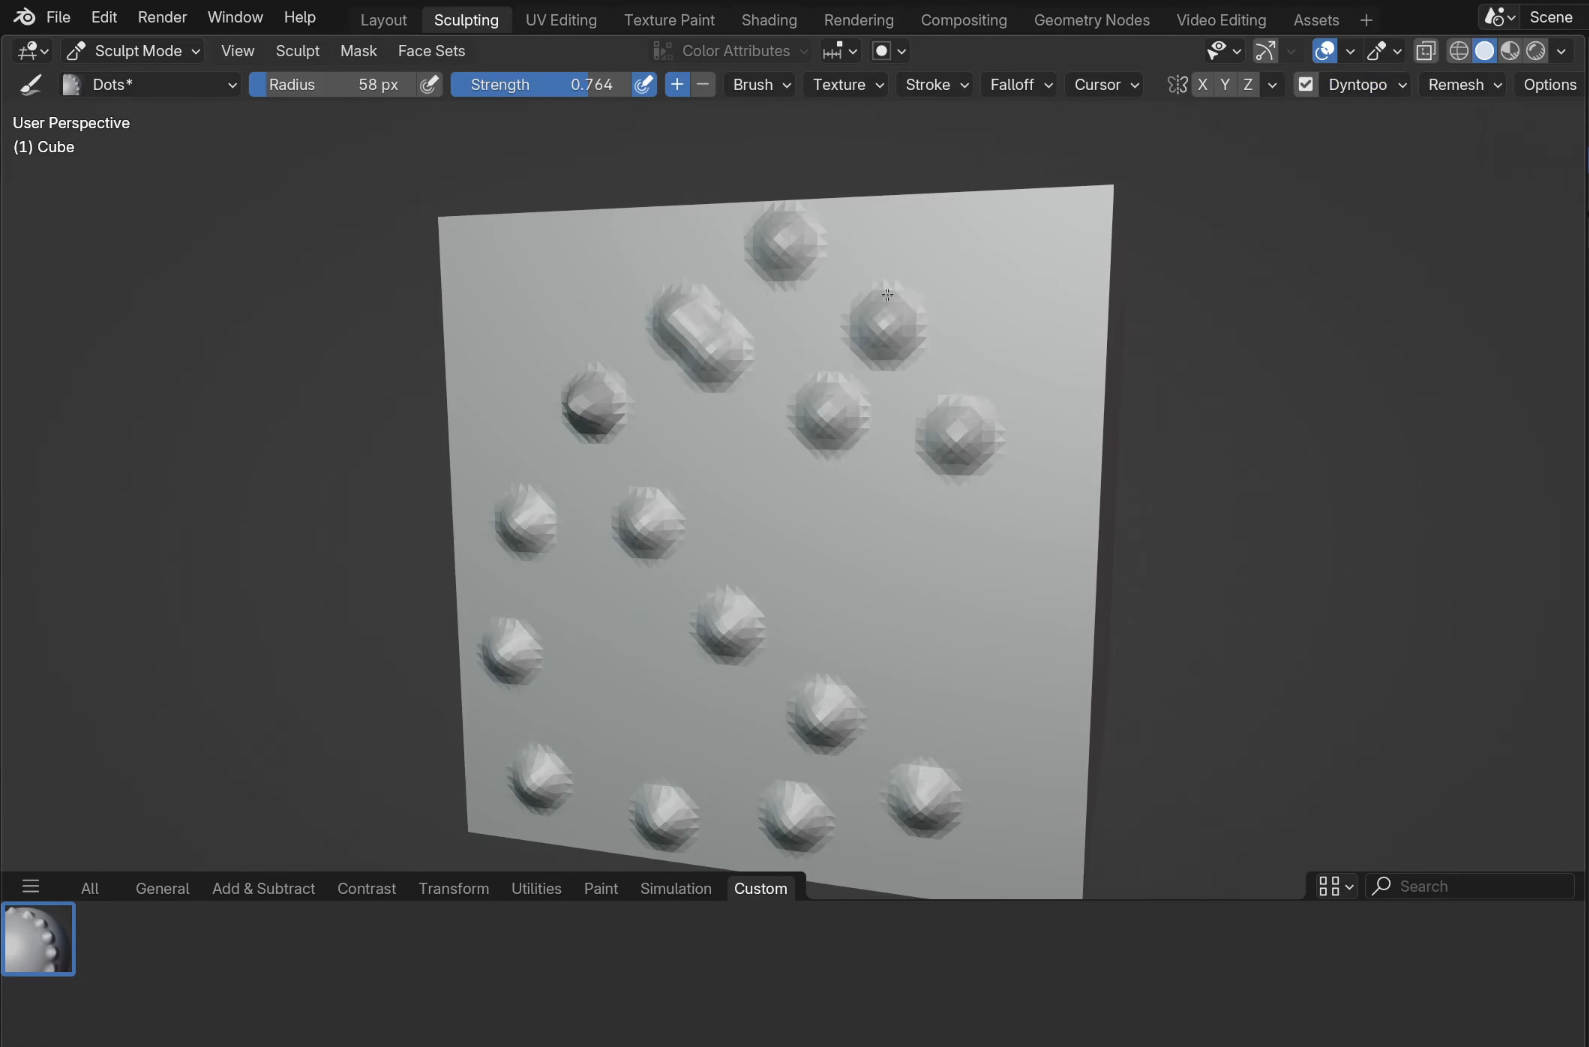
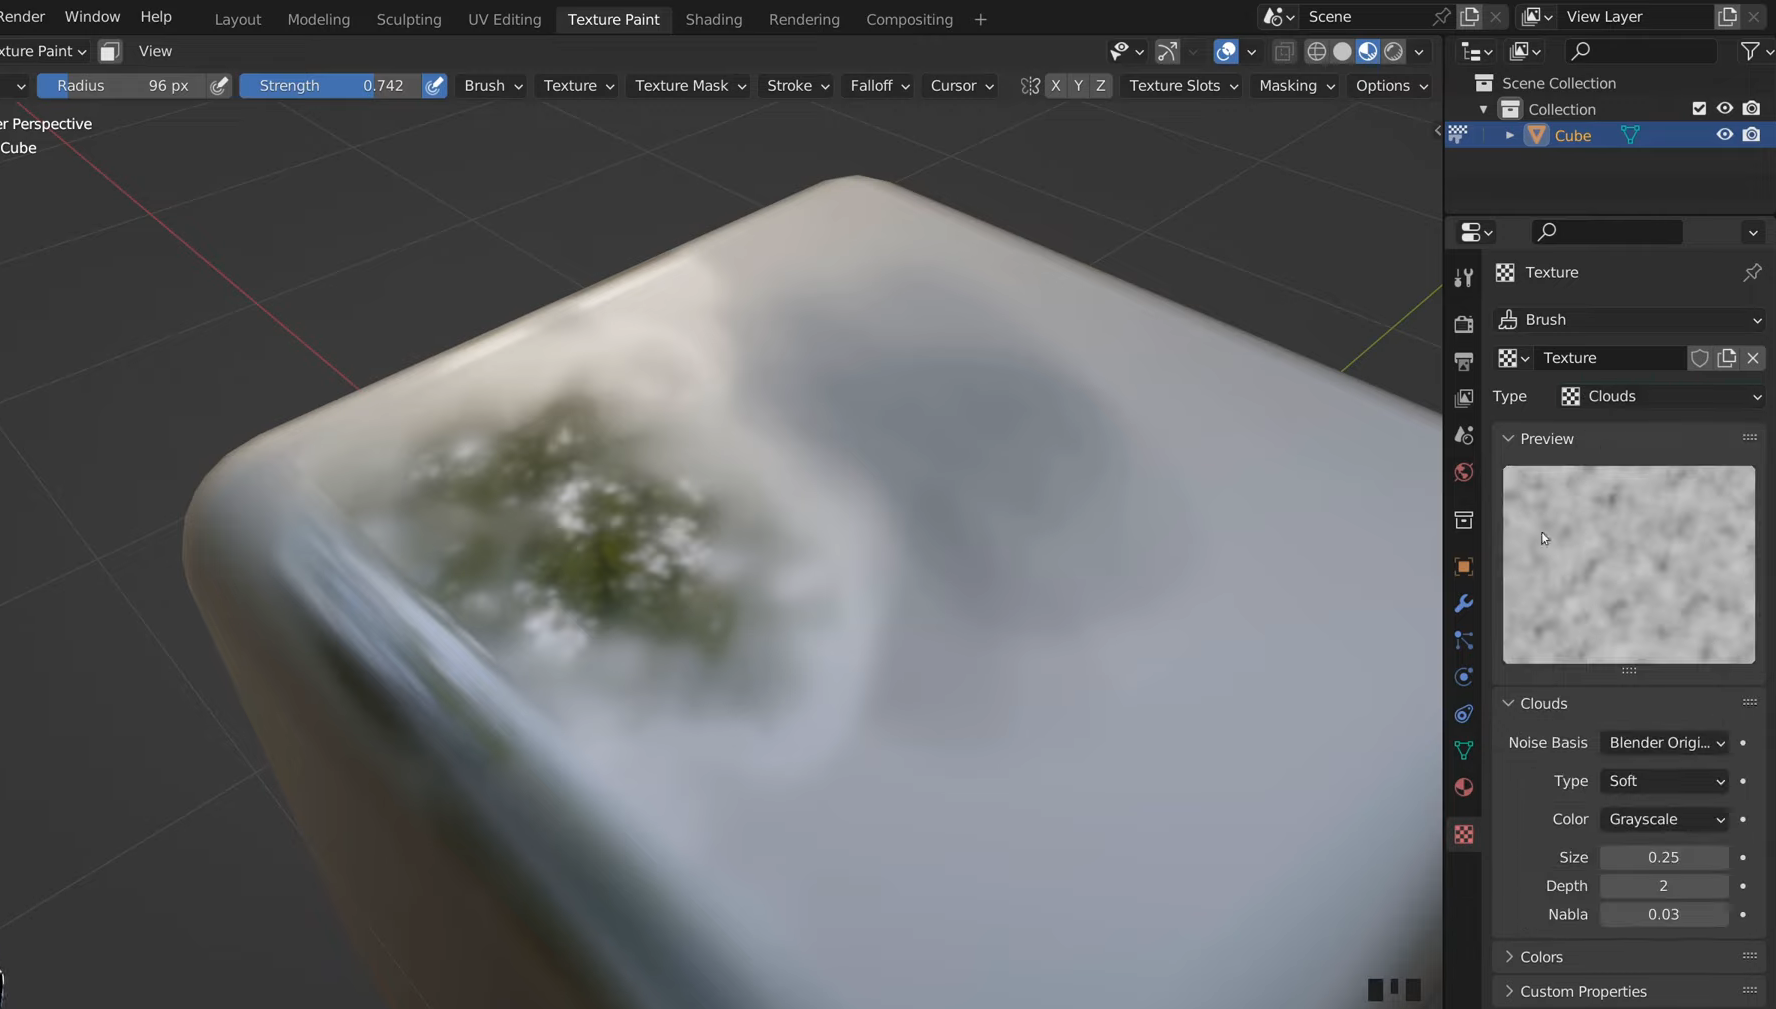
Brush textures are used primarily in texture painting and sculpting to control how a brush applies color or affects a model's surface. They can create effects such as rough paint, scattered dots, scratches, and uneven strokes, helping you add detail without making every mark manually. In Blender, you can adjust brush settings and texture placement to achieve different patterns when painting or sculpting your model.
Texture maps (color, roughness, normal, etc)
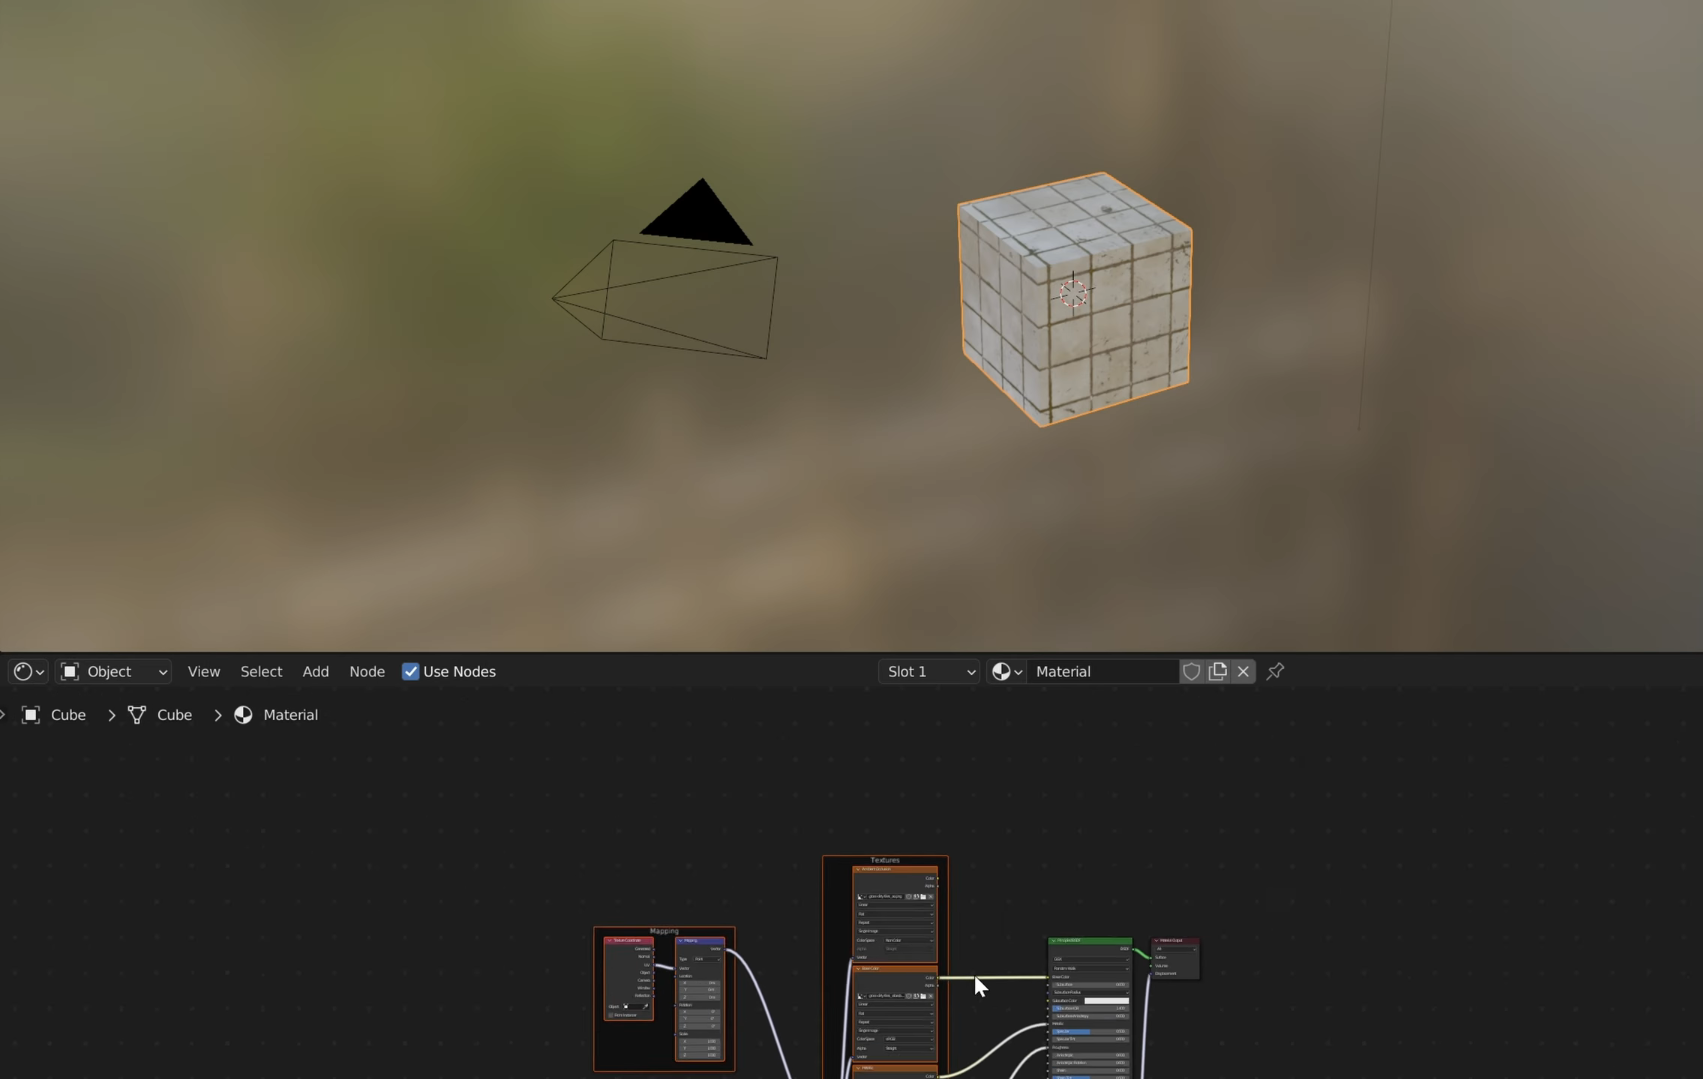
Texture maps control different material properties, helping 3D objects look more realistic under lighting. Color maps define the base color, roughness maps control shininess, and normal maps simulate surface details without adding extra geometry. In Blender, you can connect these maps to the relevant inputs of a "Principled BSDF" shader to refine materials such as metal, plastic, and stone.
Expert practices for applying textures in Blender
Applying textures in Blender is not just about choosing the right colors or materials. Small adjustments to texture placement, scale, and lighting can make a noticeable difference in how realistic and polished your model looks. Keep these expert tips in mind to get better results and avoid common texturing mistakes.
Start with clean UV unwrapping
Proper UV unwrapping helps textures fit your model without stretching or distortion. In Edit Mode, select your geometry, press "U," and choose a suitable unwrapping method. Check the UV layout and adjust the islands before applying detailed textures.
Use high-resolution textures
High-resolution textures preserve fine details, especially when your model appears close to the camera. Choose image dimensions that suit your project's needs, as oversized files can increase memory usage and slow rendering. Match texture resolution to the object's size and viewing distance.
Use the Principled BSDF for realistic materials
The Principled BSDF shader helps you create materials such as metal, plastic, wood, and fabric. Adjust properties like Base Color, Metallic, and Roughness to control how surfaces respond to light. Connecting suitable texture maps makes materials look more convincing.
Set color maps to sRGB; set data maps to Non-Color
Color textures generally use the sRGB color space to display colors correctly. Data maps, including roughness, metallic, and normal maps, should usually use "Non-Color" because they contain surface information rather than visible colors. Correct settings help prevent unexpected material results.
Combine color, roughness, and displacement maps
Combining texture maps gives you greater control over a material's appearance. Color maps define surface color, roughness maps control reflections, and displacement maps can alter surface geometry. Connect each map to the appropriate input to create more detailed, realistic materials.
Add imperfections like scratches, dirt, and wear
Perfectly clean surfaces can make 3D models look artificial. Add subtle scratches, dust, dirt, or edge wear using texture maps, procedural nodes, or texture painting. These details create a more natural appearance without distracting from the overall design.
Control placement with Mapping nodes
Mapping nodes help you control how textures appear across an object's surface. Connect "Texture Coordinate" and "Mapping" nodes to adjust texture position, rotation, and scale. This is particularly useful when you make textures in Blender and want consistent patterns across multiple objects.
Test textures with different lighting setups
A texture may look realistic under one light but appear too dark or shiny under another. Use "Material Preview" and "Rendered" viewport shading to test different lighting directions and intensities. This helps you identify issues and achieve a balanced, realistic finish.
Bonus tip: create textured 3D models with Kimi 3D Make
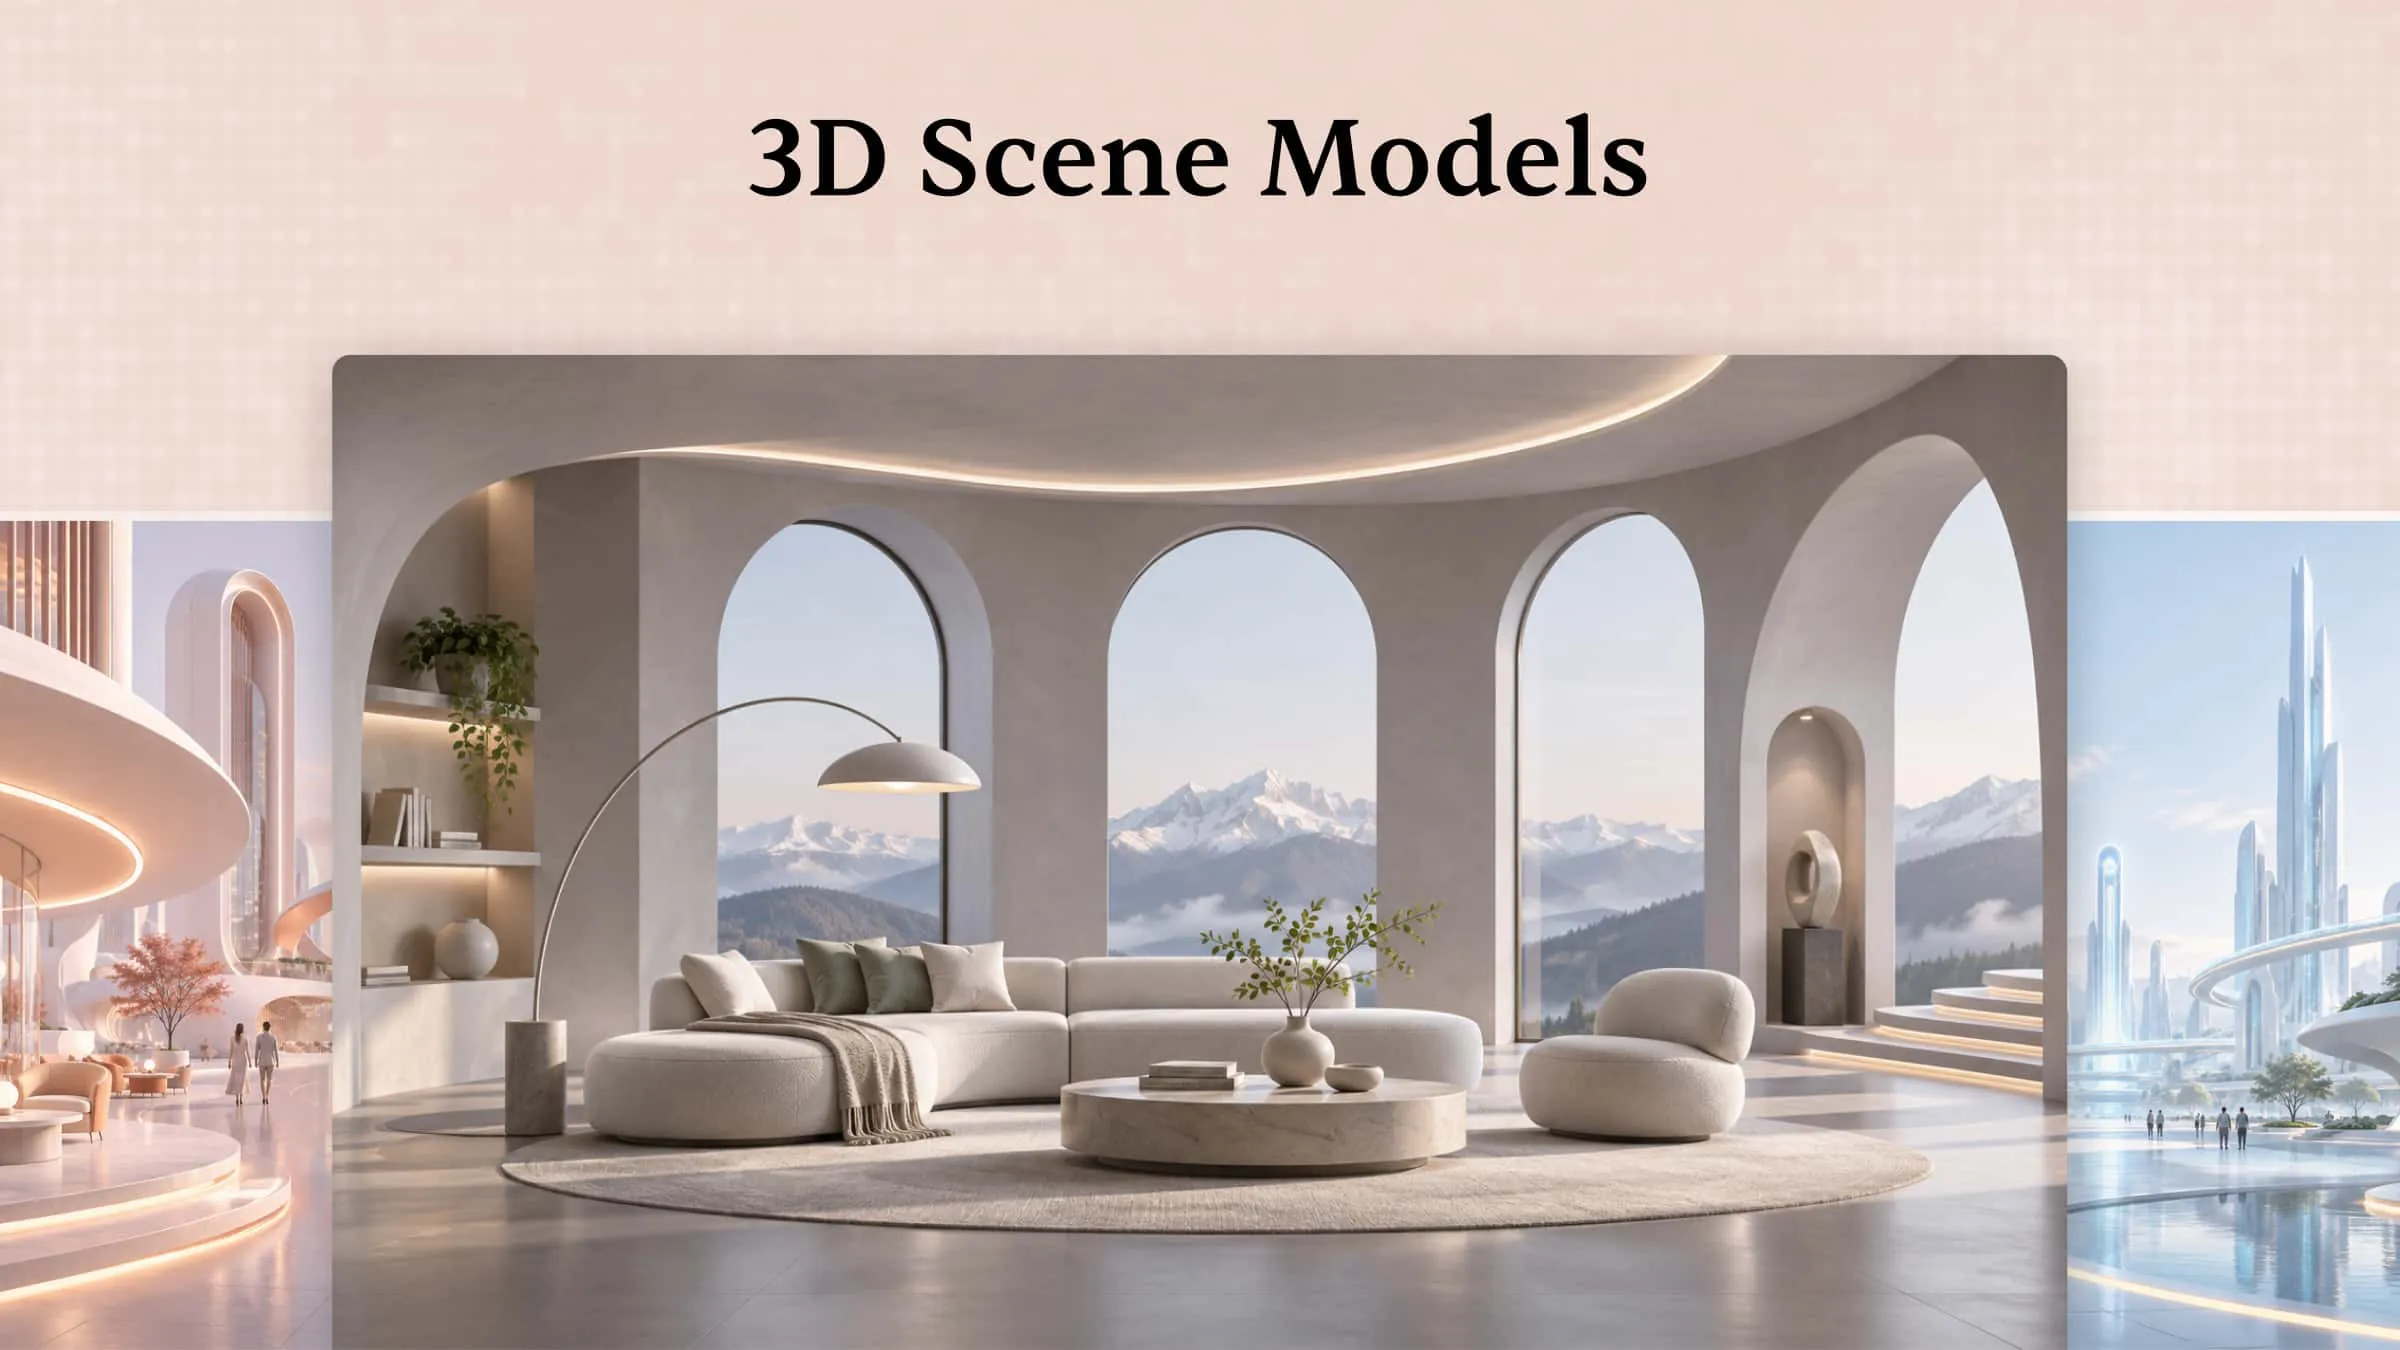
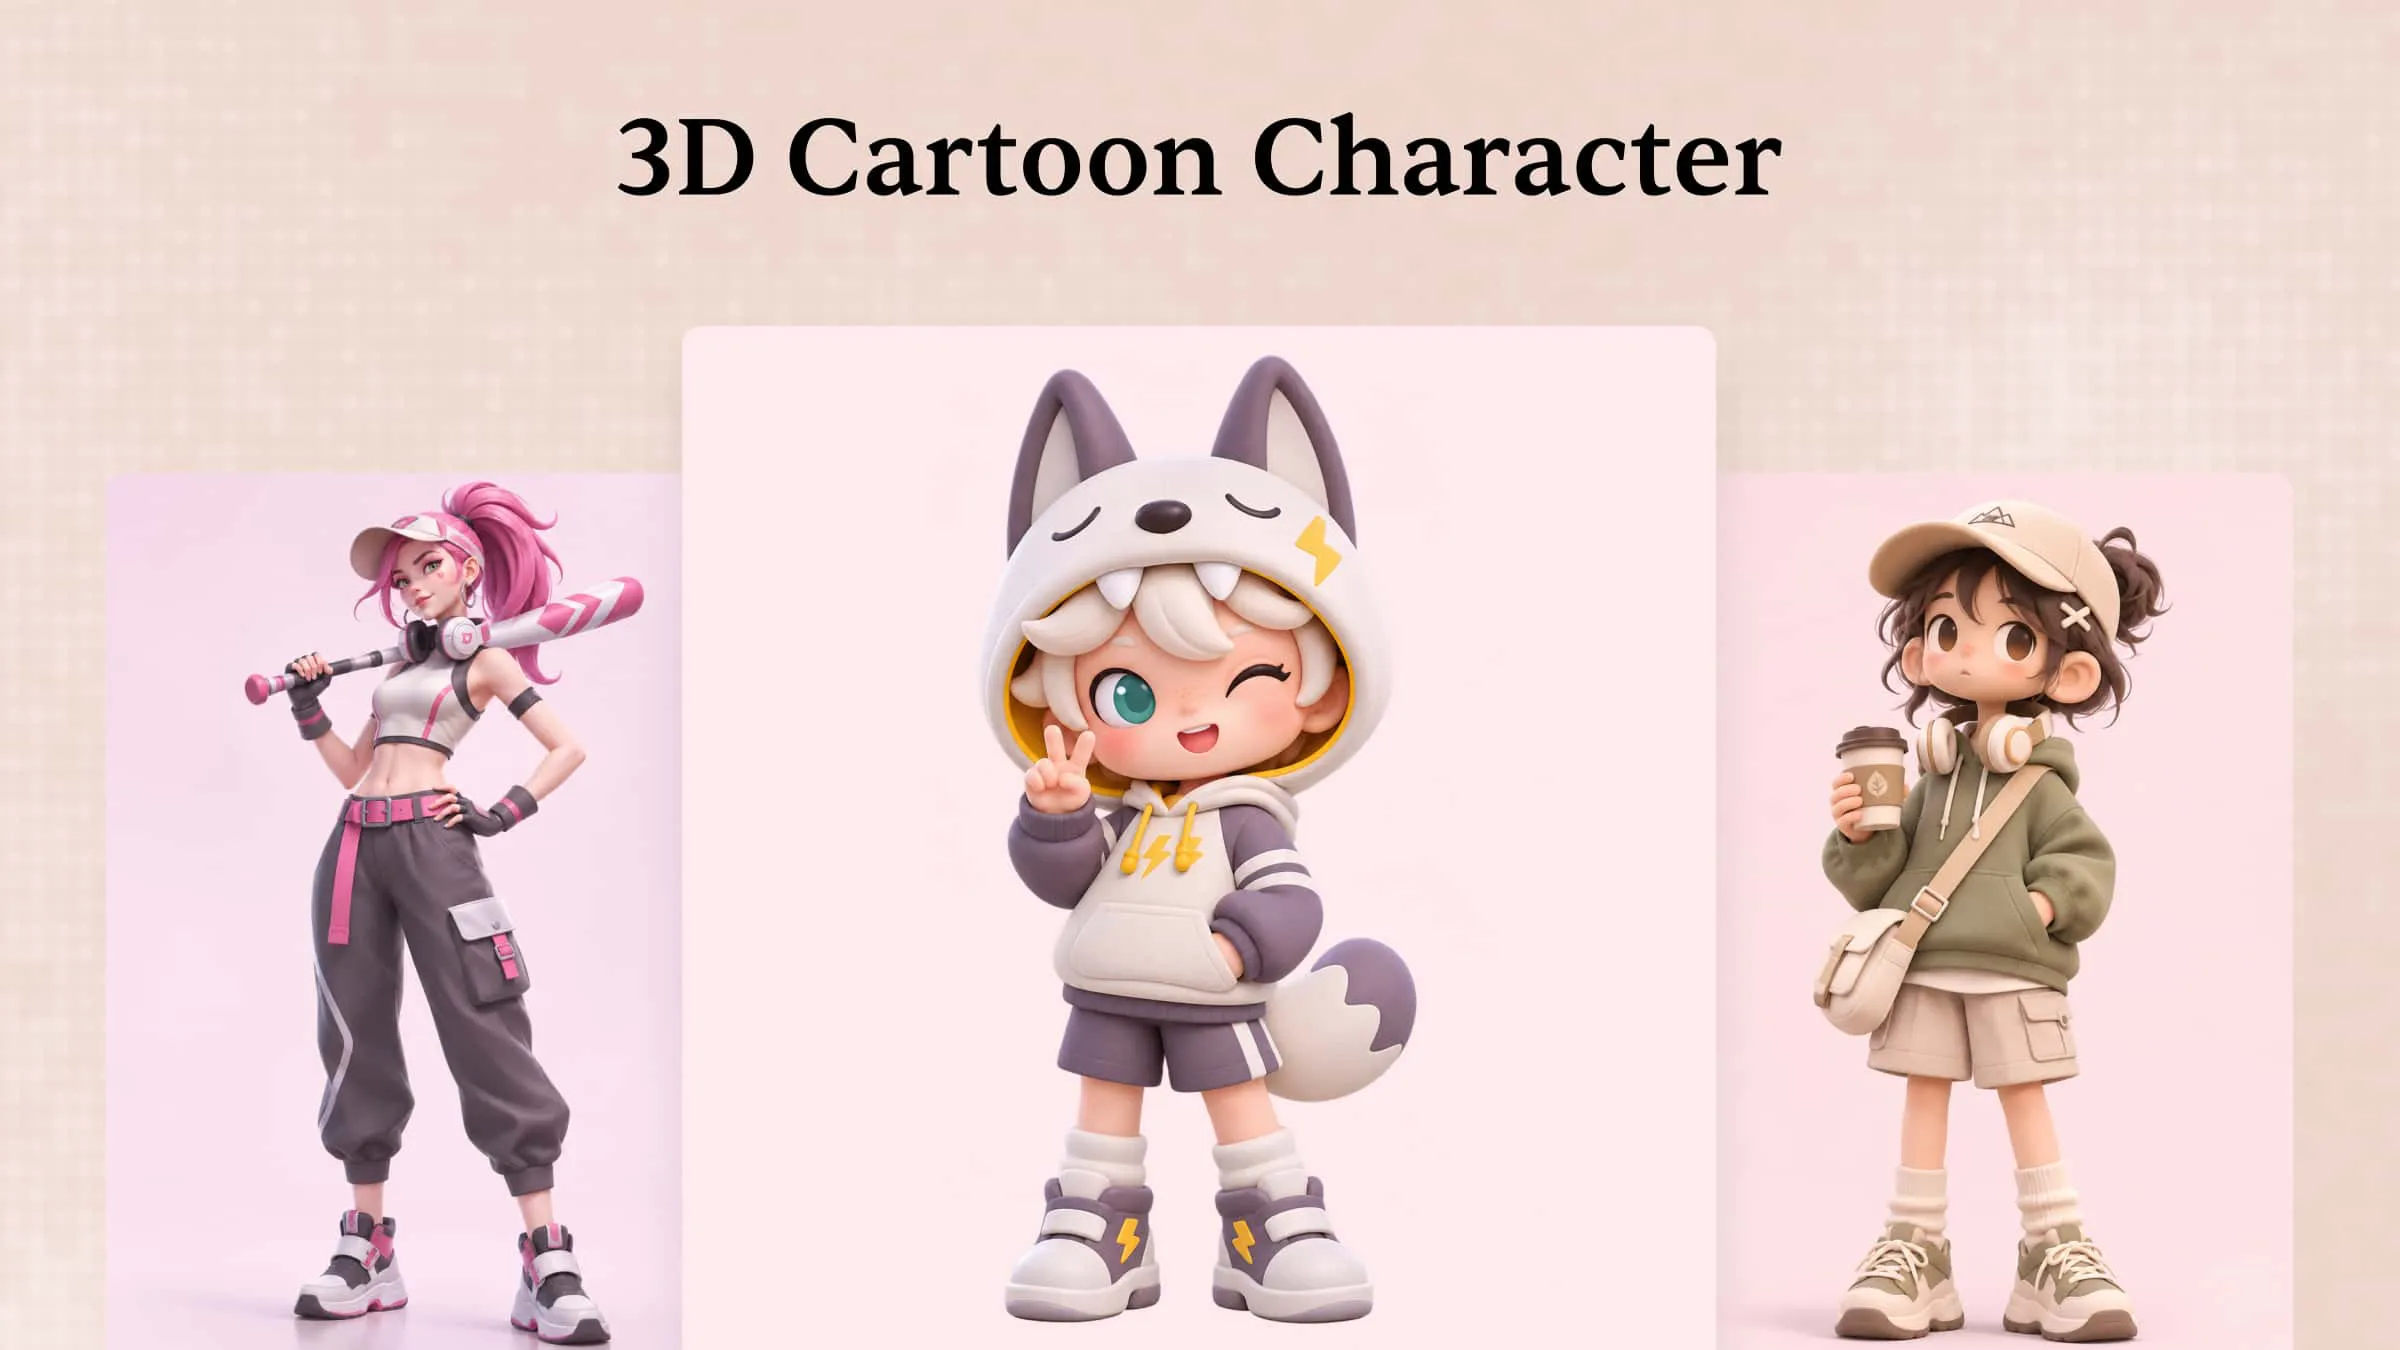
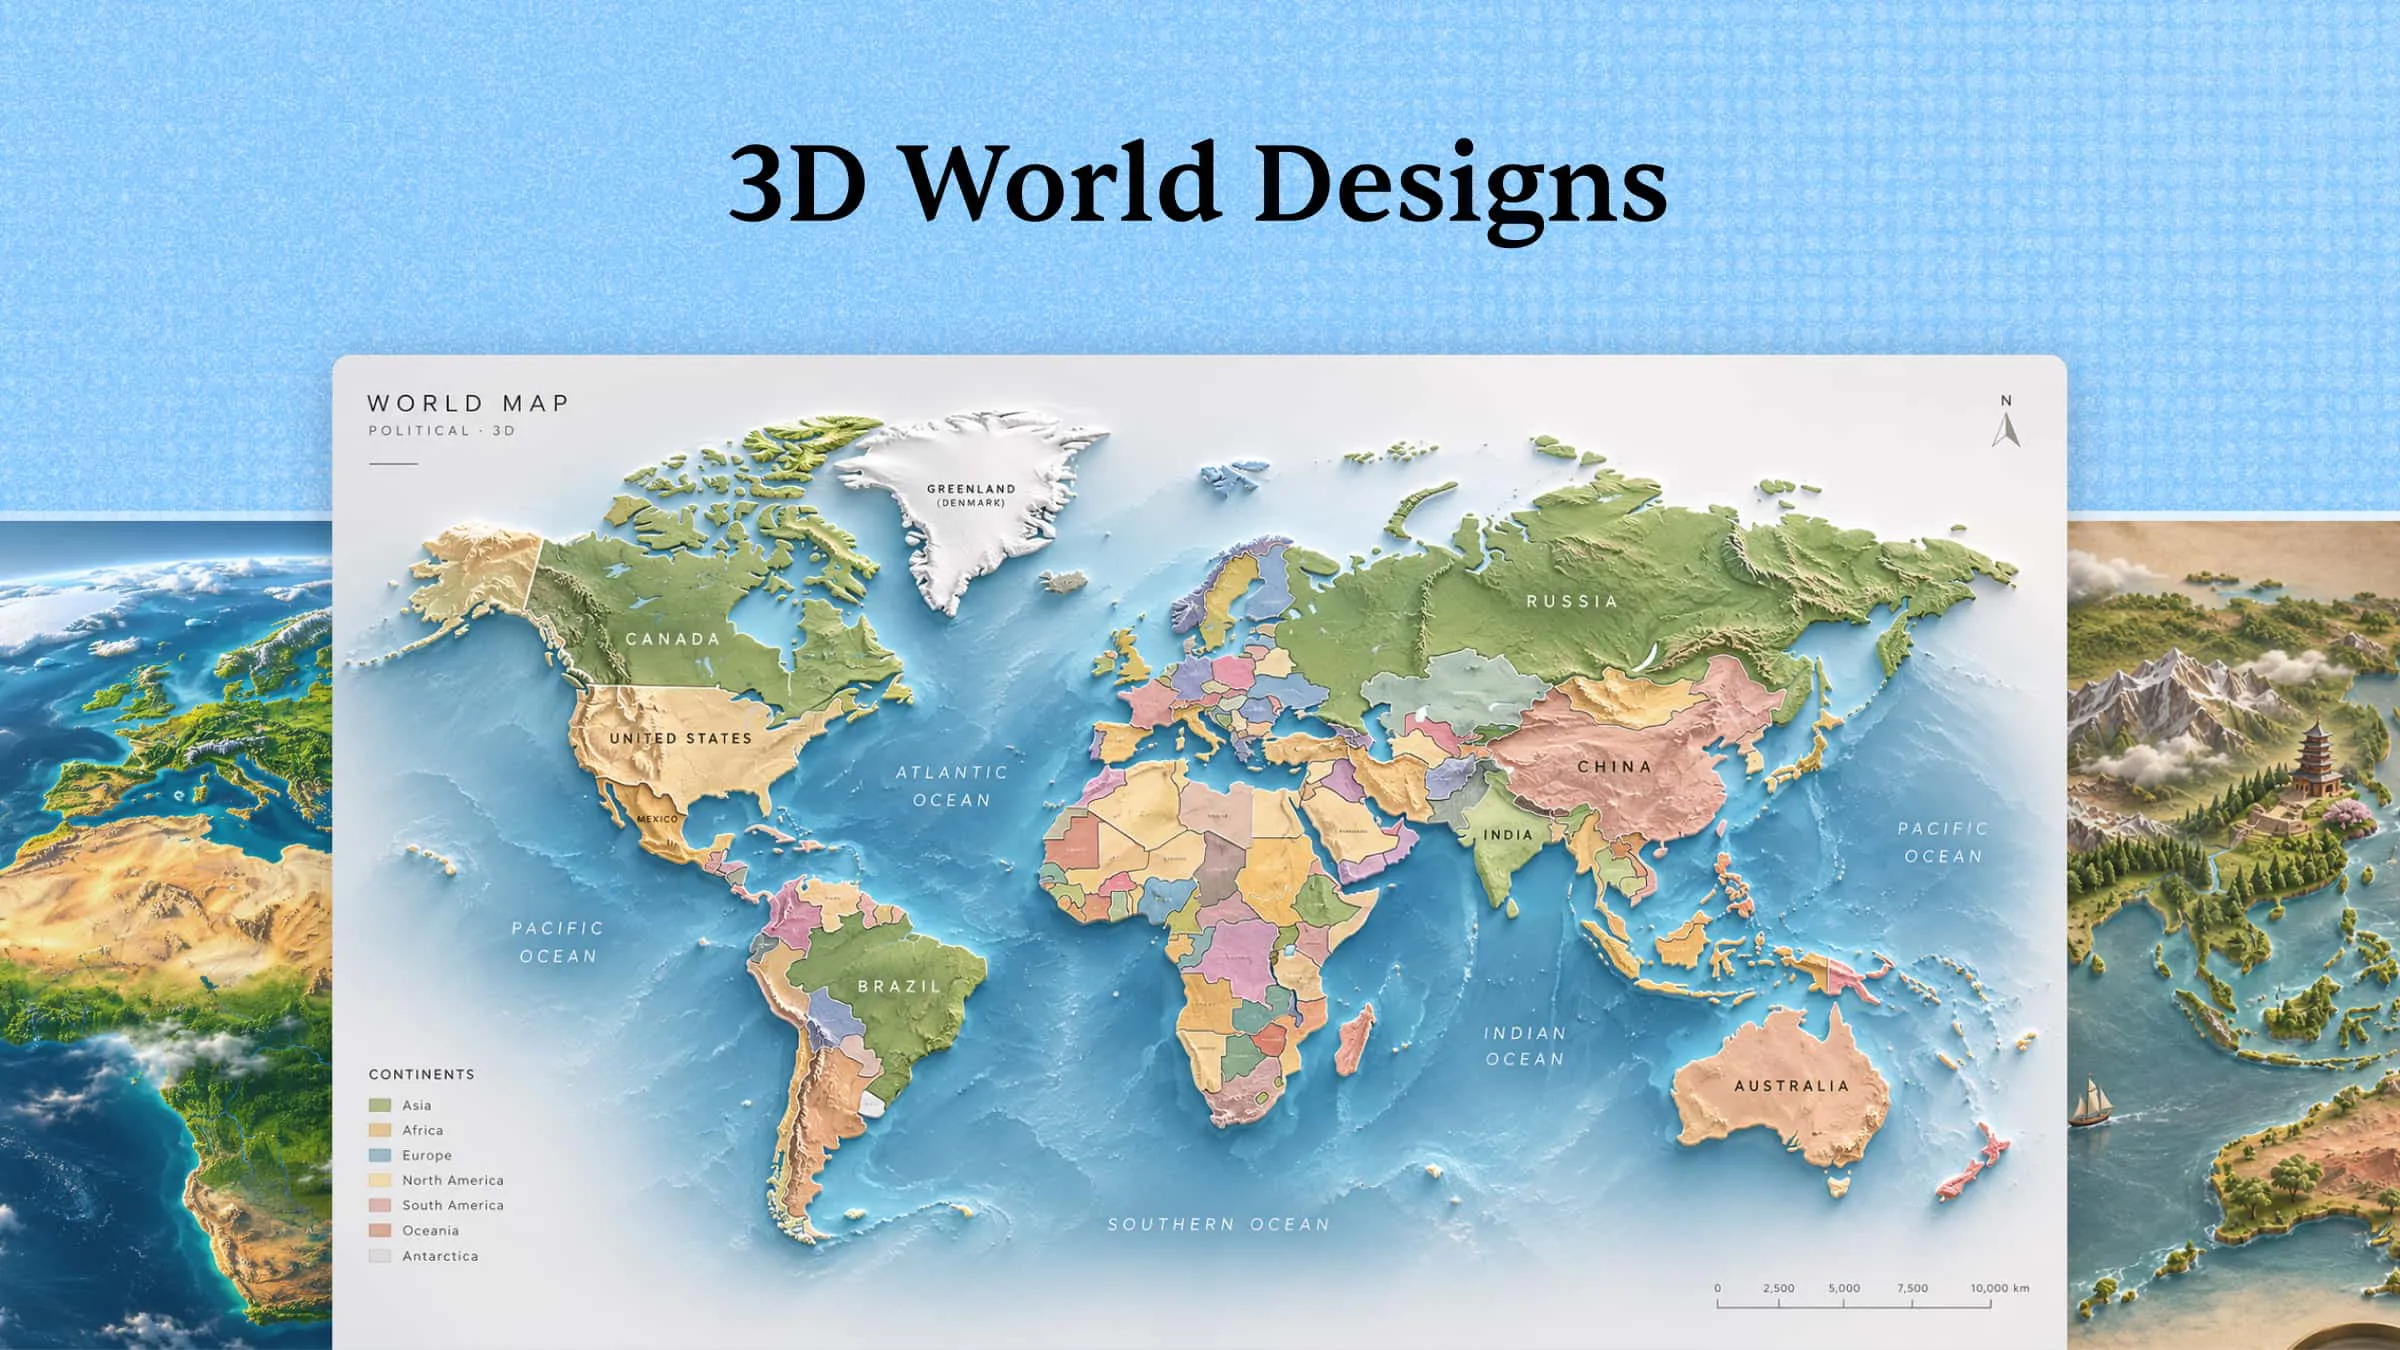
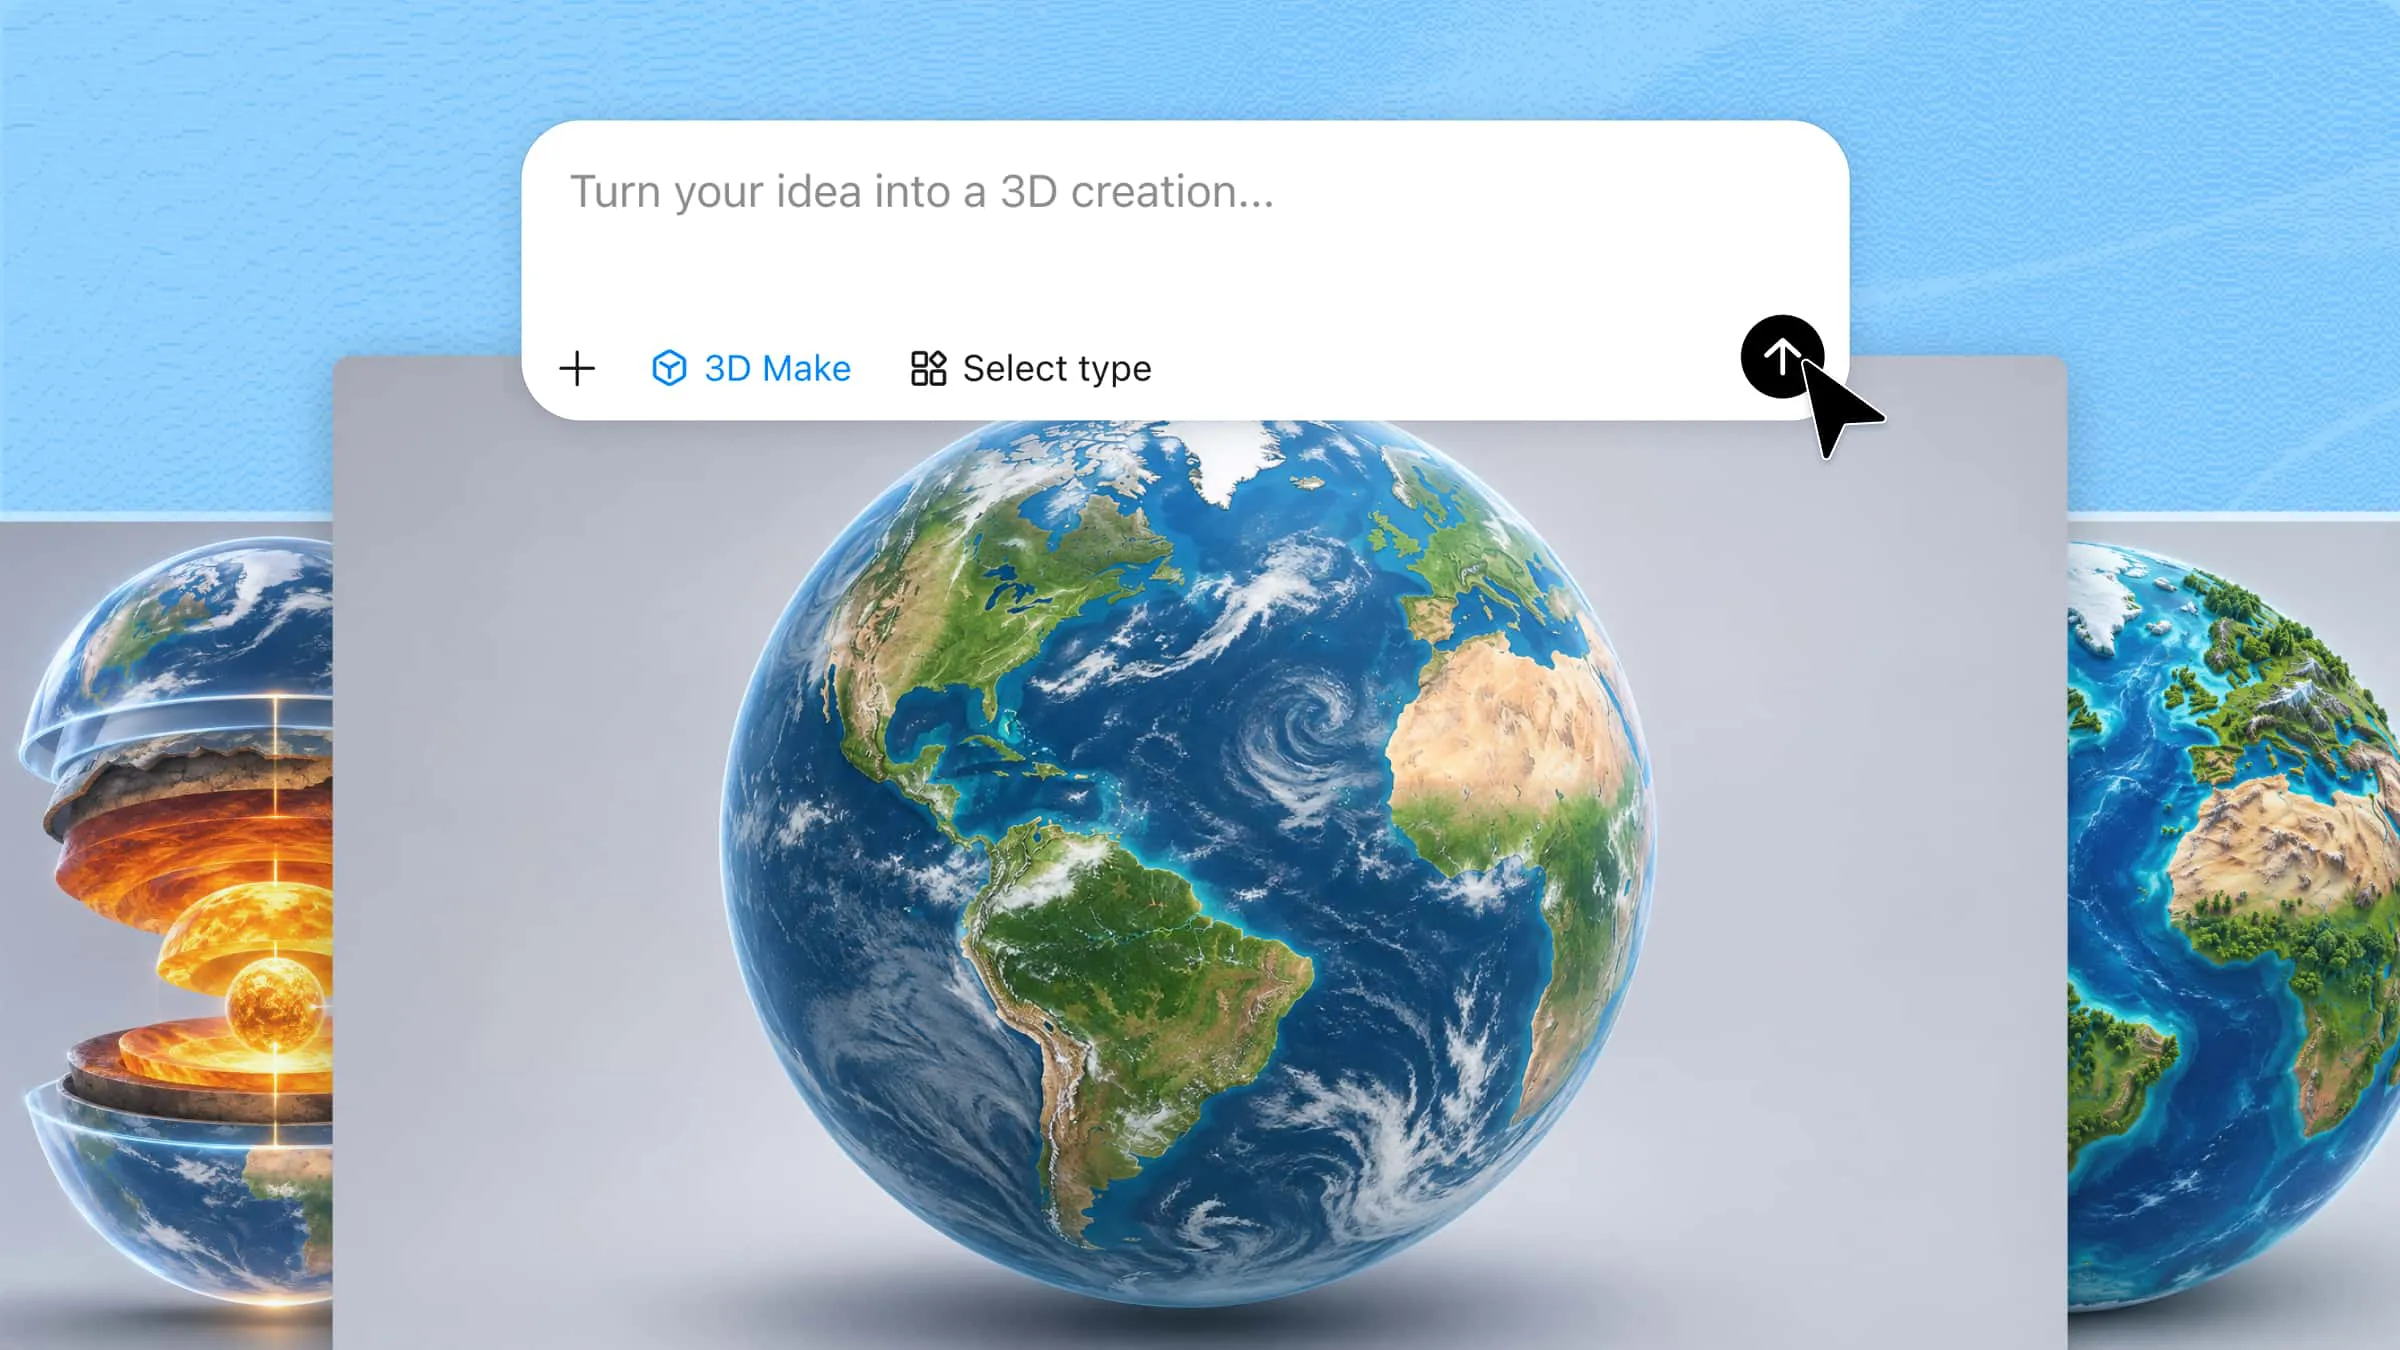
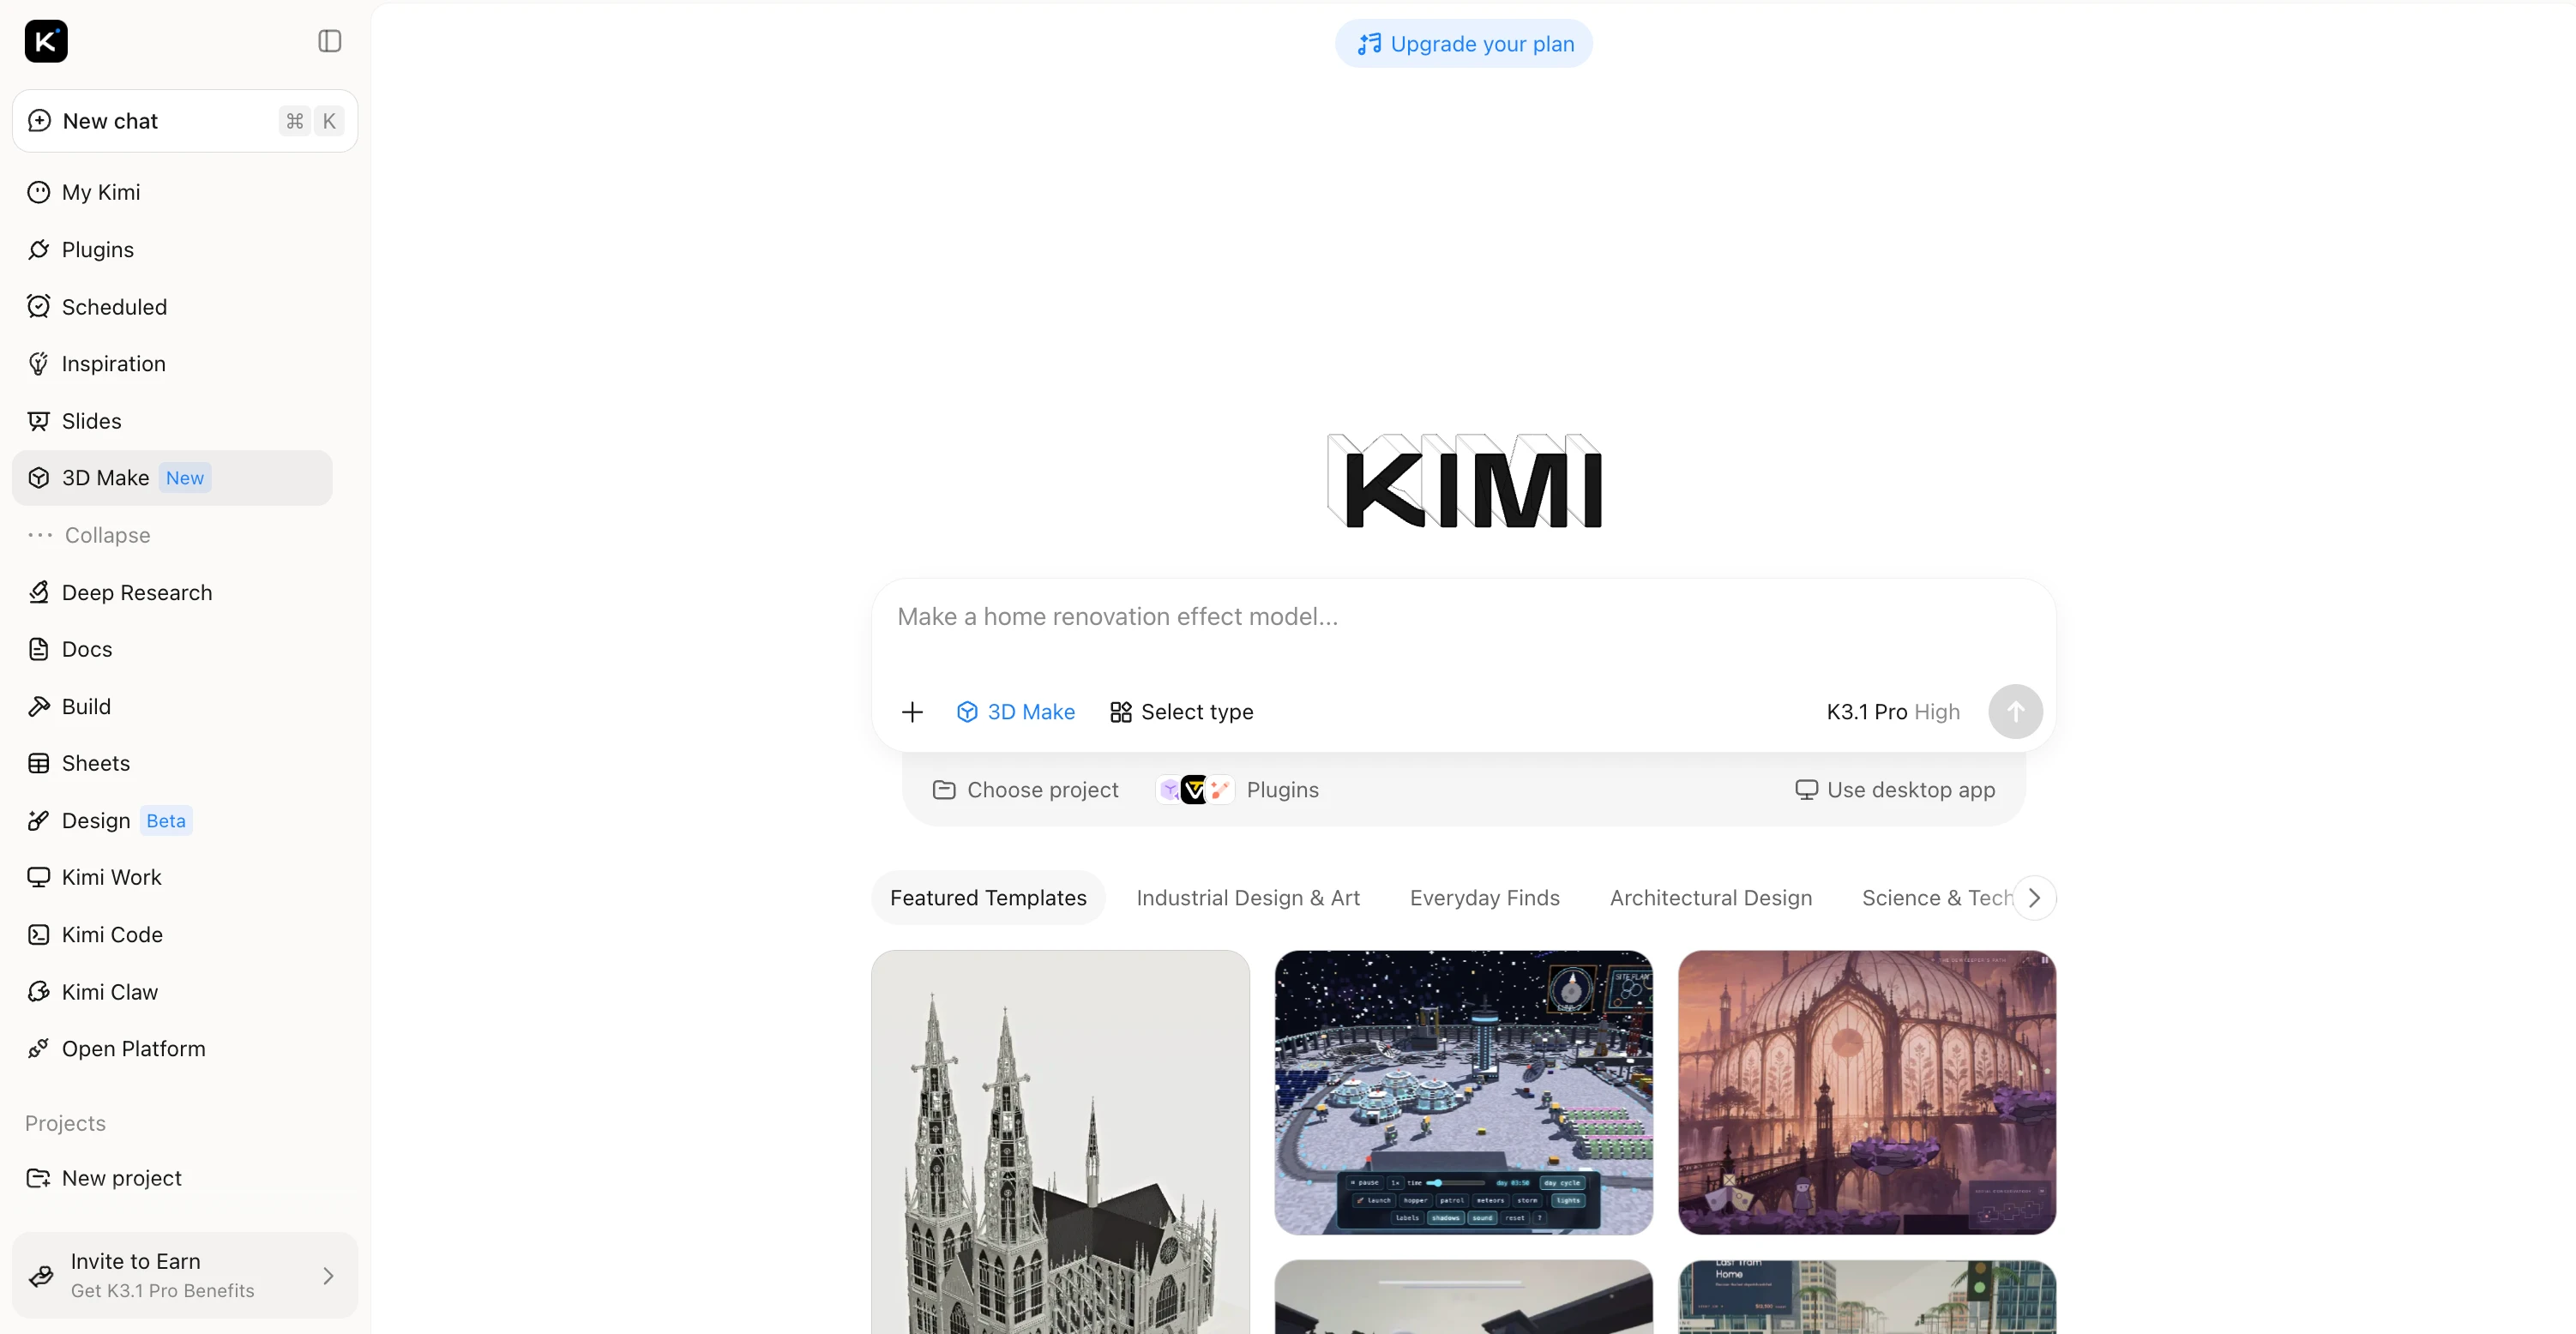
If you're exploring textured 3D modeling in Blender, Kimi 3D Make offers another way to bring your ideas to life. Describe the model you want to create or upload a reference image, and Kimi 3D Make will generate a 3D model based on your input. You can explore different surface finishes, colors, and visual details to develop your desired look. It's a useful option for turning early concepts into 3D assets for product ideas, character designs, and creative projects.
How to apply texture to a 3D model with Kimi 3D Make
Kimi 3D Make makes it easier to turn your ideas or reference images into 3D models without starting from scratch. You can generate a model in a few simple steps and explore the results before refining your design. Follow the steps below to get started with Kimi 3D Make.
Step 1: Upload your 3D model and enter prompts
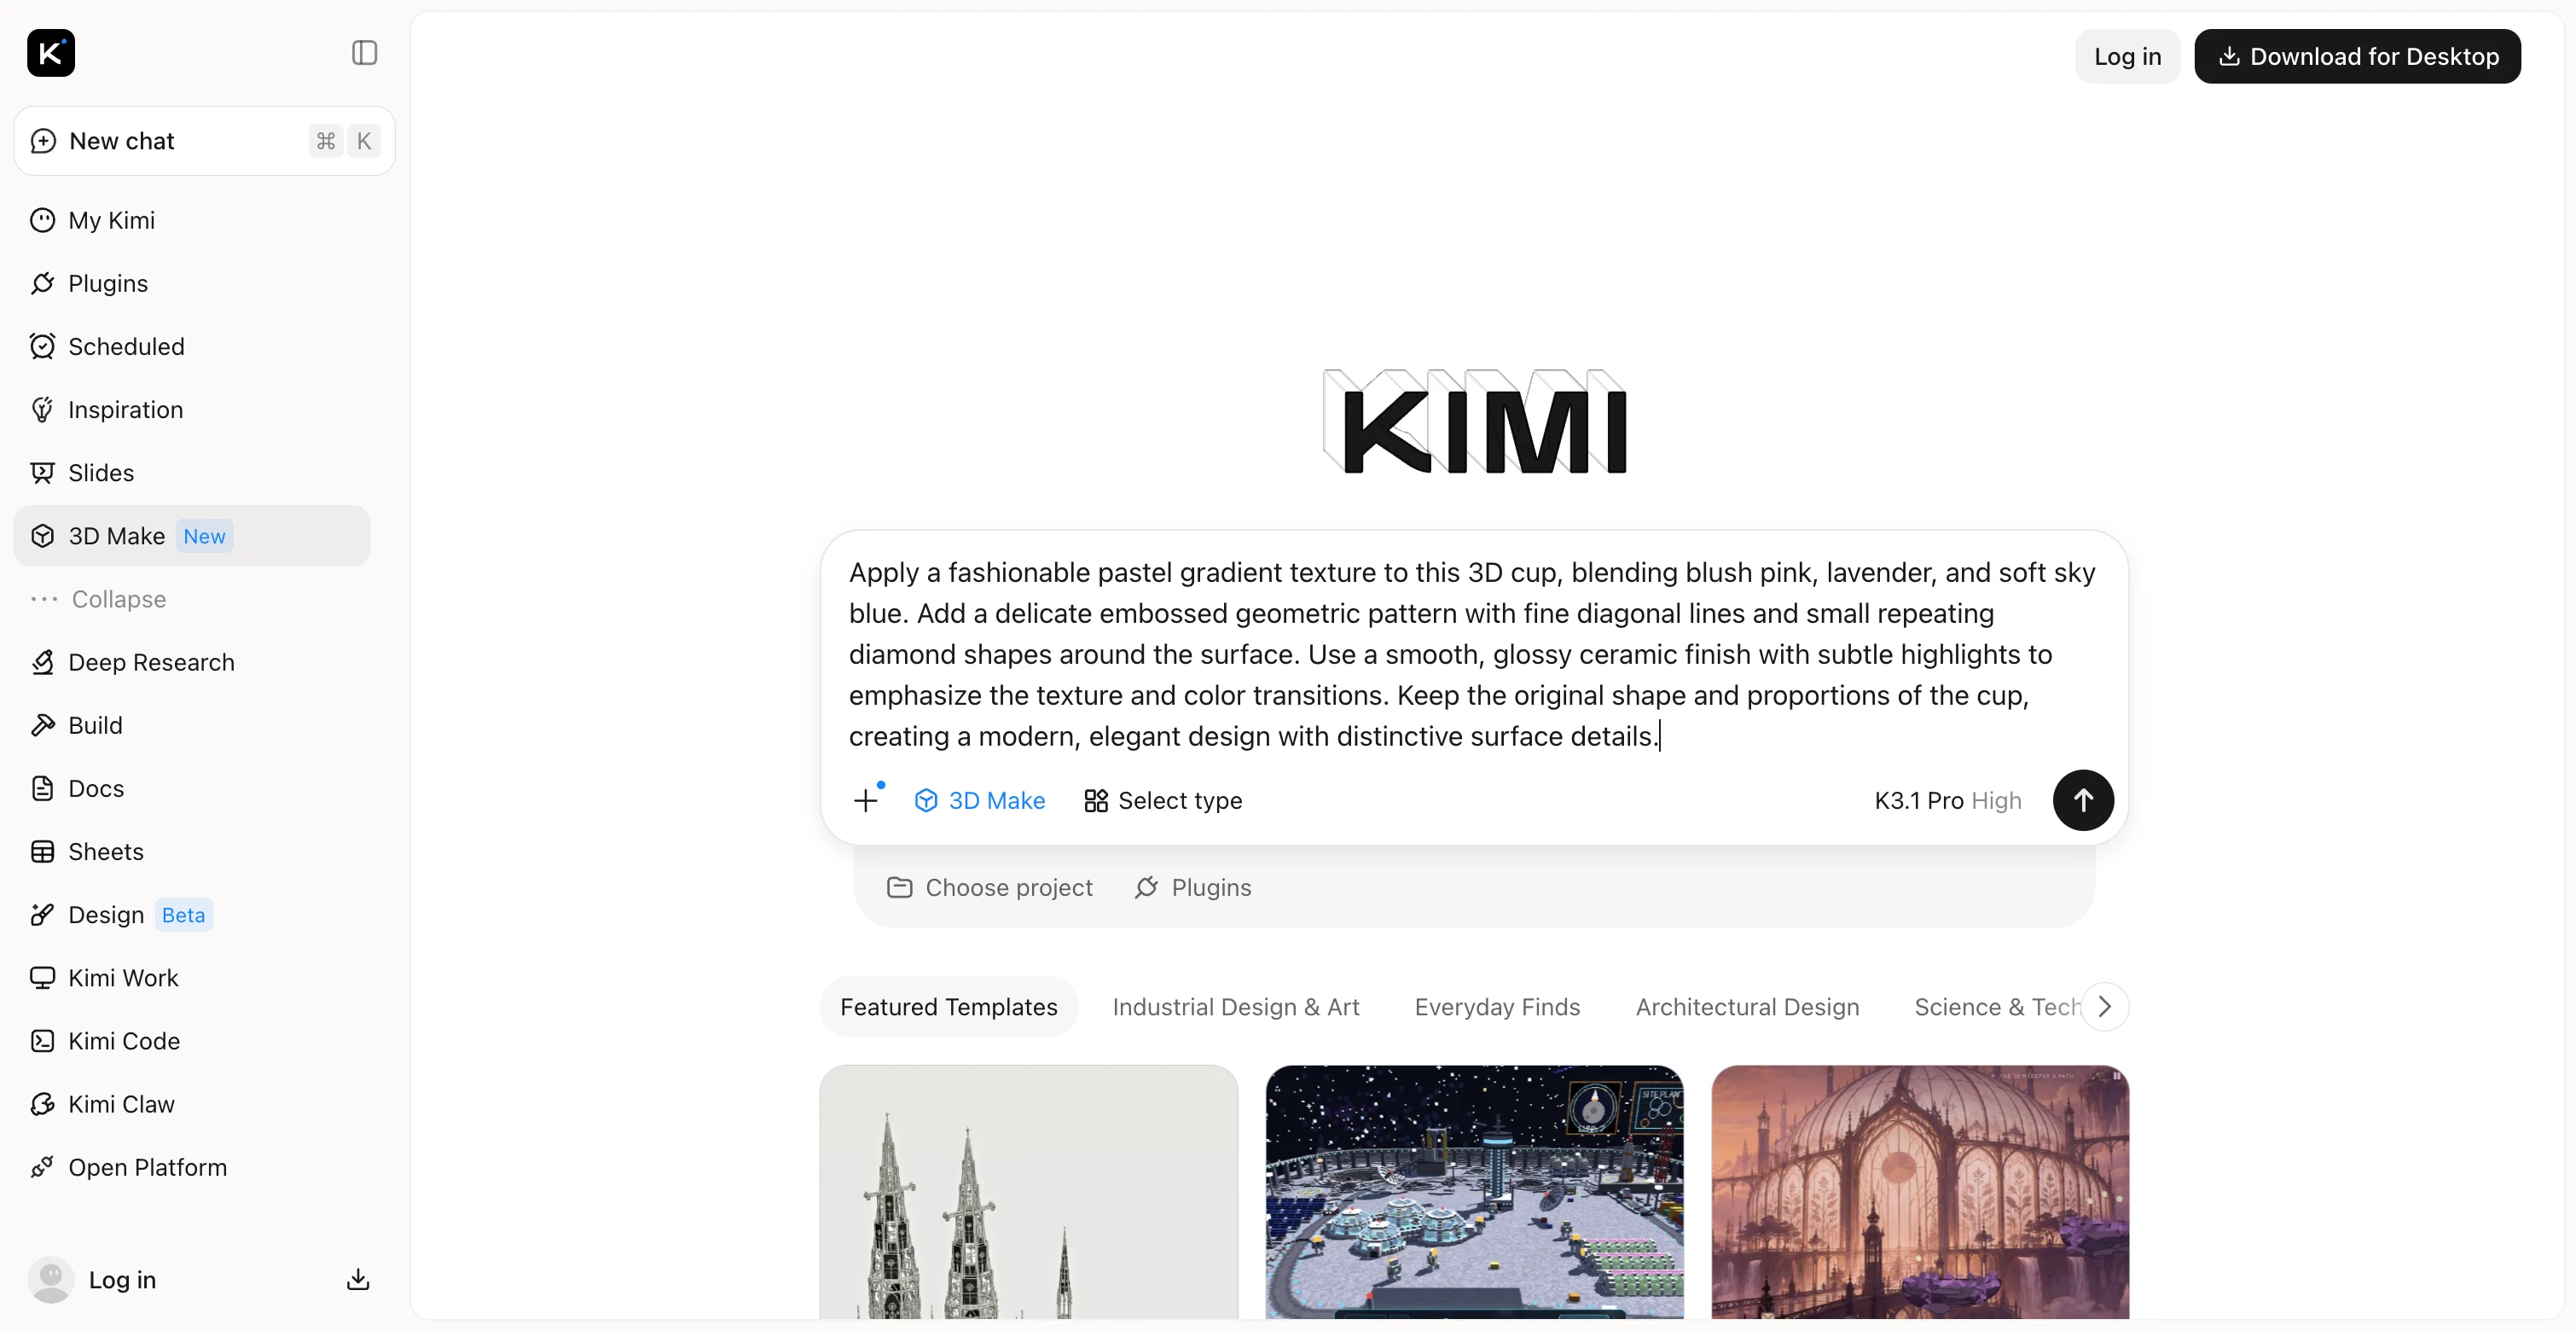
Upload your 3D model to Kimi 3D Make and describe the colors and textures you want to apply. Specify your preferred color palette, surface patterns, and finish to create a stylish, visually appealing cup design.
Example prompt:
Step 2: Edit your 3D model
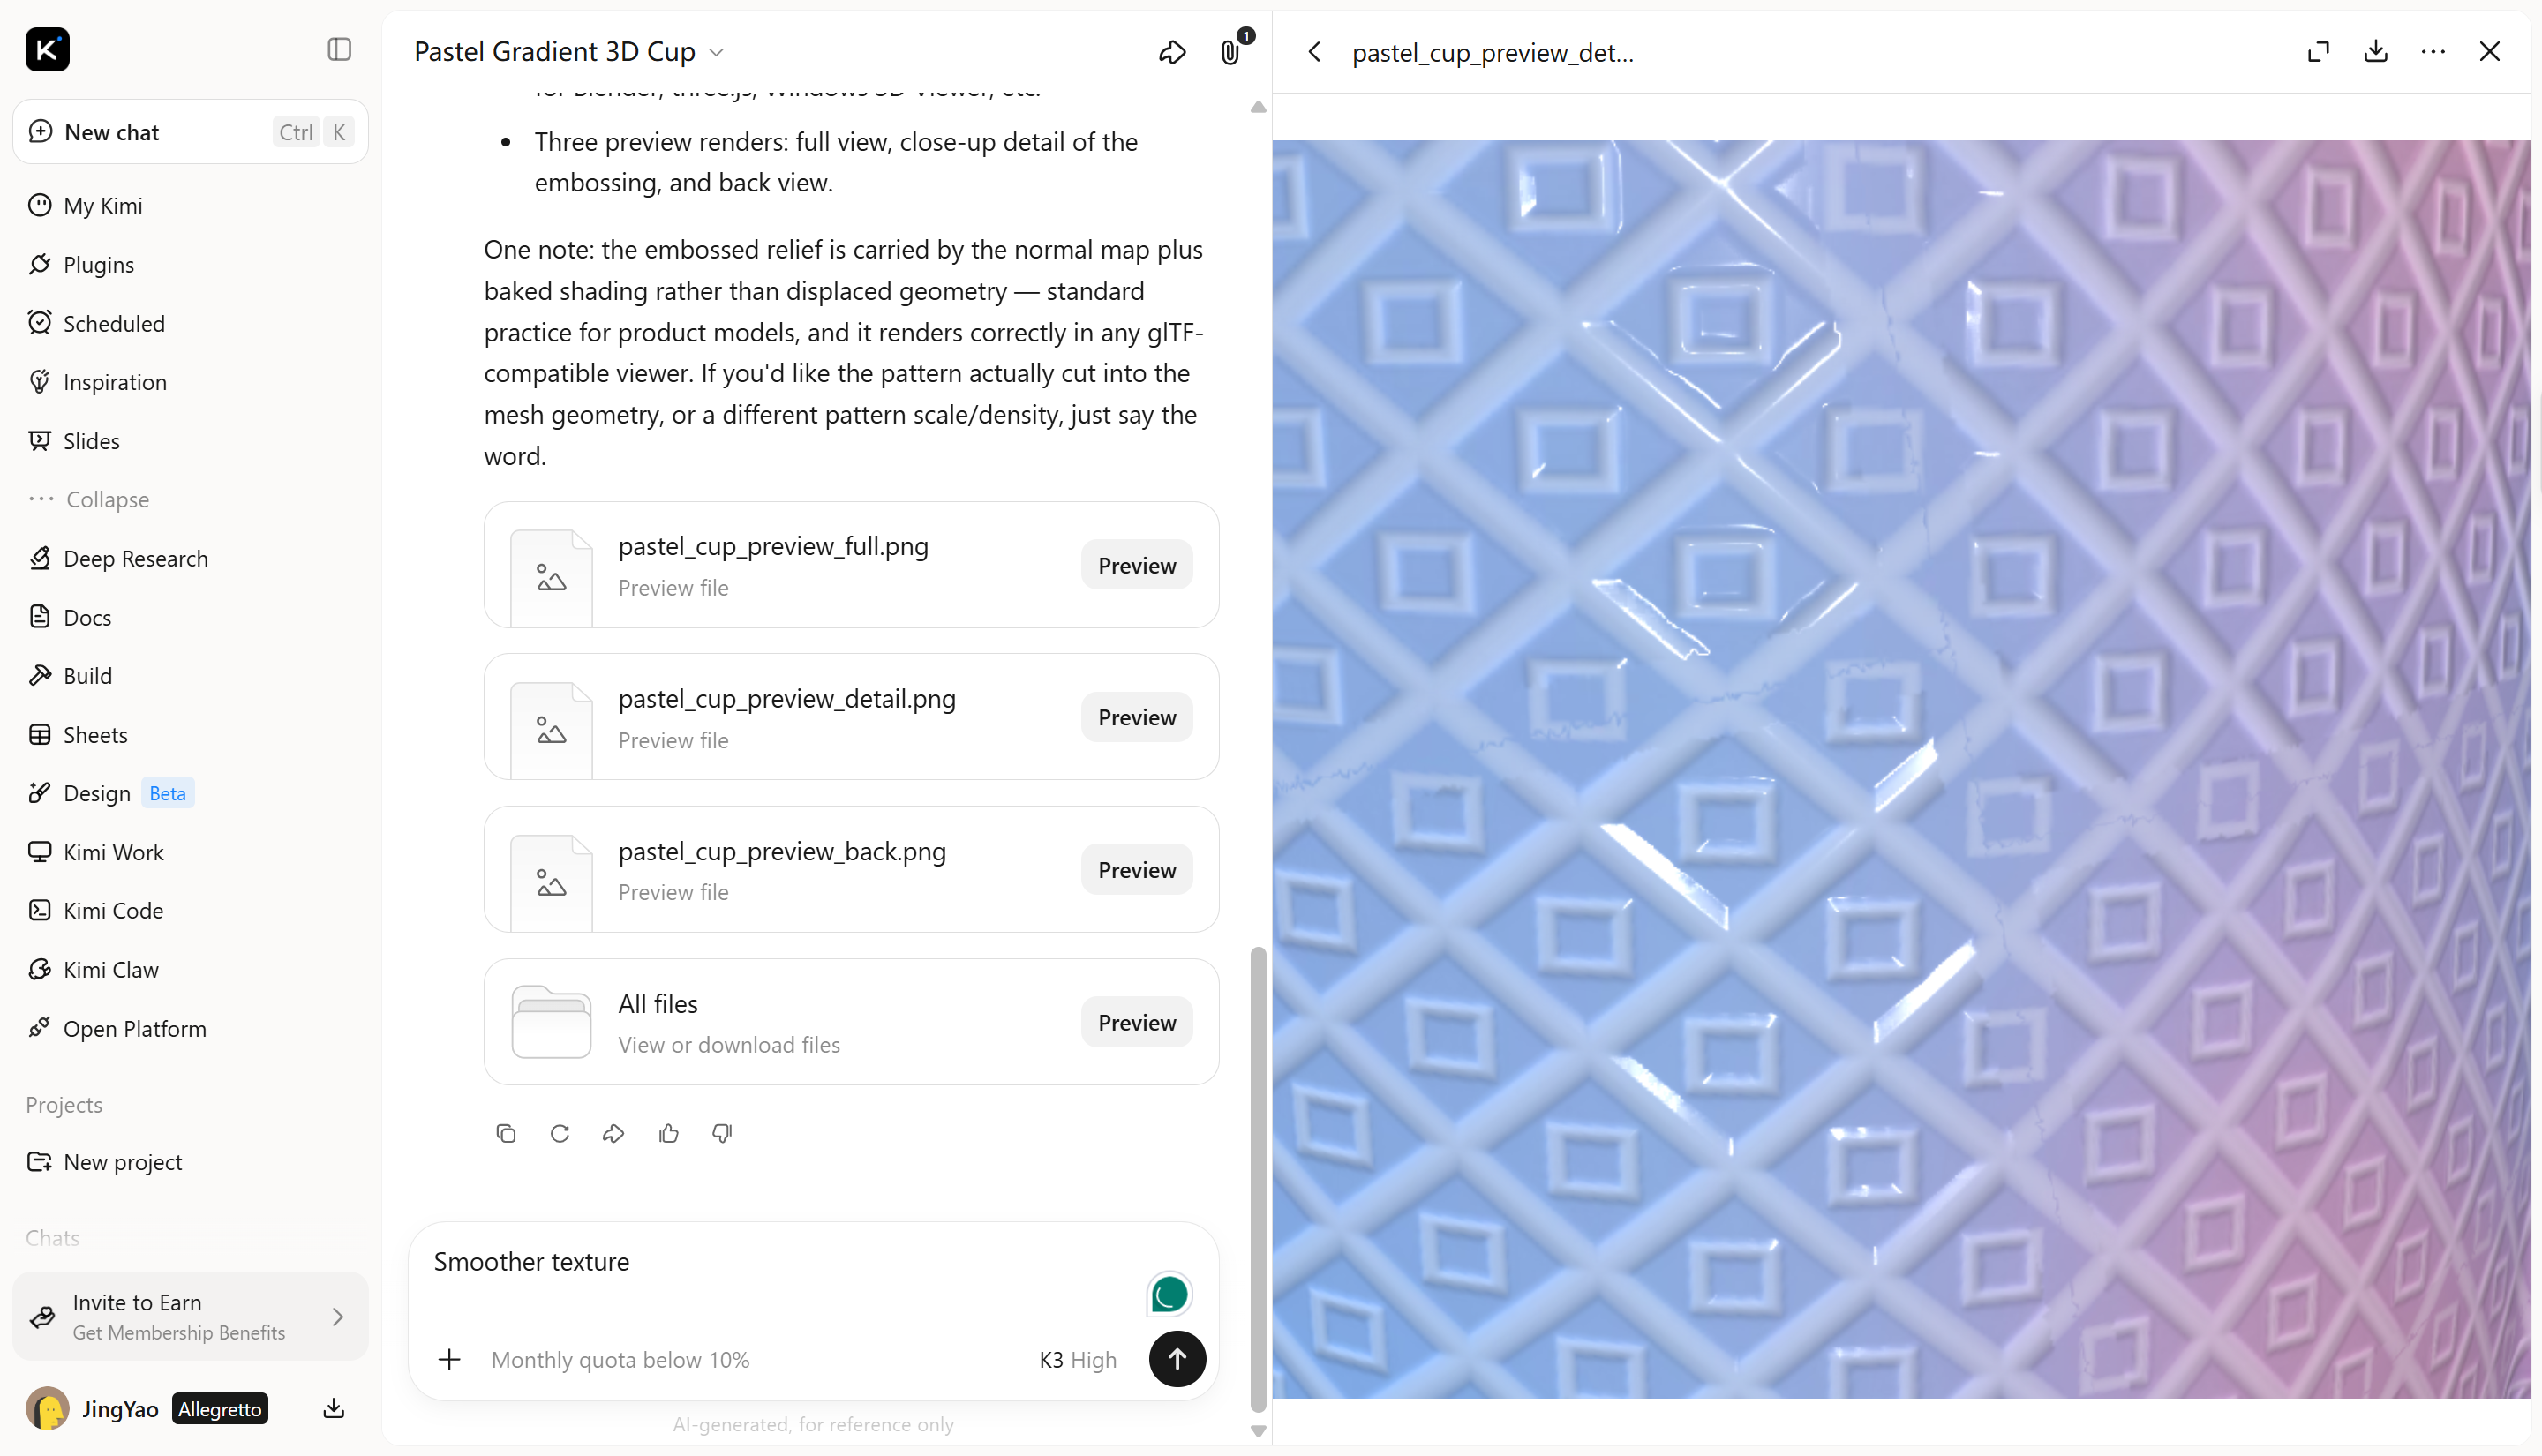
Review the generated result and refine the cup's colors and textures with follow-up prompts. Try different color combinations, add elegant patterns, or adjust the surface finish to achieve a more fashionable look. Experiment with matte, glossy, or metallic effects to match your preferred aesthetic.
Step 3: Review and export
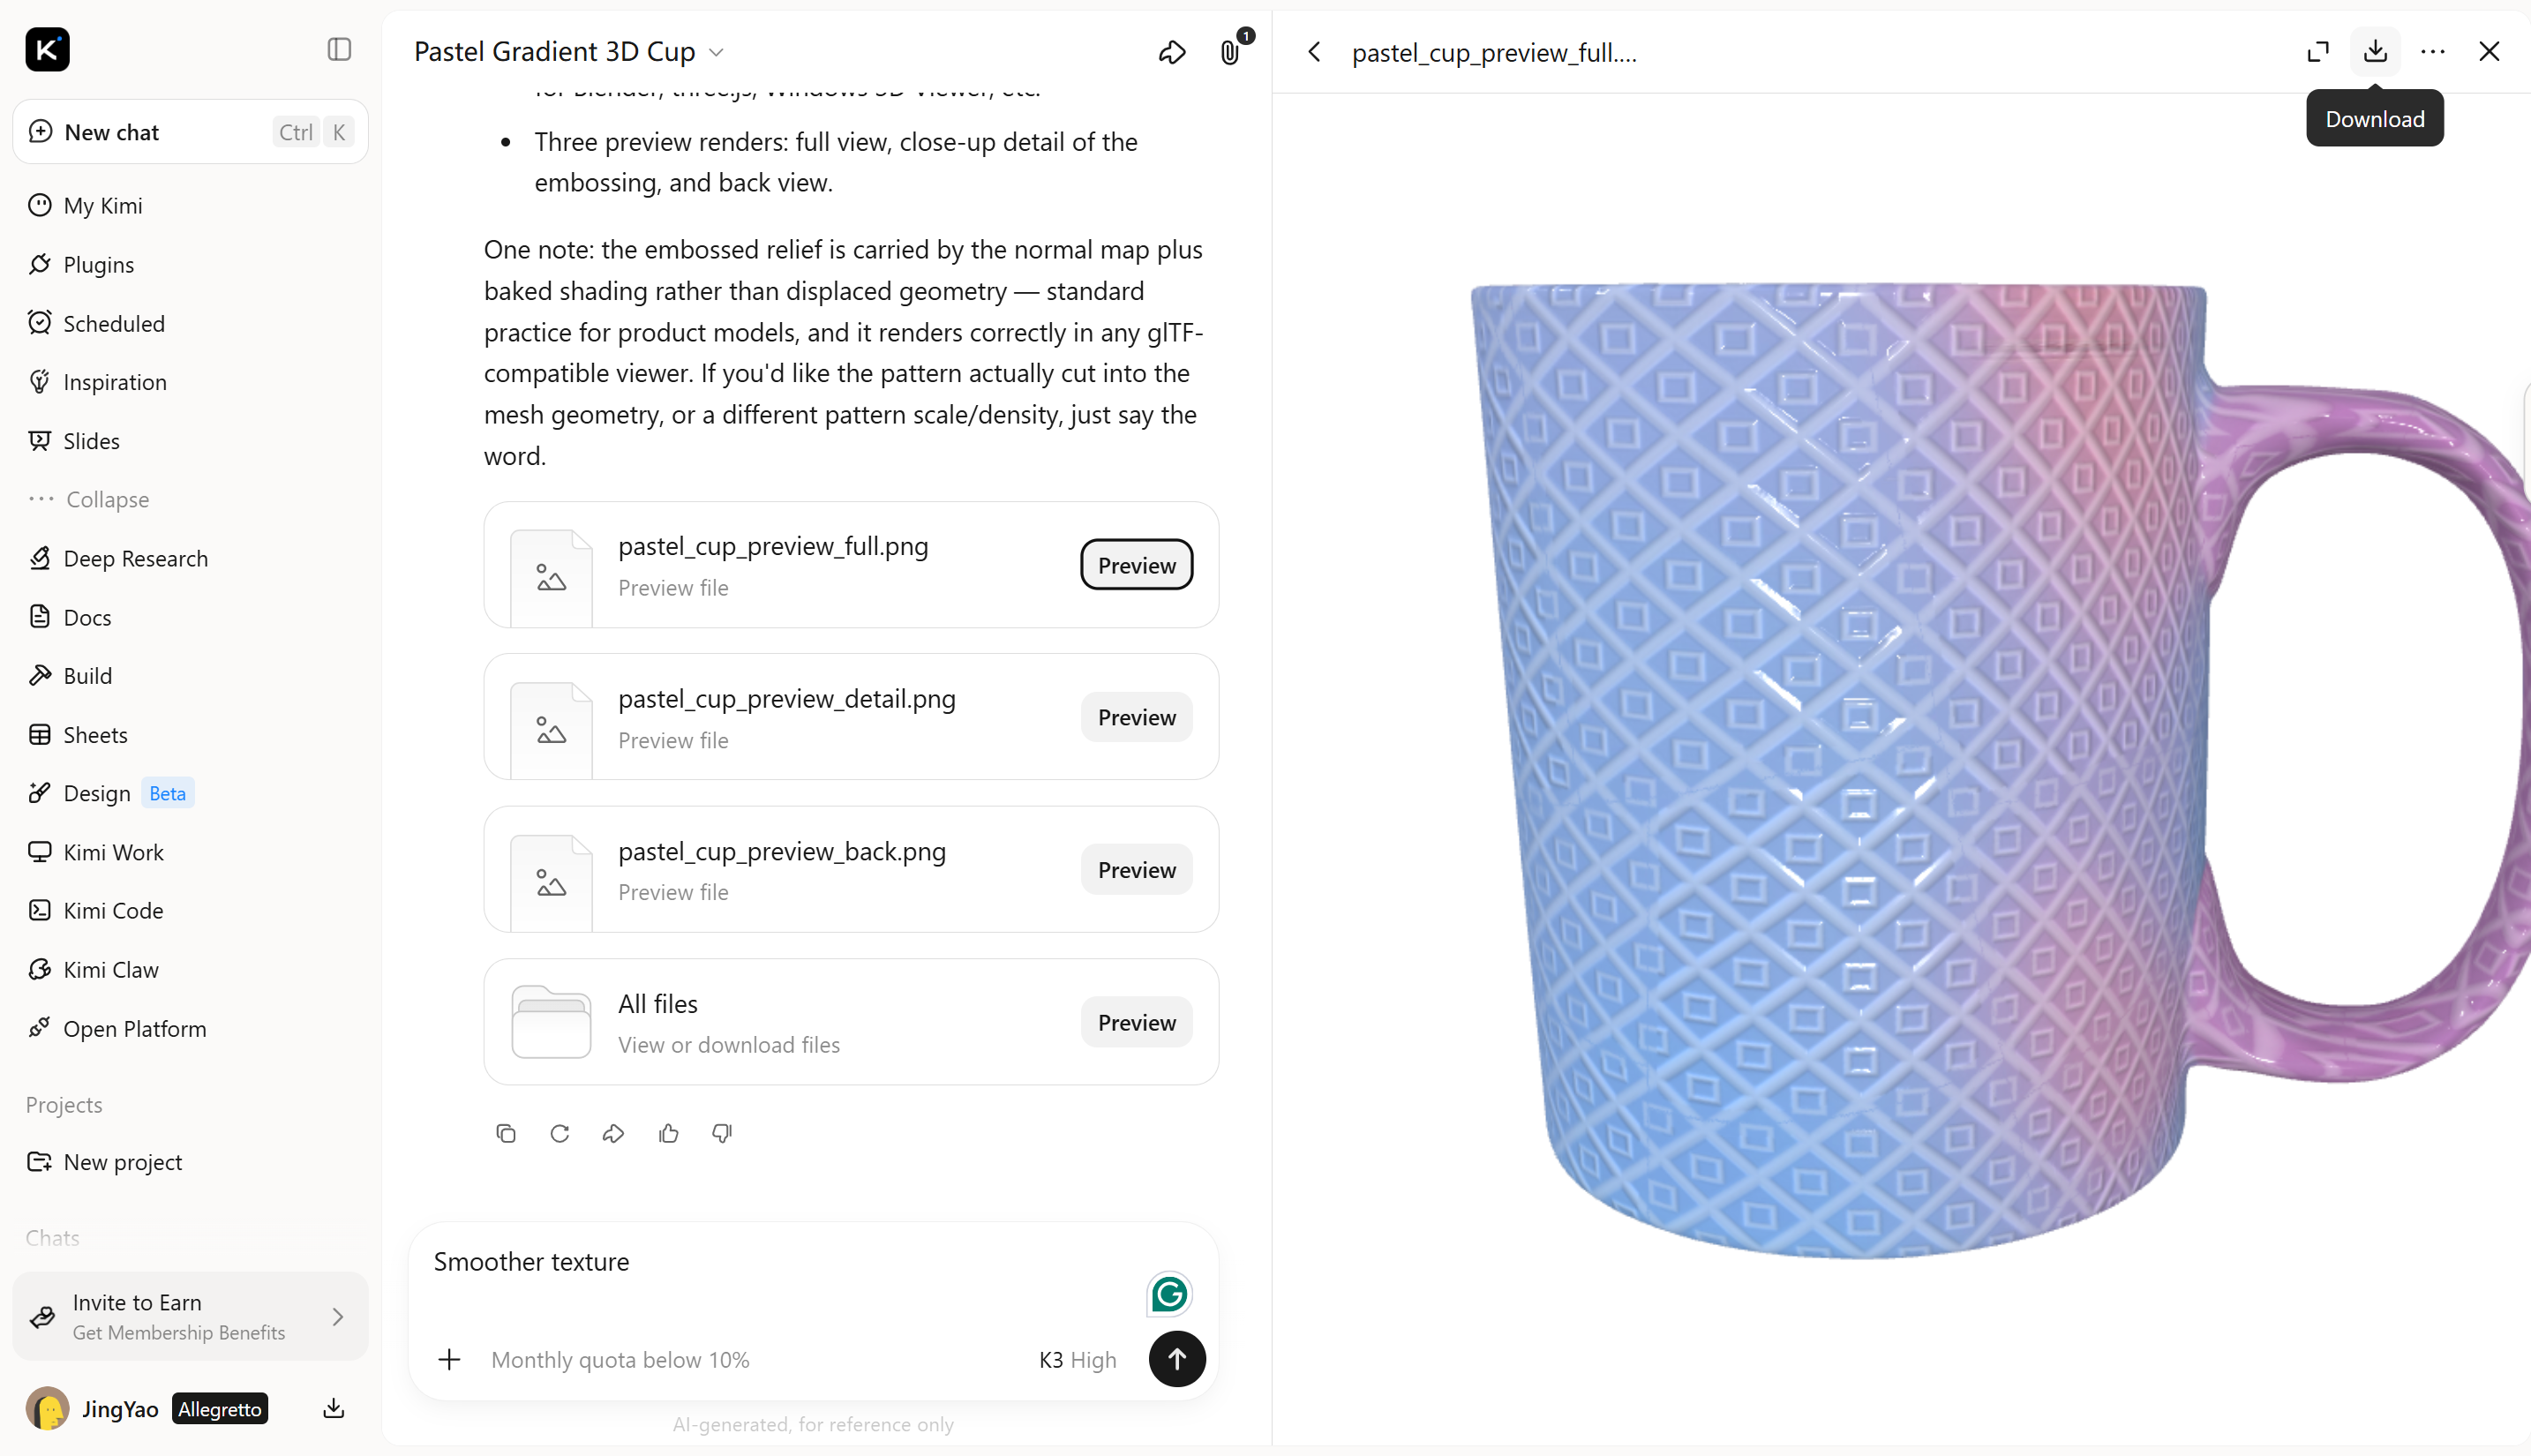
Inspect the finished cup from different angles to check the consistency of its colors, the clarity of its patterns, and the overall appearance. Once you're satisfied, export your finished 3D model for use in product showcases, design portfolios, promotional content, or online publishing.
Key features
Generate 3D models from prompts and references: Turn text descriptions or visual references into 3D models with Kimi 3D Make. Start with a basic concept or product reference to establish the shape and appearance before refining surface details.
Enhance surfaces with texture details: Describe the surface appearance you want, such as brushed metal, smooth ceramic, natural wood grain, or rough stone. Use prompts and visual references to guide the model's overall look and create more expressive 3D visuals.
Explore different material styles: Experiment with different colors, finishes, and surface appearances to explore creative directions for your model. Develop looks suited to product visualization, digital scenes, and creative projects.
Use specialized tools for advanced 3D workflows: For more detailed texturing, modeling, and animation, Kimi Work provides access to tools such as Blender and Tripo 3D through plugins. Use Blender for advanced modeling and animation, or Tripo 3D to generate models from text prompts and images. Depending on the tool, supported formats include FBX, STL, USDZ, BLEND, GLB, glTF, and OBJ, allowing you to continue editing and developing your assets.
Conclusion
Understanding how to create a texture in Blender helps you improve your 3D models and achieve the look you want. With the right techniques, you can create anything from simple surfaces to detailed, realistic materials. If you want to explore another approach, try Kimi 3D Make to generate and refine textured 3D models from text prompts or images.
FAQ
U to unwrap it. Open the UV Editor and adjust the UV islands to reduce stretching and distortion. You can also check the UV layout with a checker texture to identify problem areas.