Your Facebook cover is one of the first things people notice, so a plain or poorly designed image may not leave the best impression. The problem is that creating a fresh design often takes more time and skill than you expect. AI tools can simplify the process by helping you generate layouts, graphics, and text based on your ideas. This gives you an easy way to make a cover that looks polished without starting from scratch. Read on to learn how to make a Facebook cover photo with AI.
How to create a Facebook cover photo with easy steps
A strong cover does not have to start with complicated design work. With AI, you can bring your concept to life and make changes as you go, even if you are starting with no design skills.
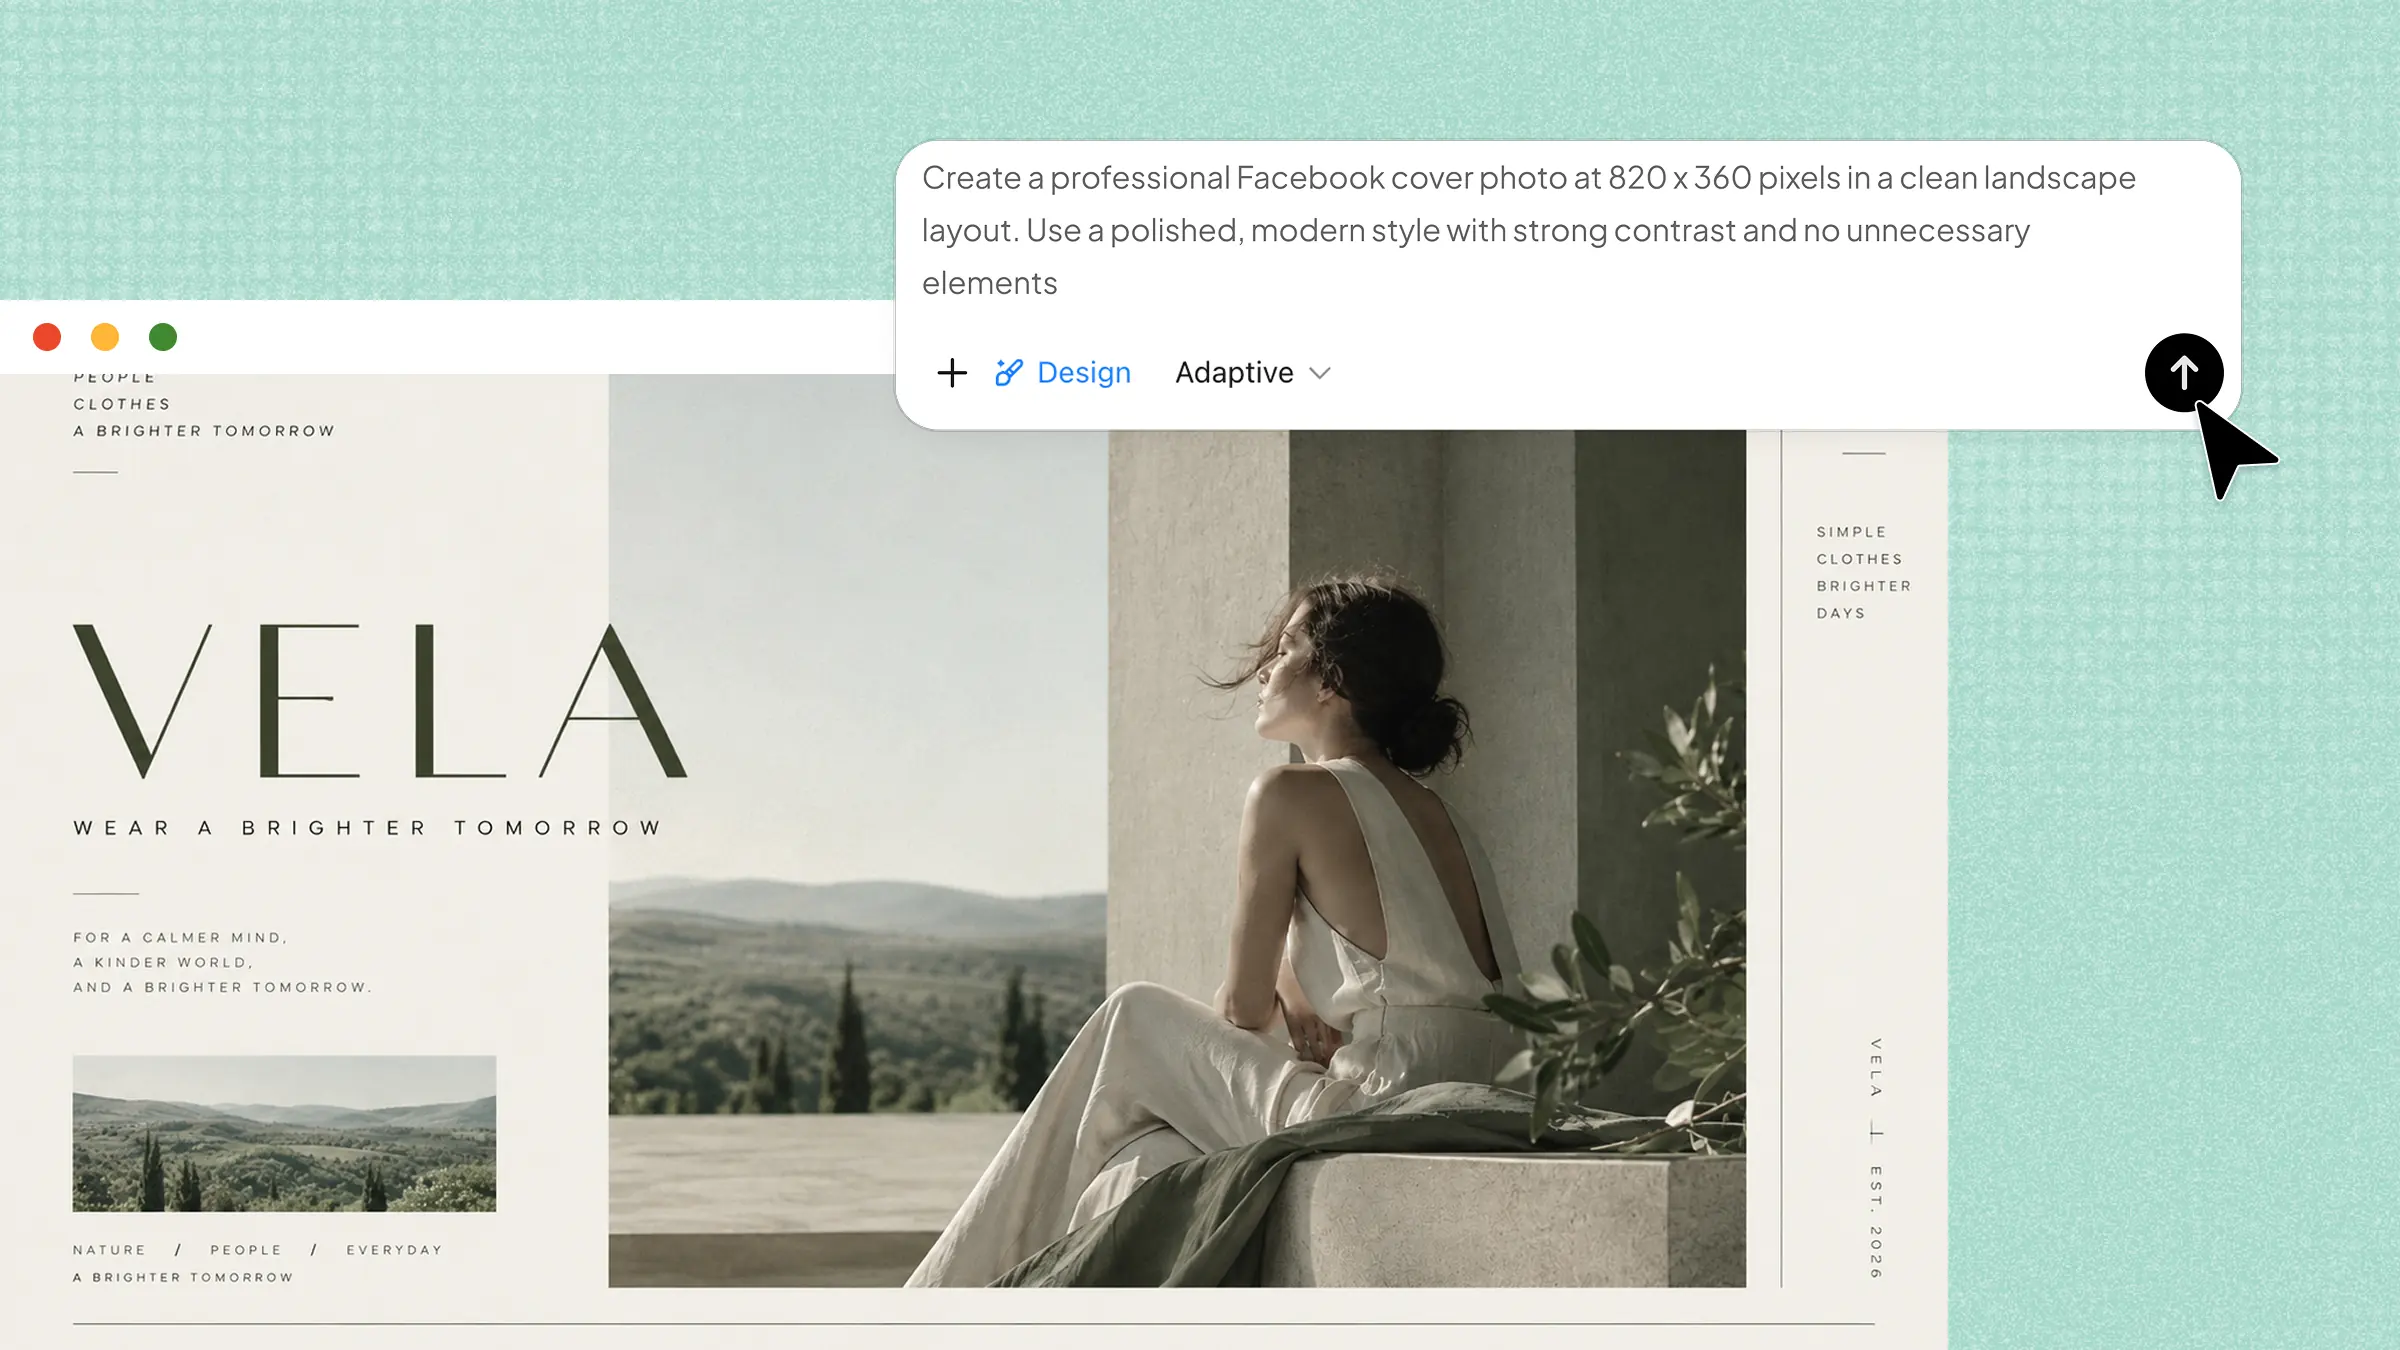
Kimi Design is an AI-powered design tool that lets you create custom visuals from simple prompts. It can generate layouts, graphics, colors, and text based on what you describe. You can then refine the design with natural-language instructions until it matches the look you want. This makes it easier to create a polished Facebook cover without needing advanced design skills.
Step 1: Describe your Facebook cover idea
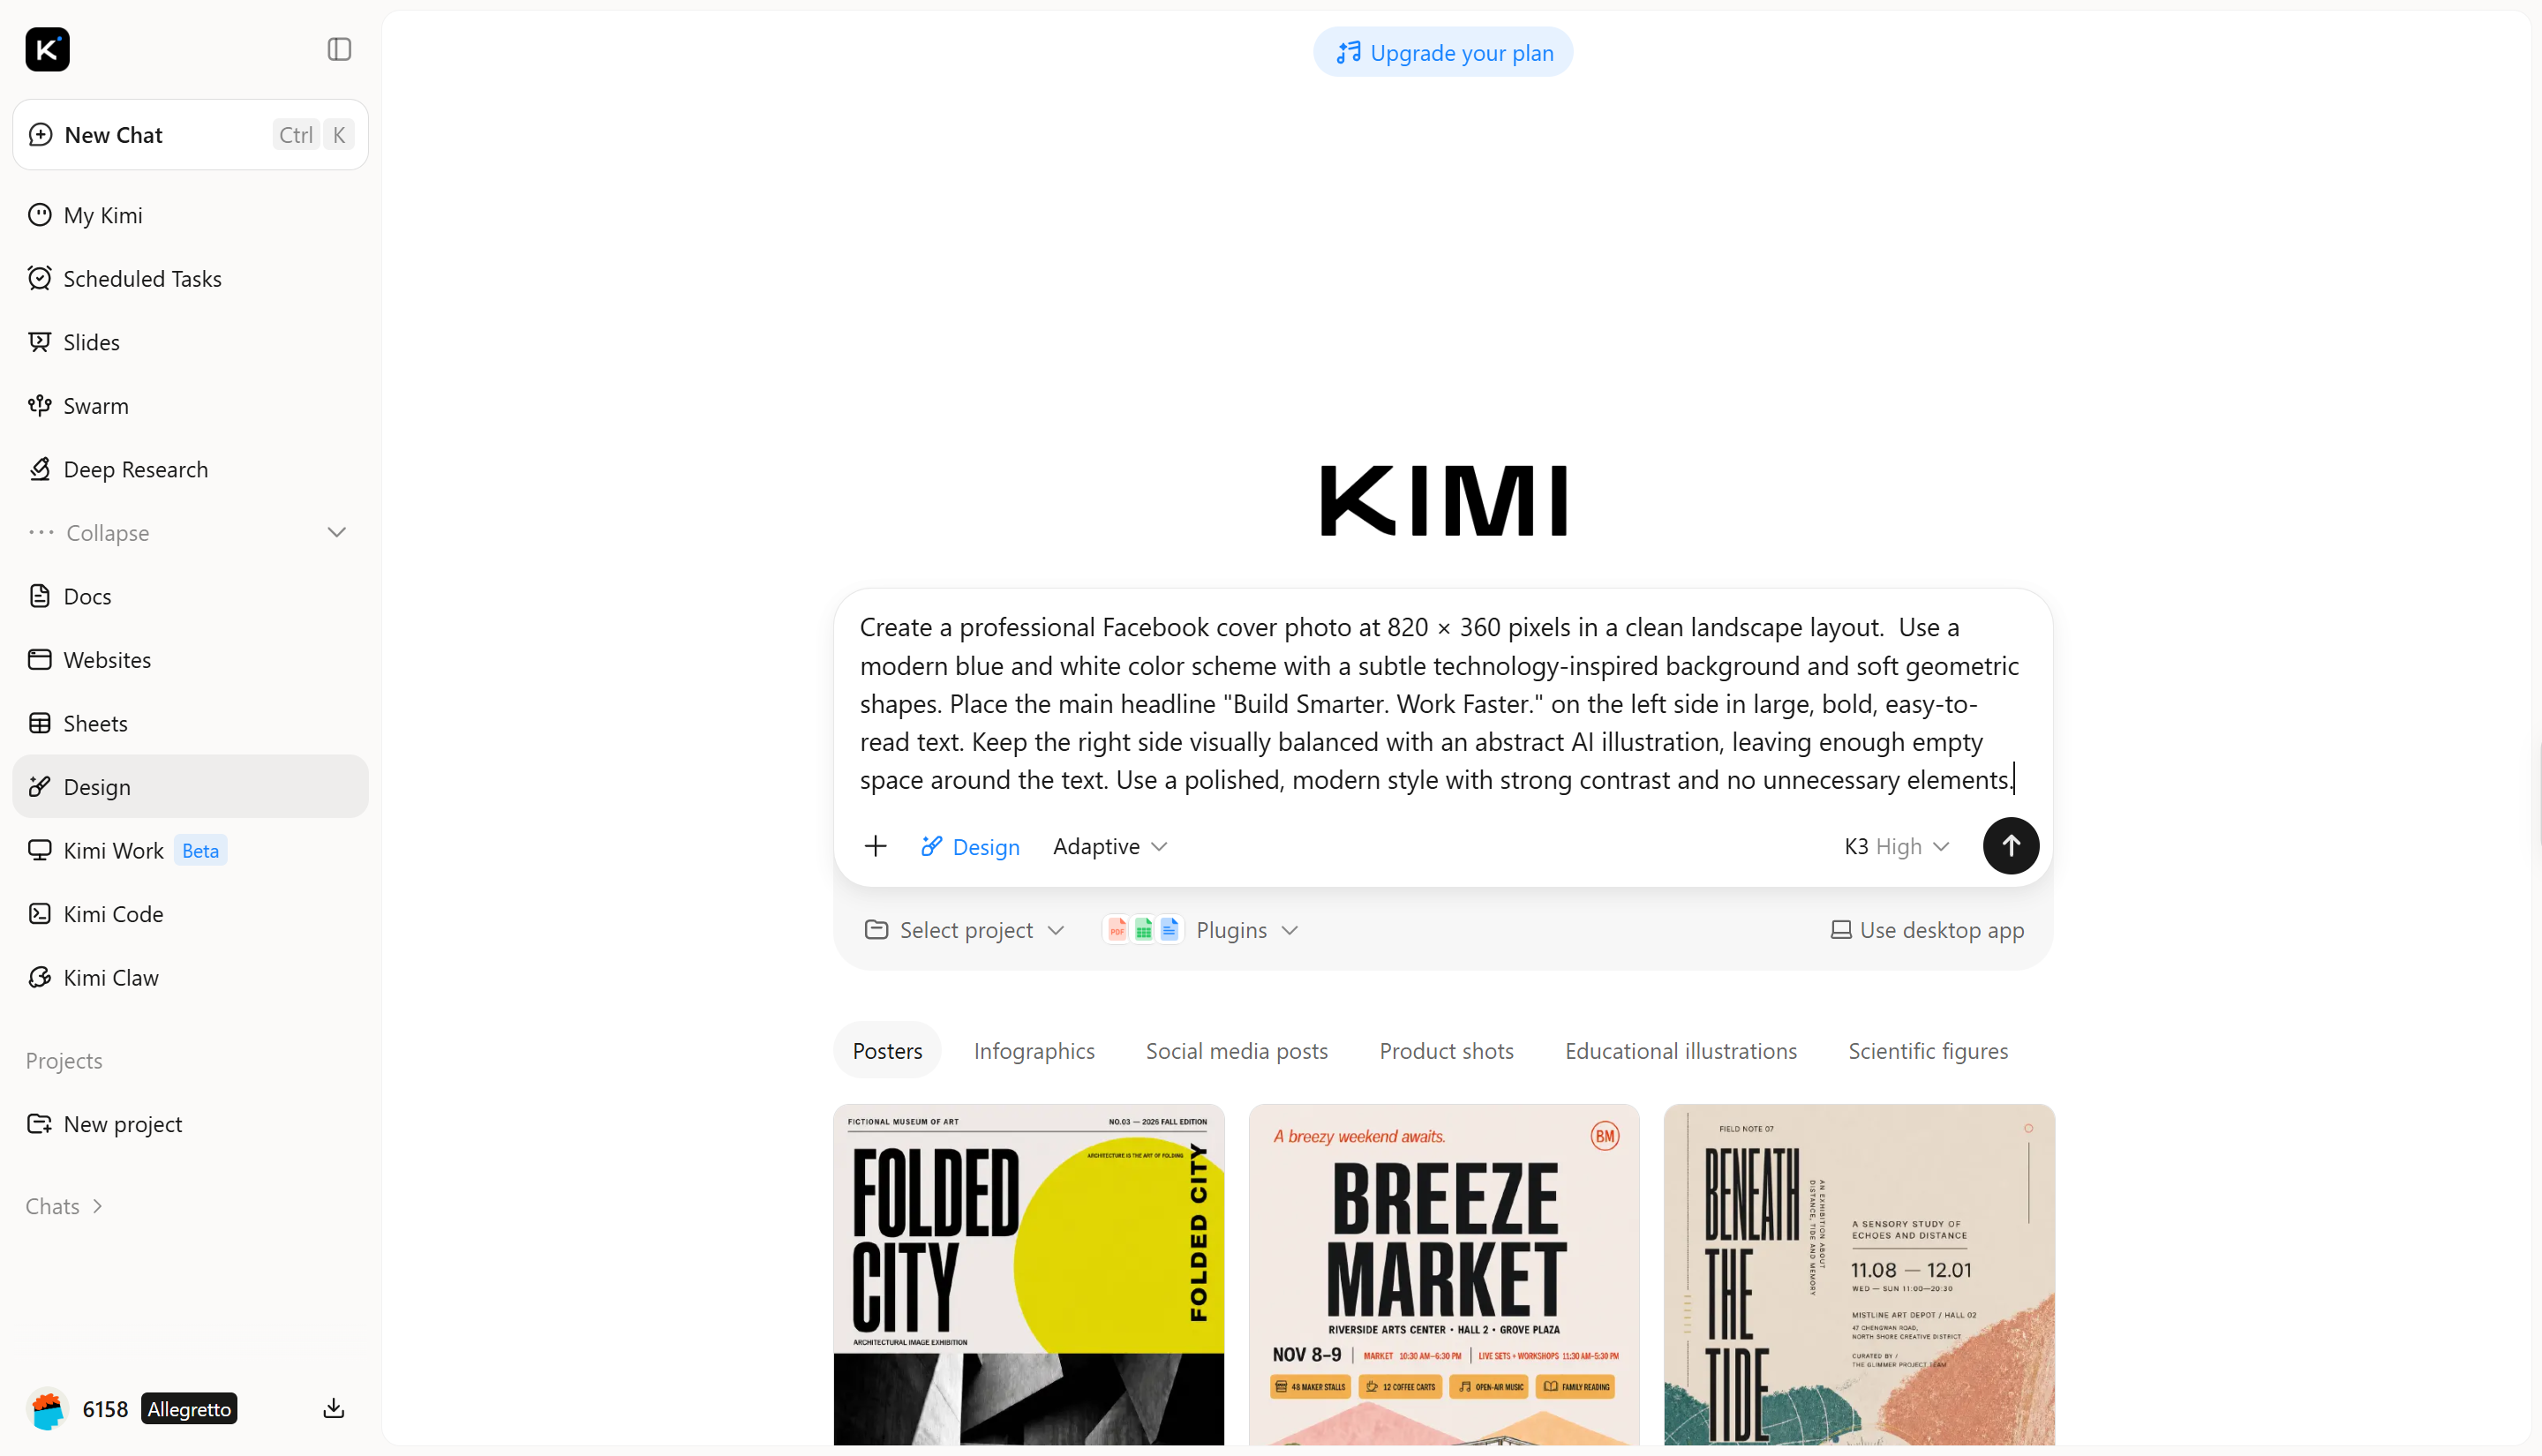
Start with a clear idea of what you want your cover photo to look like. Think about the main subject, colors, text, mood, and overall style before writing your prompt. The more specific your description is, the easier it is for Kimi Design to create a result that matches your vision.
Use the right size
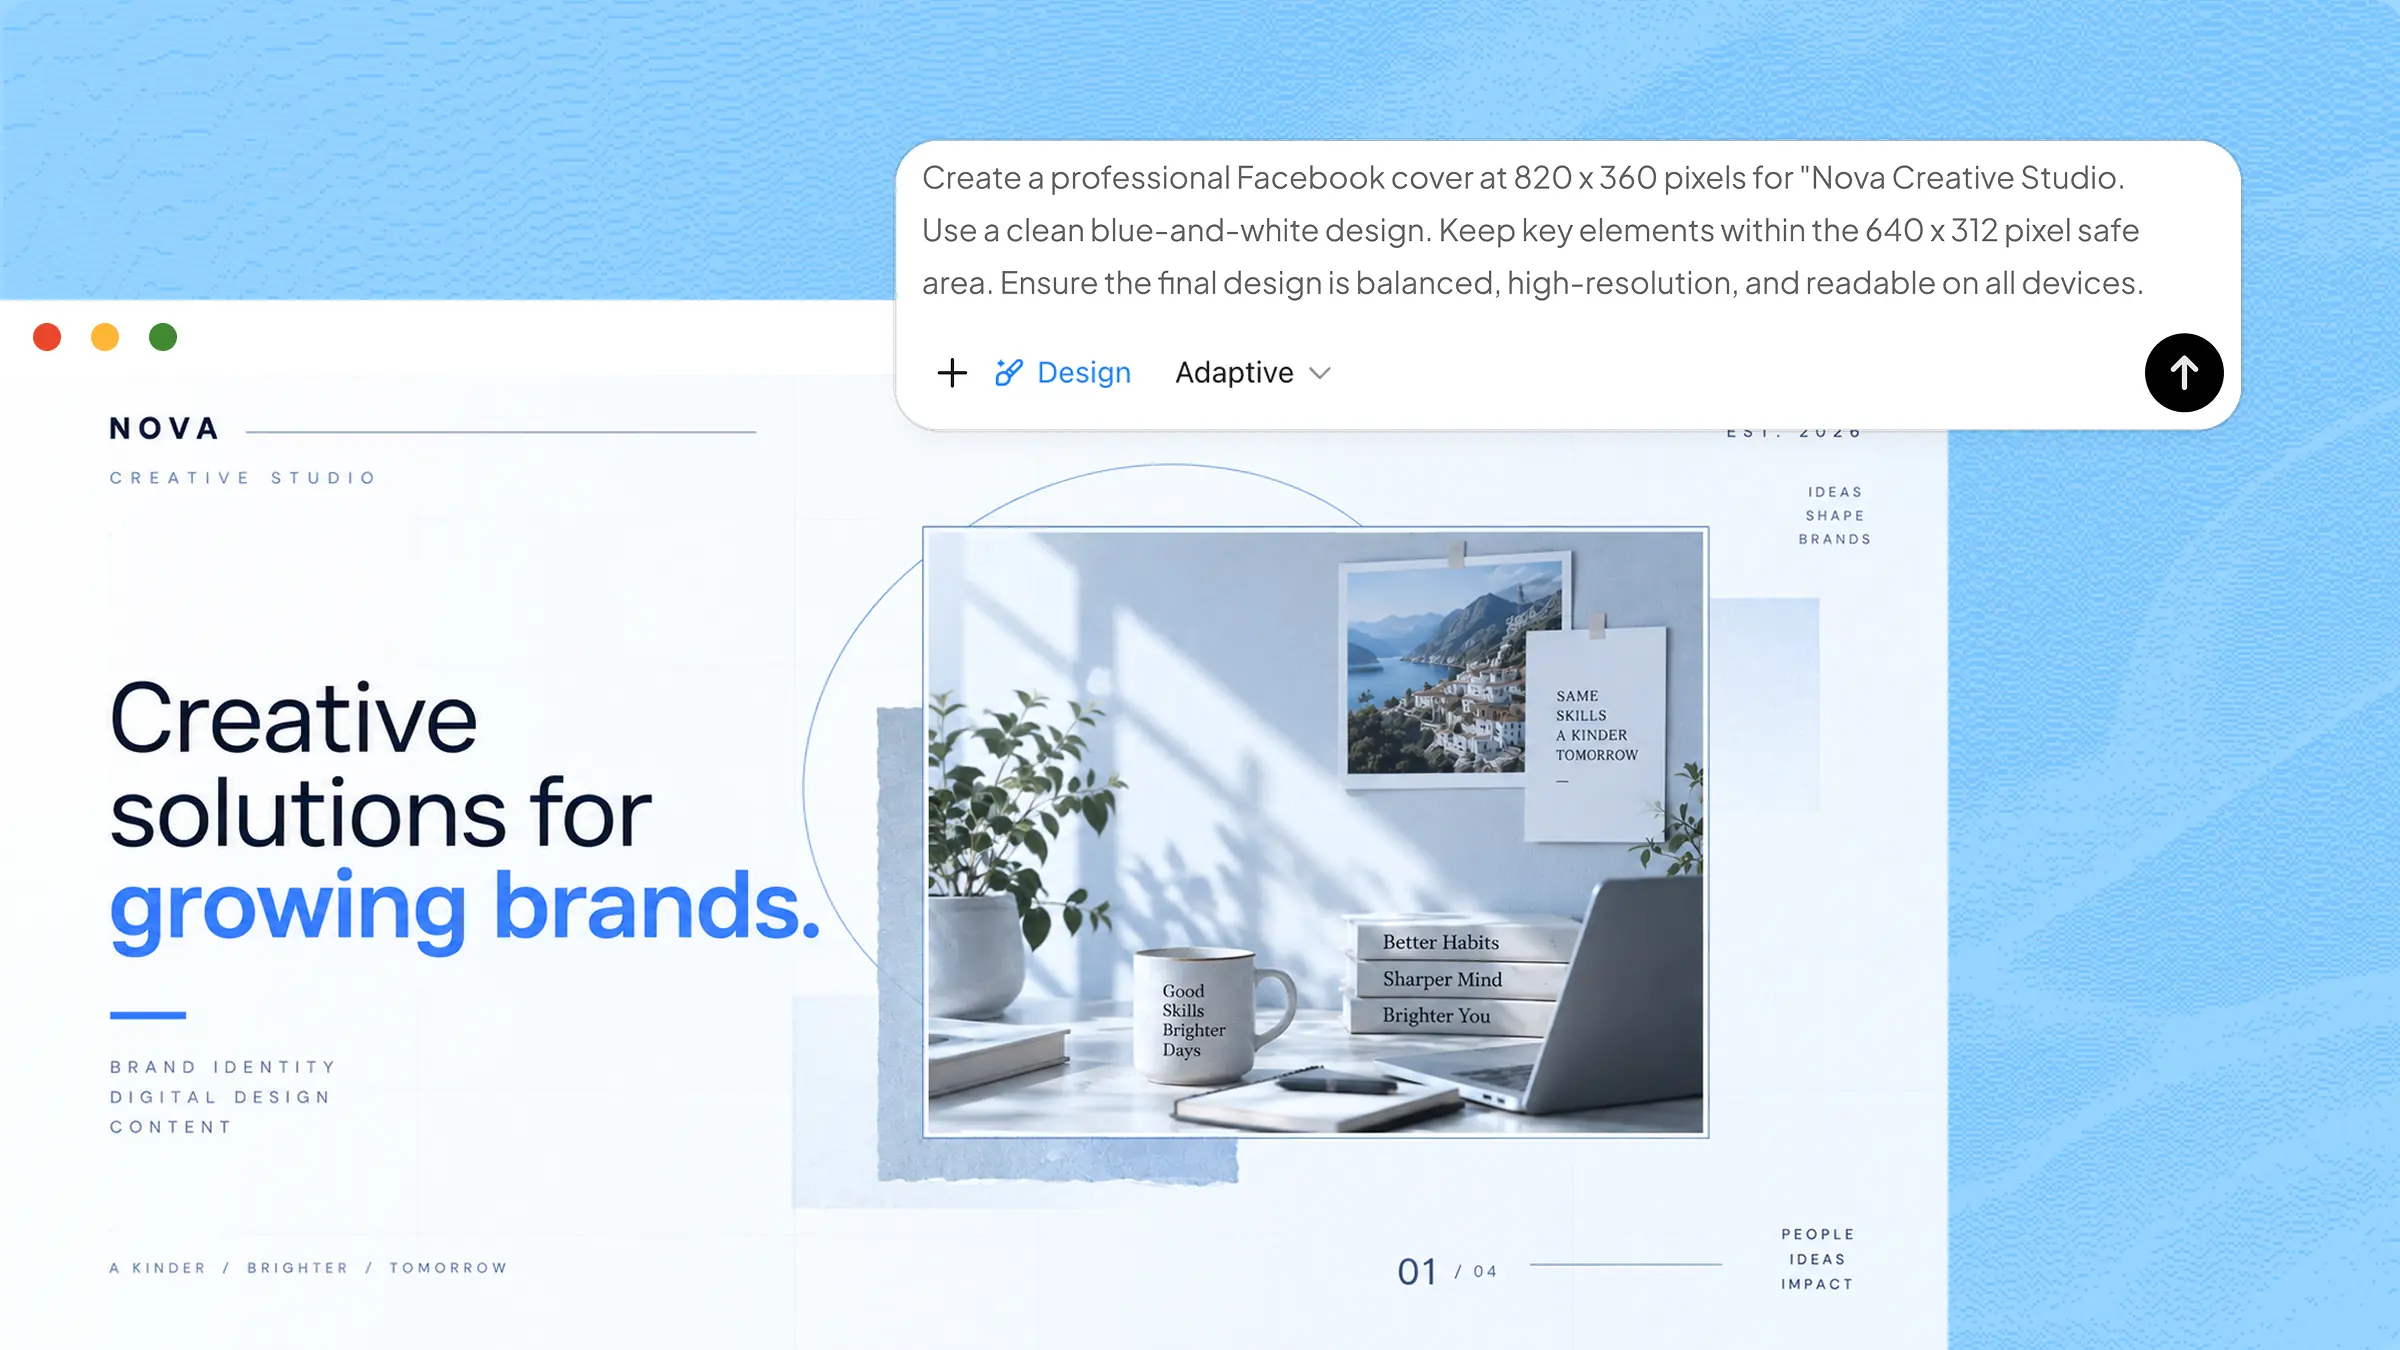
For a Facebook personal profile or page cover photo, use 820 × 360 pixels as the recommended canvas size. Facebook displays the cover at approximately 820 × 312 pixels on desktop and 640 × 360 pixels on mobile, so keep important text and visual elements within the central safe area to reduce the risk of cropping across devices.
Example prompt:
Step 2: Let Kimi Design generate the photo
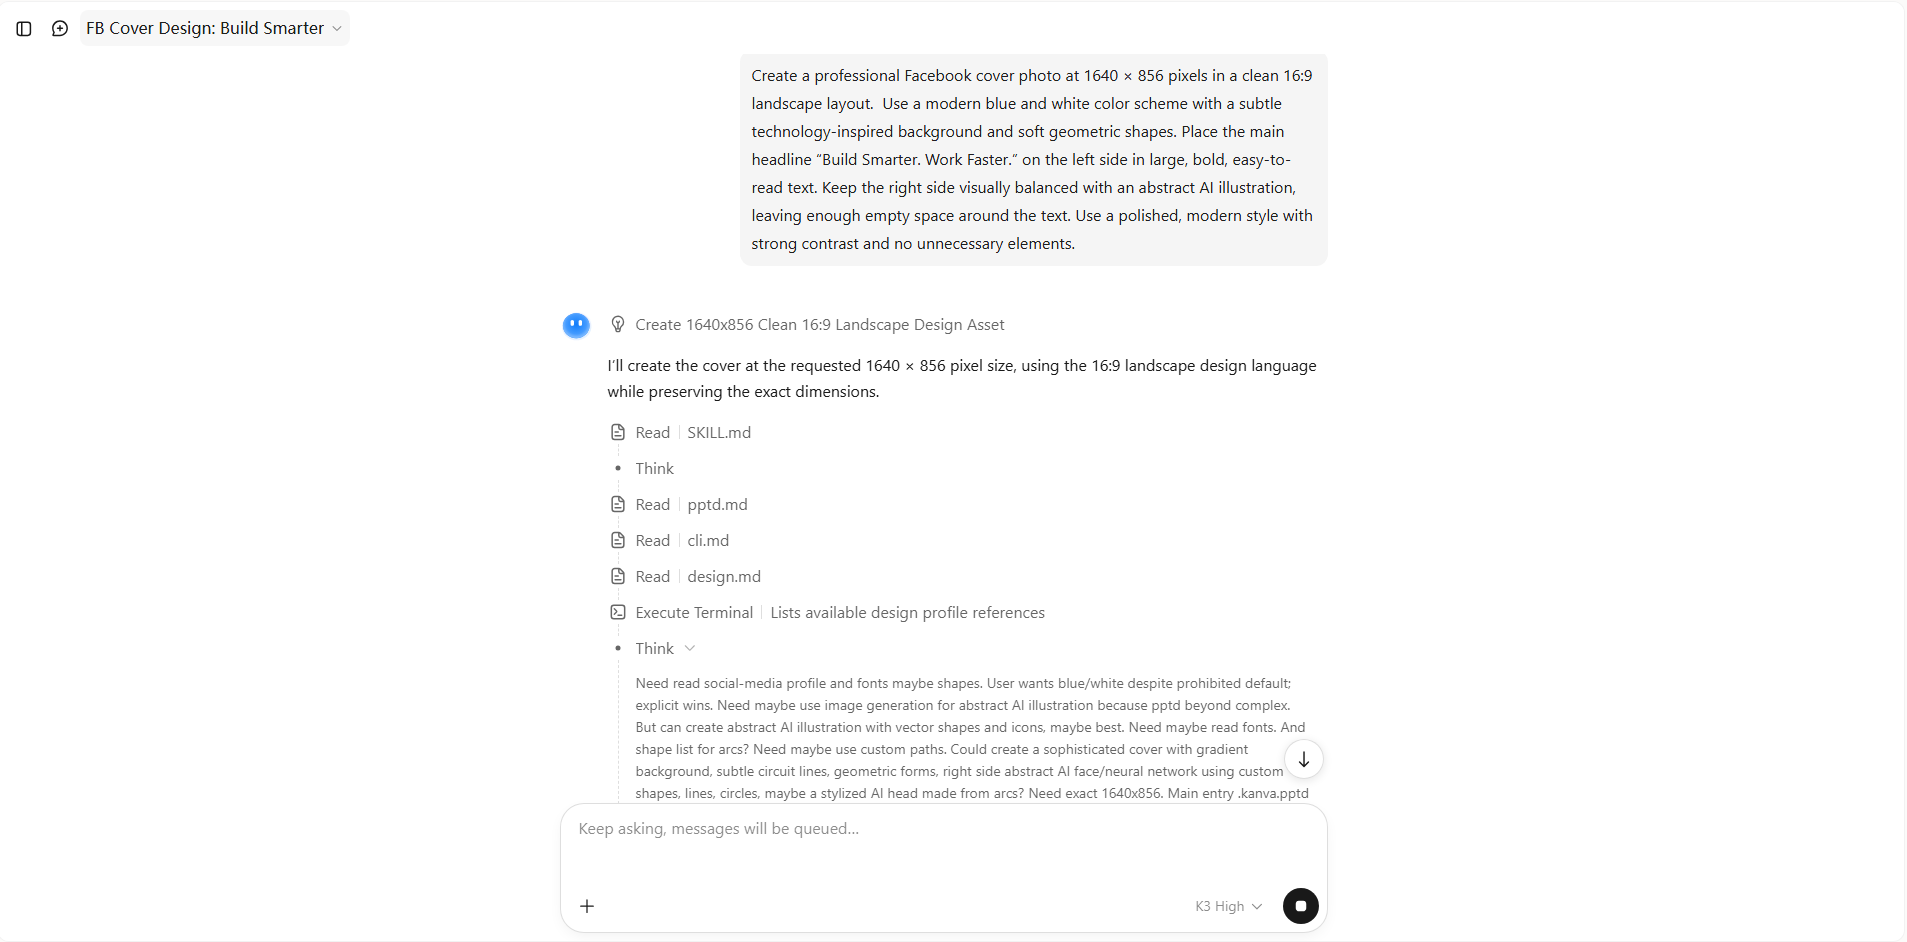
Once your prompt is ready, enter it into Kimi Design and let the AI turn your description into a complete cover design. Review the first result carefully and check whether the size, text placement, colors, and main visual match your idea.
Step 3: Refine the layout with AI editing
The first version does not have to be perfect. Use AI editing to adjust specific elements, such as moving the headline, changing the background, improving text visibility, or replacing the main graphic. Give Kimi Design simple instructions like "move the headline slightly toward the center". Keep refining the layout until the important elements look balanced and easy to notice.
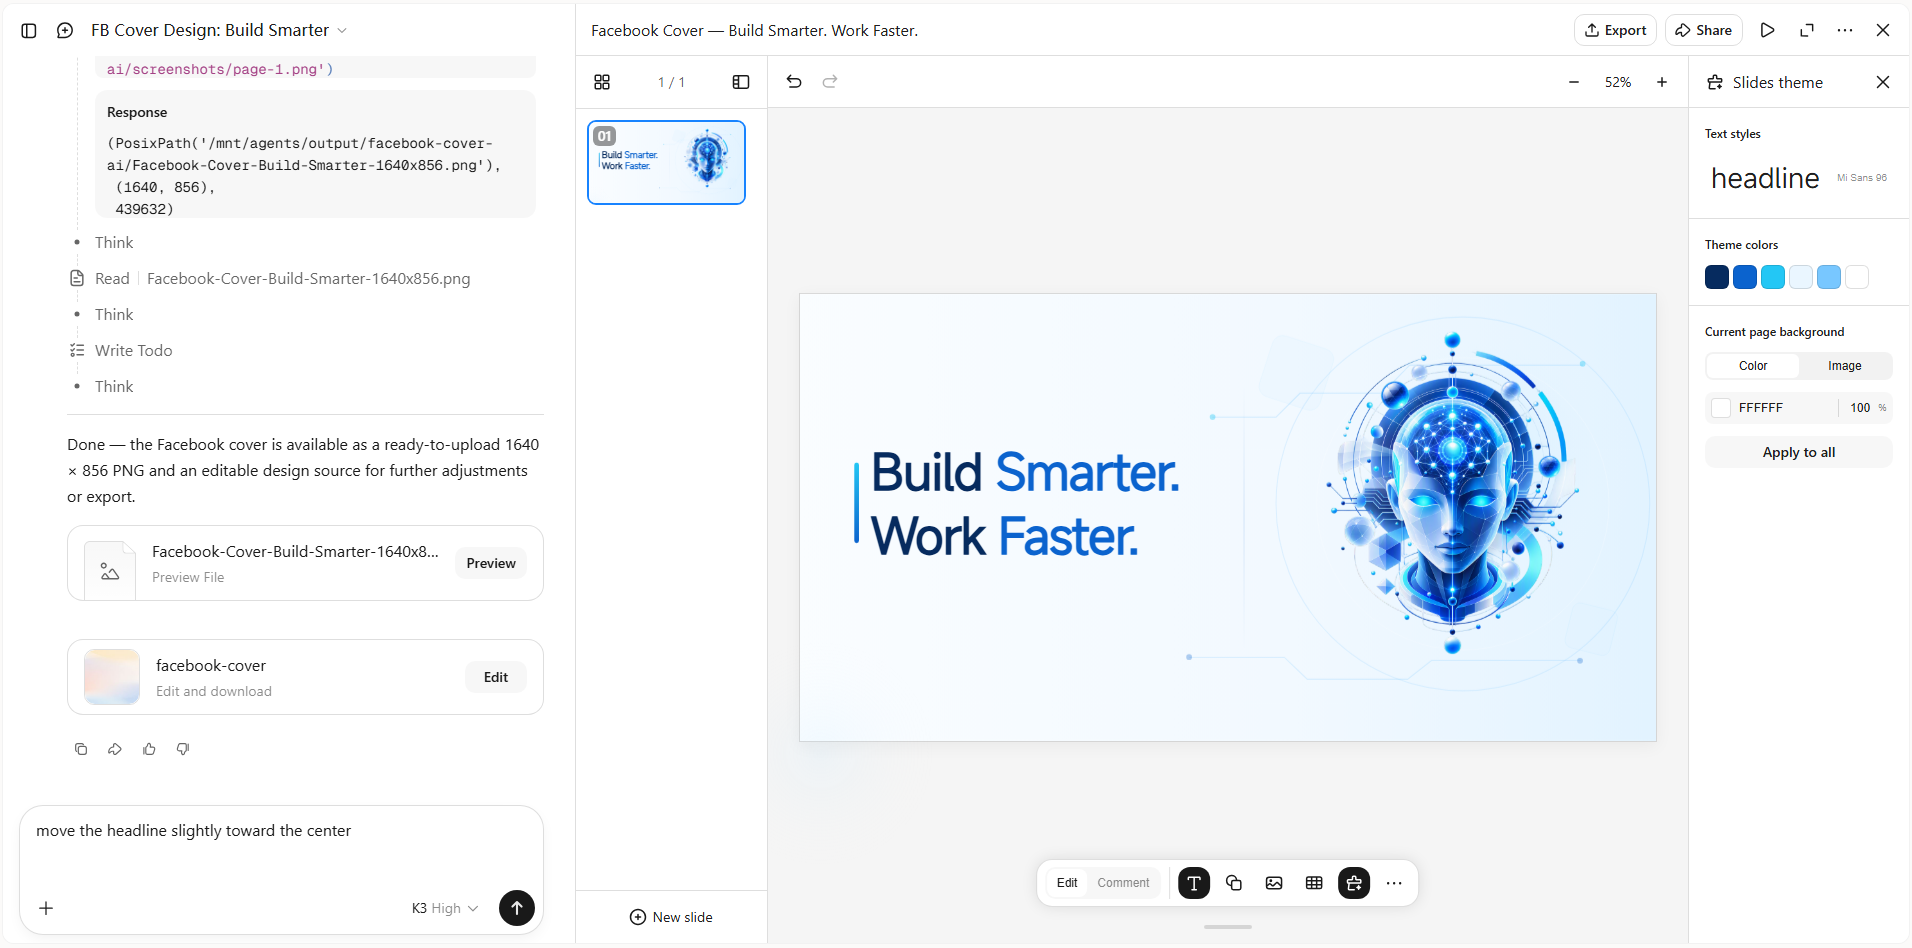
Step 4: Preview and export your cover photo
Before exporting, preview the complete cover at full size and check how the text and visuals are positioned. Make sure important information is not too close to the edges and that the headline remains easy to read on both desktop and mobile screens. Once everything looks right, export the final design in a high-quality format and upload it as your Facebook cover photo.
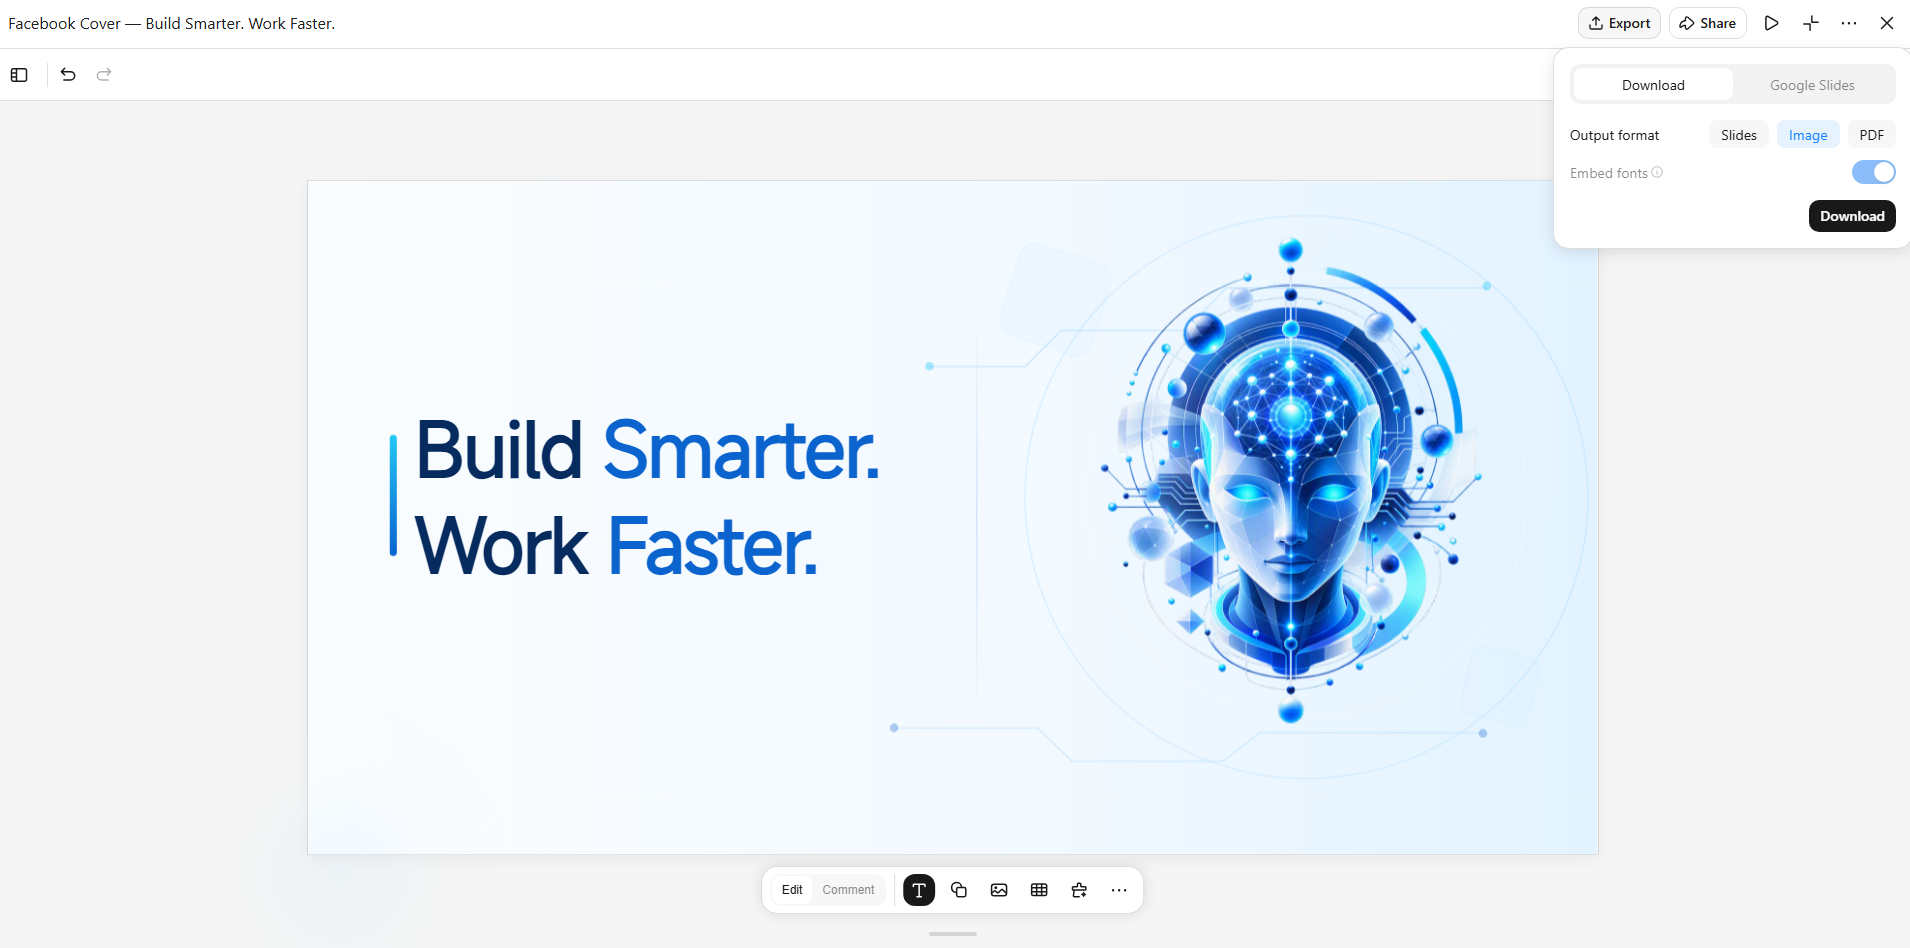
Step 5: Upload to Facebook
Once your cover is ready, head to your Facebook profile and open the cover photo section. Select Edit cover photo and upload the image you exported from Kimi Design. Adjust its position if needed, then preview how it looks on your profile before saving the changes. When everything is properly aligned and readable, click Save to publish your new Facebook cover.
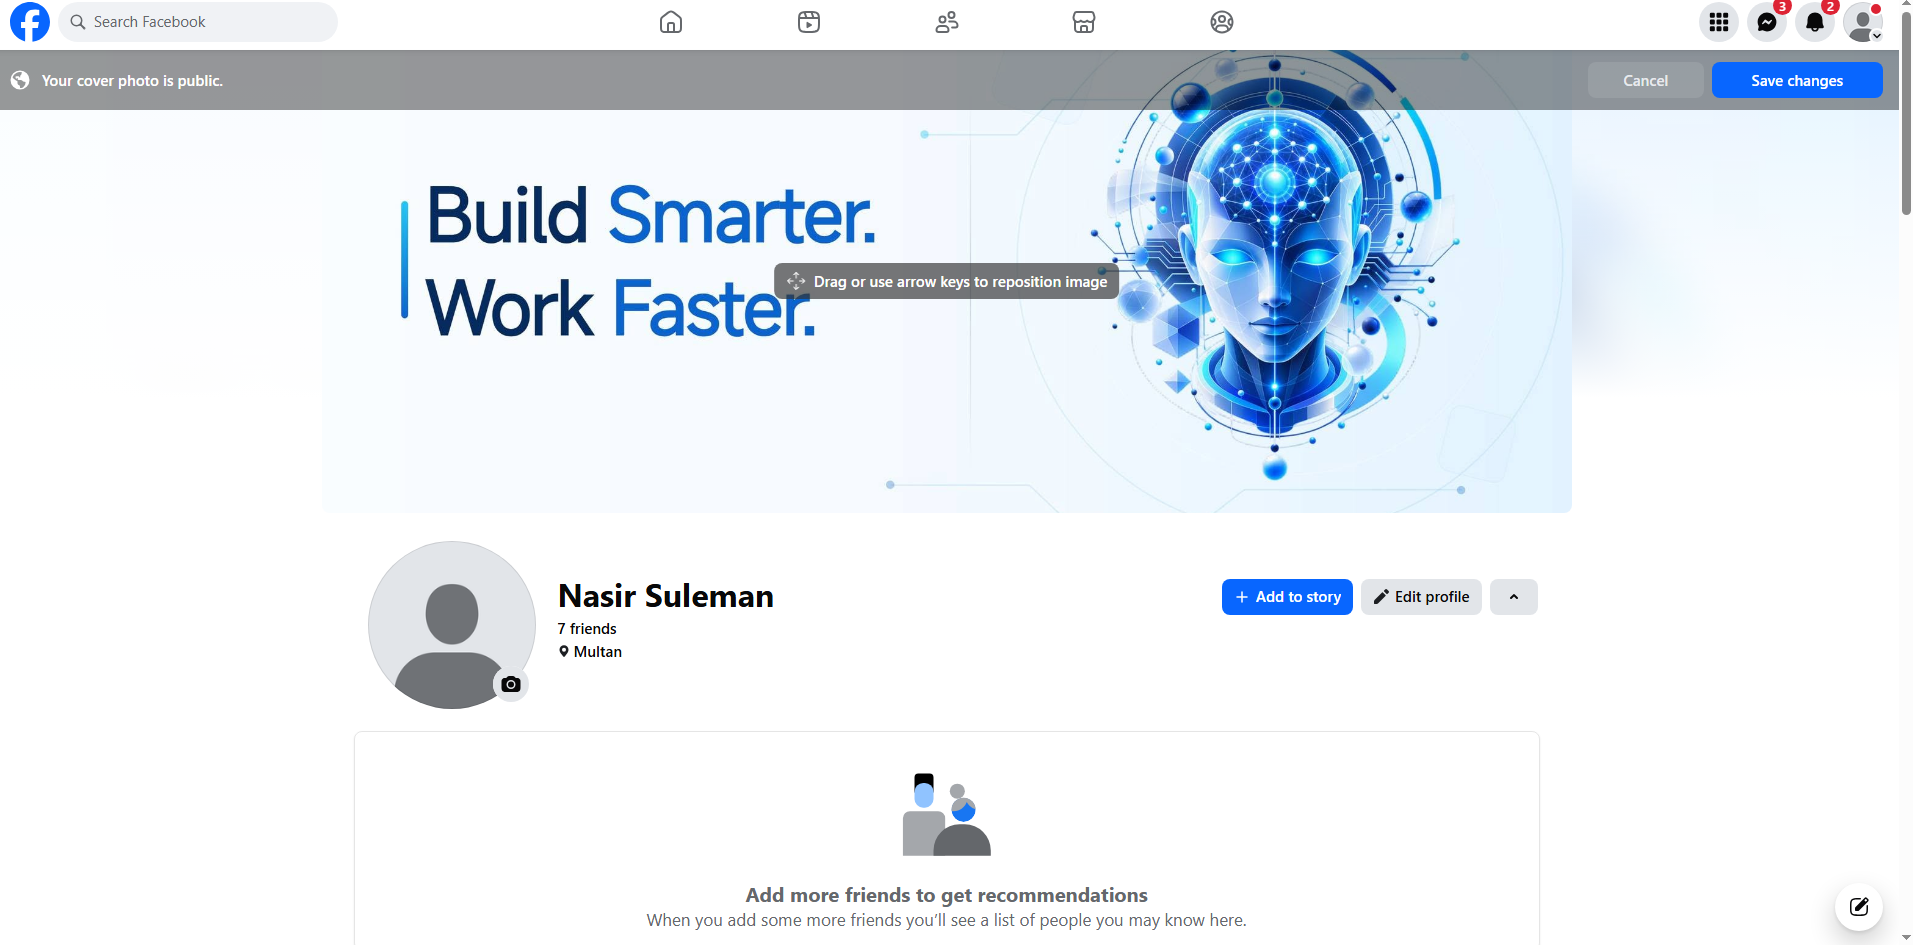
Why use Kimi Design to create a Facebook cover photo?
A well-designed Facebook cover can do more than fill the space at the top of your profile. The right AI tool can help you move from a basic idea to a polished design while giving you control over the details. Here's why Kimi Design can make the process easier:
Turn your ideas into a polished cover photo from a single prompt
Describe the look, message, or theme you want, or upload images, videos, and visual references for inspiration. Kimi Design turns your direction into a complete Facebook cover photo, handling composition, typography, colors, imagery, and visual hierarchy for you.
Create brand-ready designs for any profile or business
Create cover photos for personal profiles, creators, businesses, communities, and campaigns. Add your logo, tagline, product imagery, photos, or other brand elements, while keeping the design visually cohesive and aligned with your identity.
Customize the canvas size and aspect ratio
Facebook cover photos use a wide, non-standard format, so a fixed canvas can make it difficult to create a well-balanced design. Kimi Design lets you customize the canvas size and aspect ratio, giving you the flexibility to create a cover photo that fits the format from the start.
Refine the design with conversation, click, or canvas comment
Ask Kimi Design to change the layout, rewrite text, adjust the visual style, or replace images through conversation. You can also comment on specific areas of the canvas or edit text, images, shapes, colors, and positions yourself. Keep previous versions available as you refine the design, so you can revisit an earlier iteration and continue editing from there.
Export in the right format
Once your Facebook cover photo is ready, export it in formats such as PNG or JPG for uploading, sharing, or further editing. Choose the format that best fits how you plan to use the finished design, while keeping the visual quality and layout intact.
Tips for designing a standout Facebook cover photo
A standout Facebook cover should look attractive while also making your profile feel clear and consistent. A few simple design choices can help your cover look more professional without making it feel crowded. Keep these tips in mind as you create and refine your design:
Make your identity clear at a glance
Your cover should quickly show who you are or what your profile represents. Use a clear theme, recognizable visuals, or a short message that reflects your personal or brand identity and makes your purpose instantly understandable to visitors.
Choose high-quality visuals and colors
Use sharp, high-resolution images that still look good when displayed across different screen sizes. Pick colors that work well together and match your profile, brand, or overall visual style without making the design look too bright or distracting.
Keep text concise and easy to read
Avoid filling your cover with long sentences or too many messages. Use a short headline or tagline with a clear font, strong contrast, and enough space around it so people can read it easily even when viewing your profile on smaller screens.
Plan the layout around profile elements
Remember that your profile photo and other Facebook elements can overlap parts of the cover. Keep important text, logos, and key visuals away from the lower-left corner, especially because the overlap can be more noticeable on mobile and may hide important parts of your design.
Use graphics sparingly
Decorative shapes, icons, and illustrations can add personality, but too many can make the cover feel messy. Use graphics to support the main message rather than competing with the most important elements or making the overall design feel unnecessarily crowded and confusing.
Keep your social presence visually consistent
Try to use similar colors, fonts, imagery, and design styles across your social profiles. This creates a more recognizable presence and makes your Facebook page feel connected to your wider personal or brand identity while helping people recognize your content across different platforms more easily.
Conclusion
Knowing how to make a Facebook cover photo gives you more freedom to create a profile that feels personal, polished, and memorable. With a clear idea and a few thoughtful design choices, you can turn a simple concept into a cover that fits your style without overcomplicating the process.
Kimi Design can make that process even easier by helping you bring your ideas to life with less effort. Try Kimi Design to create a cover that feels right for your profile.