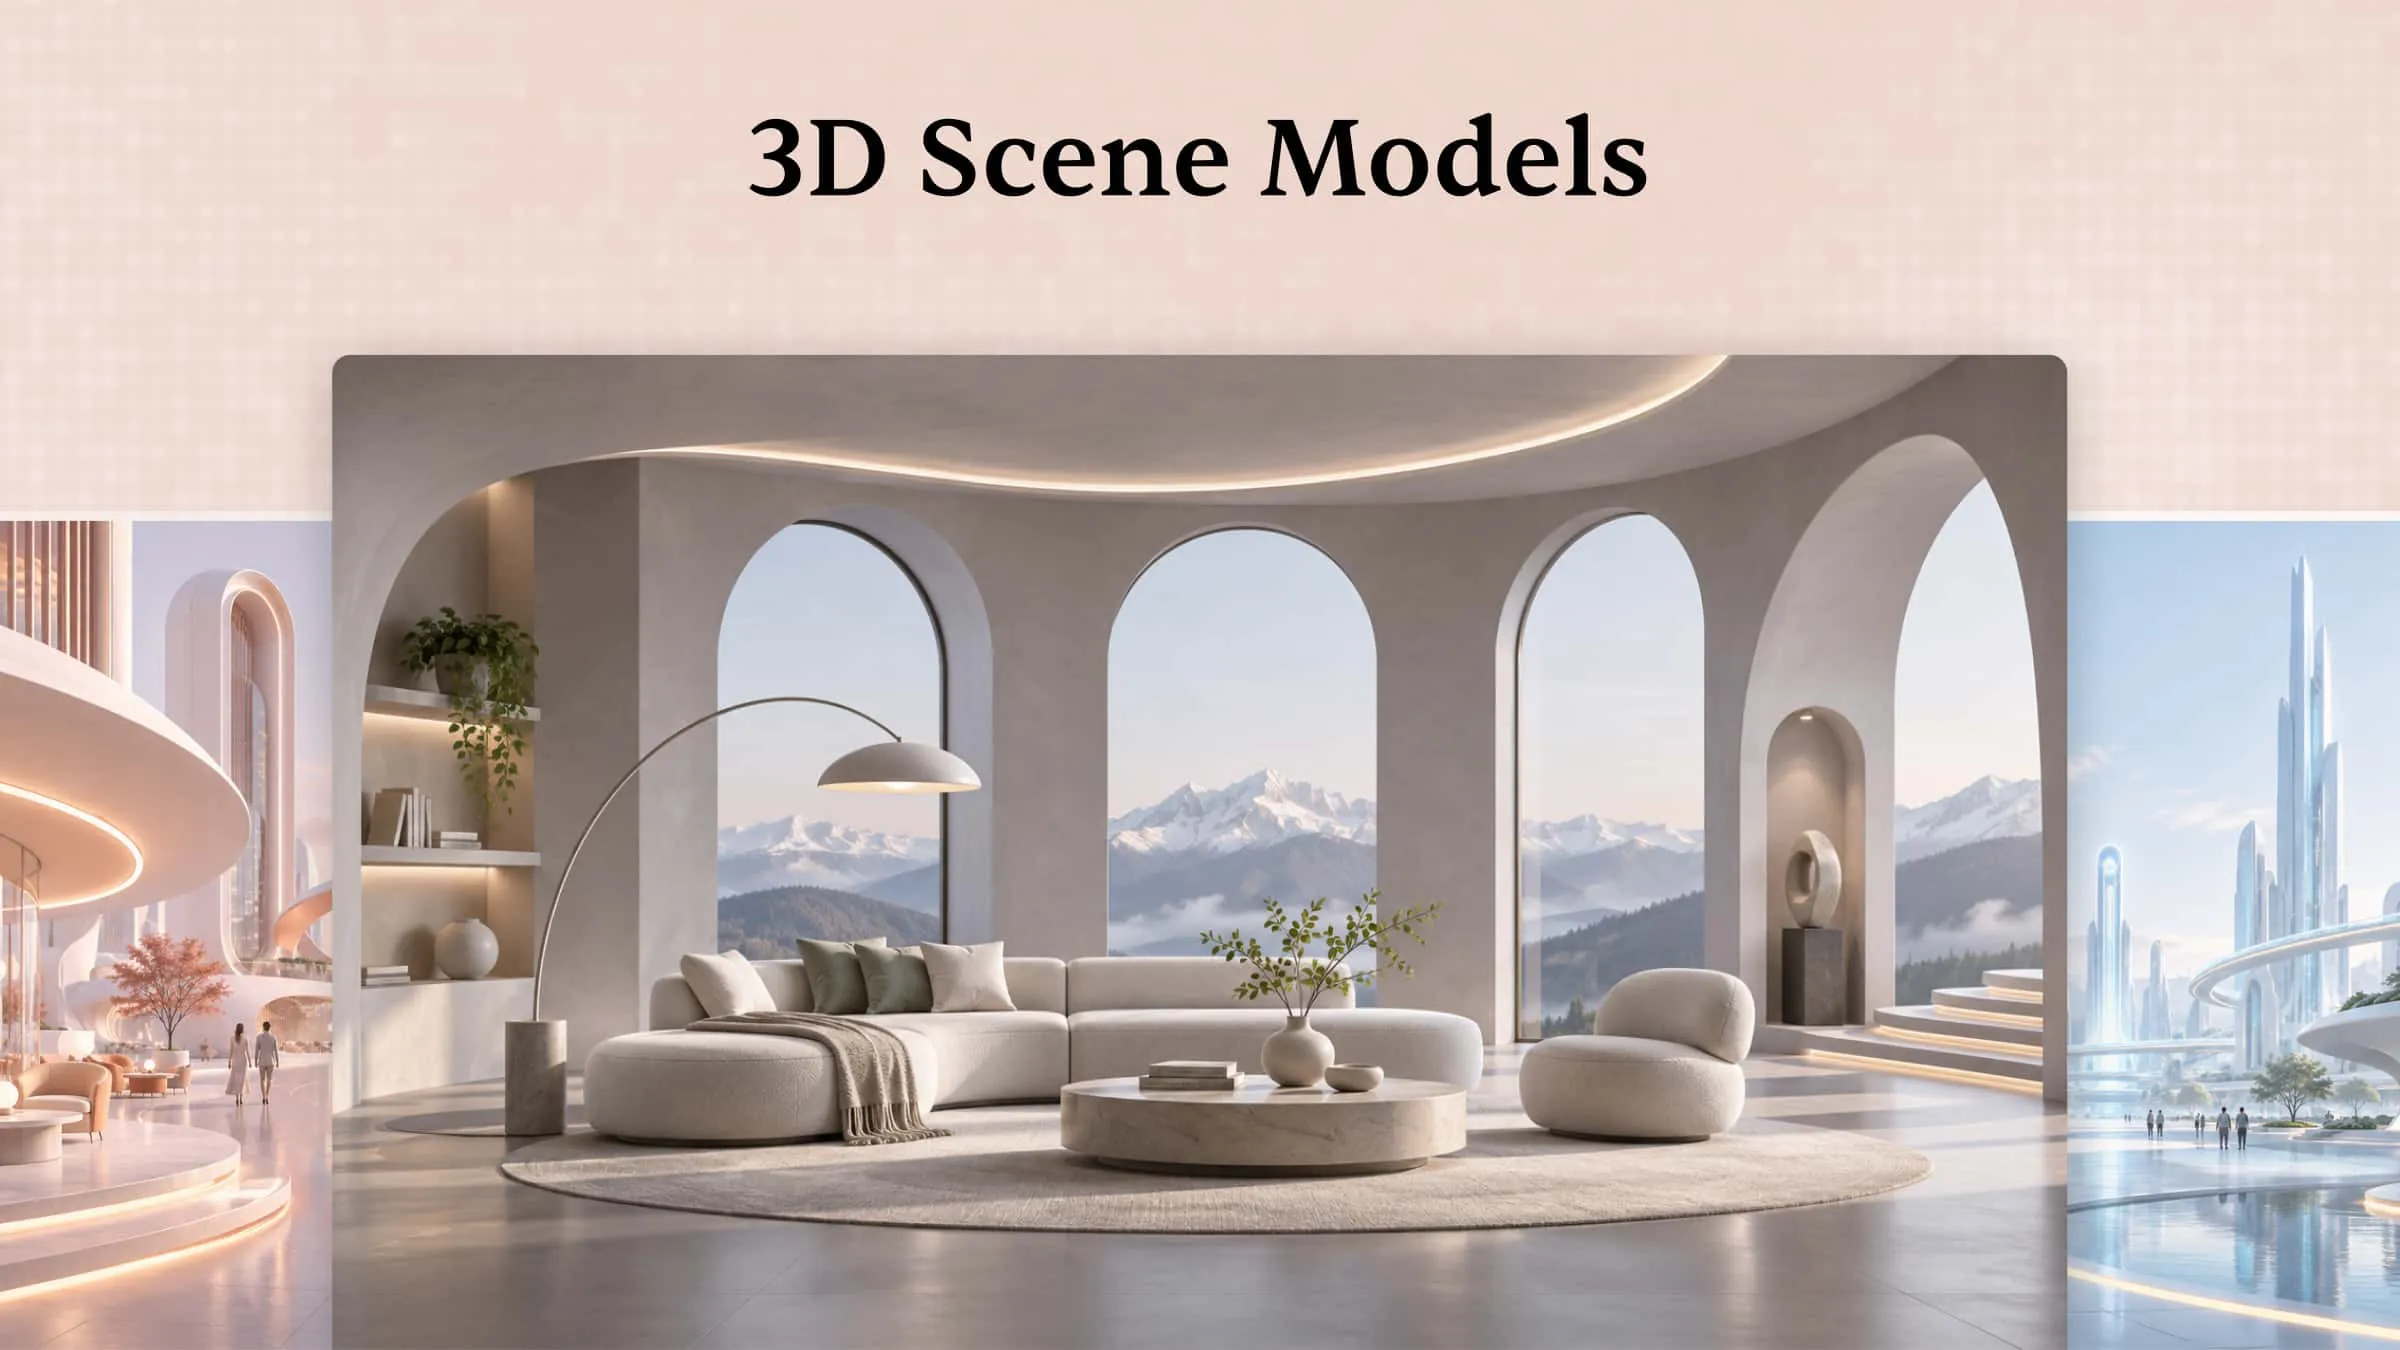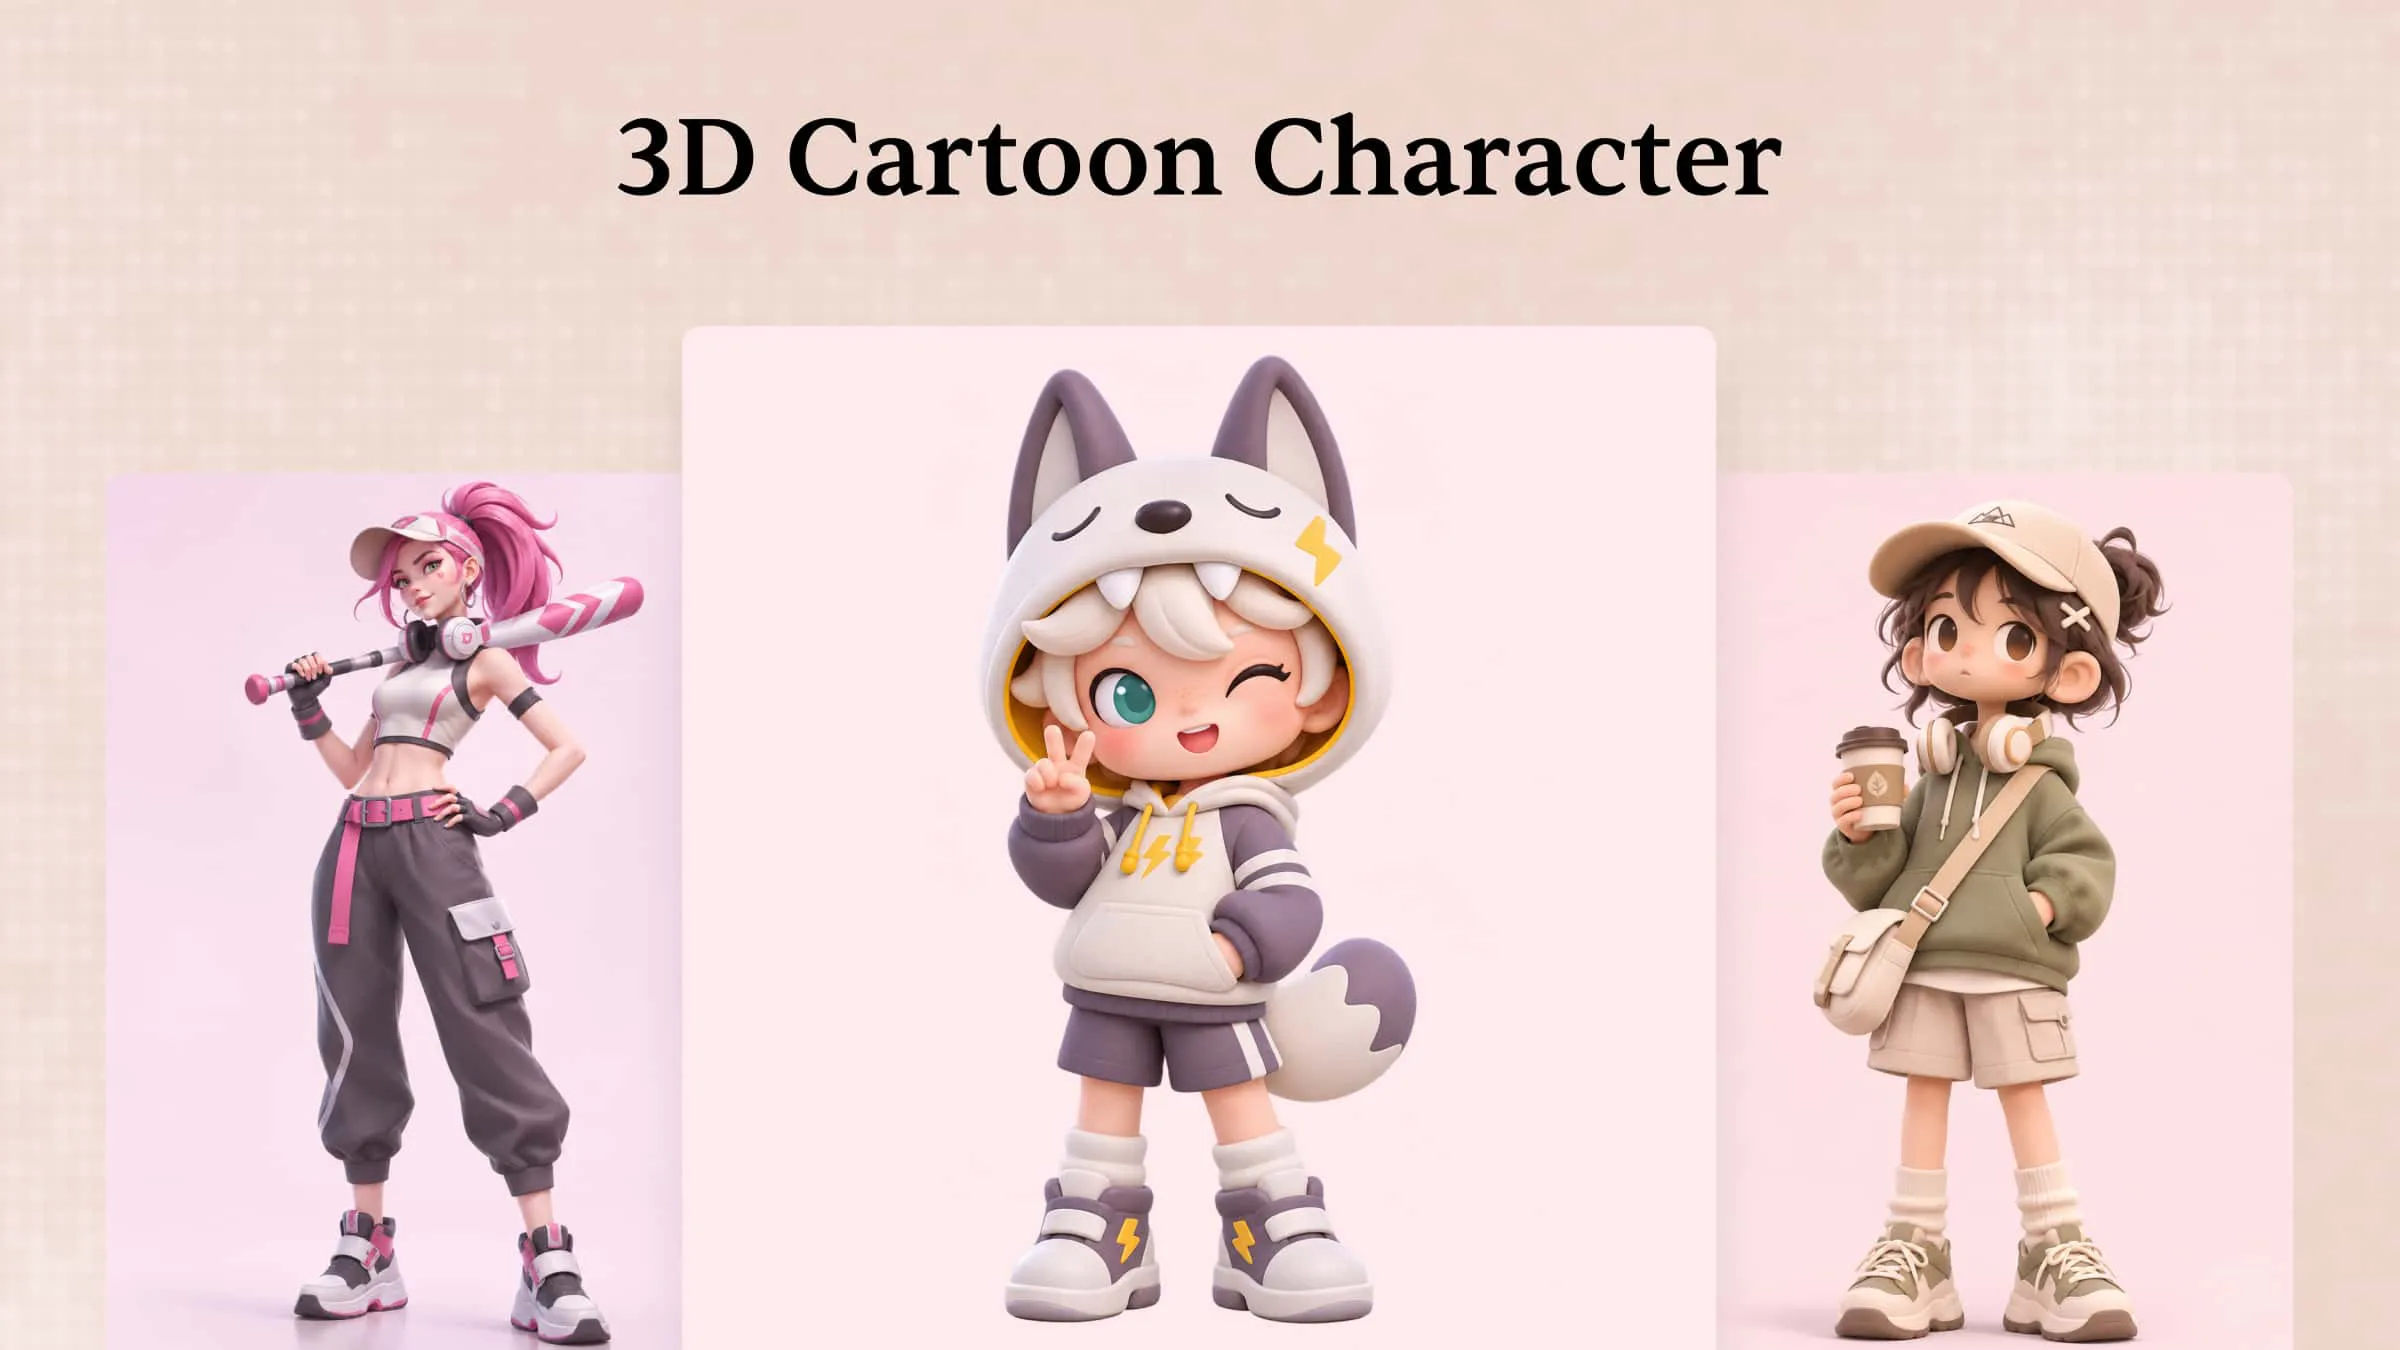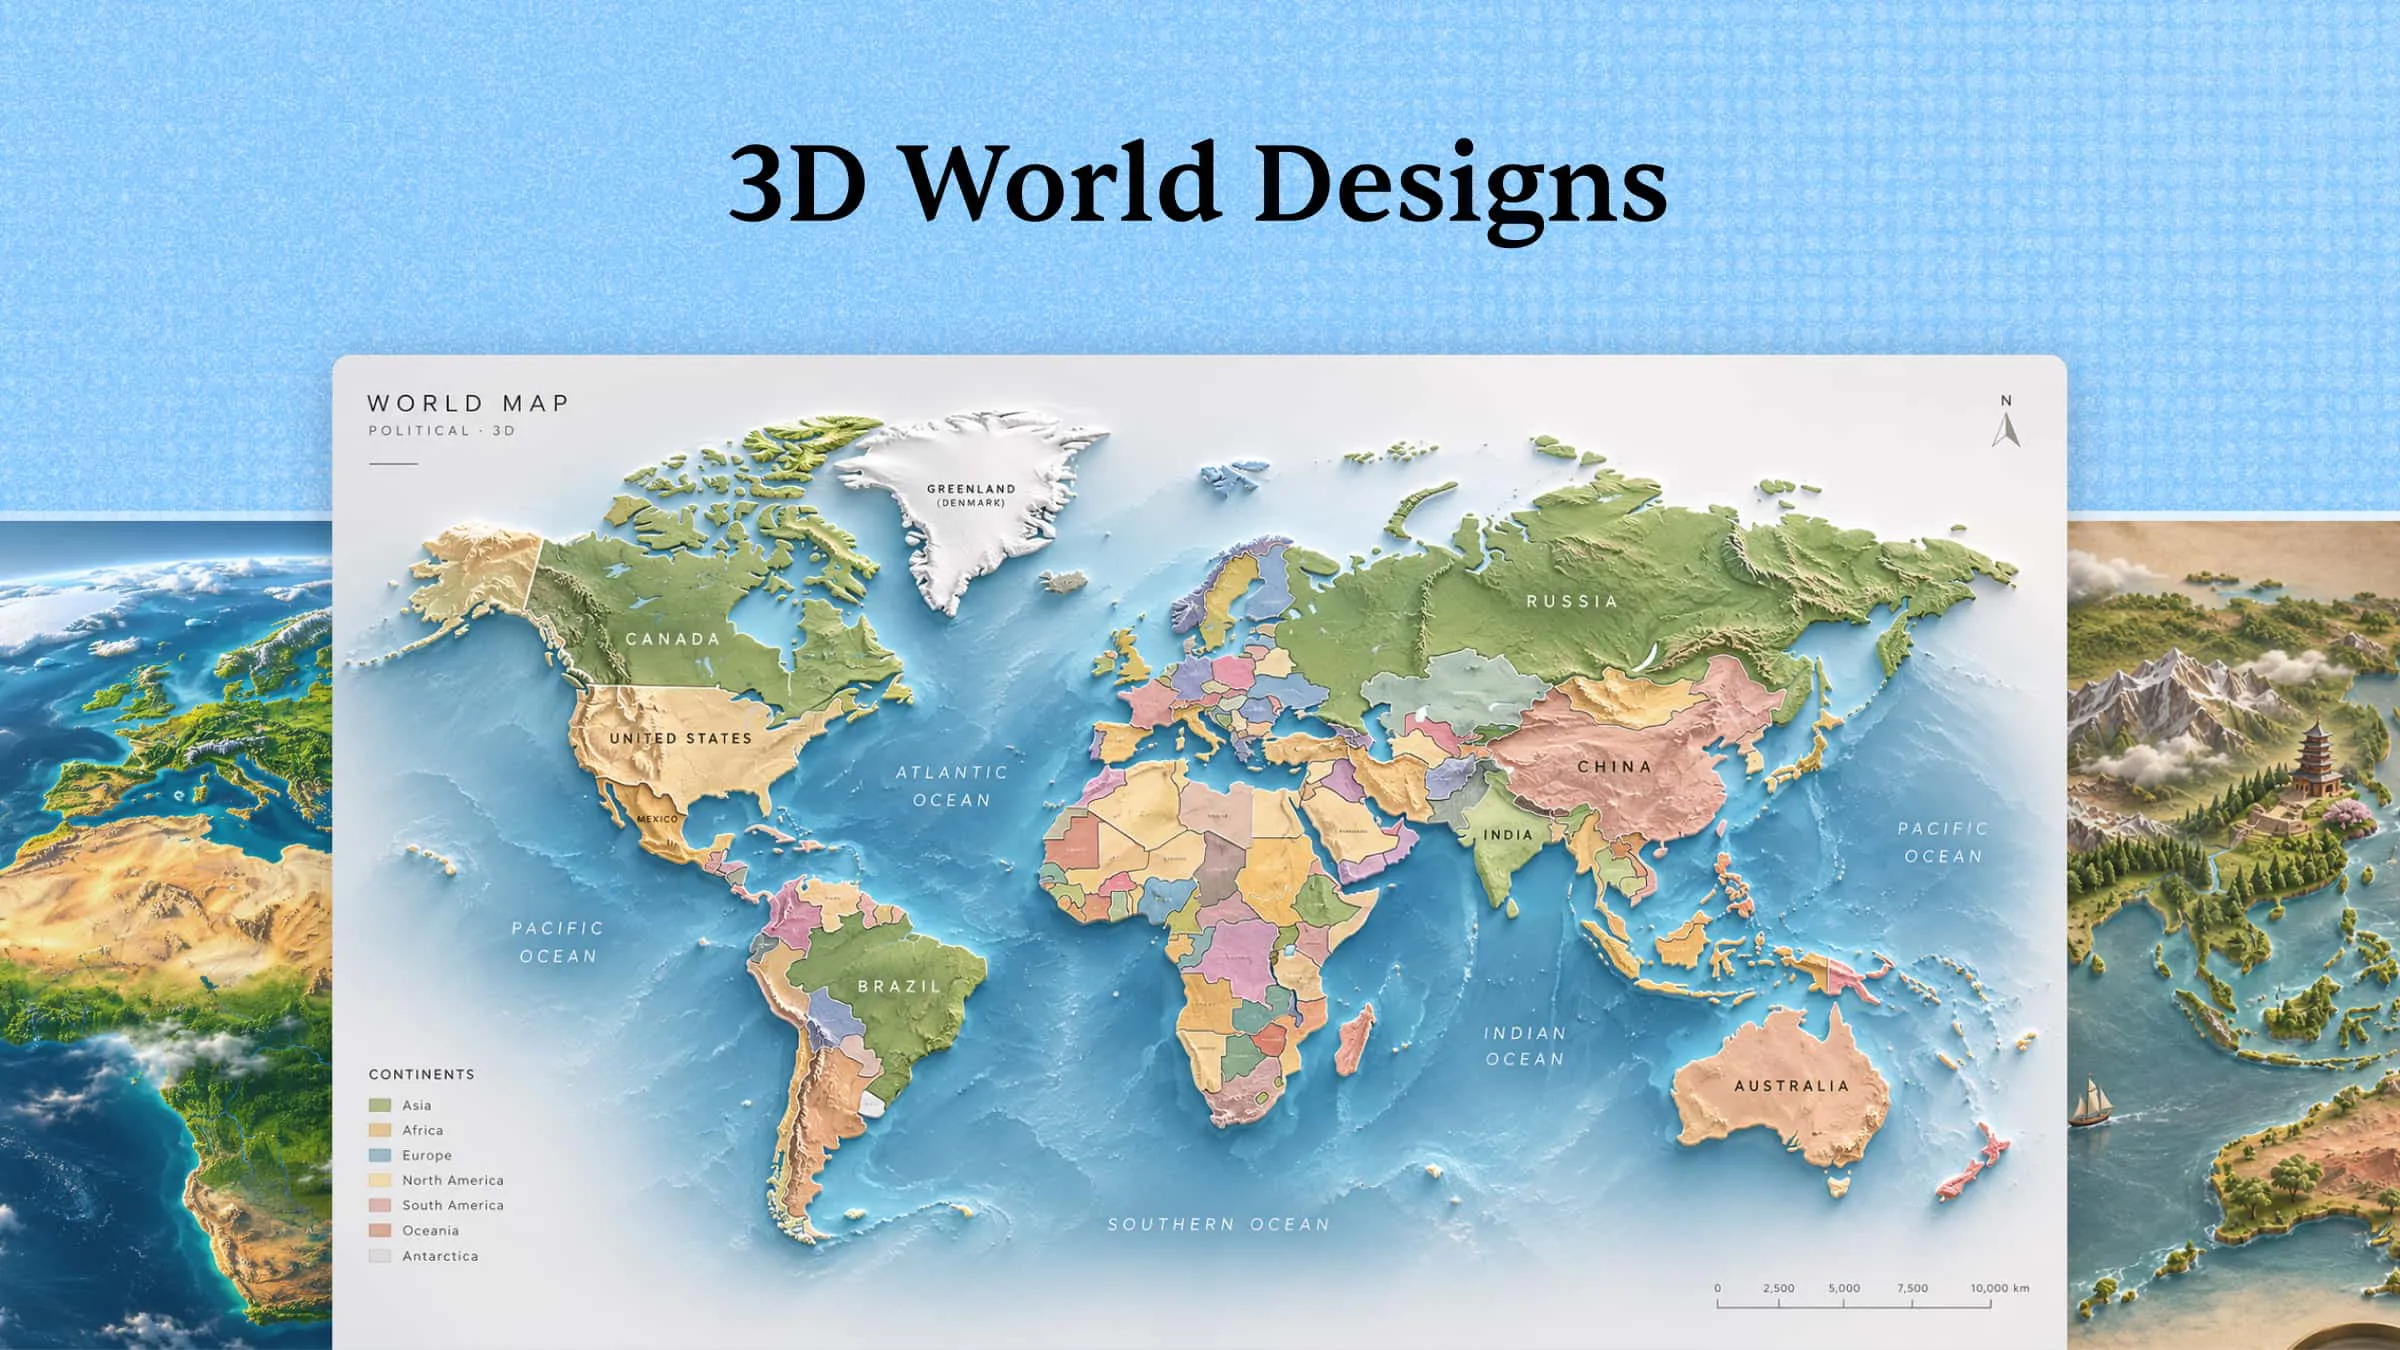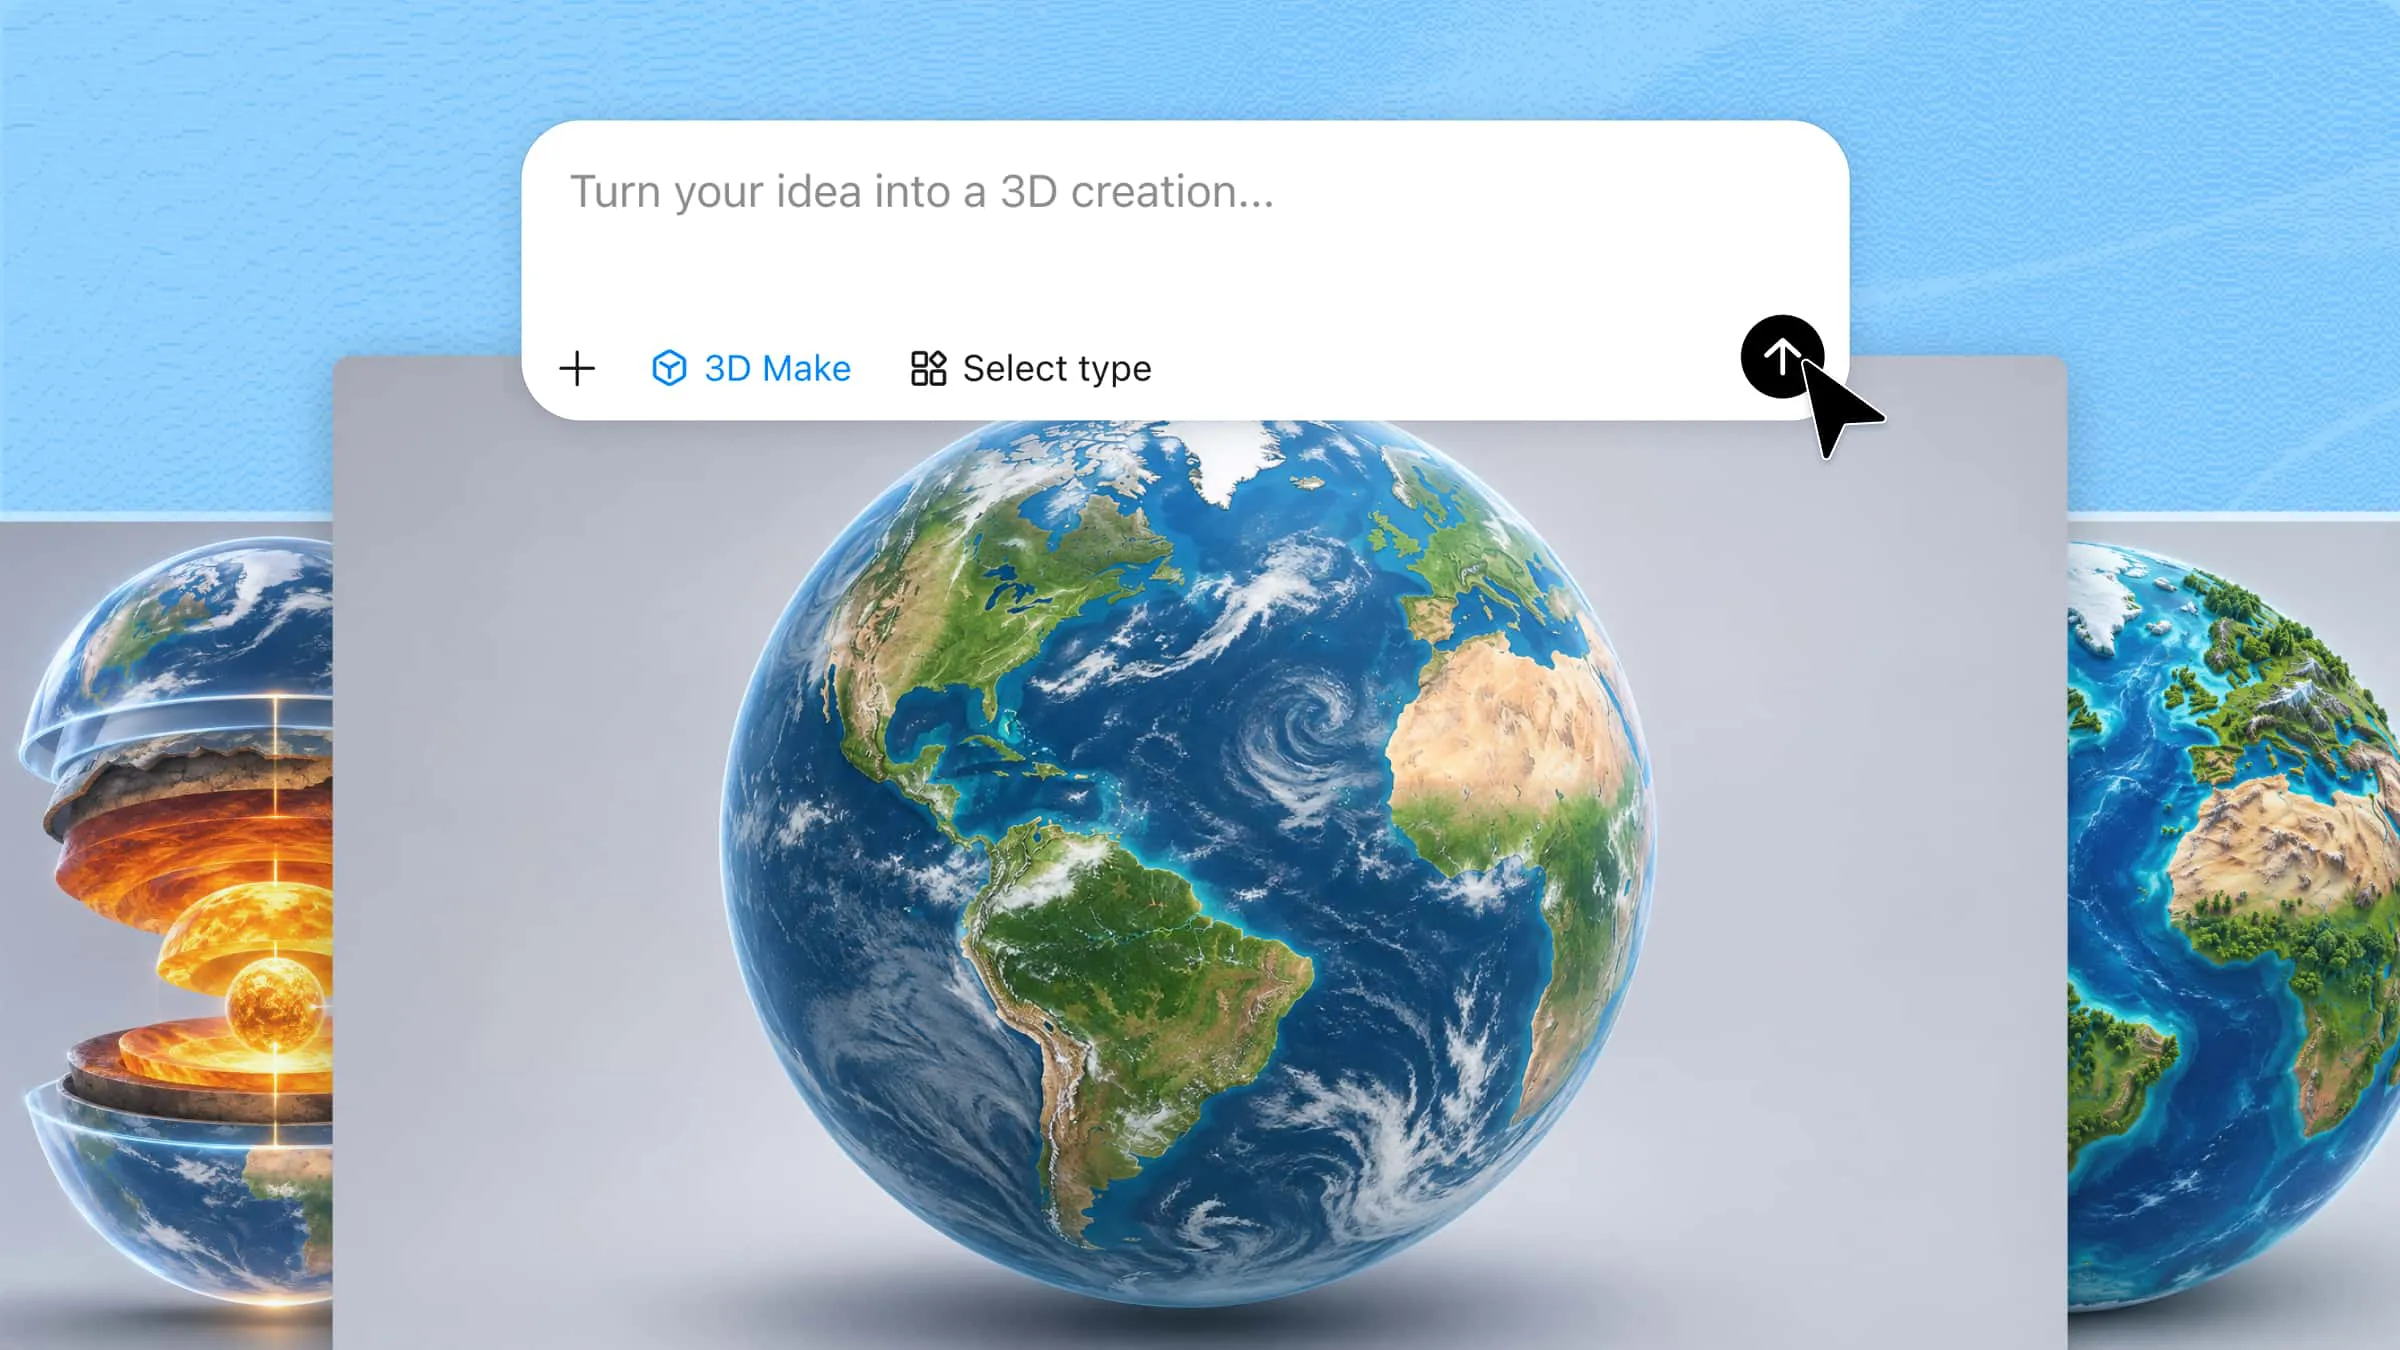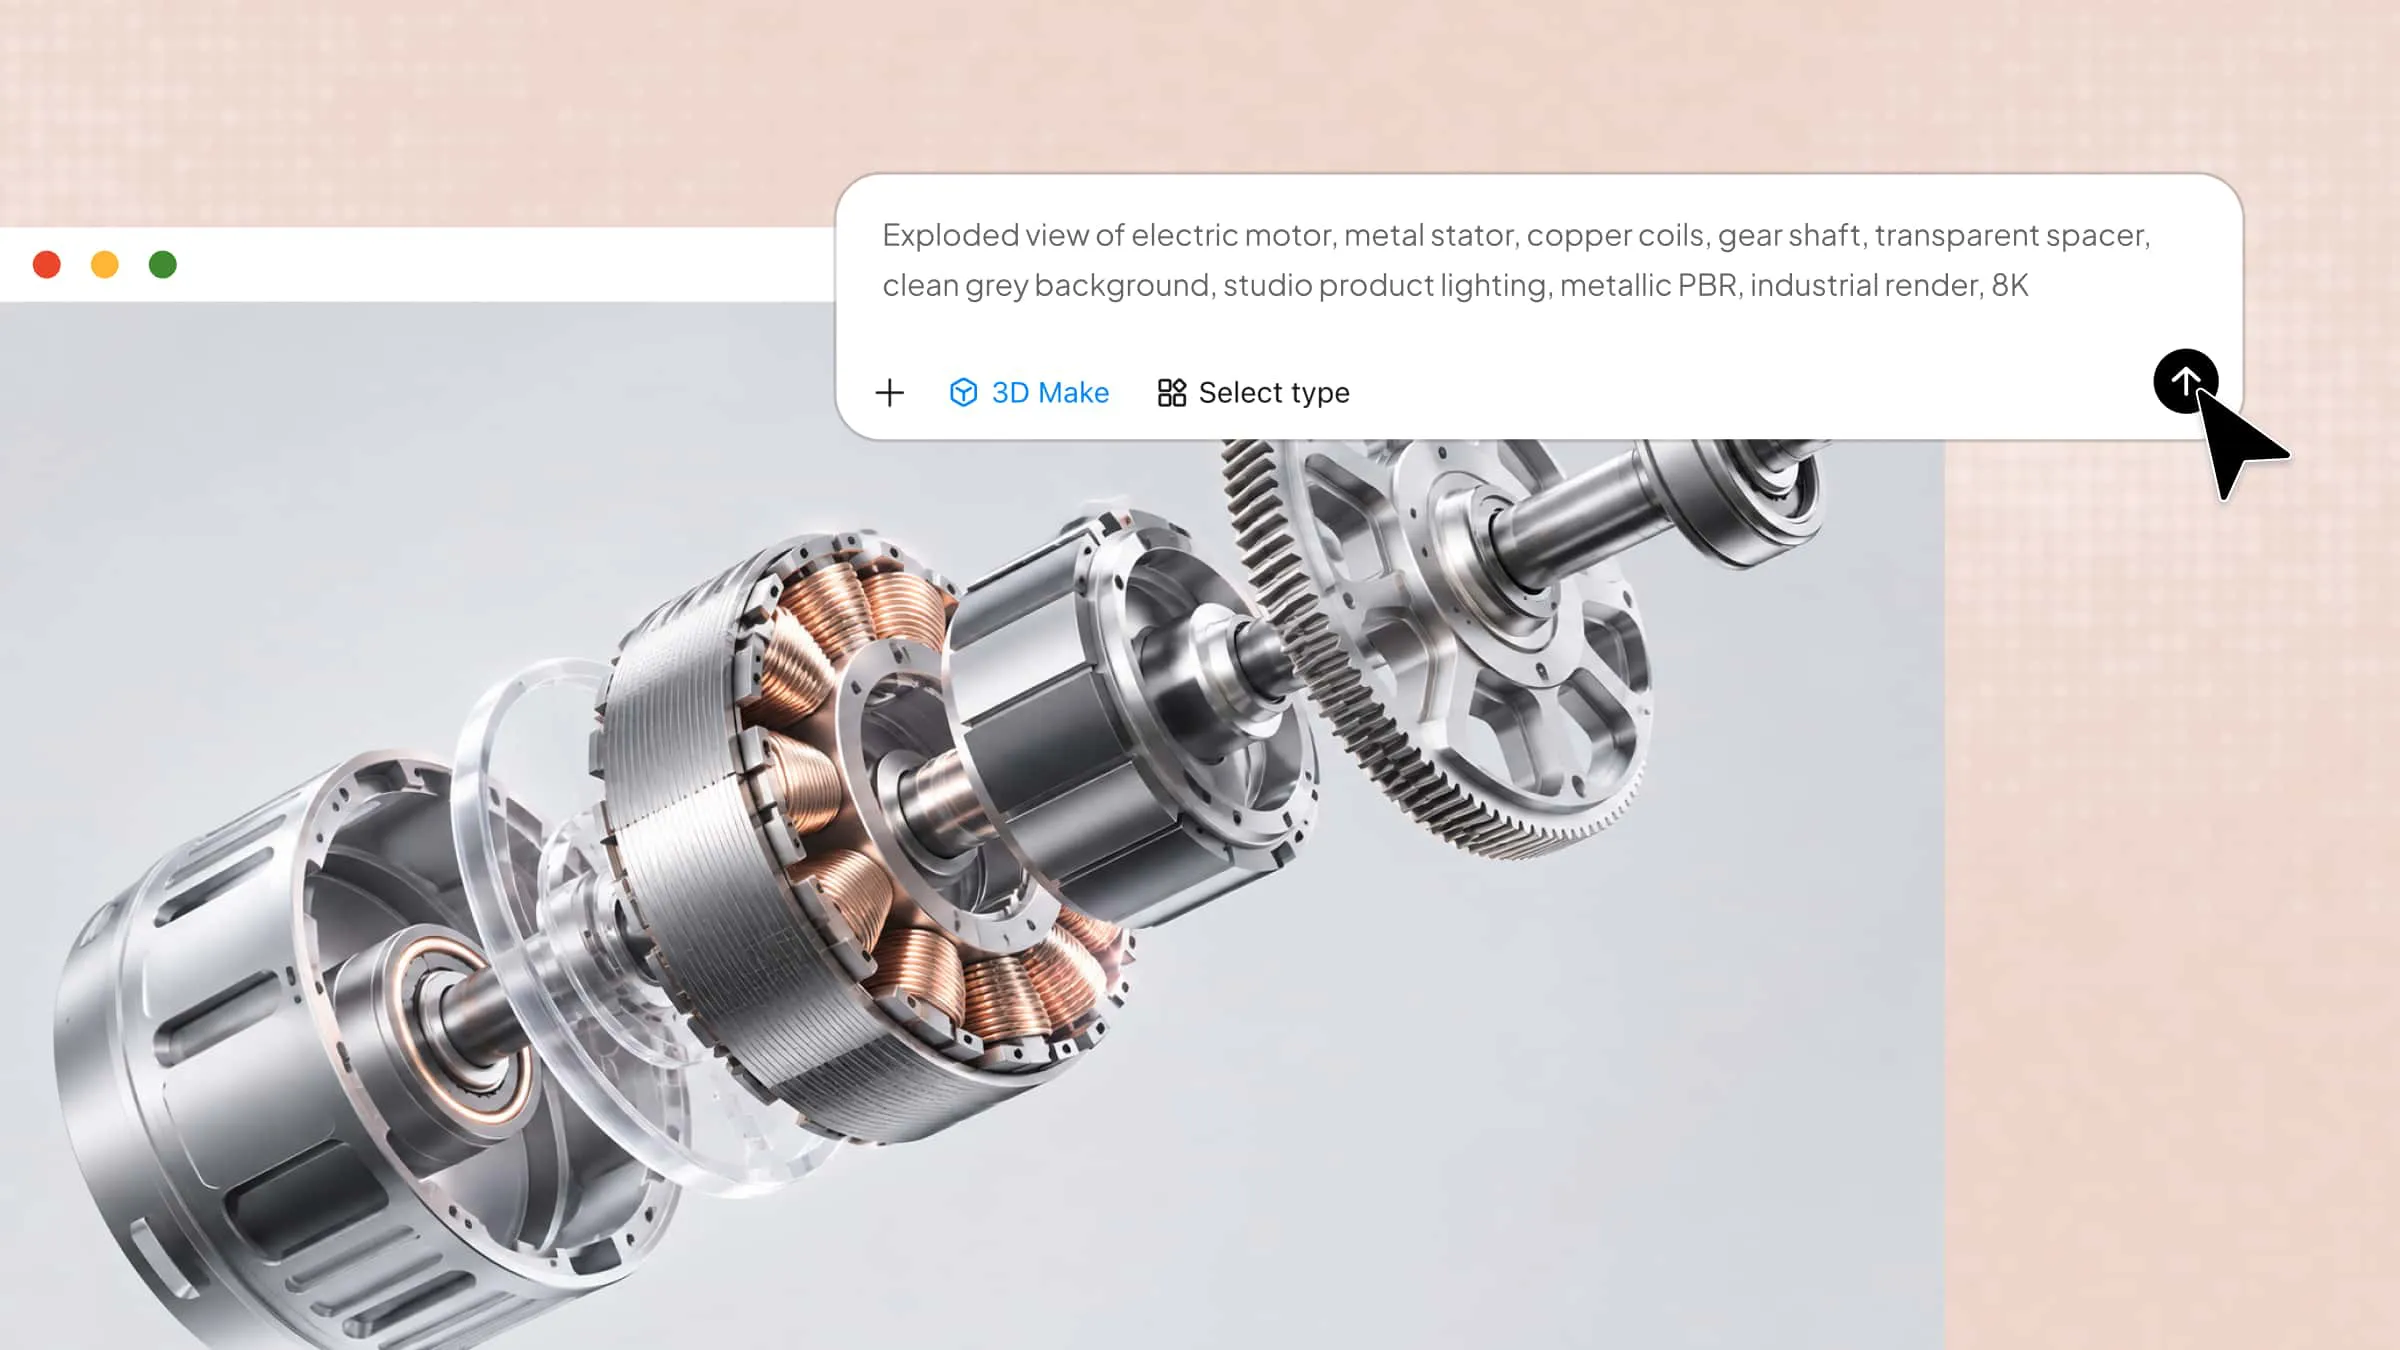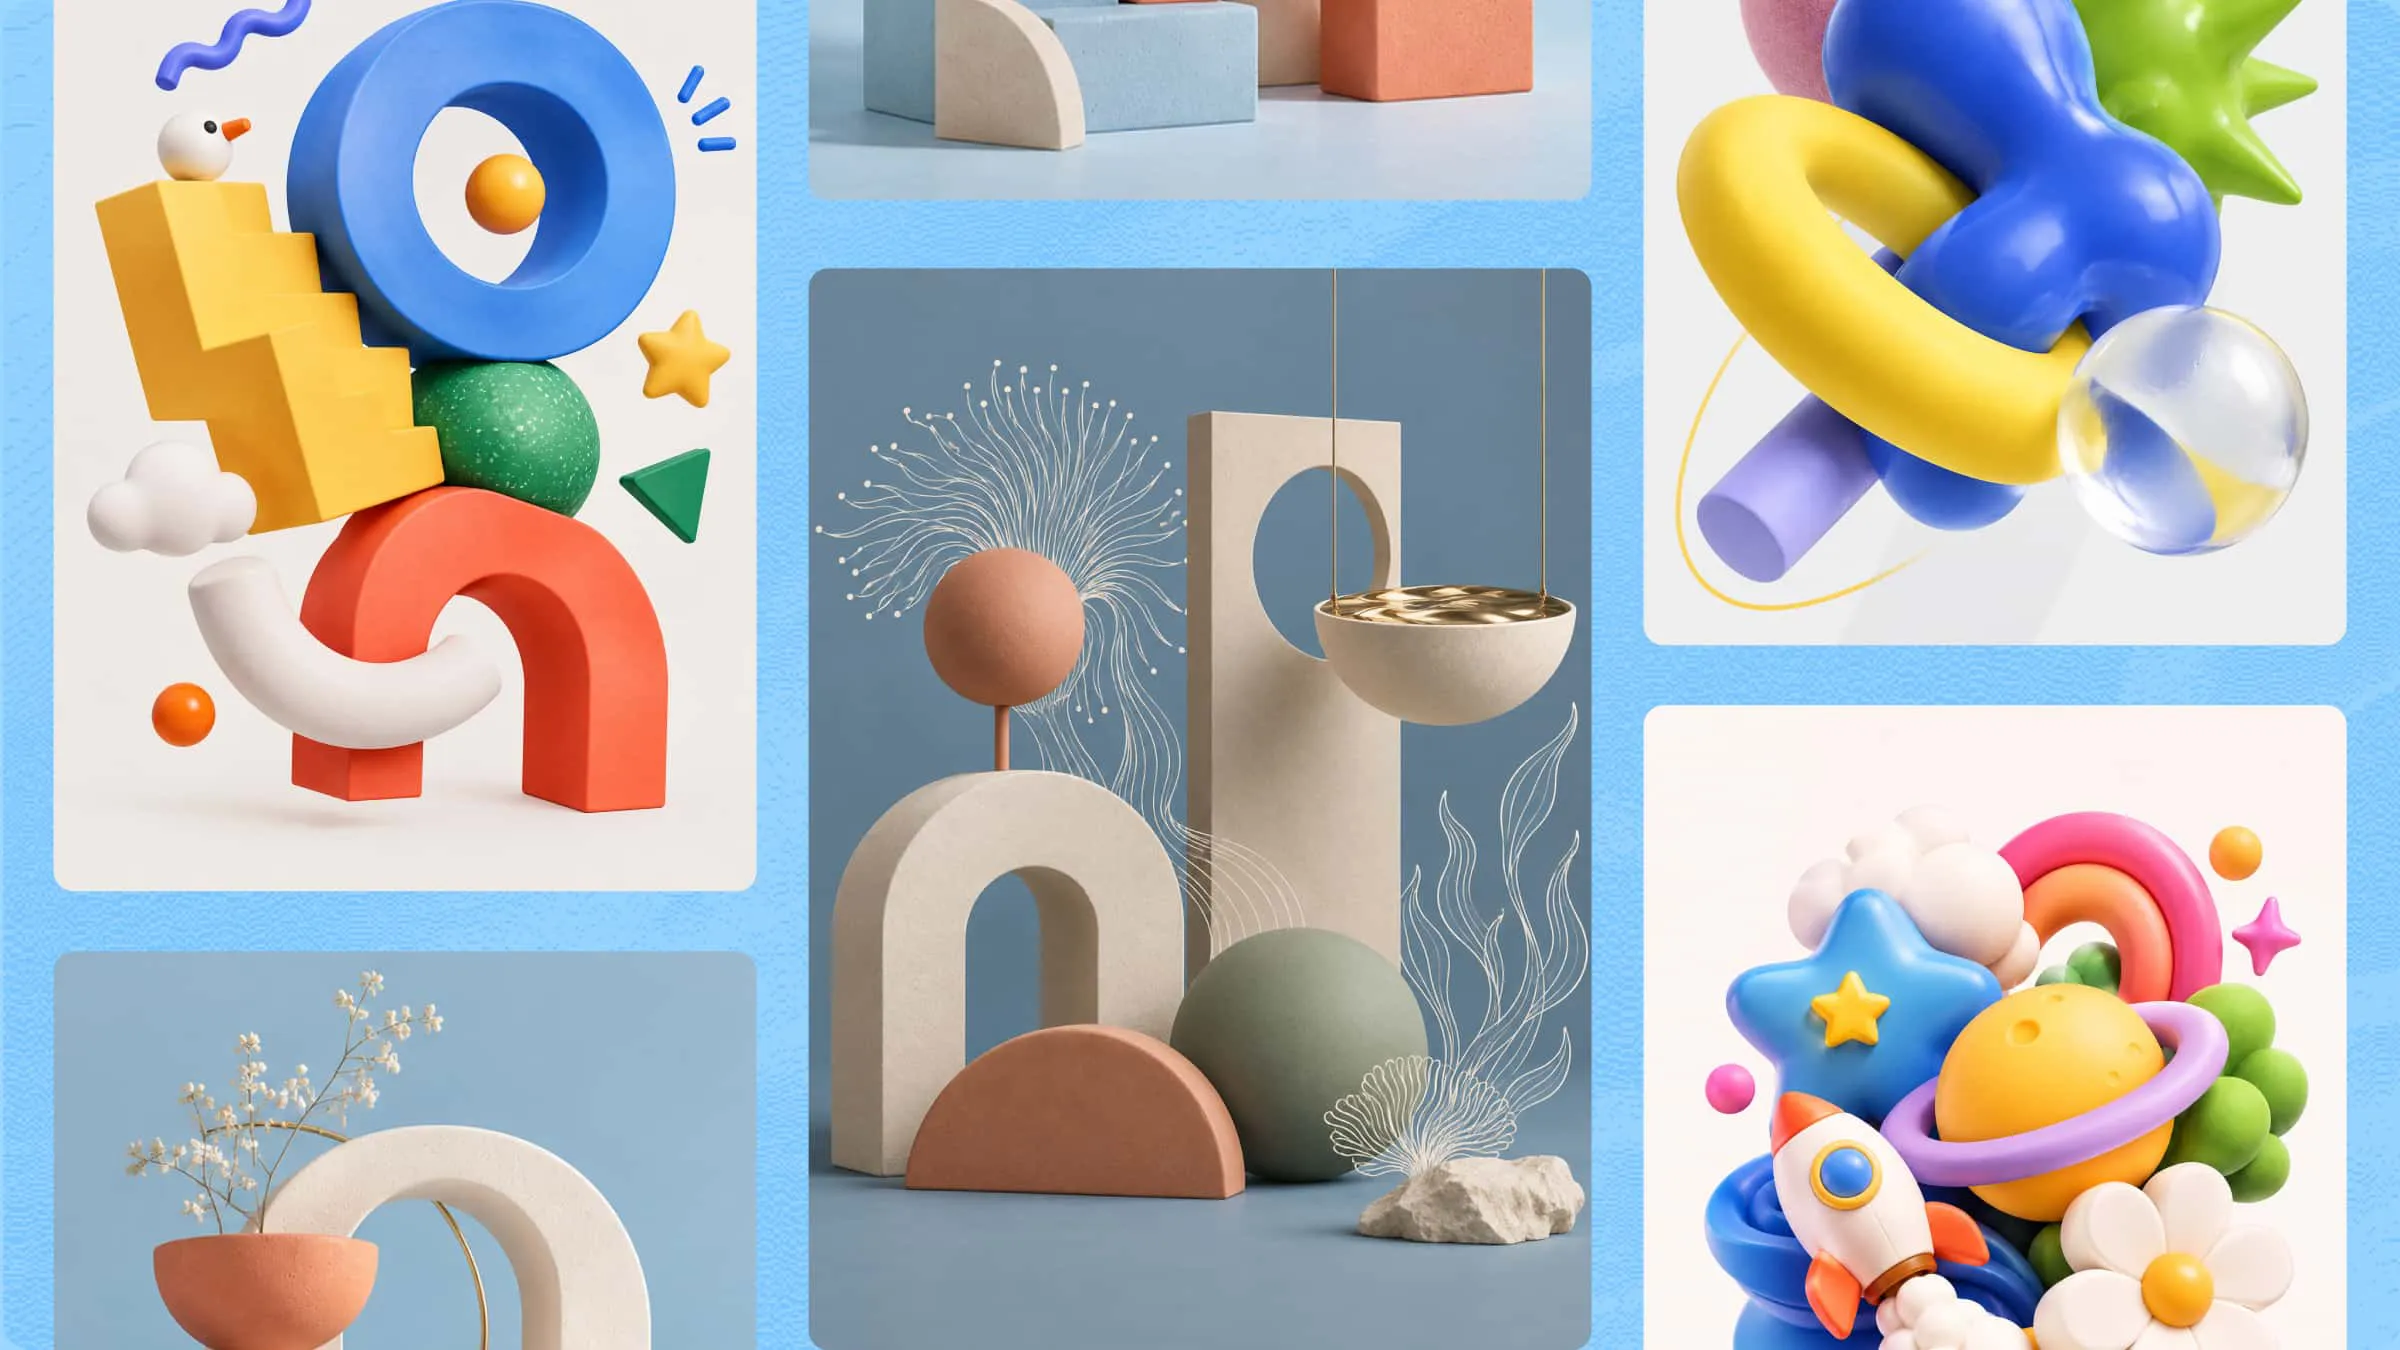
3D graphics can turn a simple idea into something that looks real, from detailed objects to eye-catching scenes. You don't need to be an expert to get started, as the right tools and a little practice can help you create visuals of your own. Learning how to make 3D graphics becomes easier when you break the process into small, clear steps. Read on to explore the basics, discover useful tools, and see how Kimi 3D Make can help bring your ideas to life.
How to make 3D graphics with AI
If you want to create 3D graphics without spending hours learning complex software, AI tools can make the process much easier. You can start with a simple text prompt or an image and turn your idea into a 3D visual in just a few steps. Here's how to create 3D graphics online with Kimi 3D Make.
Step 1: Describe the 3D graphic you need
Start by deciding what you want your 3D graphic to look like and where you plan to use it. Think about the main object, its shape, colors, materials, background, and lighting. Open Kimi 3D Make and describe these details in a clear text prompt, including the style you want to achieve. You can also upload a reference image to guide the design, helping Kimi 3D Make better understand your desired shape, appearance, and visual details.
Example prompt:
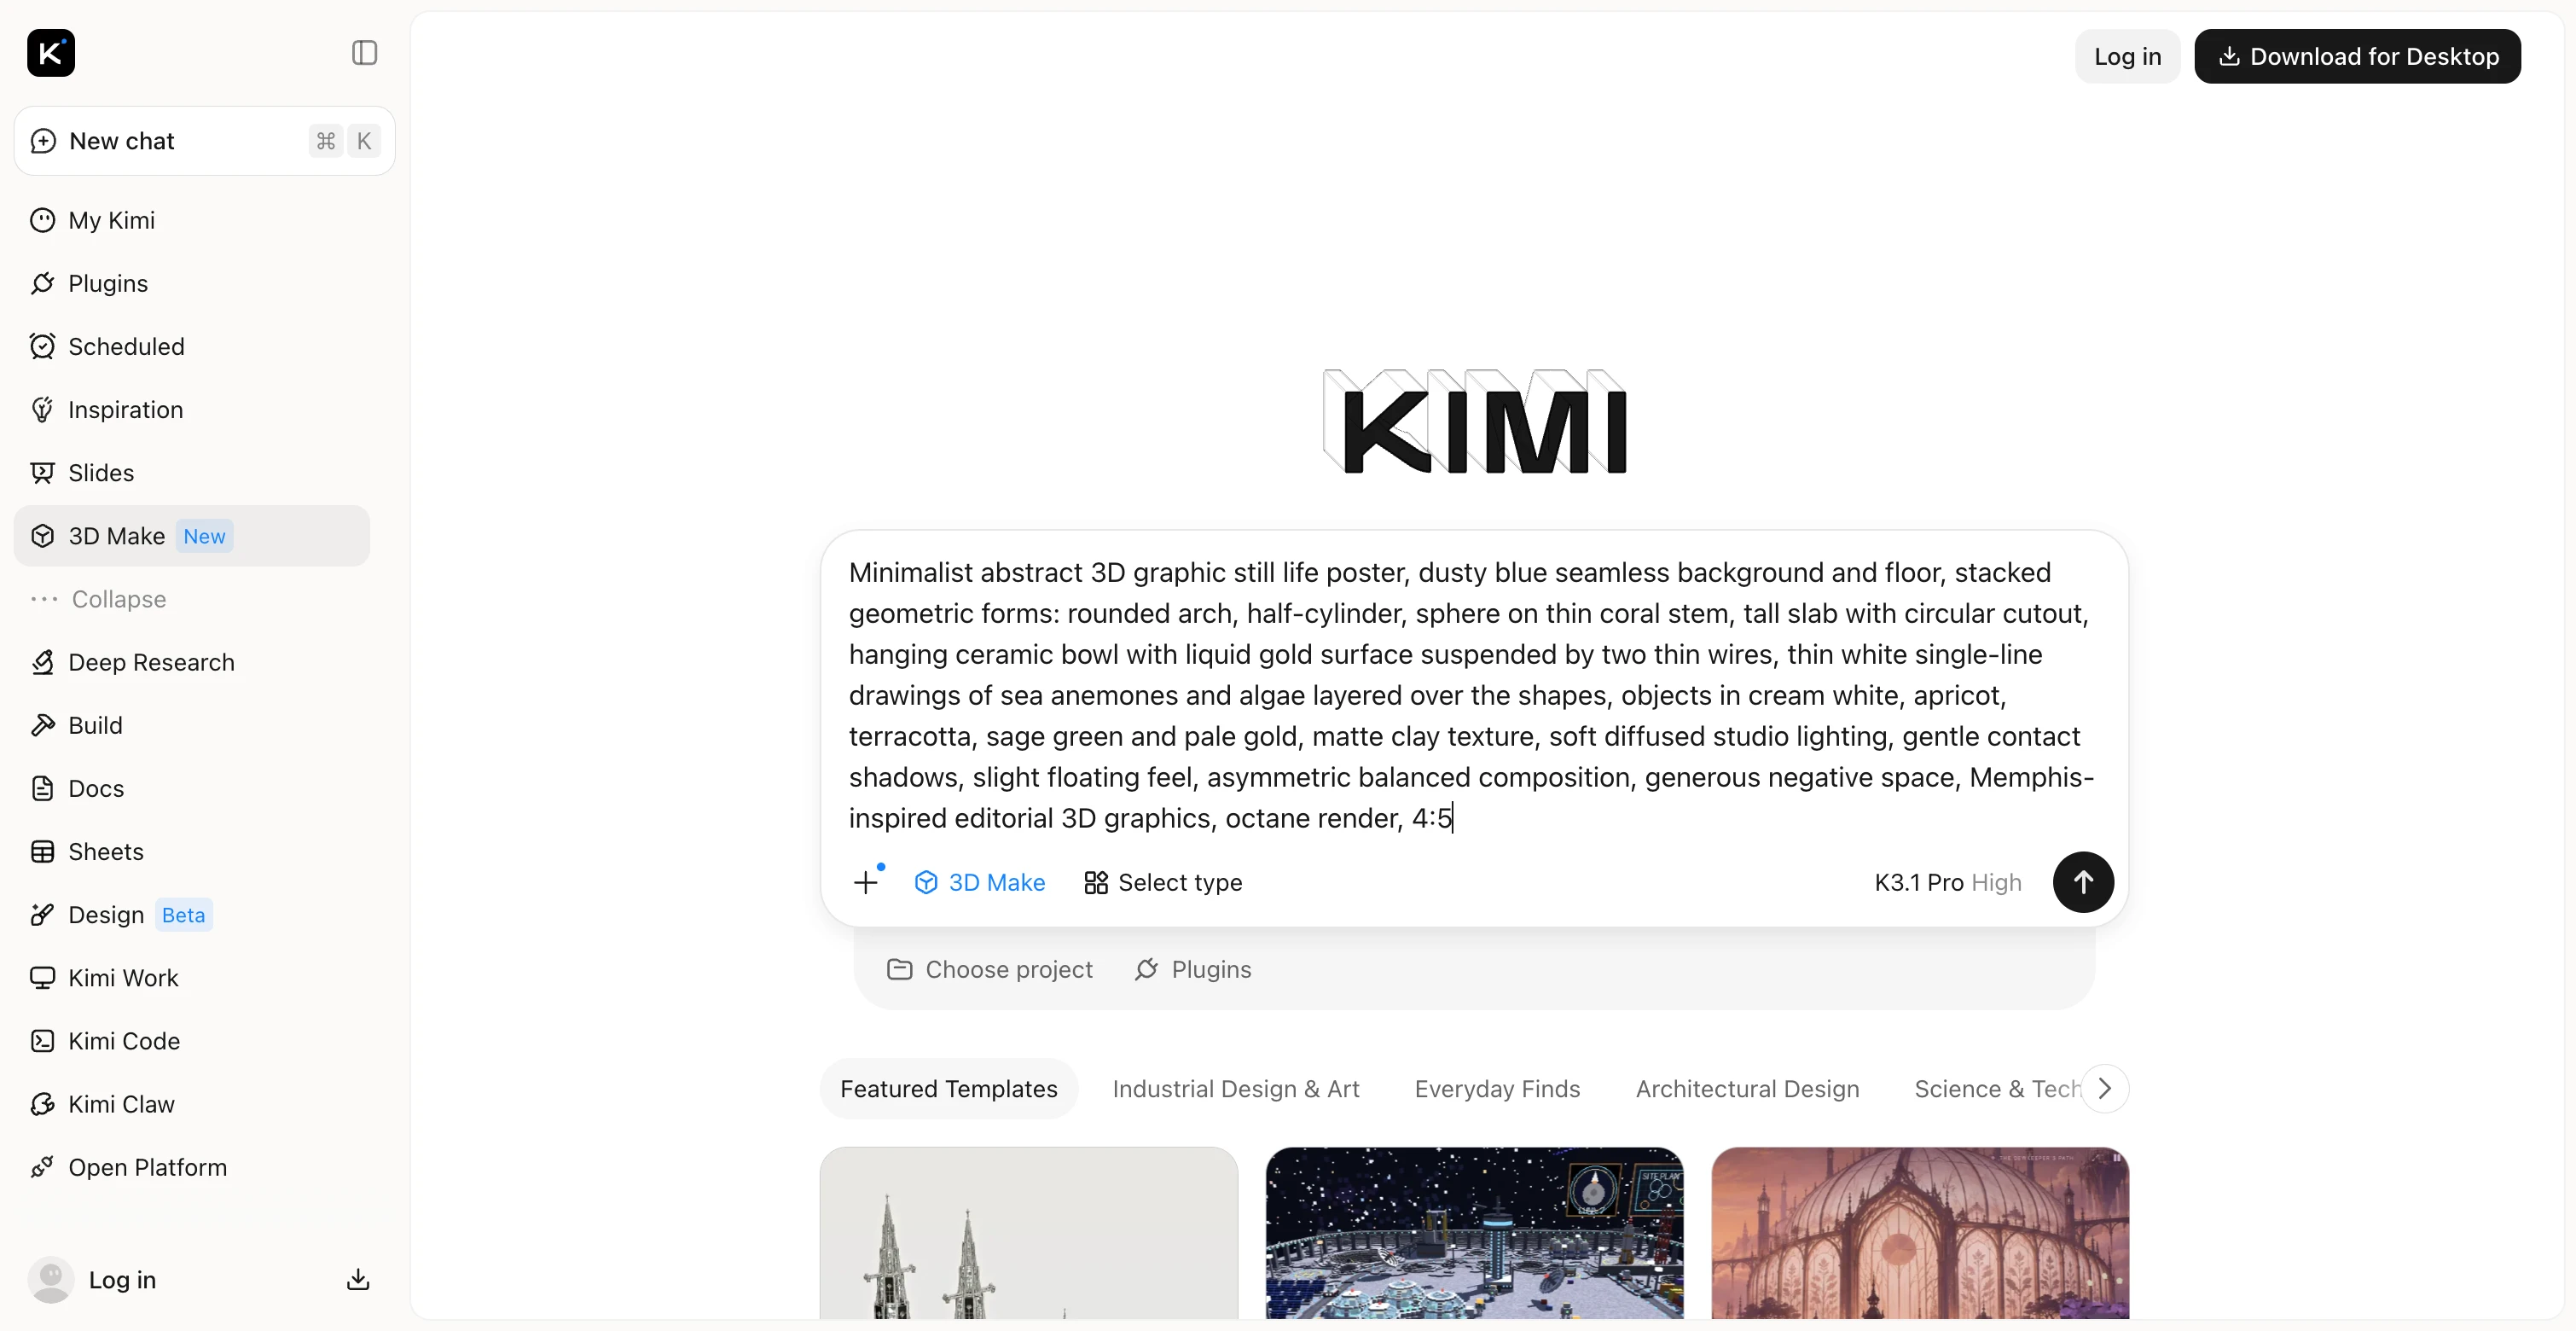
Step 2: Let Kimi 3D Make generate 3D graphics
Once you submit your prompt, Kimi 3D Make processes your instructions to create a 3D visual based on the details you provided. The AI uses your description to shape the subject, apply colors and materials, and build the overall look.
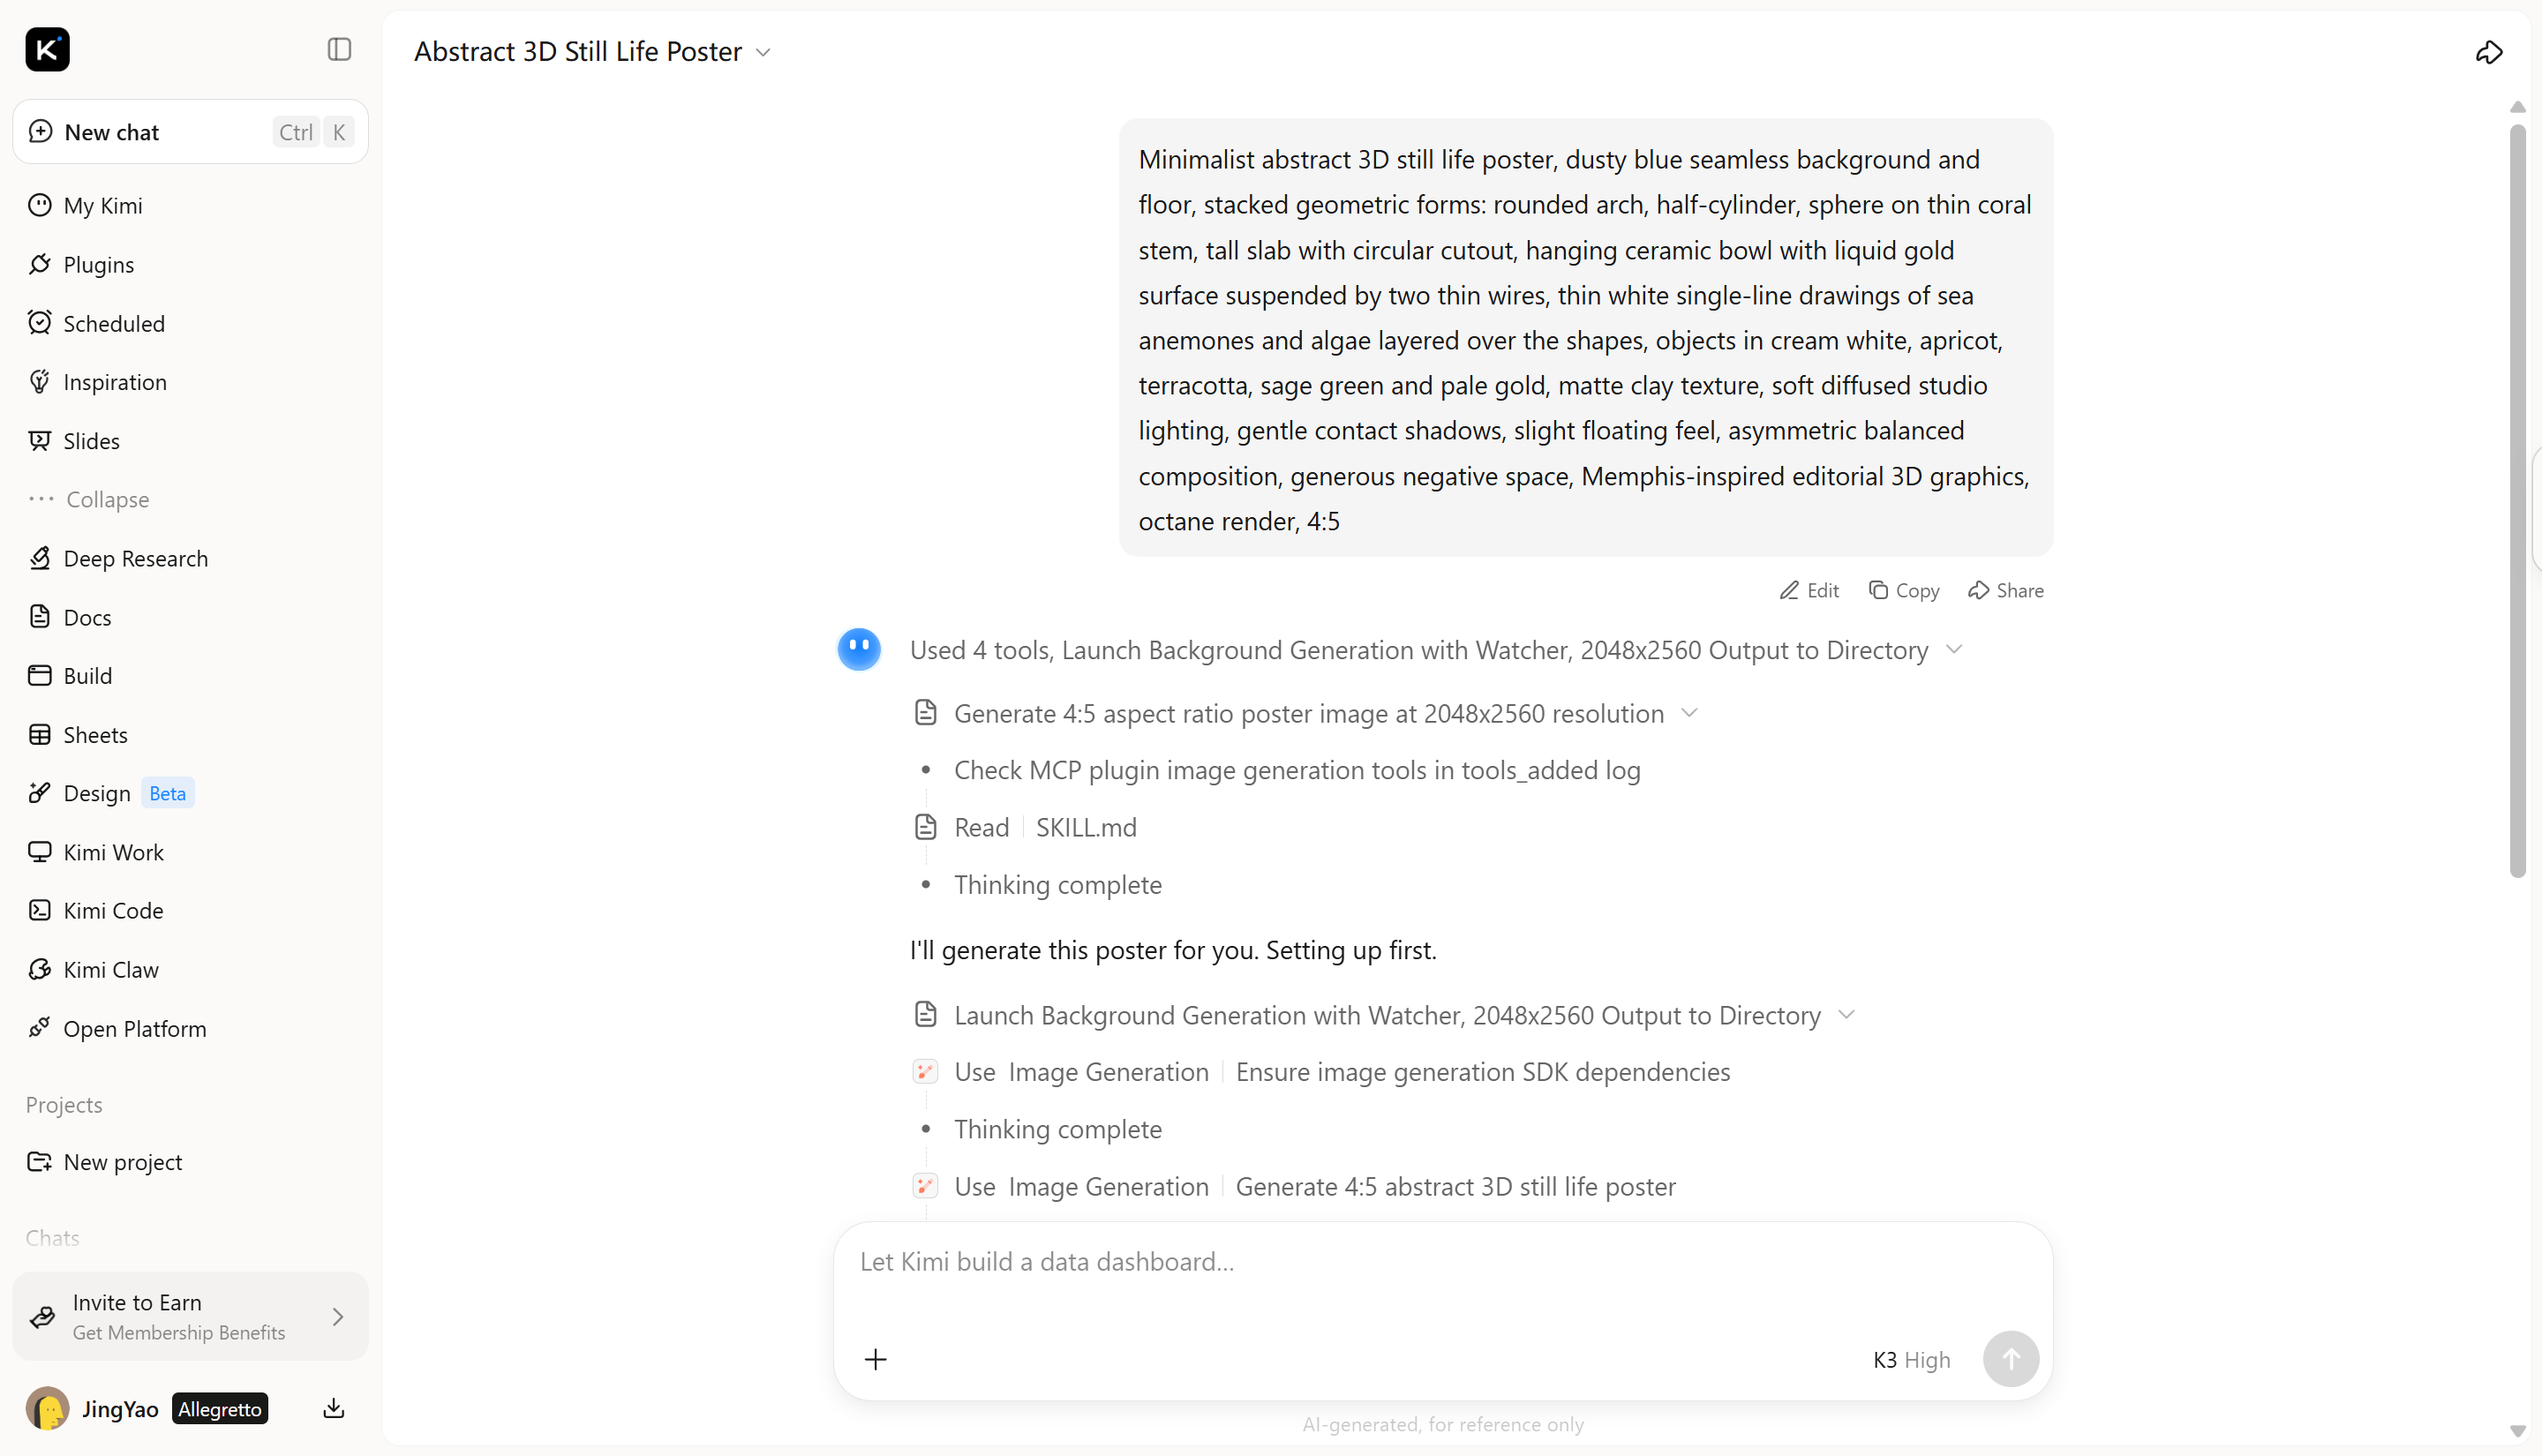
Step 3: Customize and refine the design
Once you have a result you like, refine the design by entering follow-up prompts in the chat box. Describe the changes you want, such as adjusting colors, lighting, backgrounds, textures, or other visual elements. Make targeted adjustments step by step to bring the 3D graphic closer to your vision.
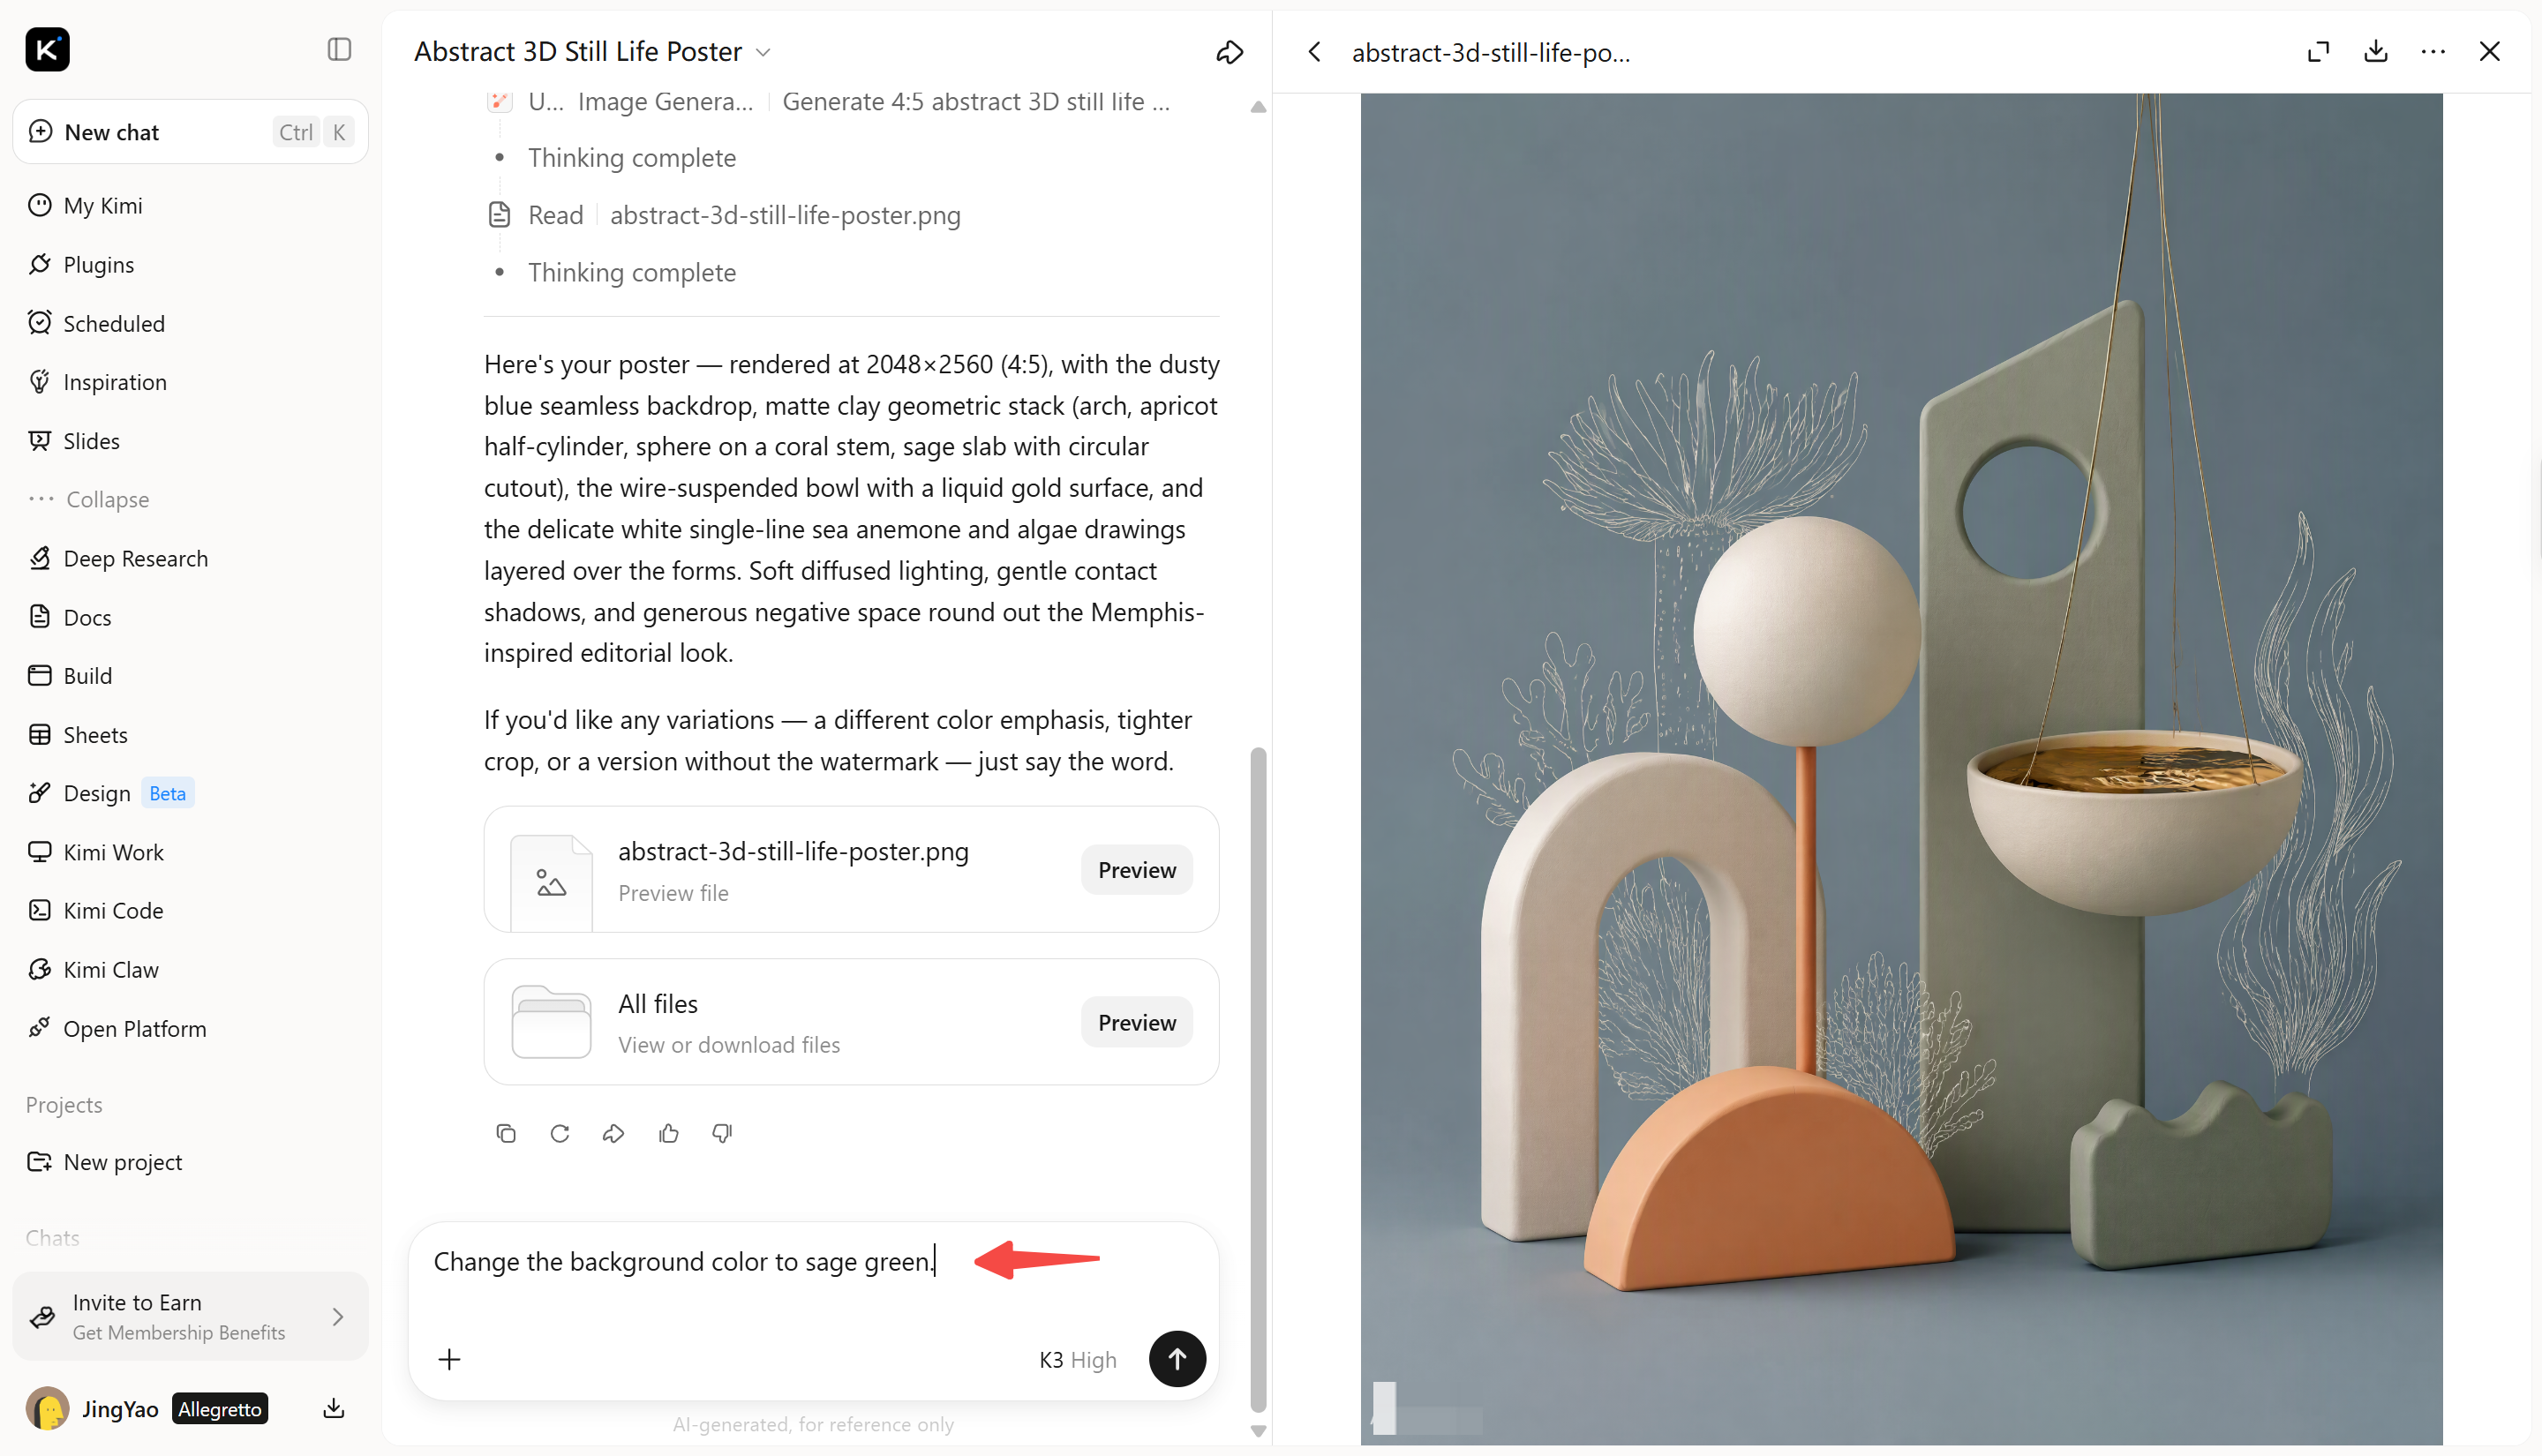
Step 4: Review and download the final output
Before finishing, check the graphic for unwanted details, uneven shapes, distracting backgrounds, or lighting that does not fit your design. When you are happy with the result, use the available export or download option to save your work in a suitable format.
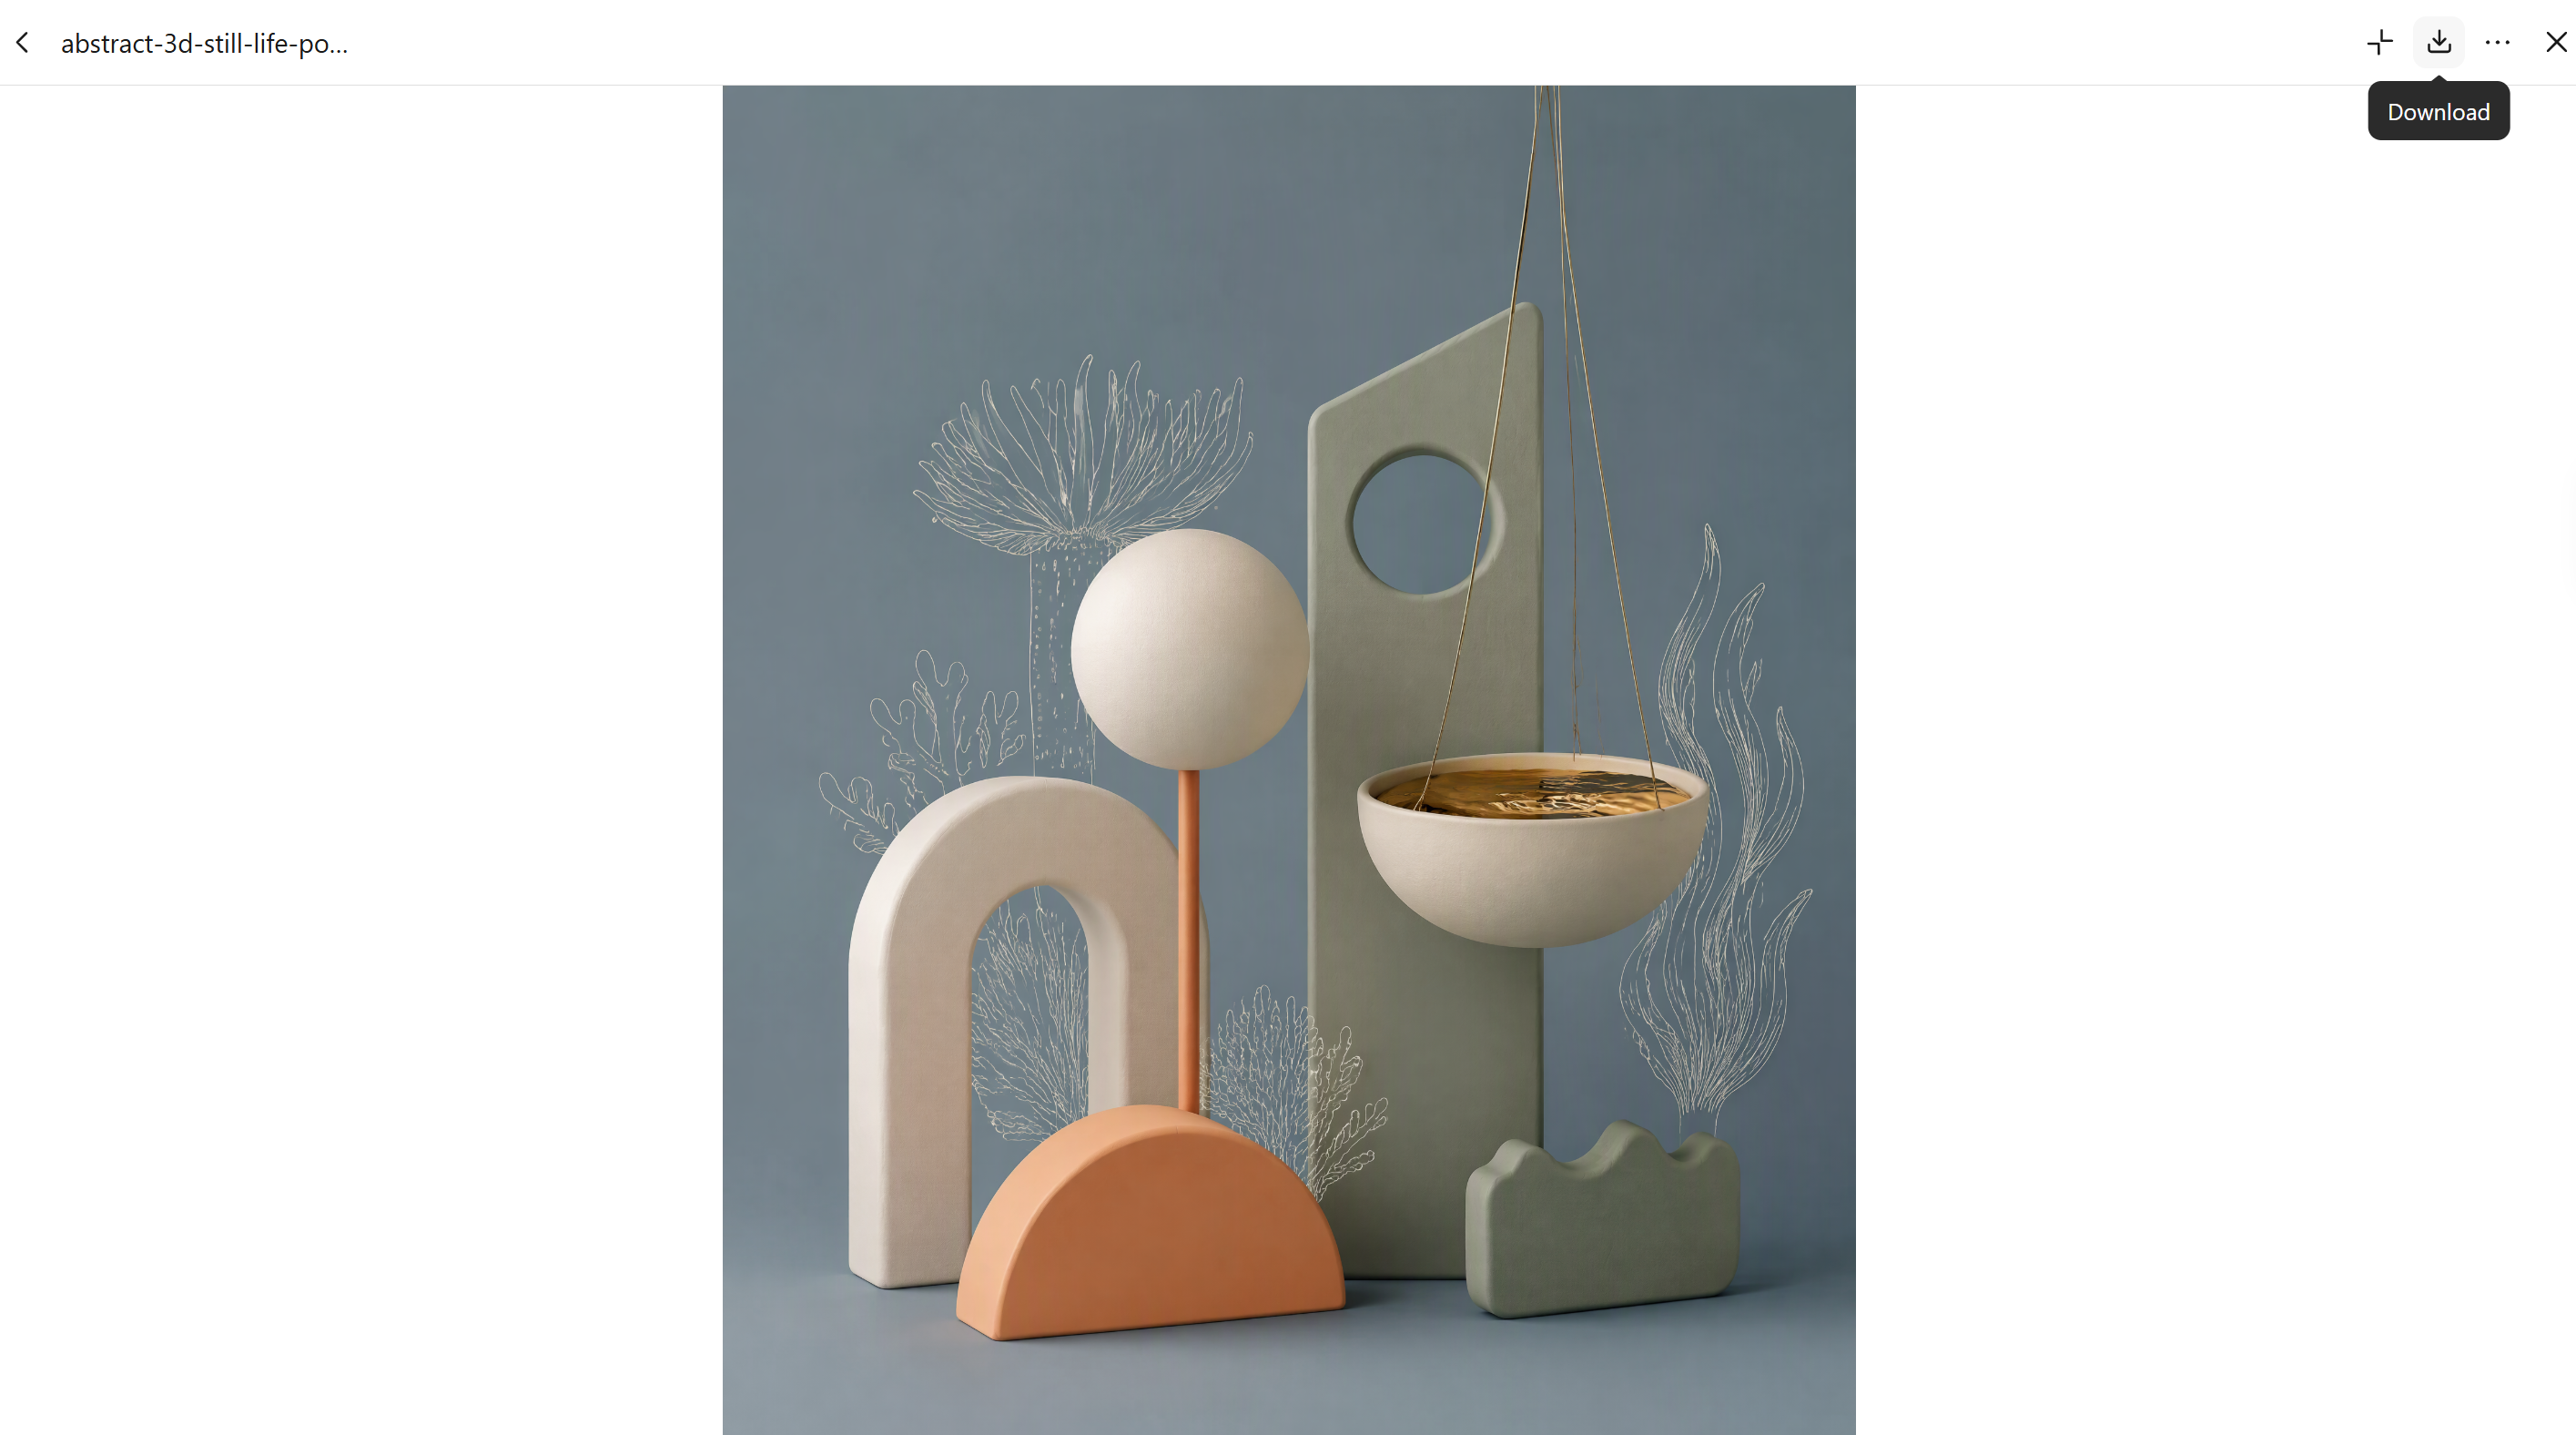
Why choose Kimi 3D Make for creating 3d graphics
Whether you're designing a product, creating visuals for social media, or exploring a new creative idea, the right AI tool can save time and make the process simpler. Kimi 3D Make offers a practical way to experiment with different styles and bring your ideas to life. Let's look at what makes it useful for creating 3D graphics.
Turn visual concepts into dimensional designs
Bring sketches, reference images, or written ideas into a 3D design workflow. Use Kimi 3D Make to develop dimensional visuals that capture the key features of your concept, from the overall silhouette to distinctive design details.
Add depth through detailed geometry and materials
Give 3D graphics a more tangible appearance with shaped surfaces, layered structures, textures, and material details. Create repeated elements such as panels, rails, and decorative components with coherent proportions and spacing for a consistent, realistic overall design.
Refine 3D details through natural-language editing
Adjust your design as your idea develops over time. Describe the changes you want, leave comments on specific elements, or make manual edits to fine-tune shapes, surface details, and other visual features for a more polished final result.
Check your results and export for different uses
Inspect the finished design against your original concept, review its visual details, and make final adjustments before exporting. Choose a suitable supported format for your next step, whether you're preparing assets for web experiences, game projects, AR applications, or 3D printing.
Extend 3D graphics into advanced creative workflows
Take your 3D graphics further with Kimi Work, a downloadable app that supports Blender, Tripo 3D, and other plugins for advanced modeling and editing. Export 3D assets in GLB, glTF, OBJ, FBX, STL, USDZ, and BLEND formats for use in game development, 3D printing preparation, Apple AR experiences, and further refinement in Blender.
Pro tips to create 3D graphics
Creating good 3D graphics takes more than writing a prompt and accepting the first result. A few simple techniques can help you get visuals that look more realistic, match your idea, and suit your project. Keep these tips in mind to improve your results as you create 3D graphics online.
Start with a clear visual concept
Before you begin, decide what you want your graphic to show and what it should look like. Think about the main subject, its purpose, and the style you want to achieve. A clear idea makes it easier to write a useful prompt and get a result that matches your expectations.
Describe shape, materials, and texture
Include details about the object's shape, surface, and materials when writing your prompt. For example, describe whether a product should have smooth curves, a rough stone surface, or a shiny metallic finish. These details help the AI understand your vision and produce a more convincing design.
Use reference images to guide the result
If you have a sketch, product photo, or design you like, use it as a reference when the tool supports image input. A reference image gives the AI a clearer idea of the shape, colors, and overall style you want. You can also combine it with a text prompt to explain which details you want to keep or change.
Build complexity gradually
Start with the main object before adding smaller details or complex backgrounds. Once the basic design looks right, work on additional elements such as decorative parts, surface patterns, and surrounding objects. This approach makes it easier to make 3D graphics without overwhelming the initial design with too many details.
Check lighting, shadows, and depth
Lighting can change how a 3D graphic looks and feels, so choose it based on the style you want. Soft lighting works well for clean product visuals, while stronger contrasts can create a dramatic effect. Check that the shadows, reflections, and depth make the object look natural rather than flat or out of place.
Refine one element at a time
If the first result is close to what you want, avoid rewriting the entire prompt for every change. Instead, ask for one specific adjustment, such as changing the background color, softening the shadows, or making the surface more reflective.
Consider the final use of the graphic
Think about where you plan to use the finished graphic before choosing its style and layout. A product advertisement may need a clean background and a centered subject, while a social media post might benefit from brighter colors and a more eye-catching composition.
Review the result before exporting
Check the graphic for awkward shapes, unwanted details, or inconsistent lighting. Make any needed corrections, then check the resolution and export settings before saving the final version. Ensure the design looks clean and fits your intended use.
Conclusion
Creating 3D graphics is a great way to turn your ideas into visuals that grab attention and make your projects stand out. With practice, you can explore different styles and find what works best for your needs. If you want to learn how to create 3D motion graphics or experiment with new designs, start with a simple idea. Give Kimi 3D Make a try to explore your concepts and create visuals with AI.