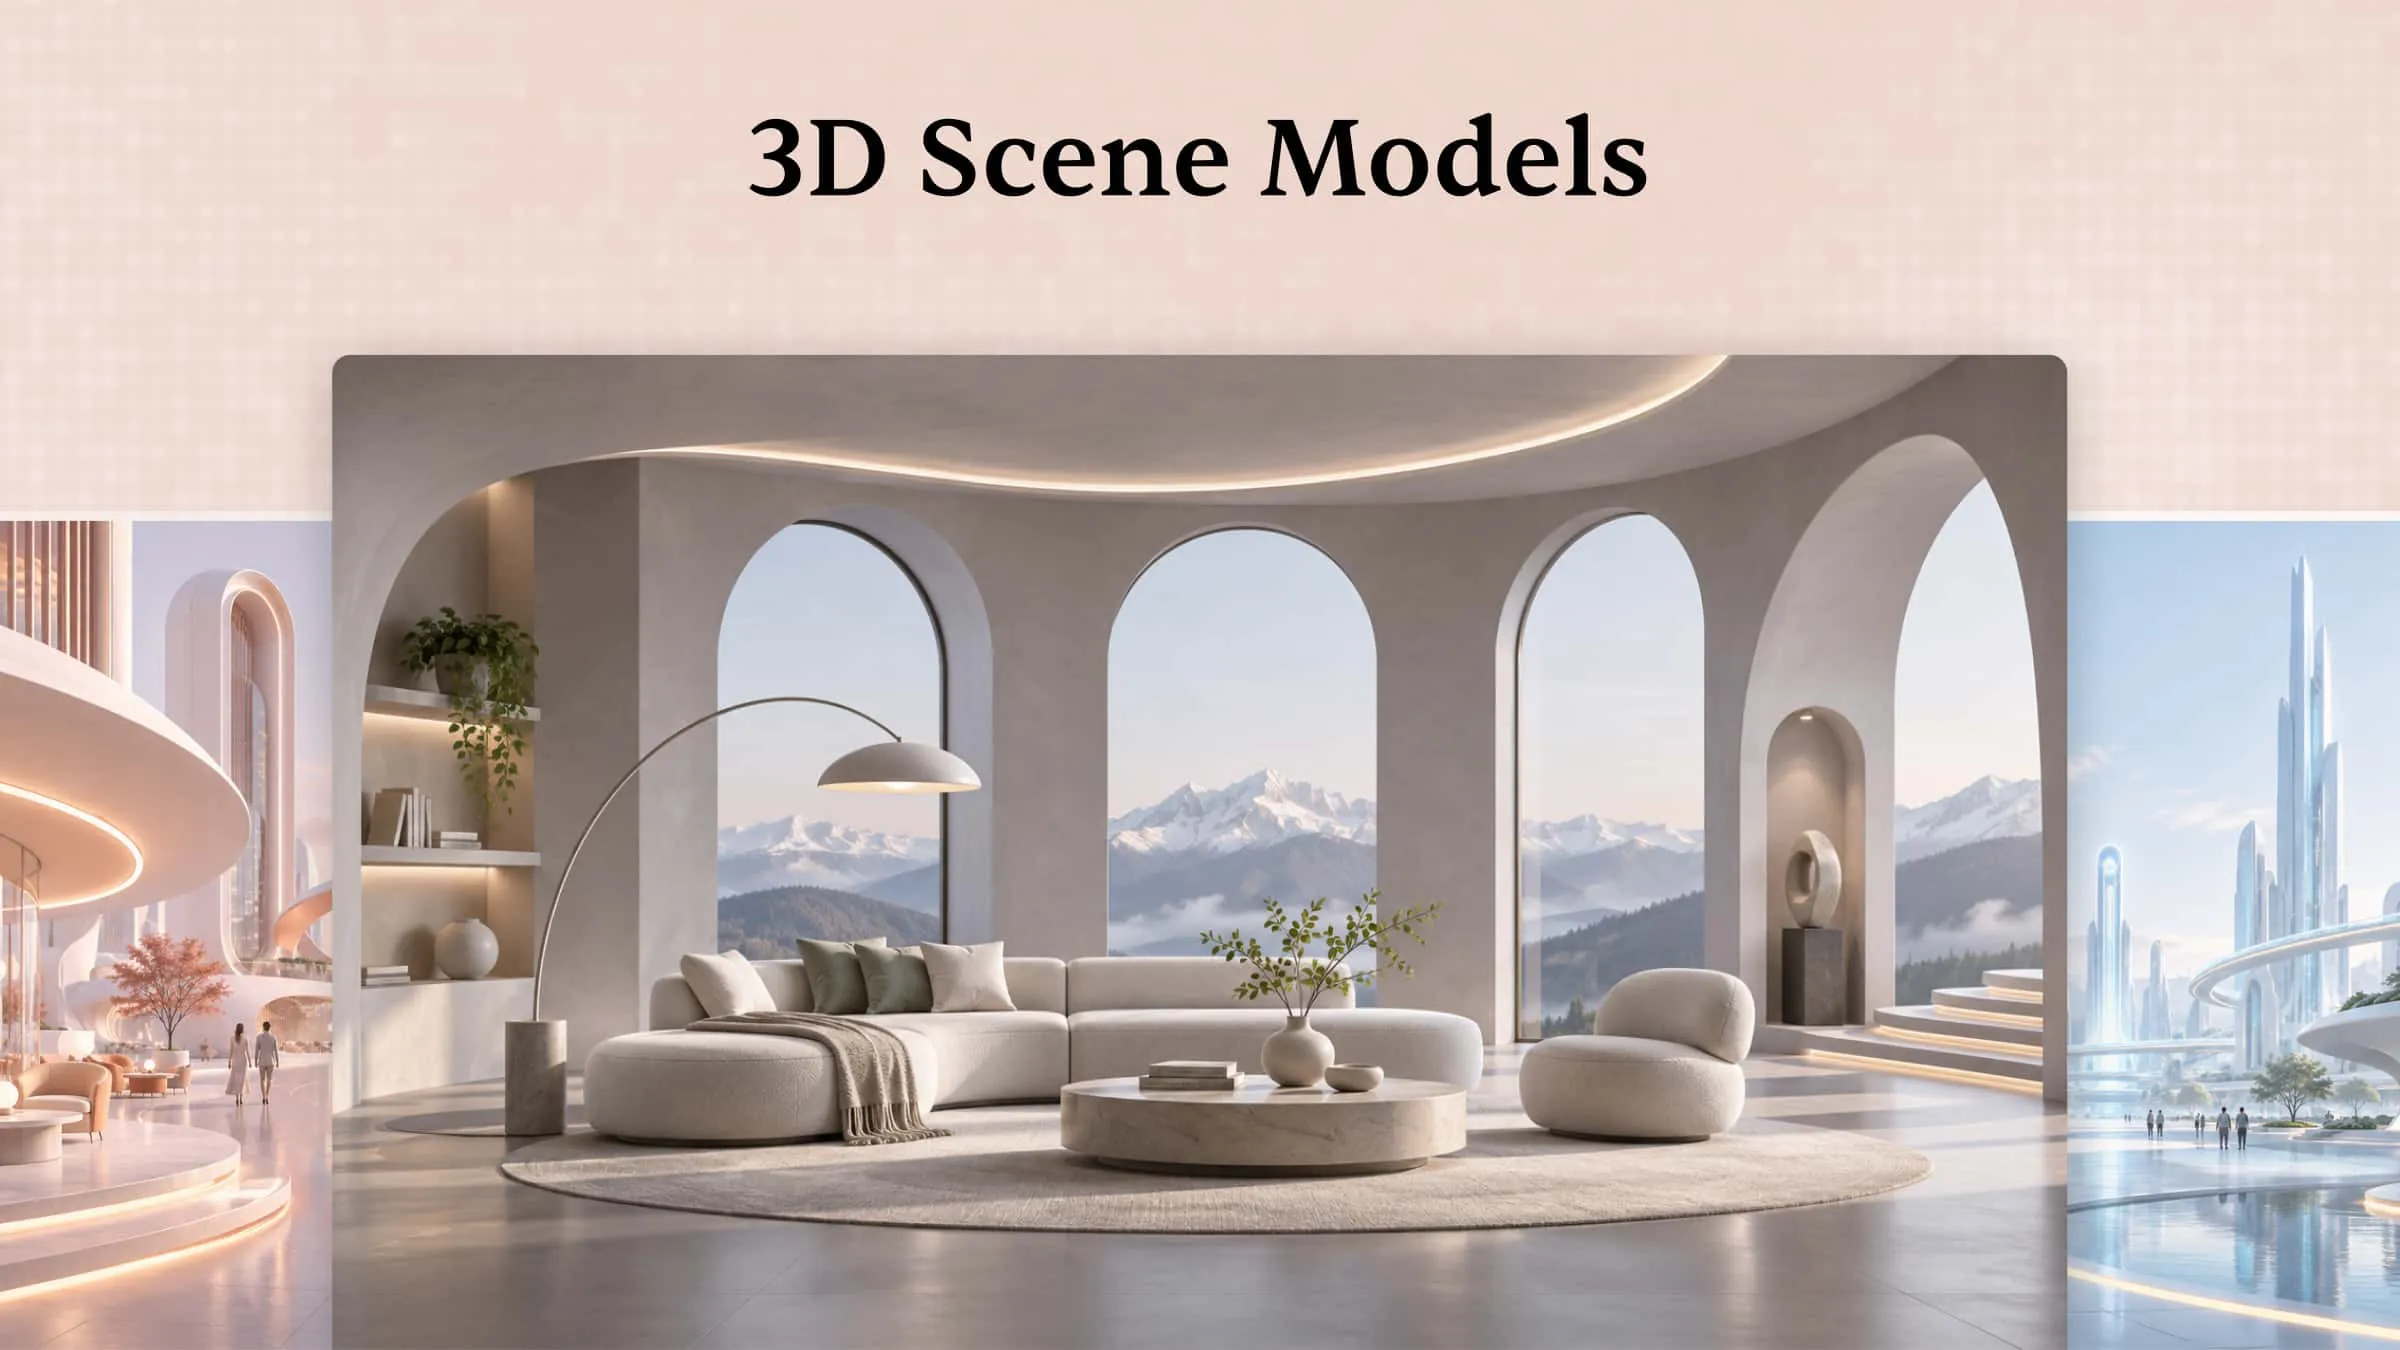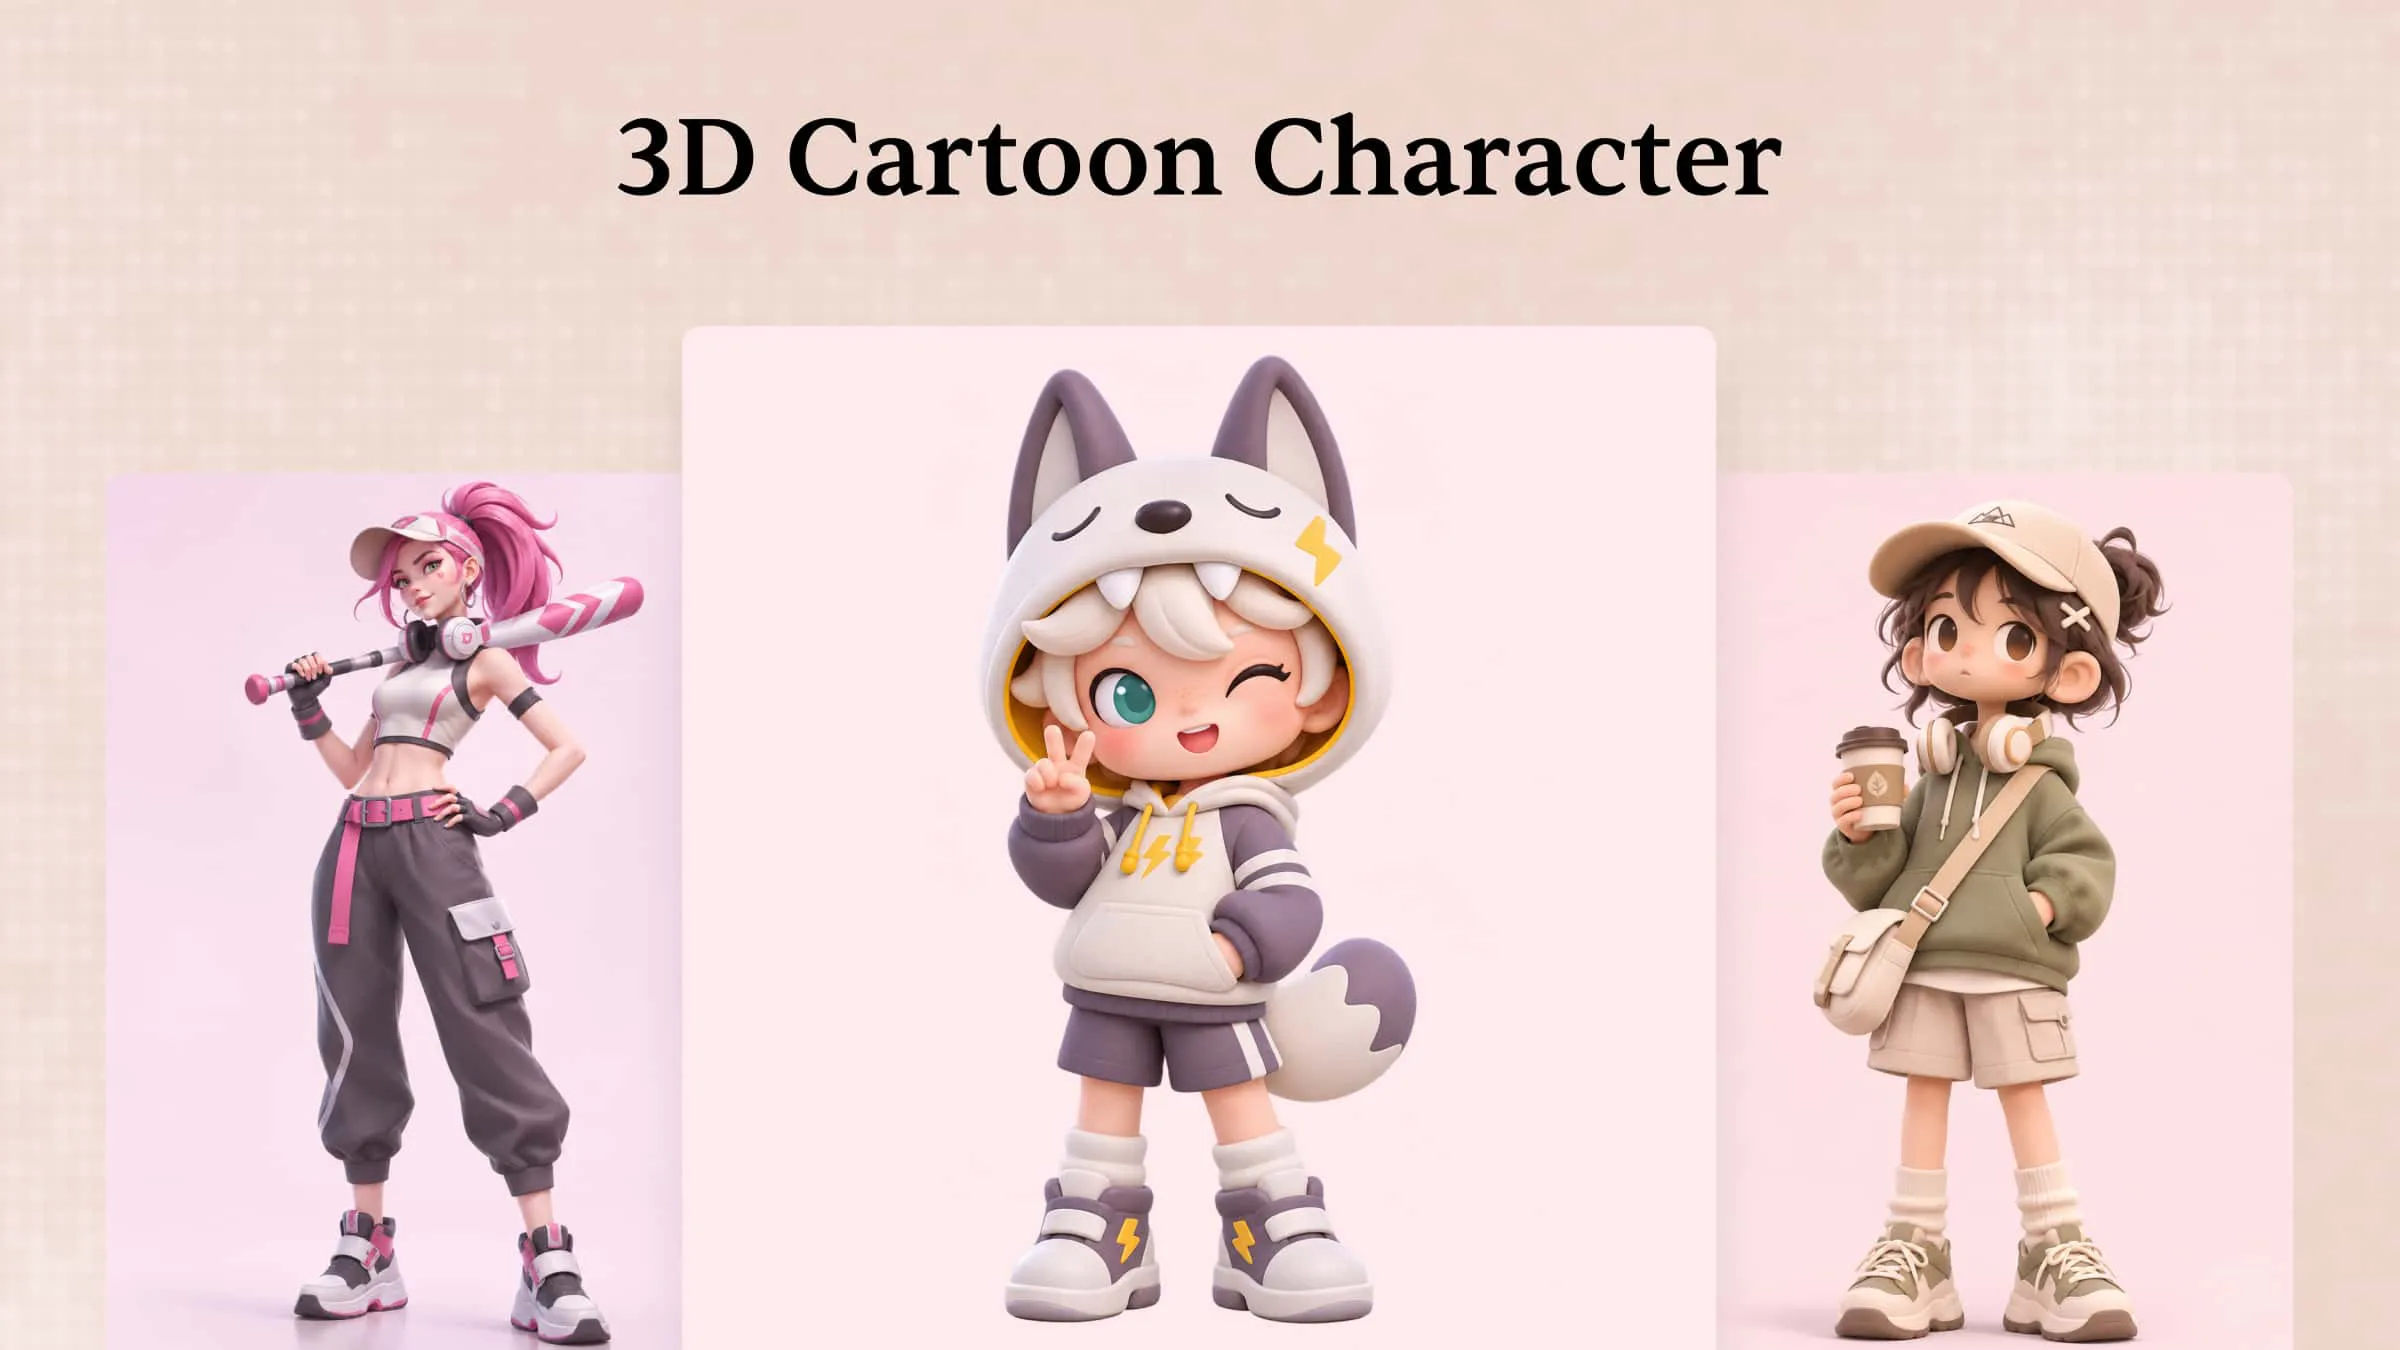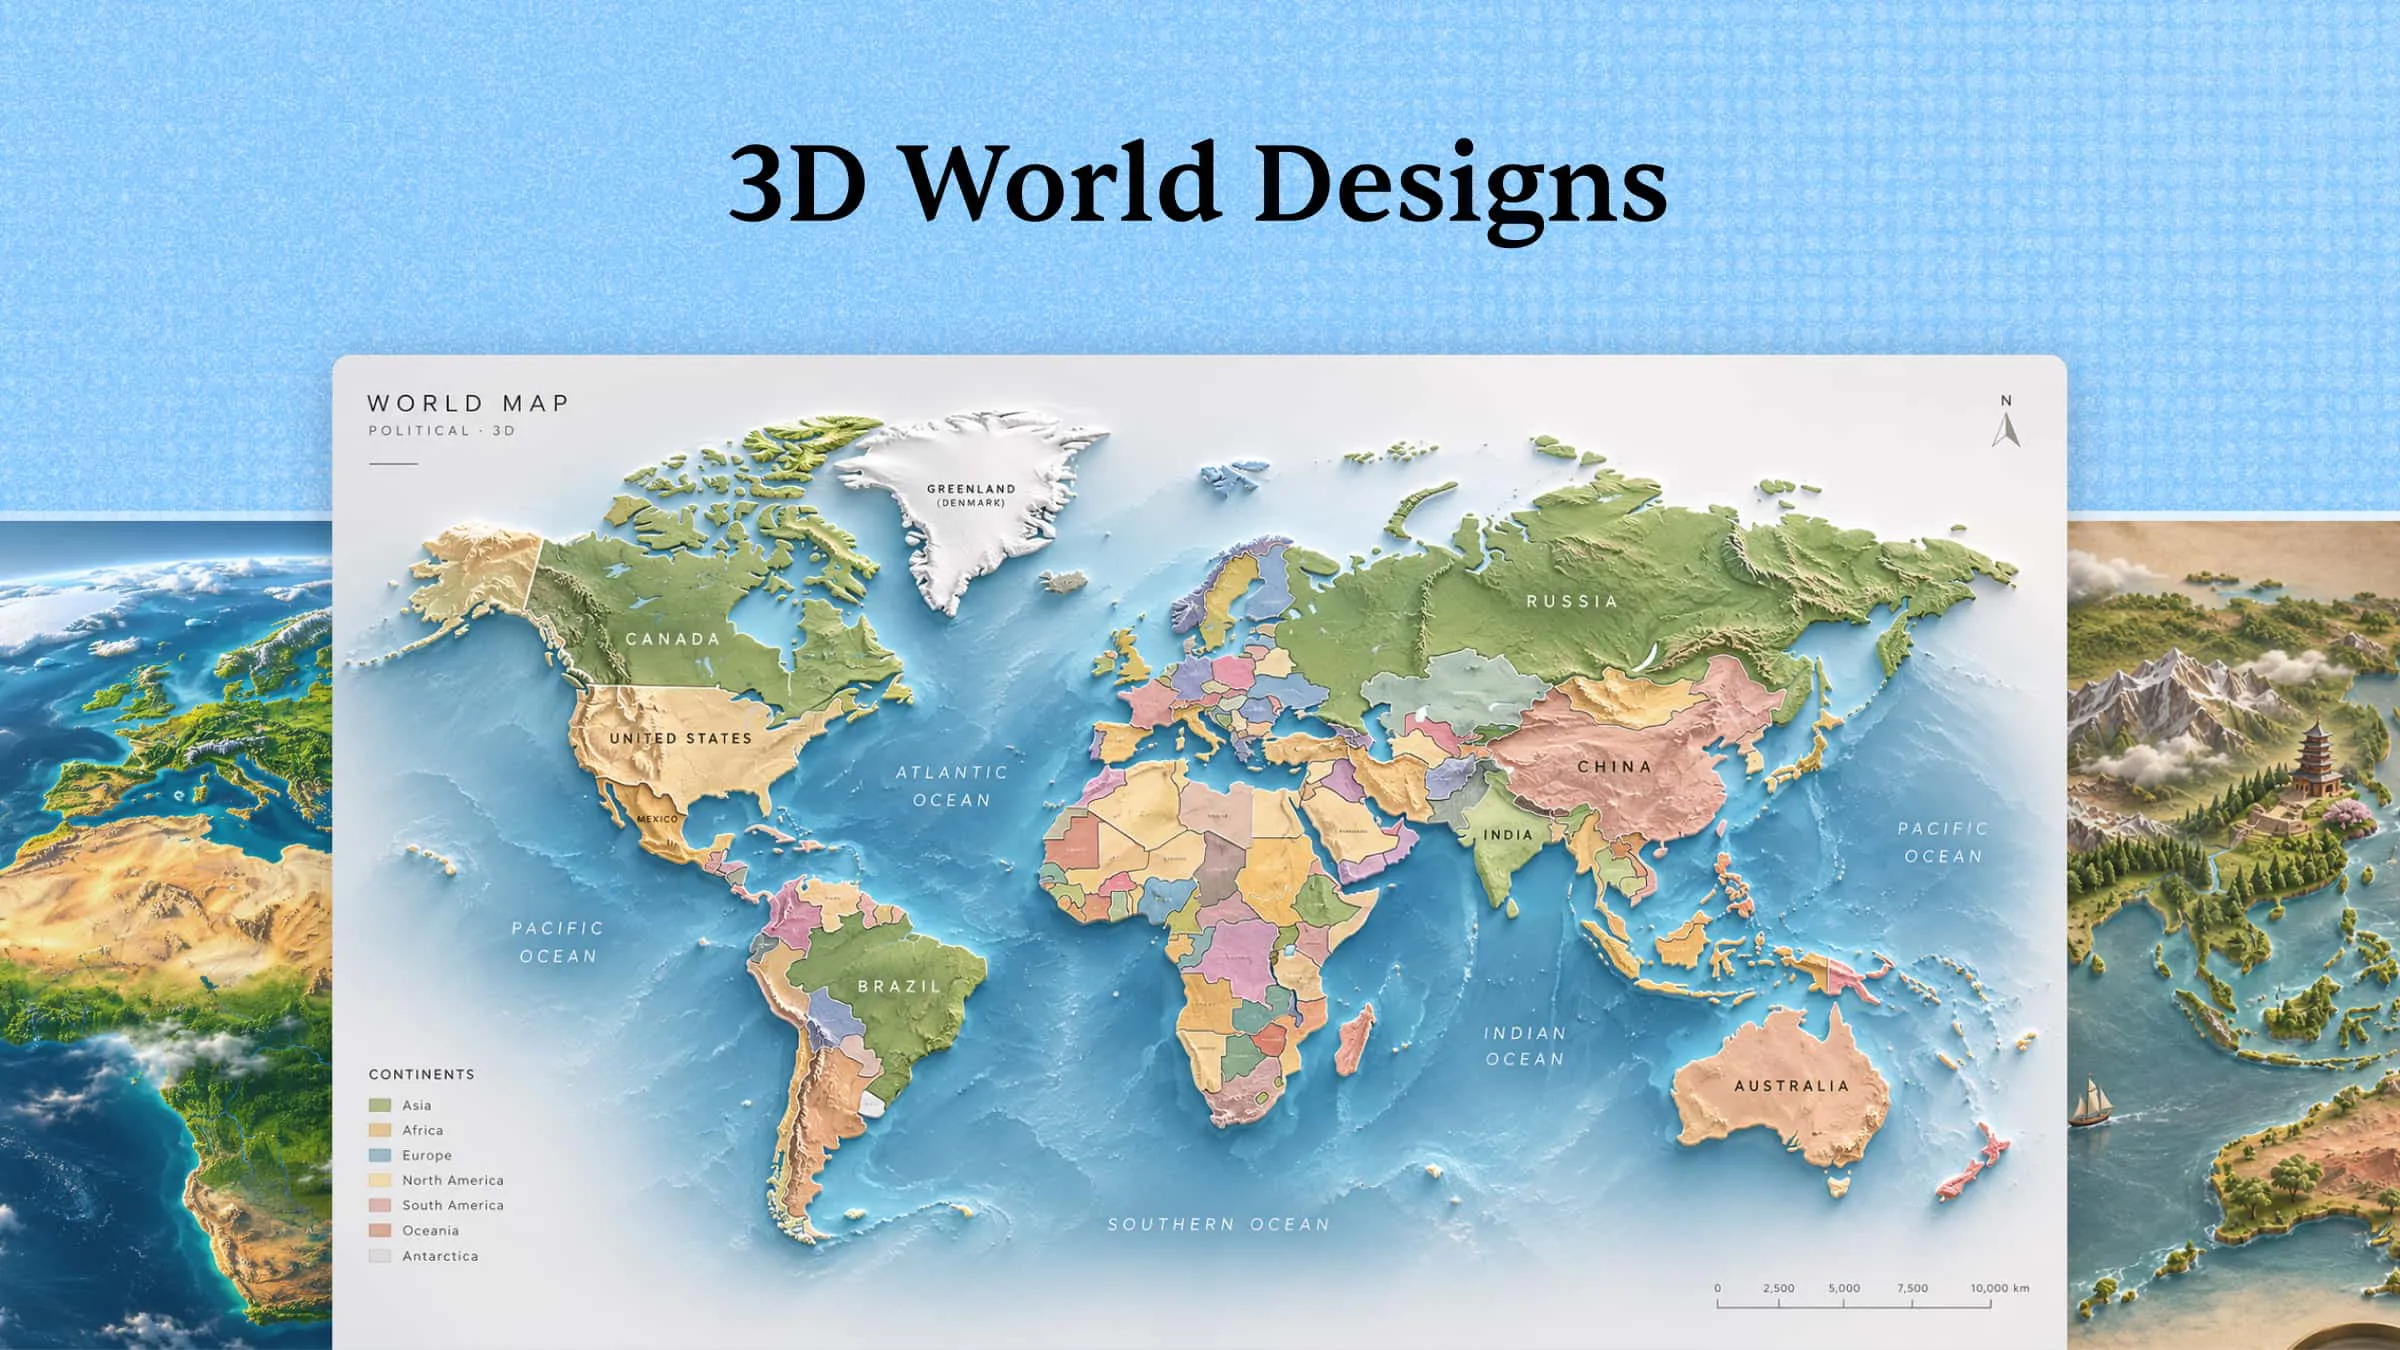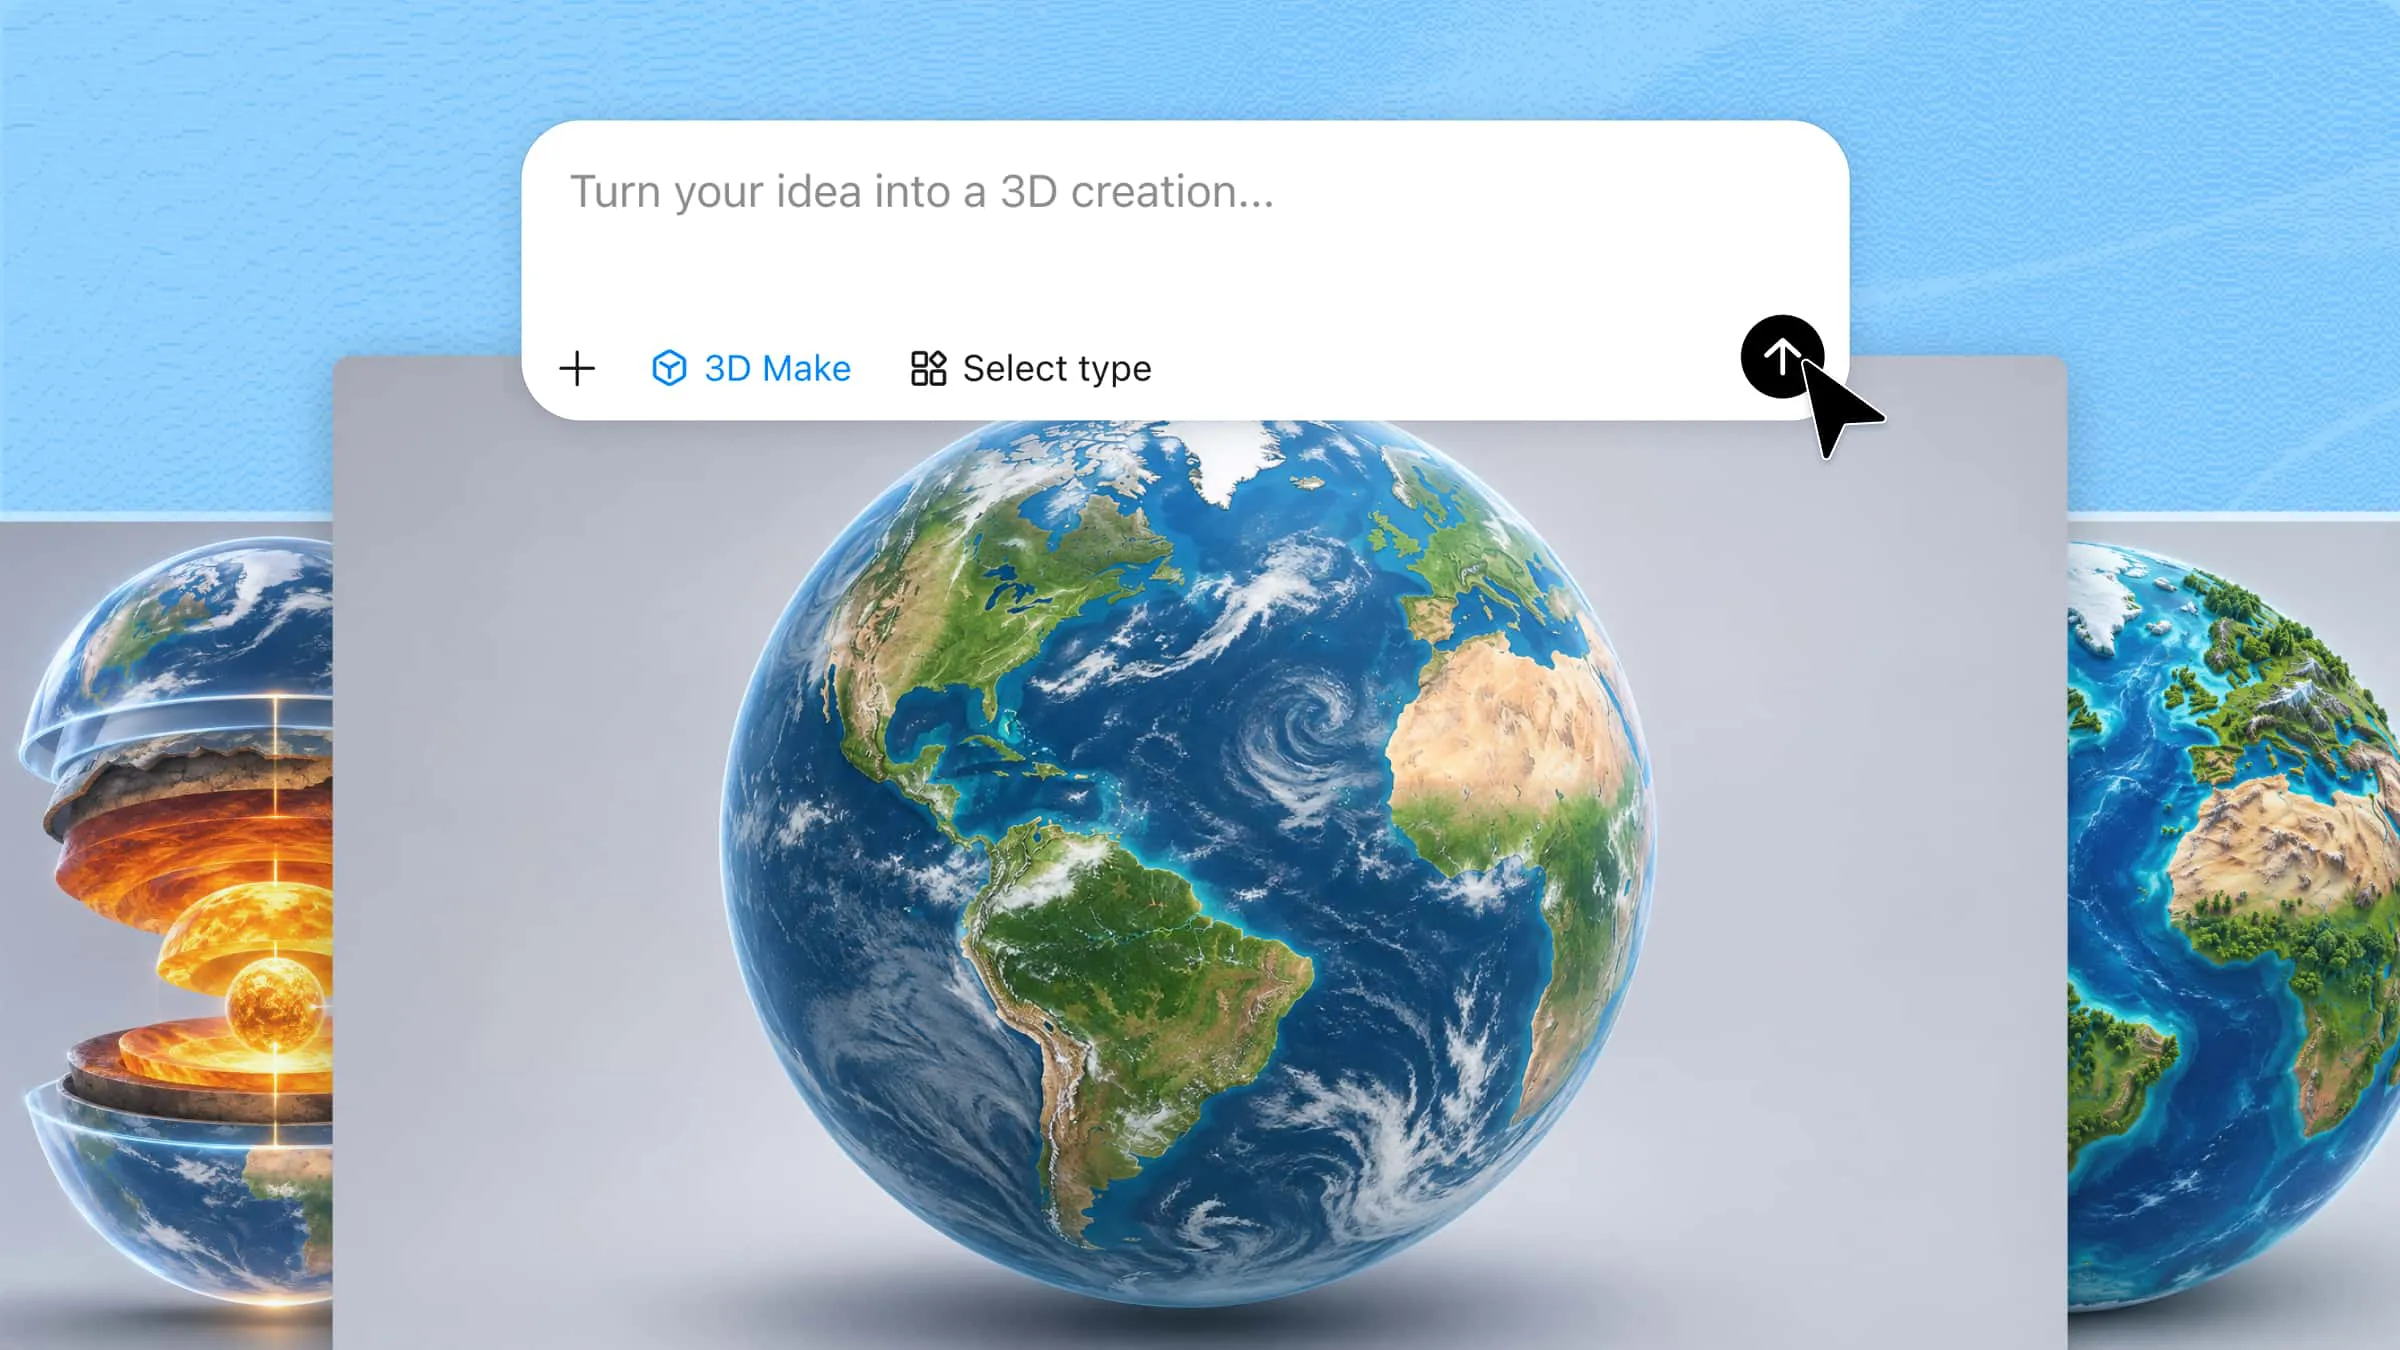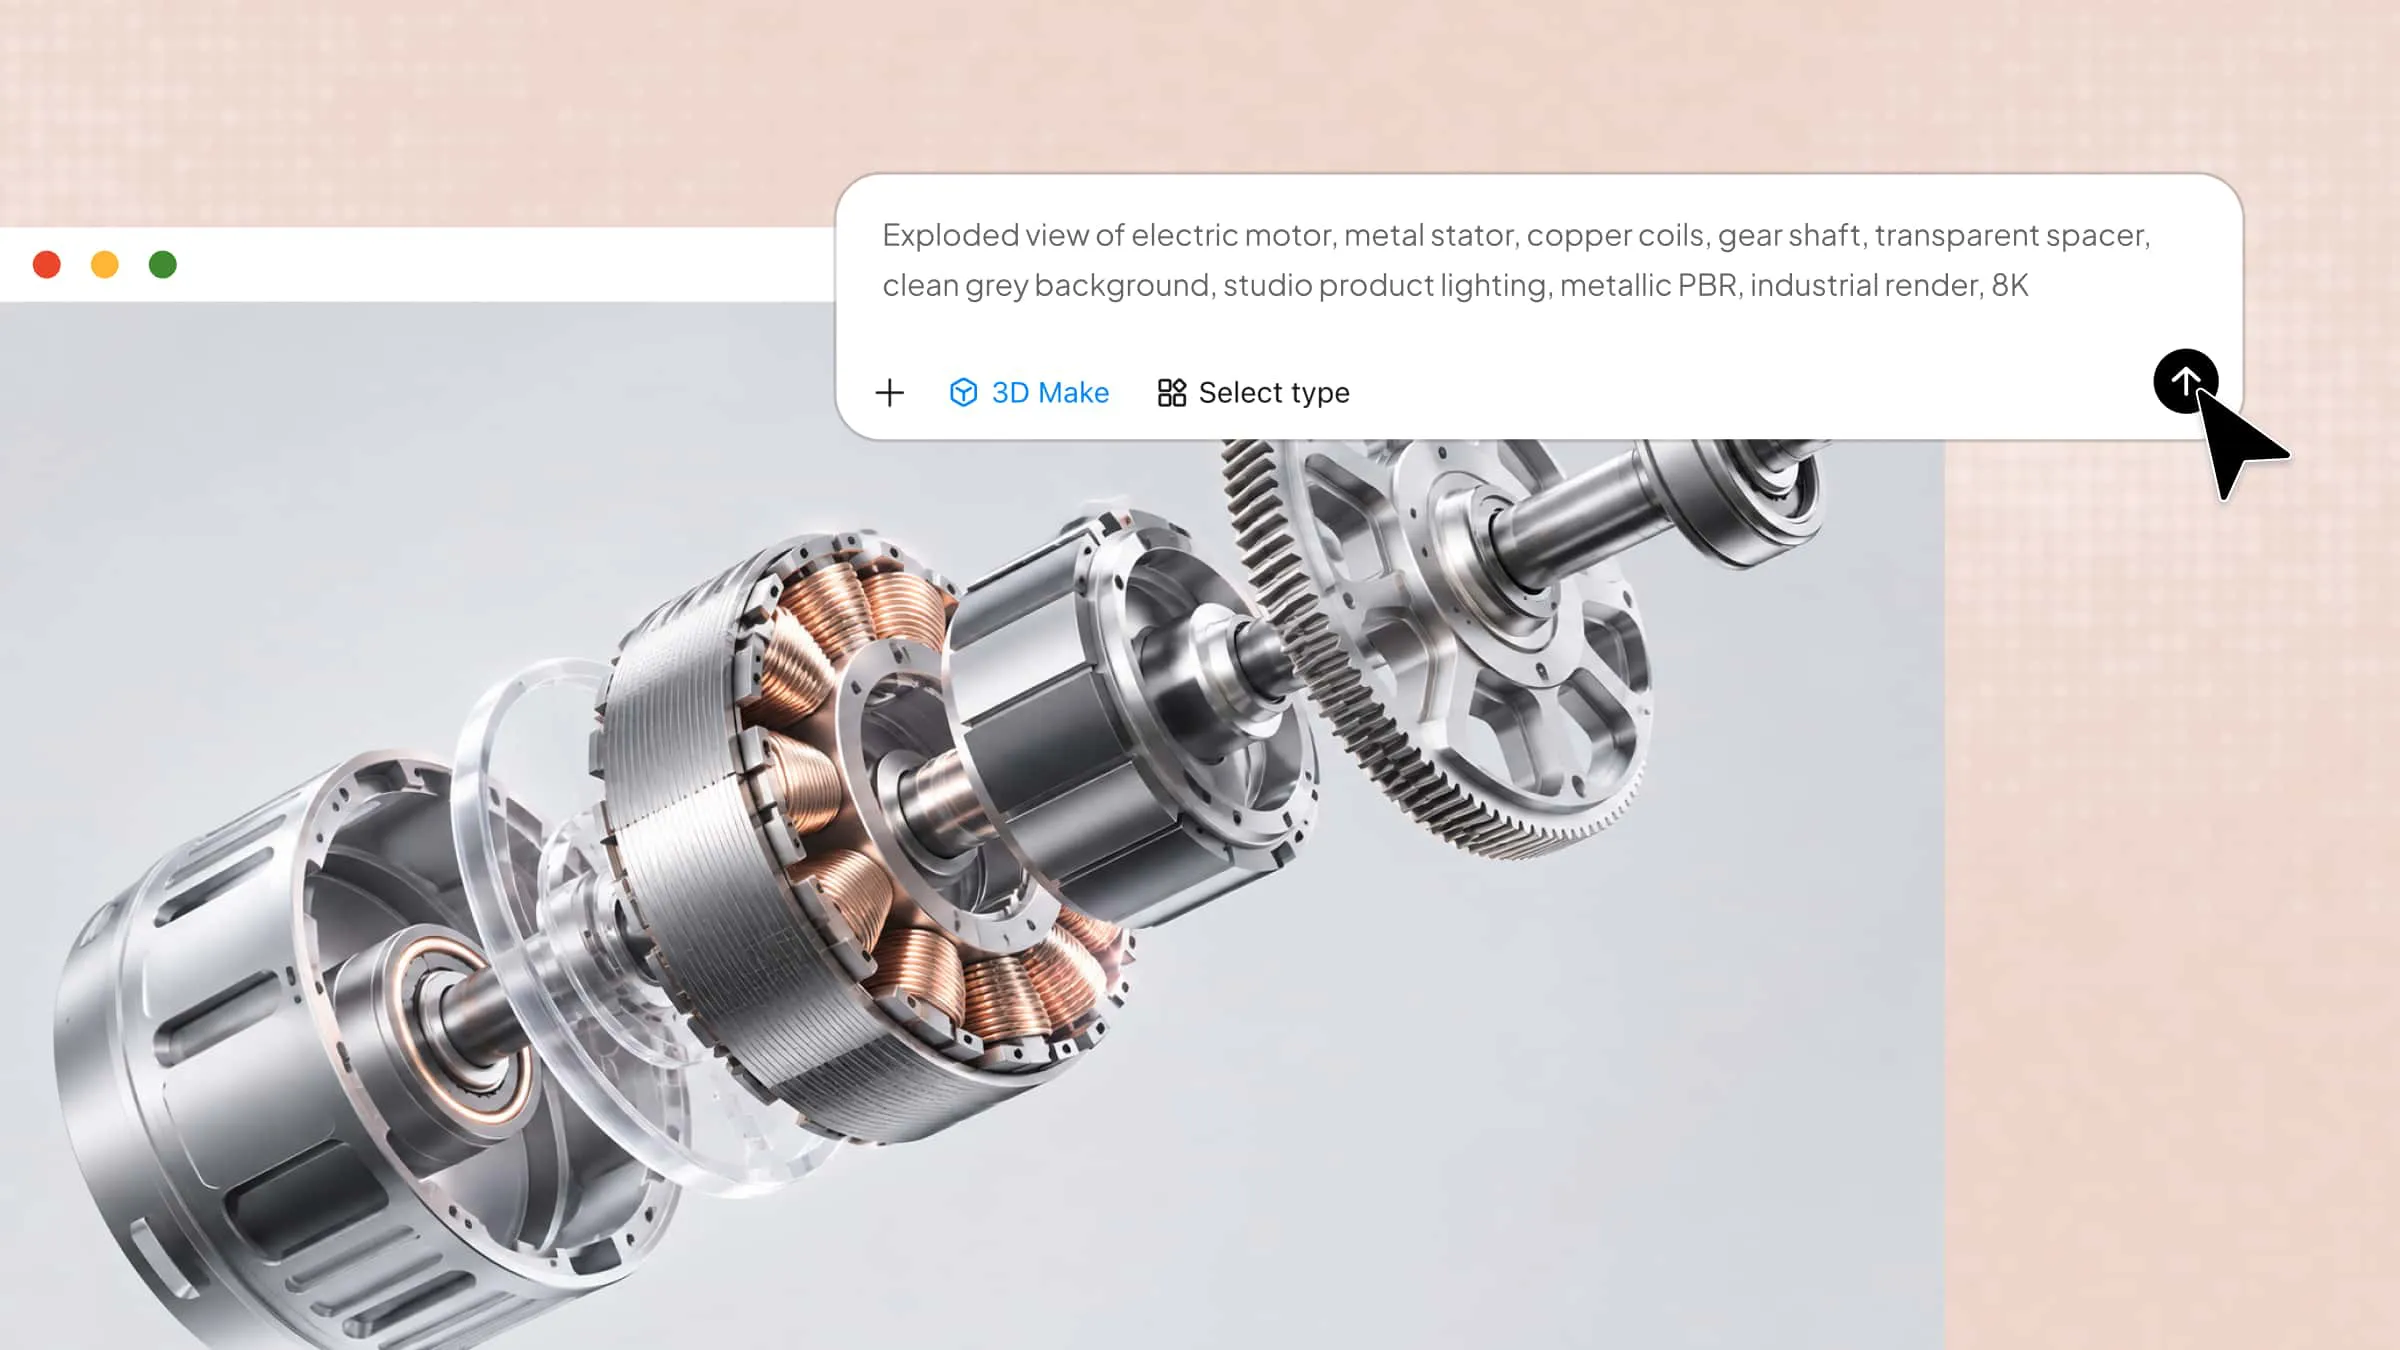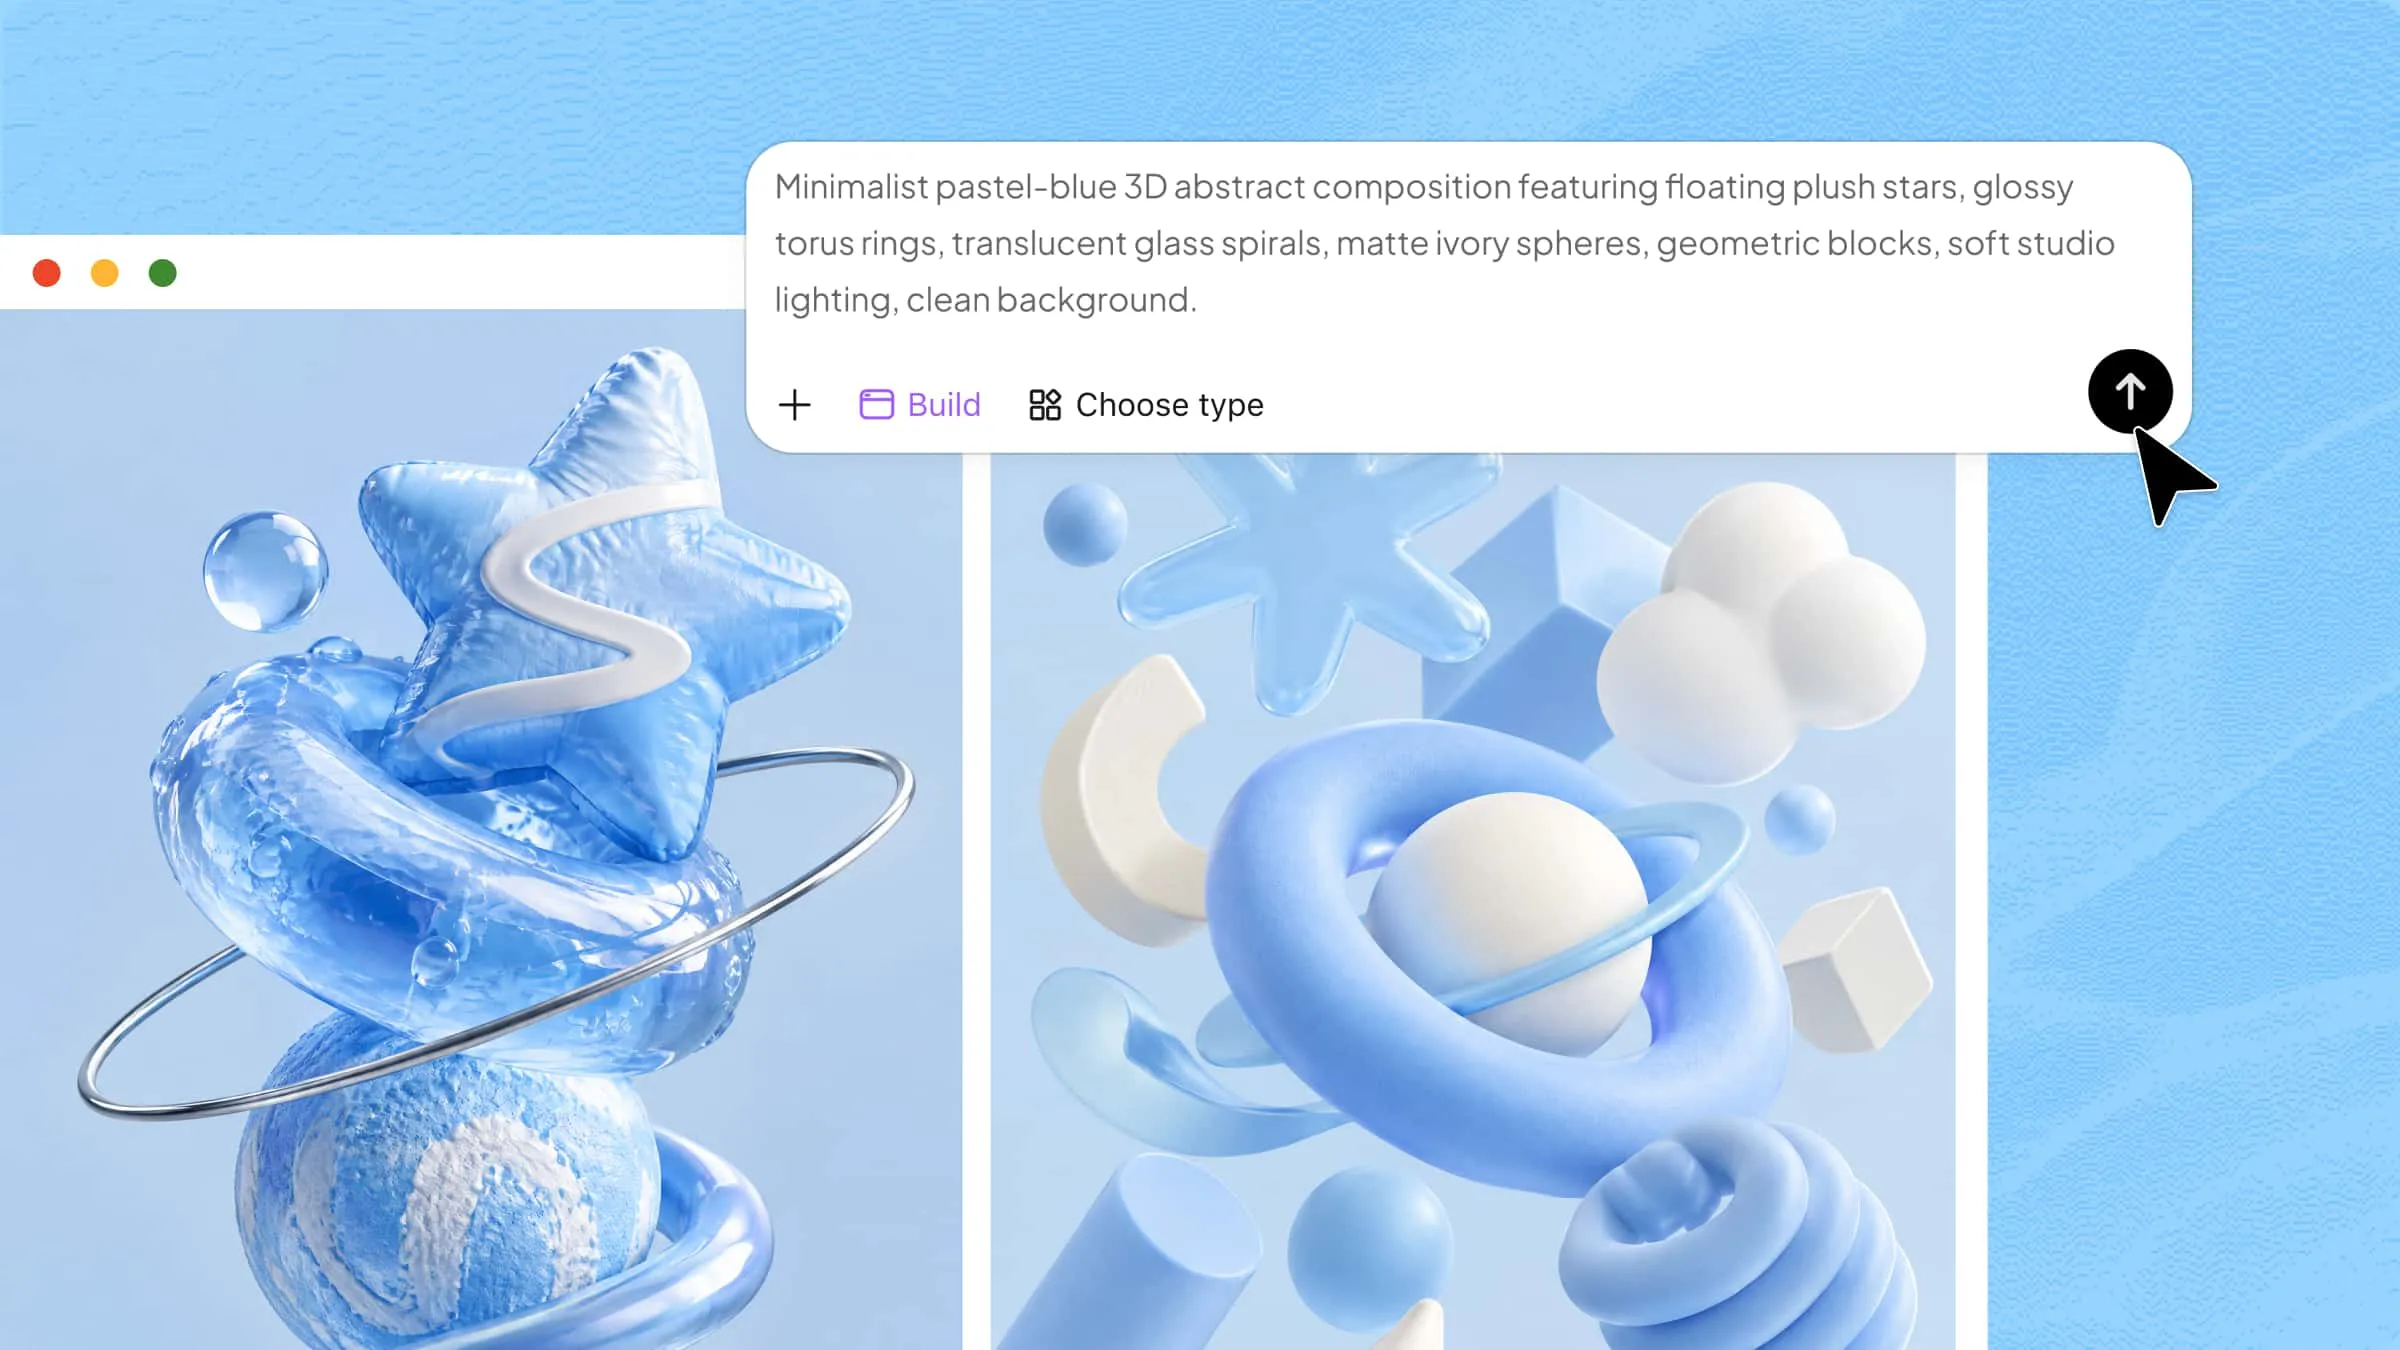
A well-made 3D image can turn a simple idea into something that looks real, detailed, and full of depth. But getting the right shapes, textures, and lighting can be tricky when you're just starting out. With AI tools like Kimi 3D Make, you can bring your ideas to life using text prompts and visual references without starting from scratch. In this article, you will learn how to make 3D images step by step and add realistic effects to your designs.
How to create 3D images with AI in easy steps
Creating 3D images with AI is easier when you have a clear idea of what you want to make. You can use Kimi 3D Make to turn text prompts and visual references into 3D designs without creating every detail from scratch. Follow these simple steps to develop your idea, generate the image, and refine it with realistic effects.
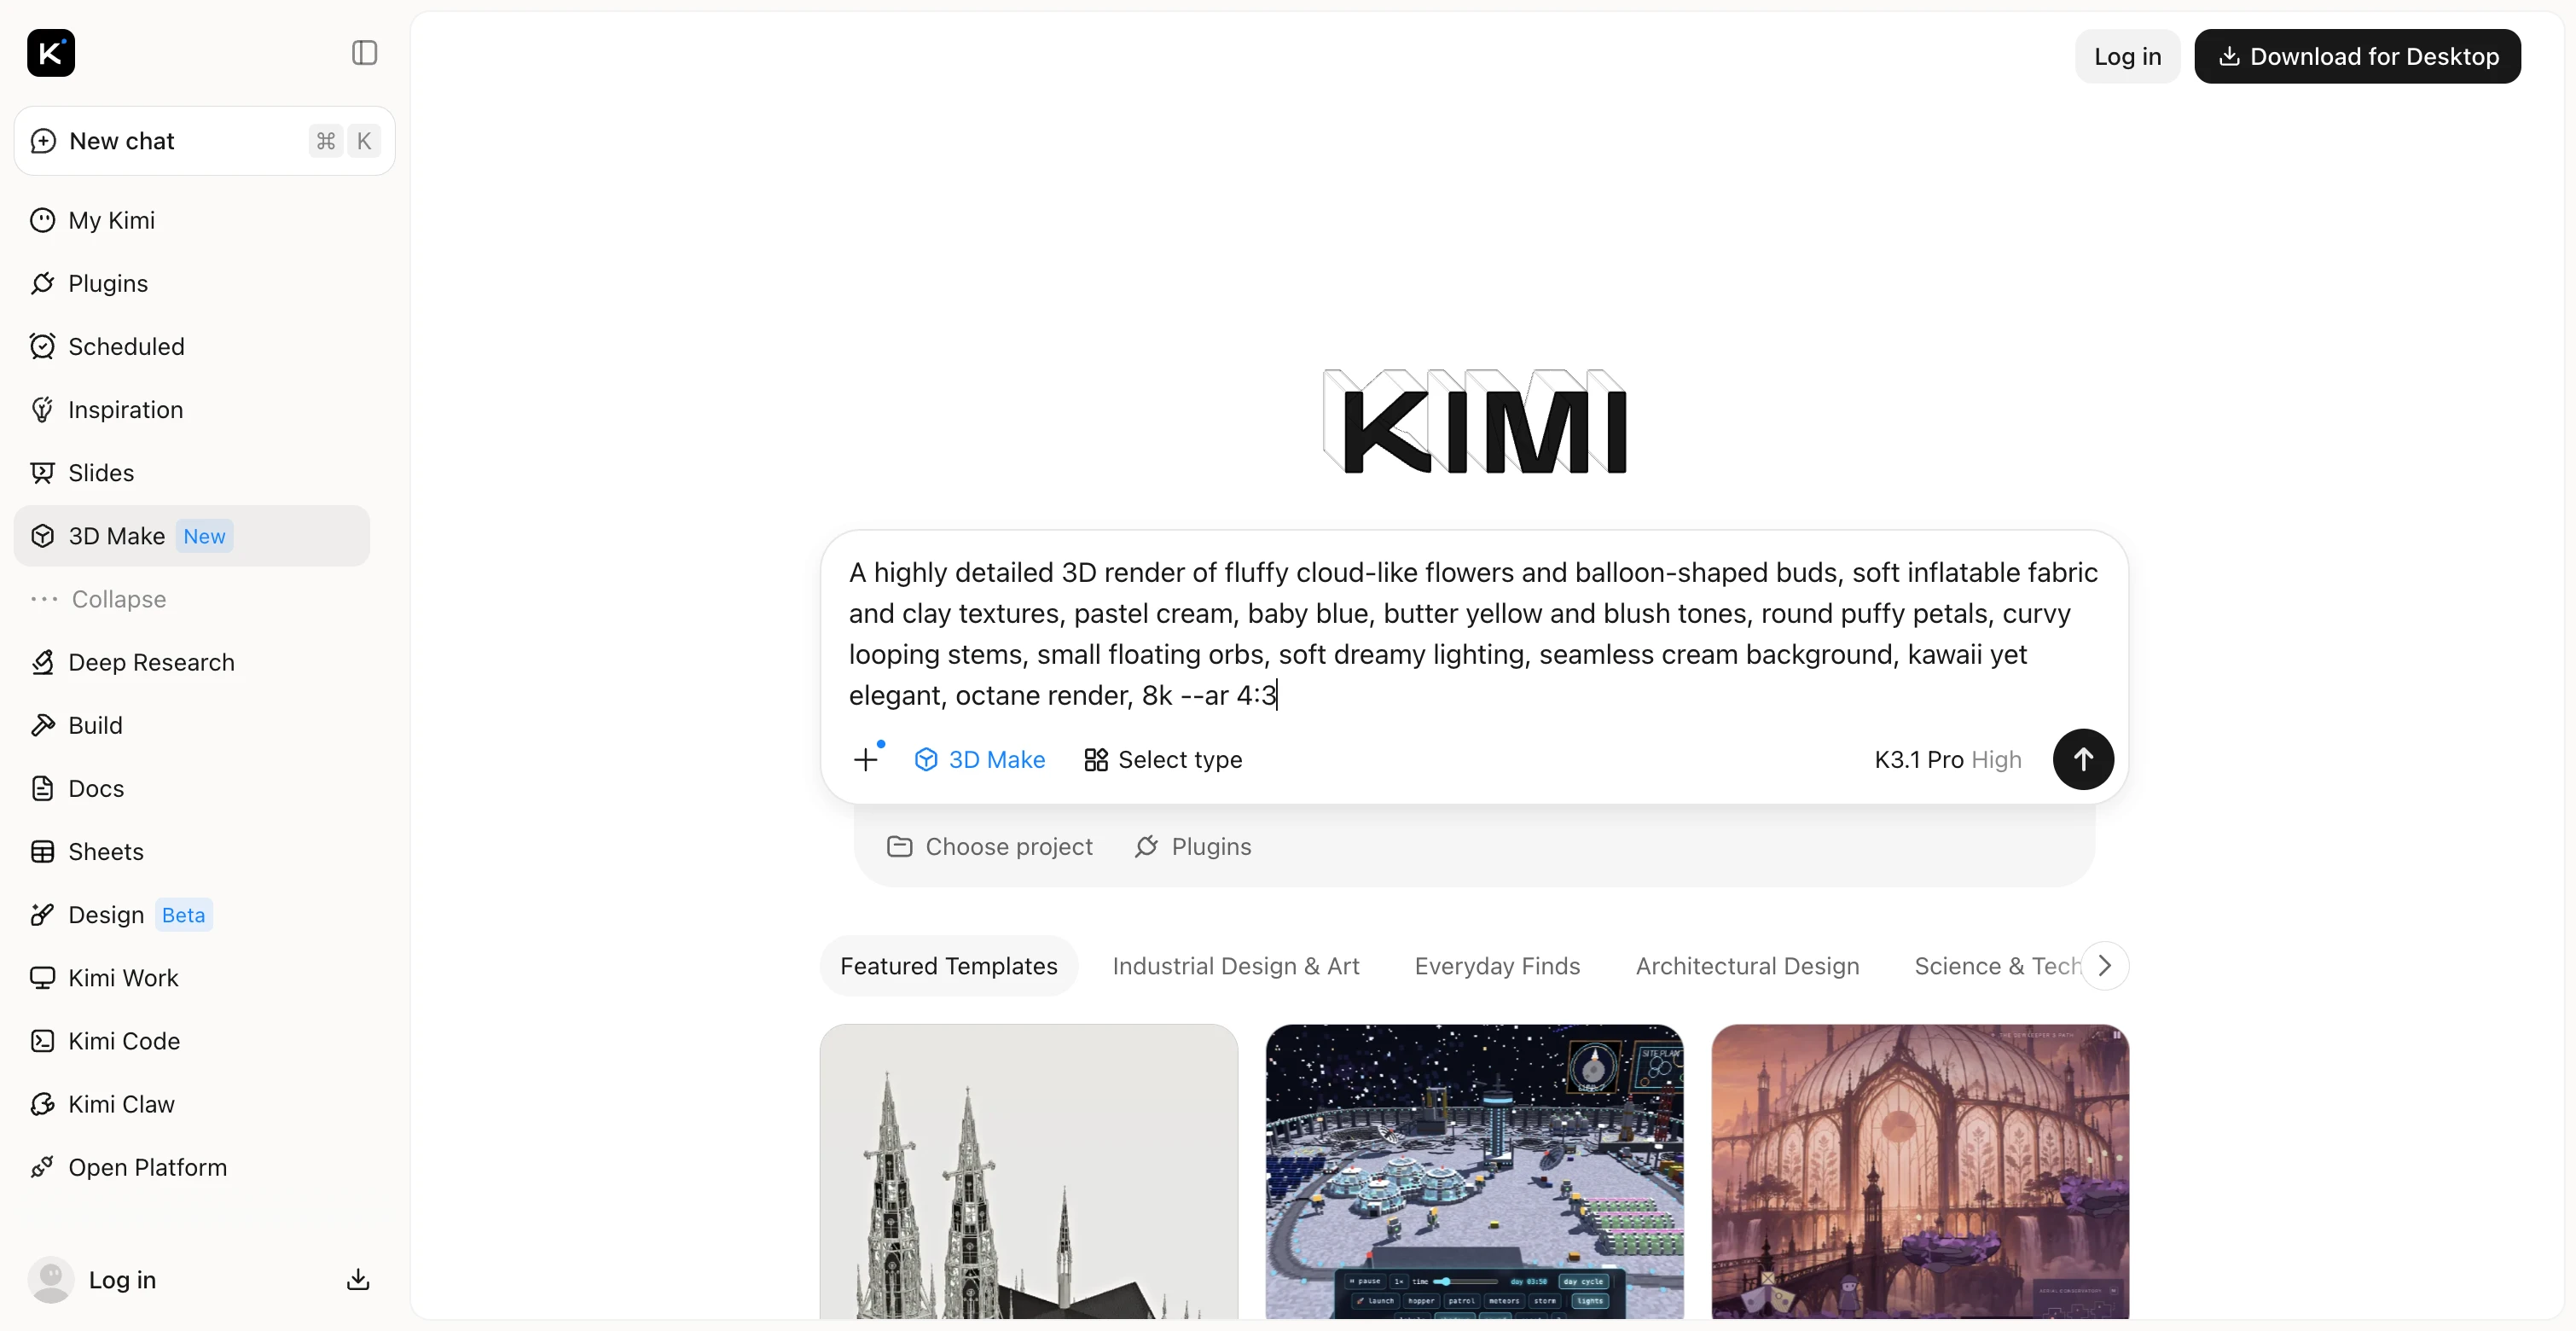
Step 1: Enter a detailed 3D image prompt
Start by describing the image you want to create, including its shape, materials, colors, lighting, and background. Specific details help Kimi 3D Make understand your idea and create a more realistic result.
Example prompt:
Step 2: Let Kimi 3D Make generate the 3D image
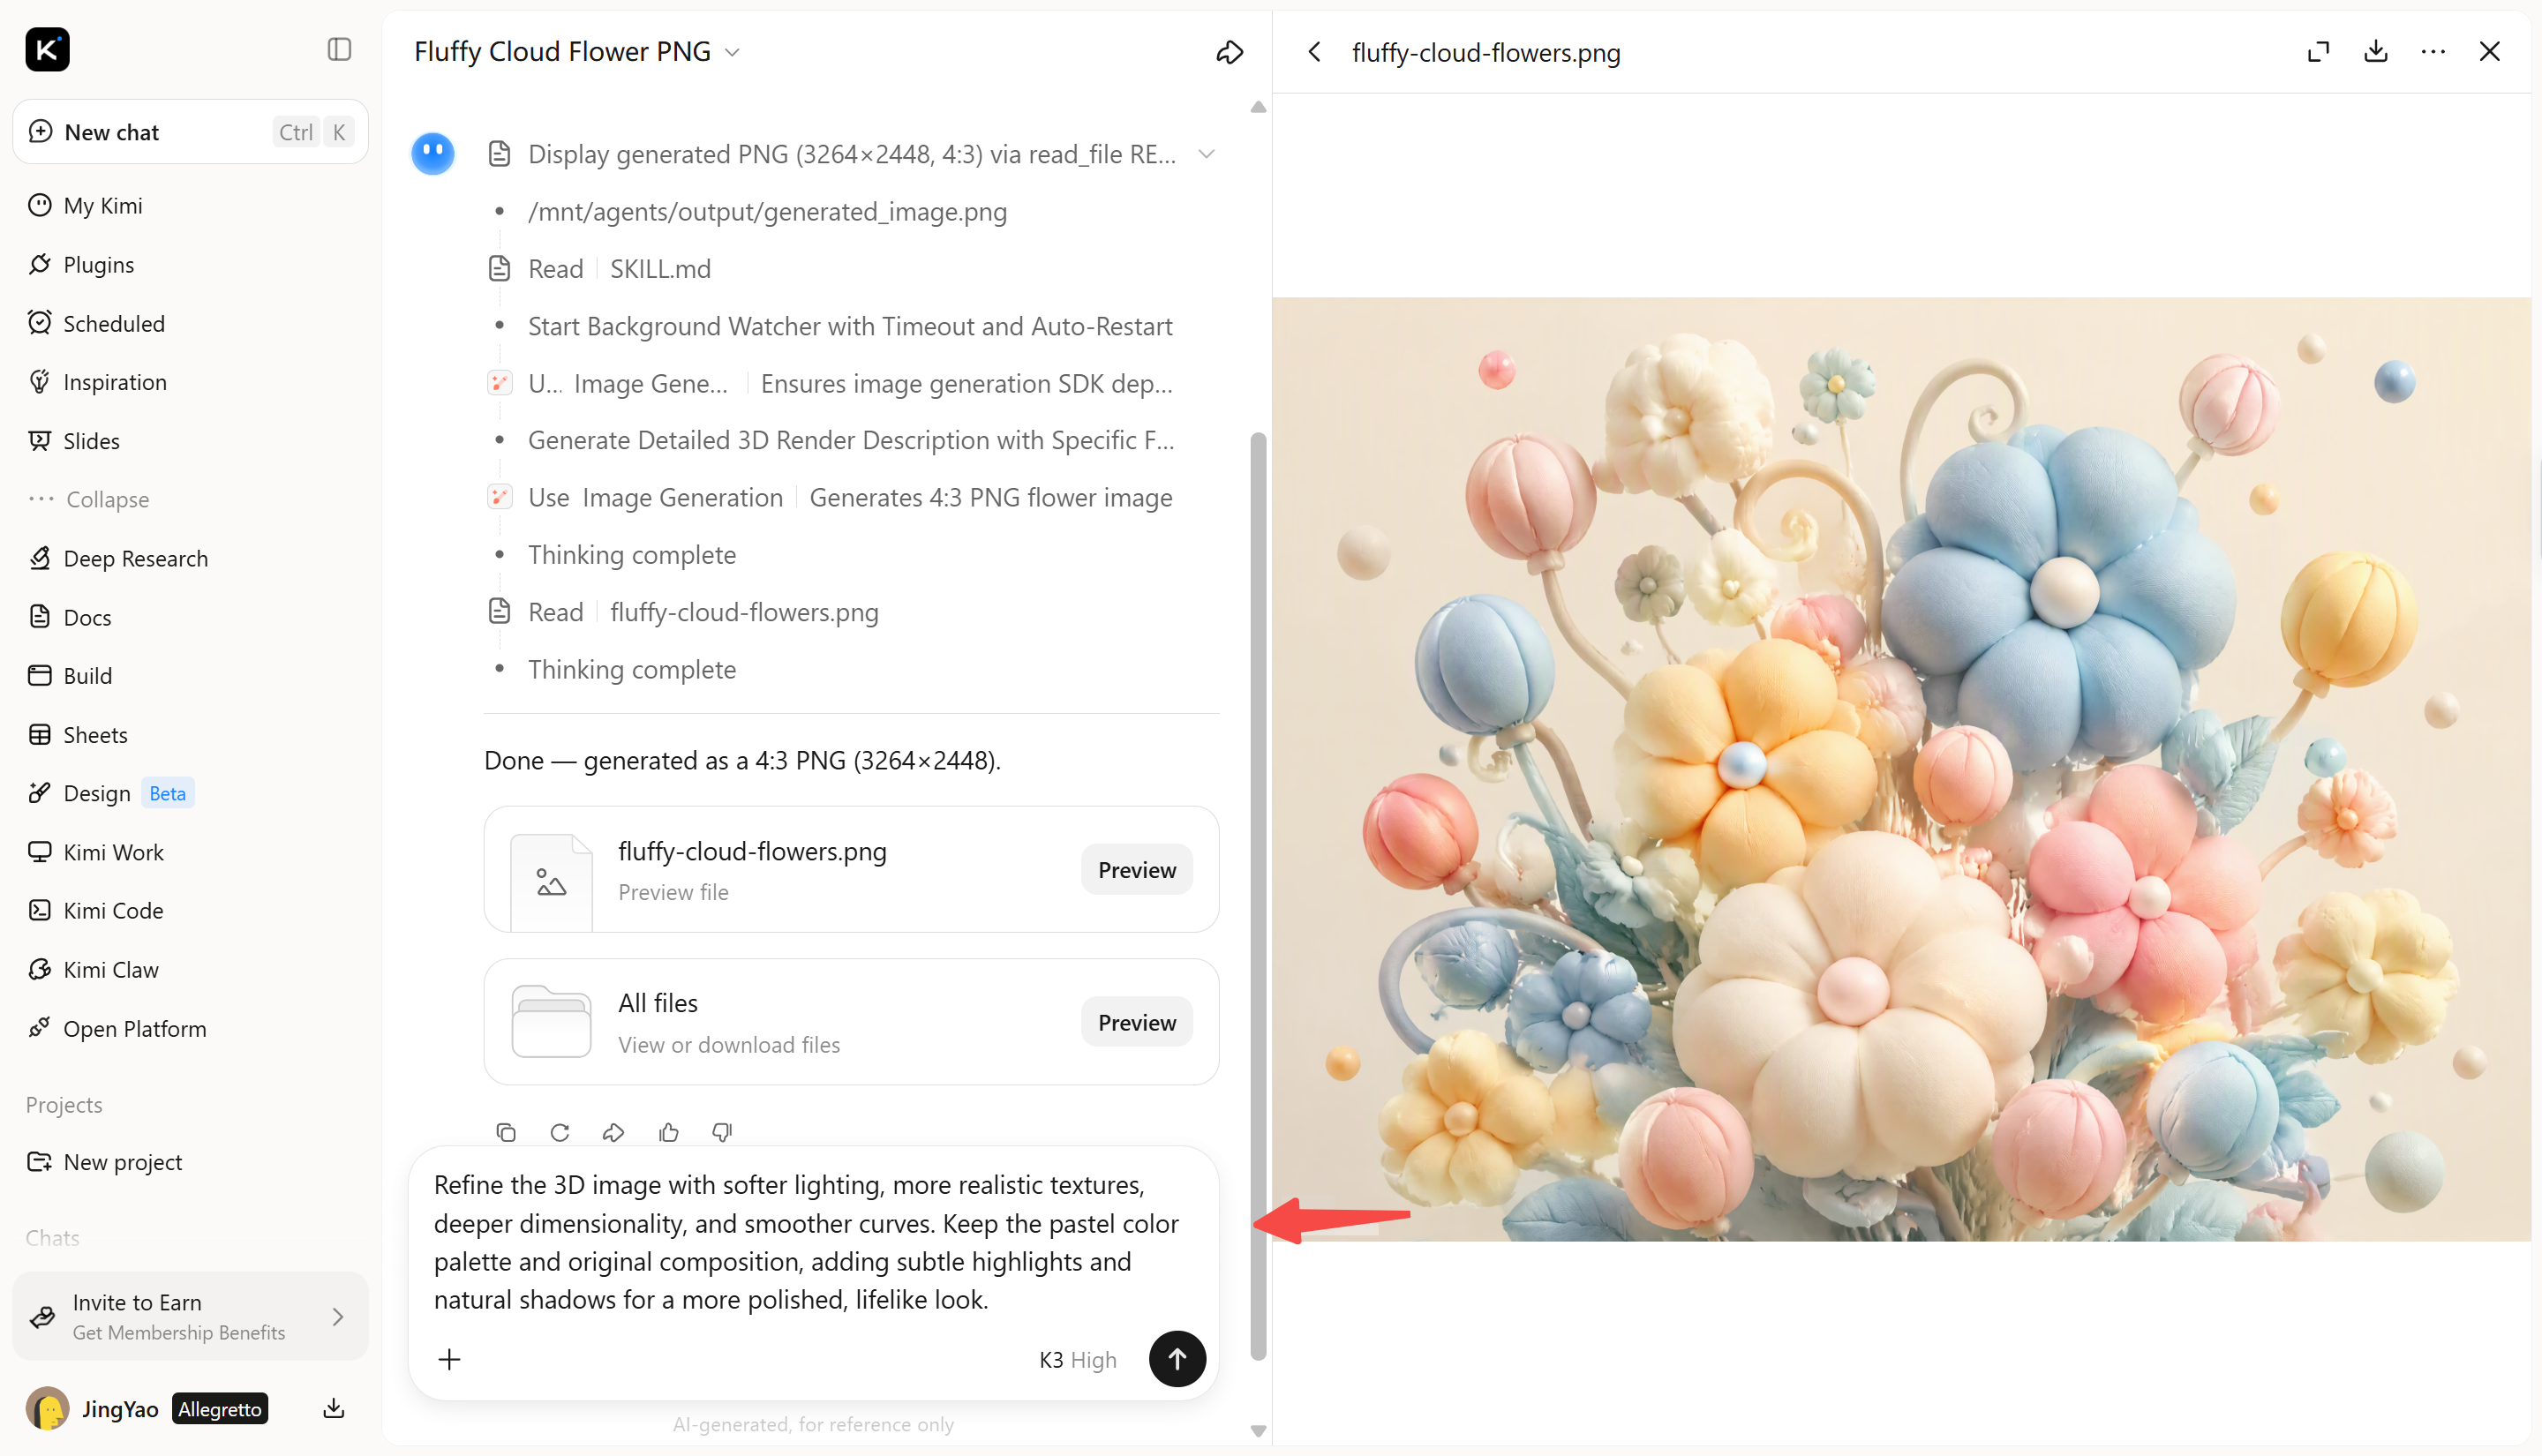
Enter your prompt into Kimi 3D Make, and its AI will process your instructions to generate an image matching your description, including the shapes, textures, lighting, and depth. Review the result and adjust your prompt if needed.
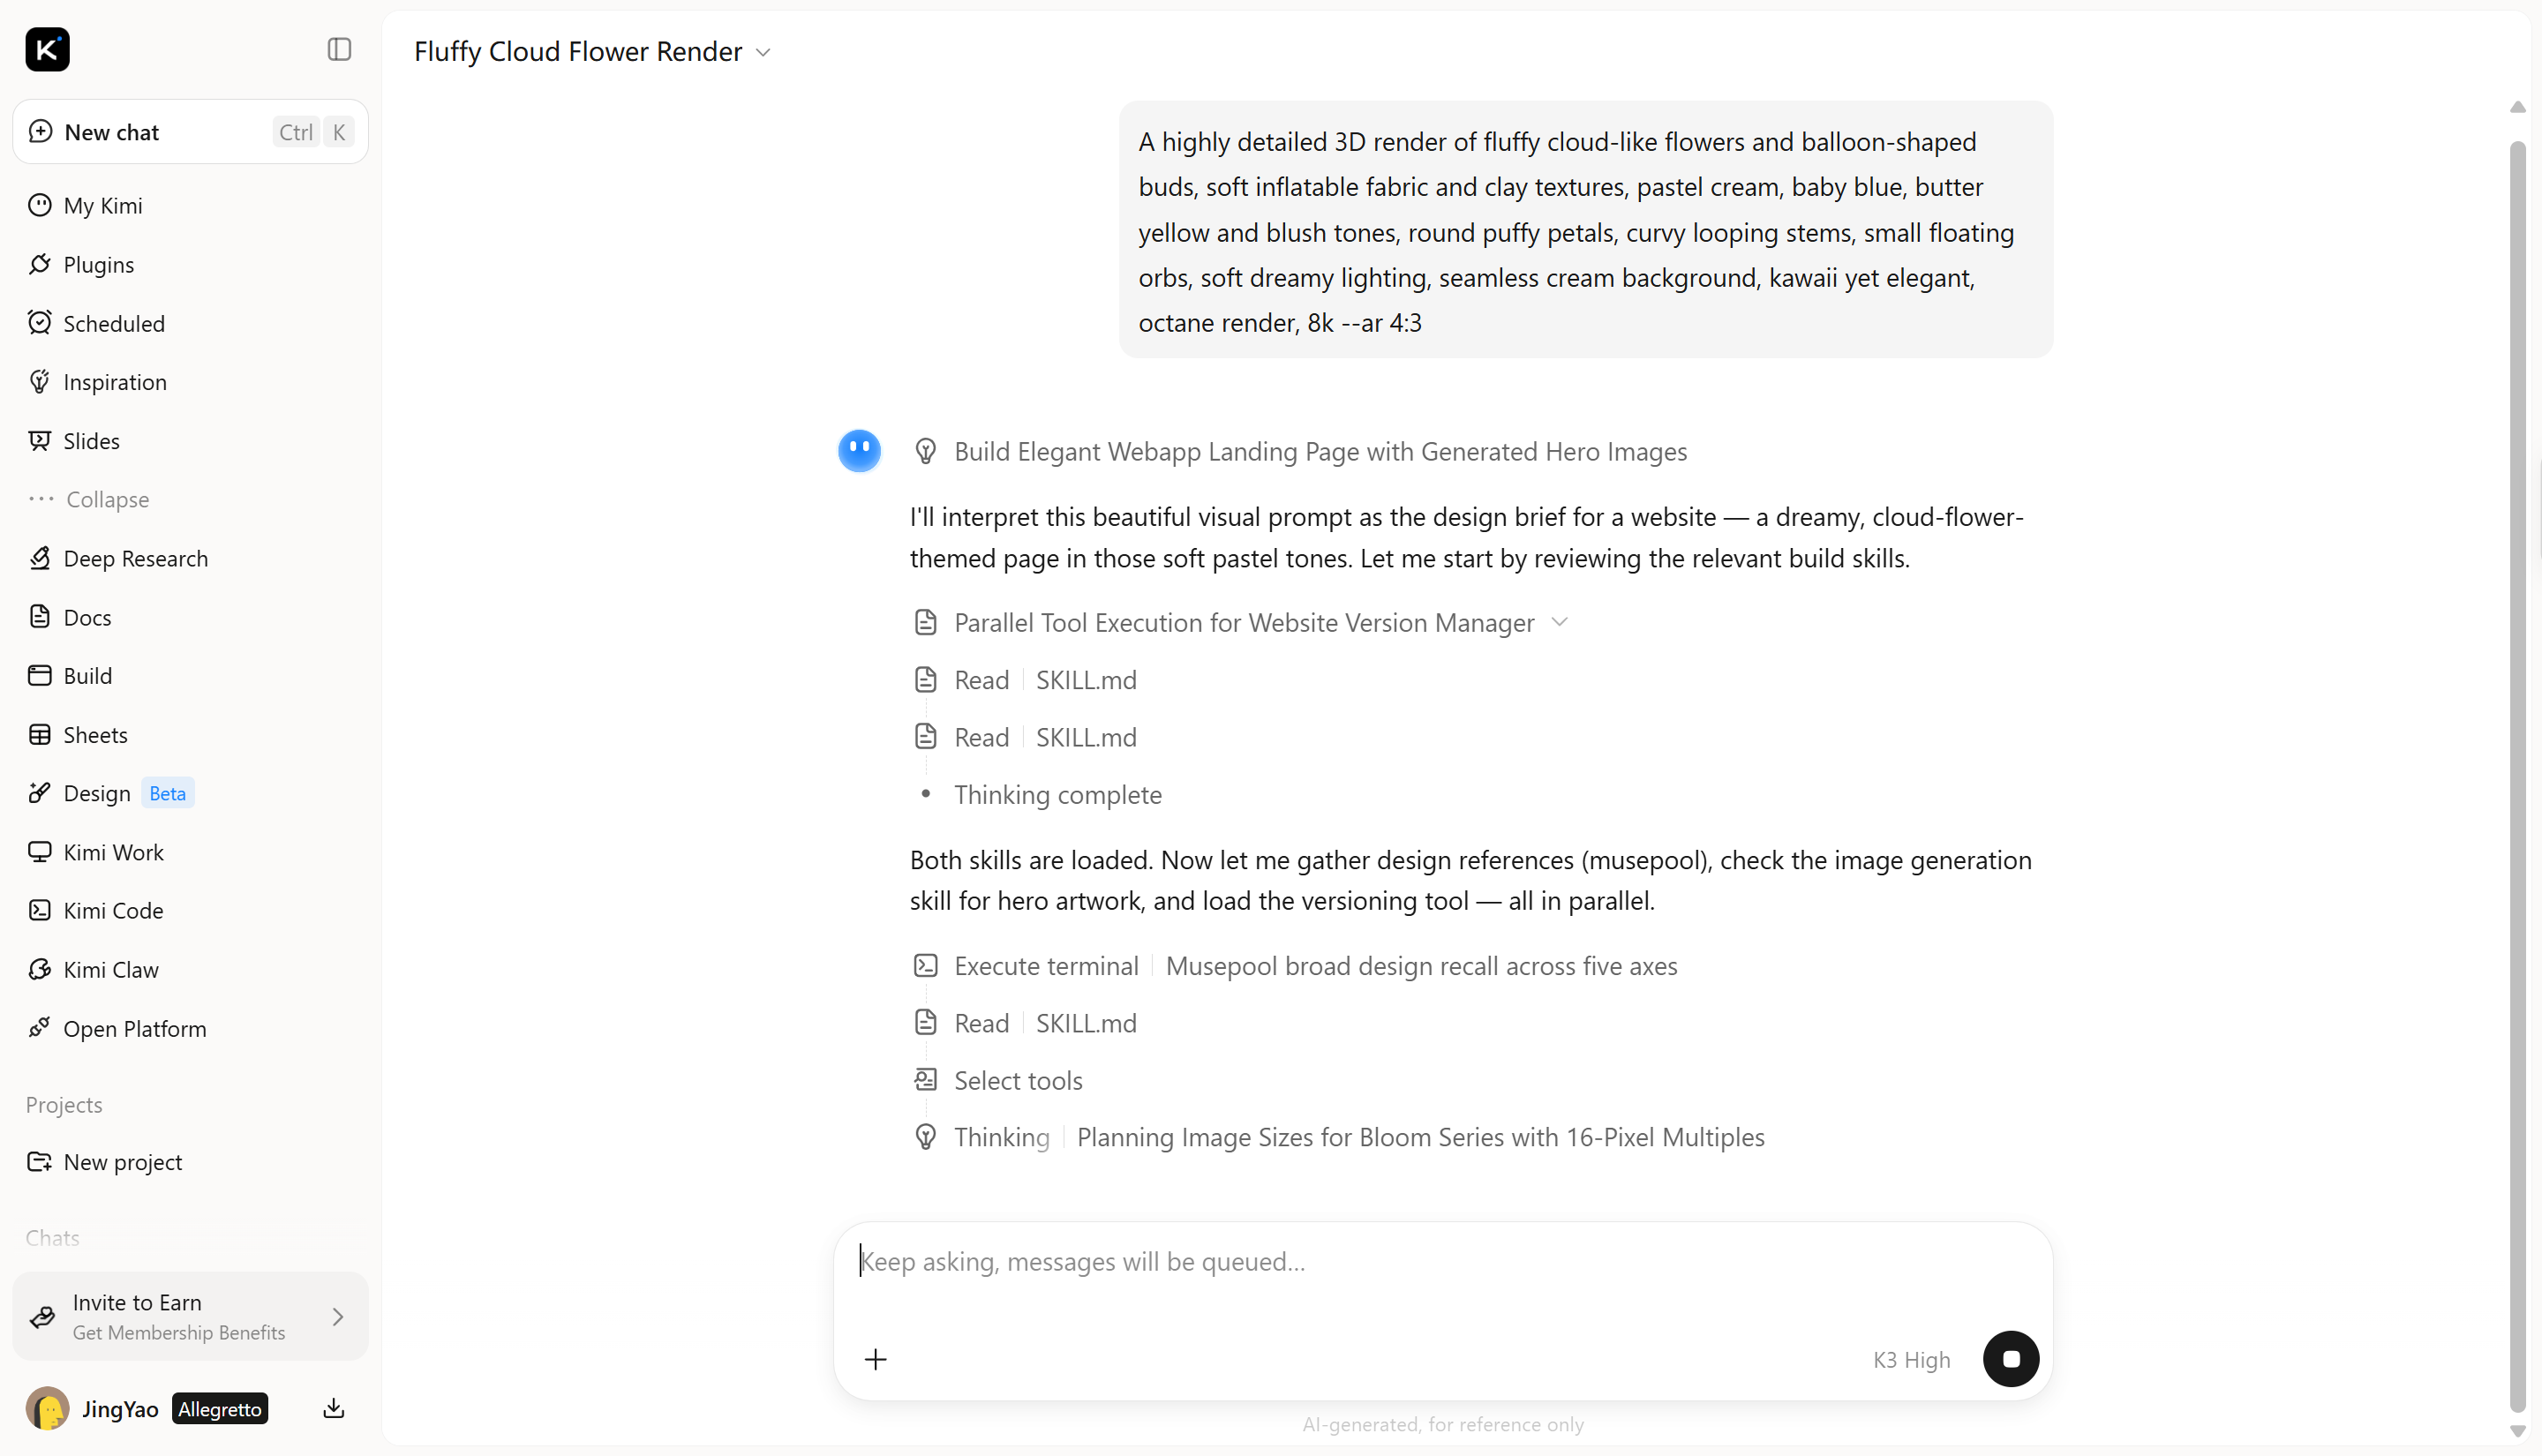
Step 3: Edit and refine the 3D image
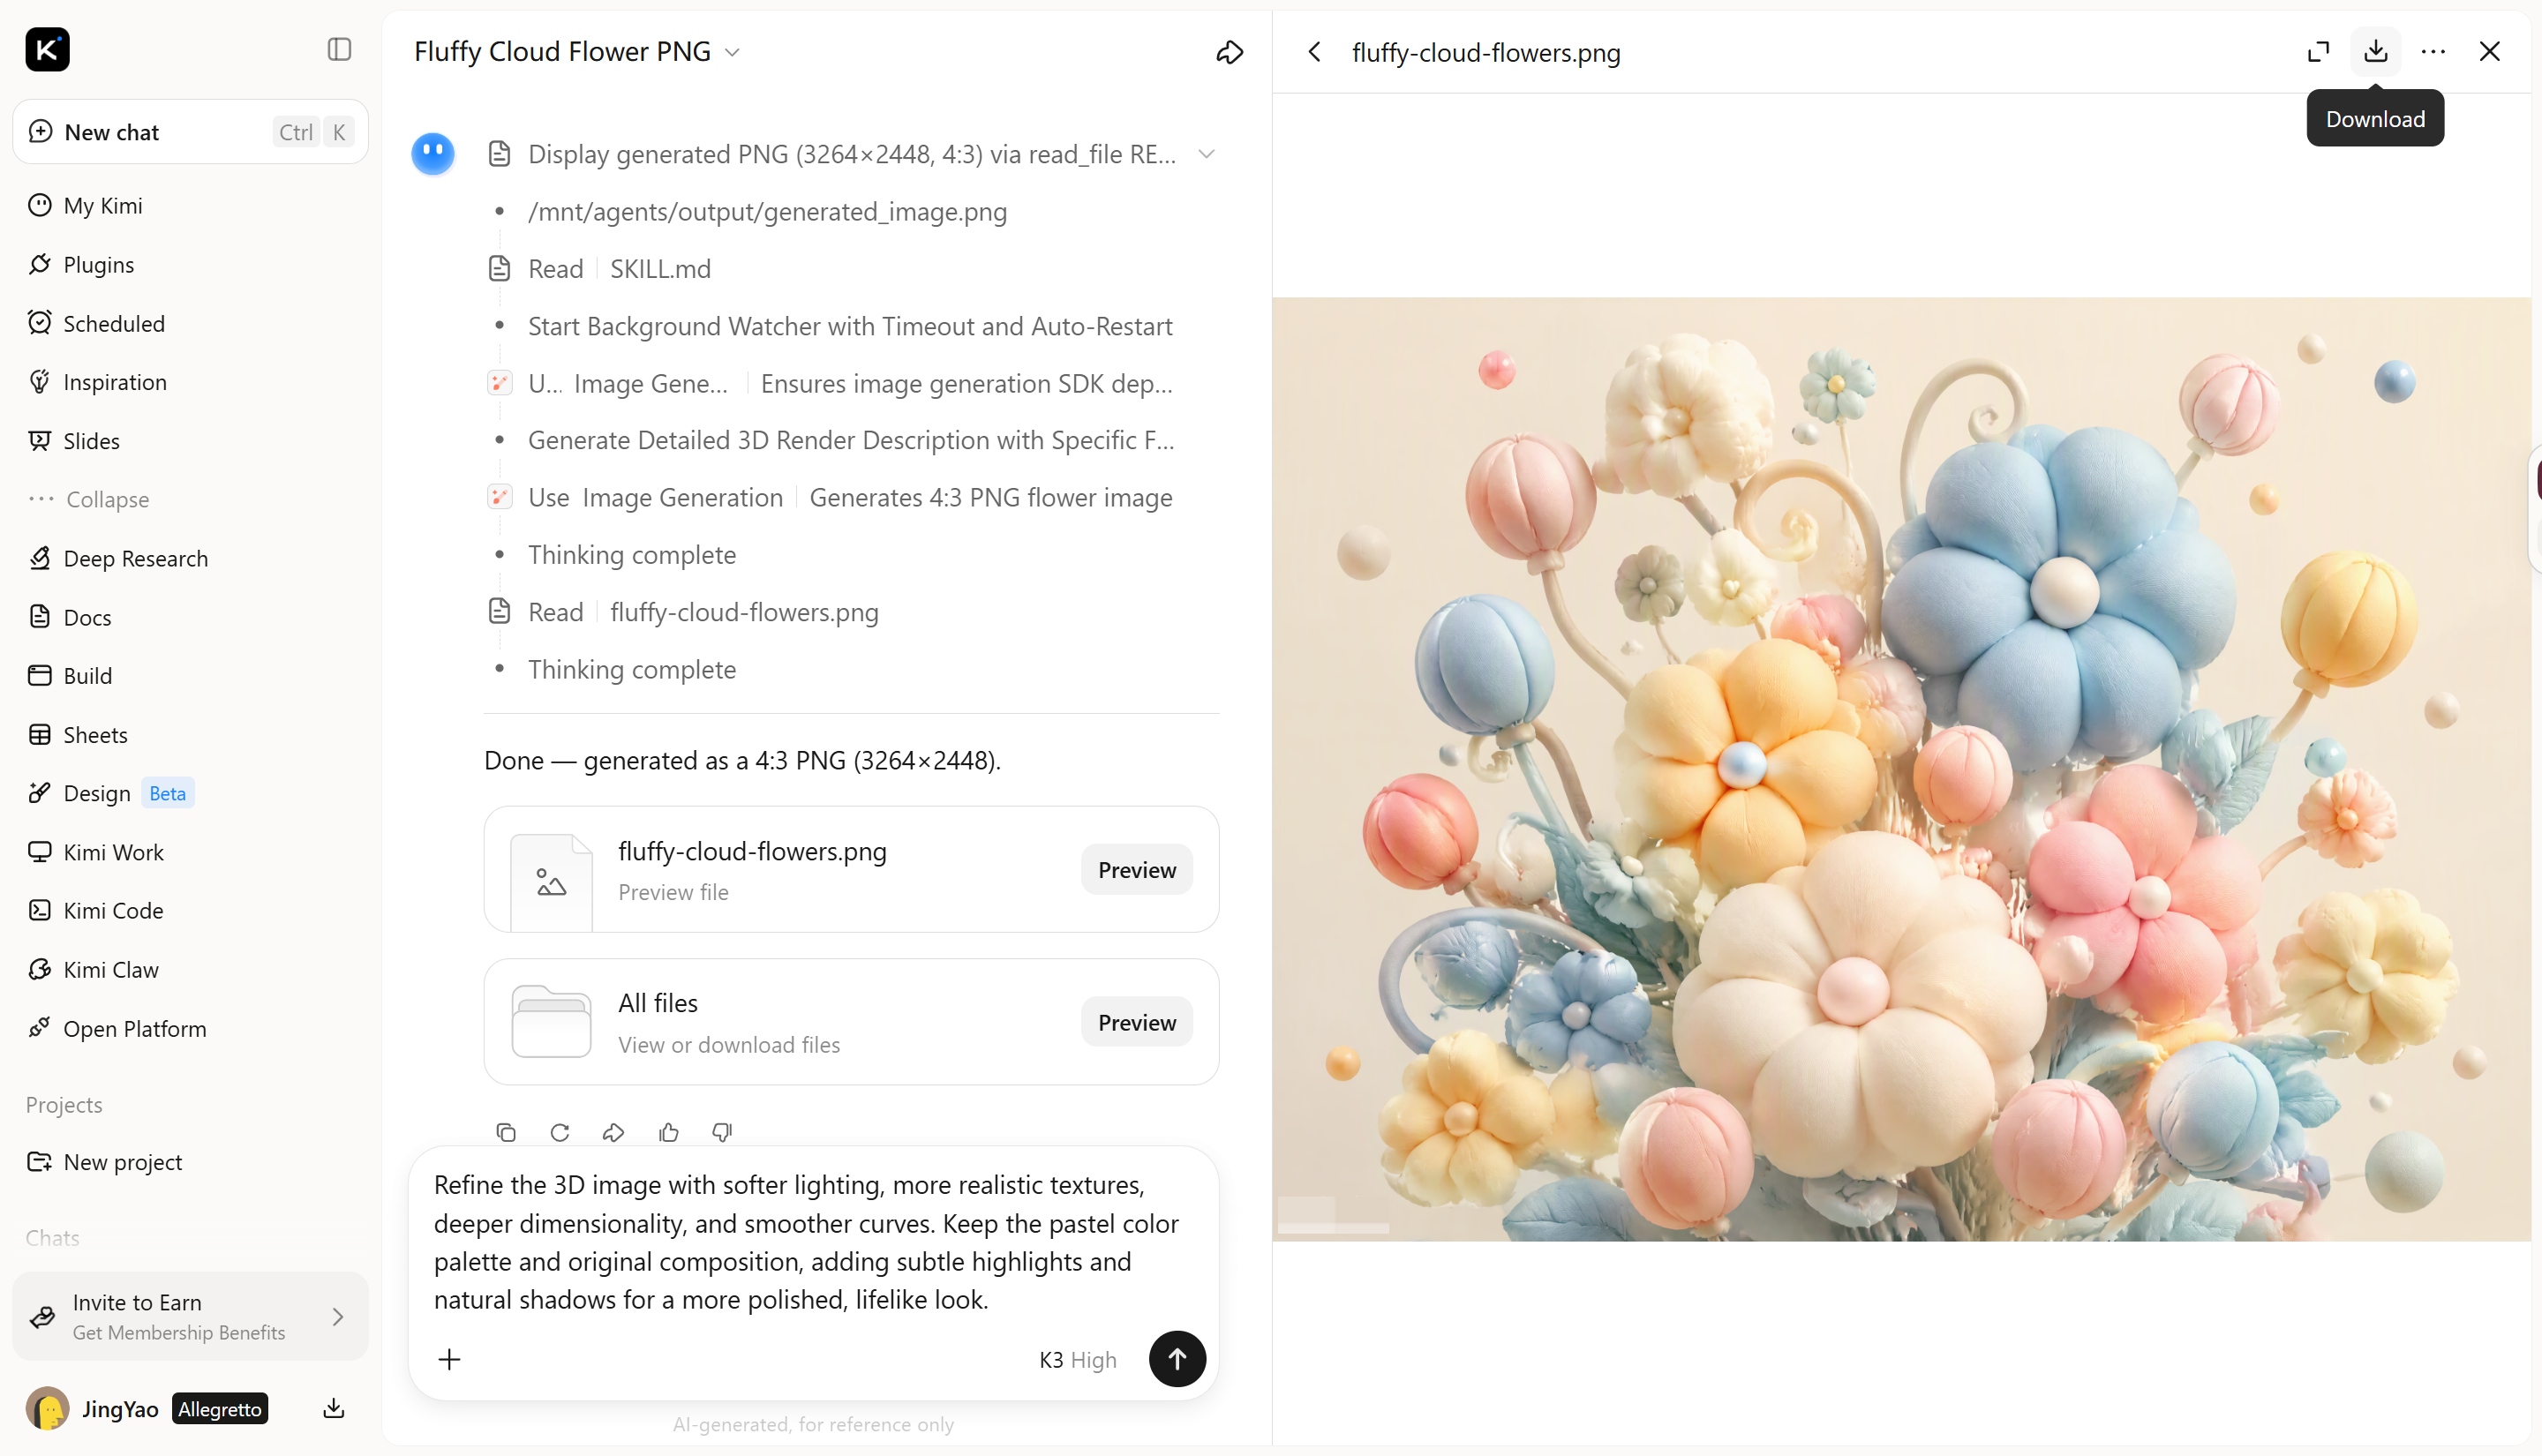
If the initial result needs improvement, refine the prompt to adjust the shapes, textures, lighting, or depth. Small changes can help make the image look more natural and polished.
Step 4: Review and save your 3D image
Check the final image for unwanted details, uneven shapes, or unnatural lighting. Make any last adjustments, then save or export your finished image using the available options.
Why use Kimi 3D Make for making 3D images
You don't need to build every detail from scratch to create a 3D image that matches your idea. Kimi 3D Make helps you shape your concept through prompts and visual references, while giving you room to adjust the result. Let's look at what you can do with it:
Develop 3D visuals from text and image references
Start with a written concept, a sketch, or reference images to guide the design. Combine visual references with clear instructions to define the subject's shape, proportions, colors, and overall appearance.
Bring depth and material detail to every design
Explore dimensional forms with distinct surfaces, layered components, and realistic-looking finishes. From smooth curves and geometric structures to textured materials and intricate decorative elements, specify the details that make each 3D image fit your concept.
Make focused revisions as your idea evolves
Improve the generated result by describing the changes you want to make. Adjust proportions, surface treatments, colors, or composition through AI-assisted instructions, then use manual editing where more precise control is needed.
Unlock more possibilities with Kimi Work
Take your 3D projects further with Kimi Work, a downloadable workspace that supports Blender, Tripo 3D, and other plugins. Export your assets in GLB, glTF, OBJ, FBX, STL, USDZ, and BLEND formats for use in games, 3D printing preparation, Apple AR projects, or continued work in Blender.
How to write better prompts for 3D images
A good prompt helps AI understand what you want to create and how the final image should look. Instead of using general descriptions, include details about the subject, shape, materials, and lighting. These simple tips can help you get more accurate 3D images with fewer revisions.
Define the main subject and purpose
Start by stating what you want the AI to create and how you plan to use the image. Whether it is a product, character, or architectural concept, naming the subject gives the AI a clear direction. You can also specify whether you want a realistic image or a creative design.
Specify shapes, proportions, and composition
Describe the subject's shape and proportions to help the AI create a balanced design. Mention details such as curved surfaces, rounded edges, sharp angles, or layered structures. You can also specify the camera angle and object placement to guide the composition.
Describe materials, colors, and surface details
Name materials such as glass, metal, wood, or plastic, and specify their colors and finishes. Include details such as glossy reflections, rough textures, or smooth surfaces. These instructions help the AI create more realistic materials and distinctive designs.
Set the lighting and background
Lighting affects how an object looks, including its shadows, reflections, and depth. Specify whether you want soft studio lighting, bright daylight, or dramatic shadows. Describe the background too, making sure it complements the subject without distracting from it.
Keep instructions specific and focused
A good prompt does not need to be overly long. Focus on the most important visual details and avoid conflicting instructions that could confuse the AI or affect the final design. Clear, direct wording helps you communicate your ideas more effectively.
Refine the result with targeted edits
Your first result may not match what you imagined, so review it before making changes. Identify what needs improvement, such as shape, texture, lighting, or composition, and give AI specific instructions. Adjusting a few elements at a time helps improve the result.
Conclusion
Understanding how to create 3D images gives you more freedom to turn creative ideas into visuals that stand out. The key is to experiment with different styles and keep improving your results until they match your vision. You don't need to get every detail right on your first try. Give Kimi 3D Make a try and explore how it can help you bring your ideas to life.