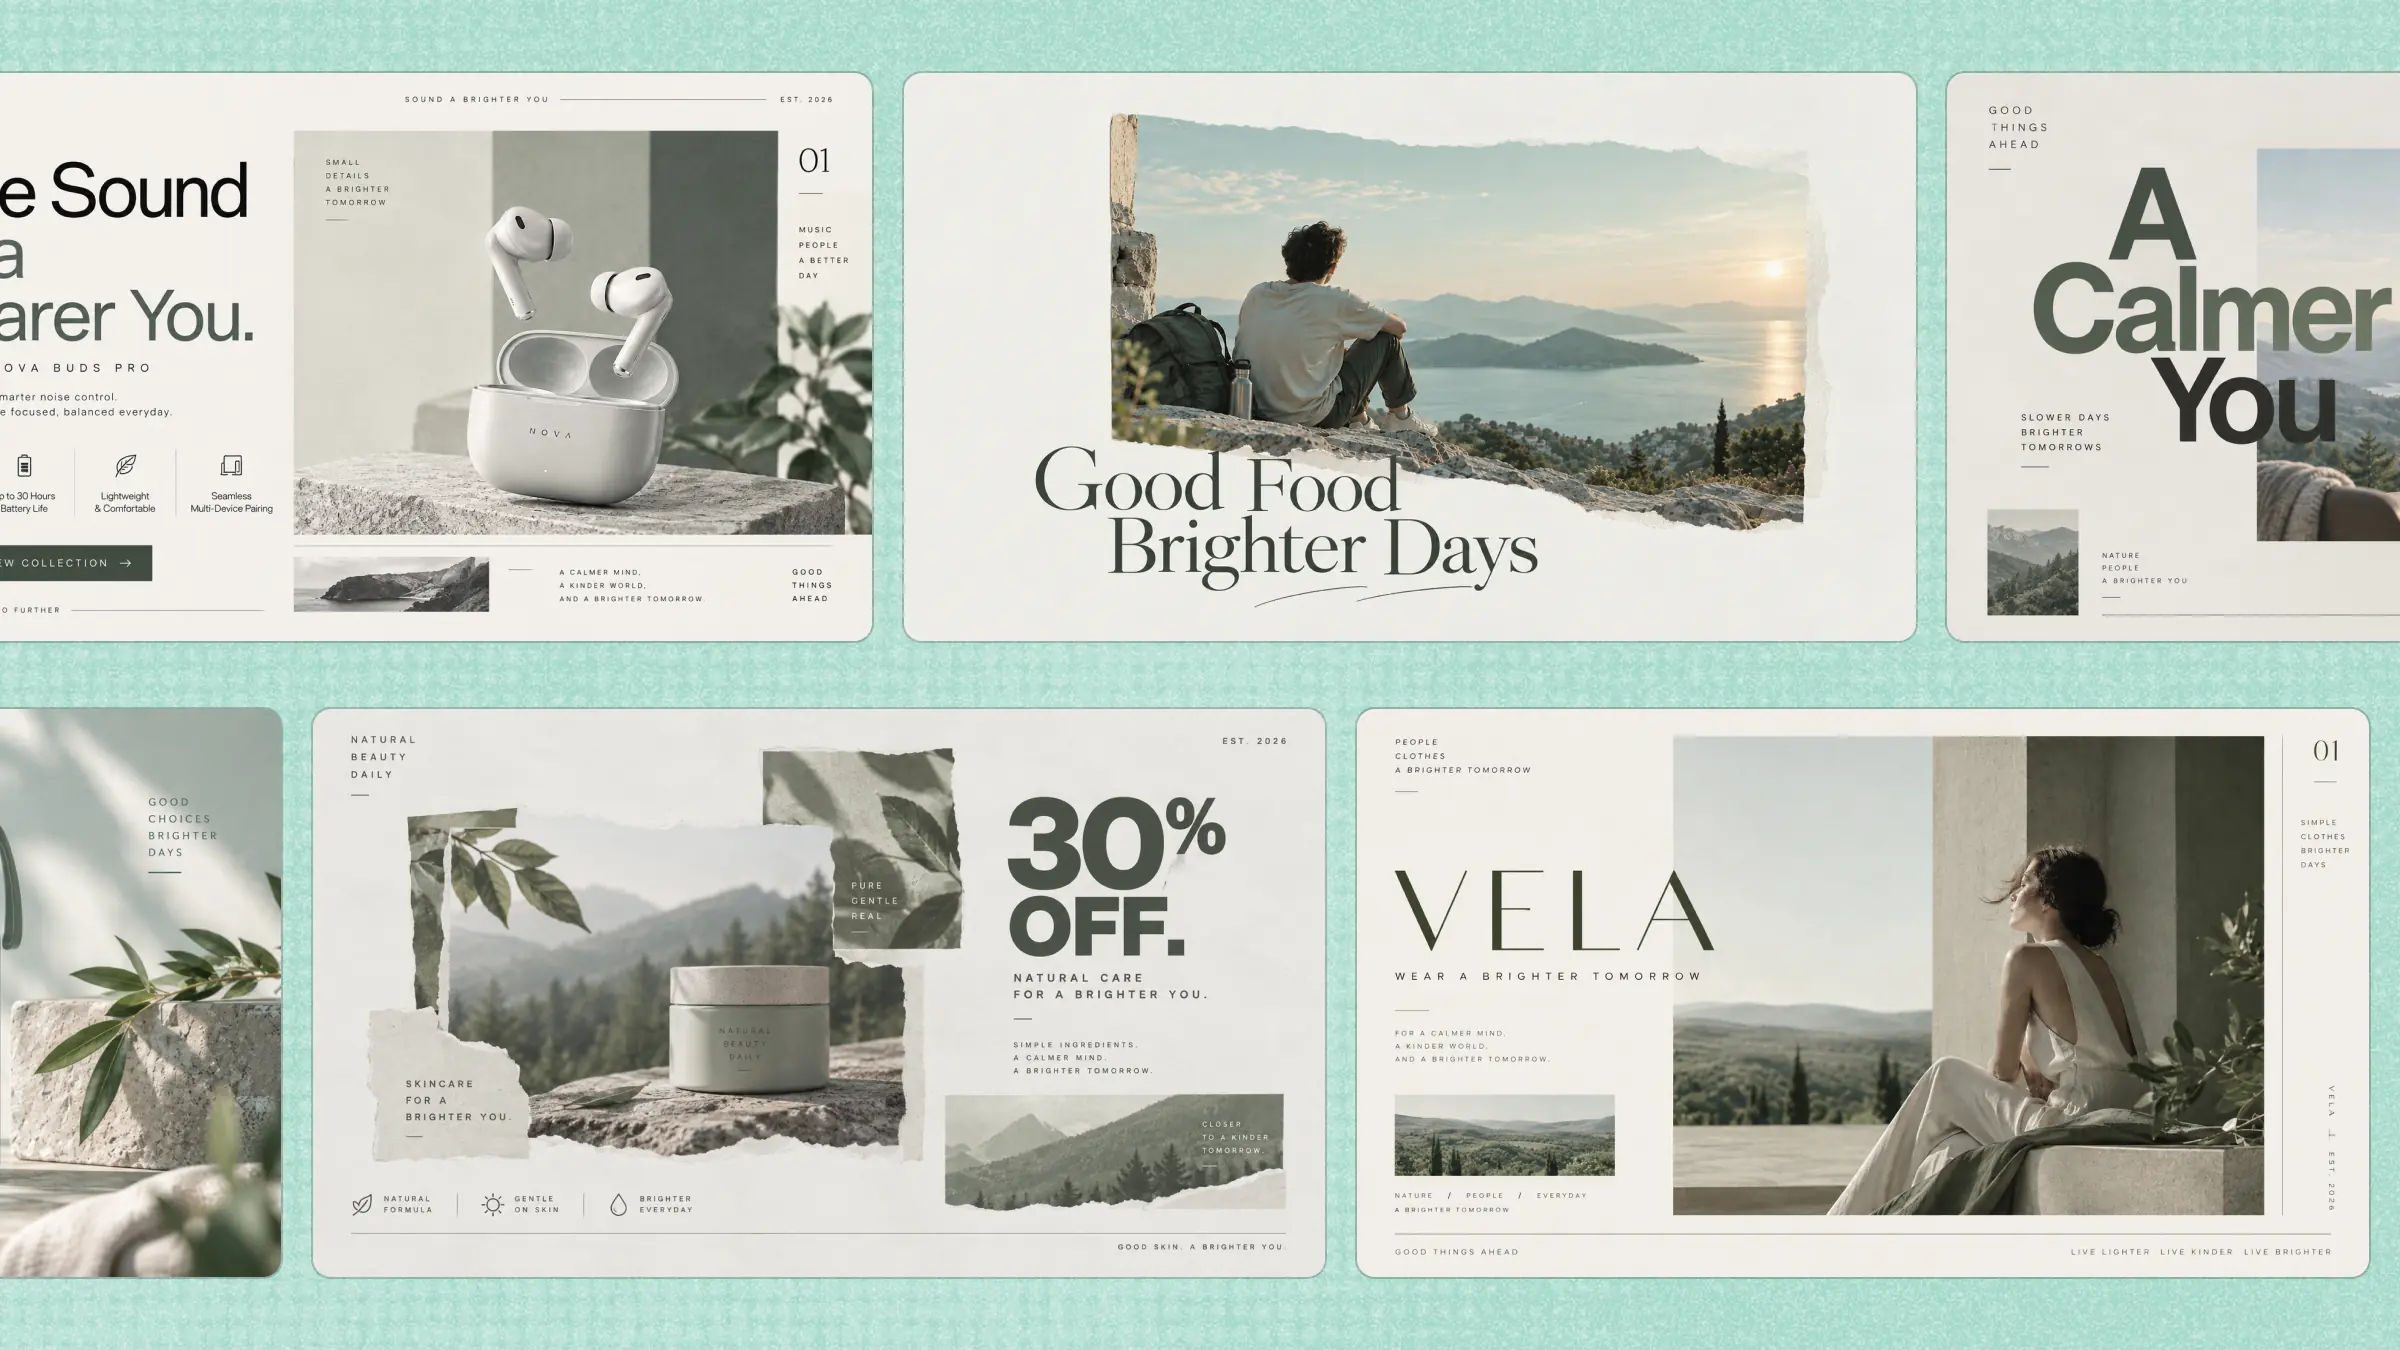
Designing a flyer involves more than putting text and images on a page. You need to communicate the right information, capture attention, and create a visual hierarchy that makes the content easy to understand. For people without a design background, balancing these elements can be time-consuming and difficult. This guide explains how to make a flyer with AI, from the initial idea to the final design, with practical steps you can follow.
How to create a flyer with simple steps
With the right approach, you can turn a simple flyer idea into a clear and visually engaging design without handling every design detail from scratch. The process involves shaping your idea, generating a design, and refining the result based on what you want the final flyer to achieve.
Kimi Design helps you create a flyer with AI using simple, natural-language instructions. You can describe your event, promotion, or business and let AI generate a suitable flyer design. It can help arrange text, visuals, colors, and other design elements into a cohesive layout. You can then refine the result to create your own flyer that matches your needs.
Step 1: Describe what your flyer needs to communicate
Open Kimi Design and explain the flyer's purpose, target audience, key message, and preferred visual style. Include all essential details, such as the event name, date, time, location, activities, contact information, or special offers. The more specific your description, the easier it is for AI to create a flyer that fits your needs.
For example, you could describe a farmers' market flyer promoting fresh produce, local vendors, and a weekend shopping event with a warm, welcoming community style.
Example prompt:
Step 2: Let Kimi Design generate the flyer
Kimi Design turns your description into a complete flyer with a clear visual hierarchy, suitable typography, colors, images, and graphic elements. Review the first design to make sure the main message is immediately noticeable, and the important details are easy to find. For example, for a farmers' market flyer, check that the design feels fresh and community-focused while keeping the event information clear and readable.
Step 3: Refine the flyer with AI editing
Review the generated flyer and make changes wherever needed. Click "Edit" to adjust text, layout, colors, and other design elements manually. You can also click "Comment," select a specific element, and describe the change you want. Alternatively, enter instructions in the chat box to ask Kimi Design to refine the flyer with AI.
Step 4: Preview and export your flyer
Give your flyer a final review before exporting it. Check the headline, key details, images, spacing, alignment, and readability at the size where you plan to use it. Consider where the flyer will appear, such as social media, a phone screen, a community bulletin board, or print. Make any final adjustments, then export the completed design in the format you need.
Why choose Kimi Design to make flyers
Once you know how to create a flyer with Kimi Design, it's worth understanding what makes it useful compared with traditional design methods. Here are some key reasons to choose Kimi Design for creating flyers efficiently.
Turn a rough idea into a structured flyer
You can describe the purpose of the flyer, its audience, key message, required information, and visual direction in one prompt. This gives the design enough context to build a complete starting point instead of leaving you to decide every element separately.
Give the flyer a visual identity that fits the message
Different flyers call for different visual treatments. A community market may benefit from warm colors and organic textures, while a fitness class might need stronger typography and more energetic imagery. Kimi Design can develop the visual direction around the purpose and tone you describe.
Make important information easy to notice
A flyer often needs to communicate several things at once, but not every piece of information has equal importance. Kimi Design can arrange headlines, supporting copy, dates, locations, and calls to action into a visual hierarchy that helps readers understand the message quickly.
Adapt the design as your requirements change
Flyer content can change after the first draft. You may need to update the event details, replace an image, adjust the tone, or change the visual balance. The design can be refined as these requirements become clearer rather than rebuilt from the beginning. You can also revisit earlier versions and roll back changes when needed.
Fine-tune the flyer from every angle
Kimi Design lets you manually adjust content, layout, colors, and other elements, comment on specific parts for targeted revisions, or describe broader changes in the chat for AI-assisted editing.
Prepare one finished design for different uses
Once your flyer is finalized, export it in the format that fits your needs, including JPG, PNG, PPT, or PDF. Use image formats for digital sharing, editable formats for further customization, or PDF for printing and distribution. This lets you adapt one finished flyer for different channels without redesigning it from scratch.
Tips for creating stunning flyers
Before you begin the design process, a few simple choices can make your flyer more attractive, readable, and effective. Keep these practical tips in mind to create a flyer that communicates your message clearly.
Lead with the main message
Start with a strong headline that immediately tells readers what the flyer is about. Keep the wording short and prominent so people can understand the main message at a glance.
Put action-driving details where people can find them
Highlight important information such as the date, location, price, contact details, or special offer. Position these details where they are easy to notice so readers know what action to take.
Use visual hierarchy to control the reading order
Organize the headline, supporting text, and key details according to their importance. Different font sizes, weights, and spacing can guide readers naturally through the flyer.
Choose visuals that reinforce the message
Select images, icons, and graphics that relate directly to your flyer's topic. Relevant visuals can strengthen the message and make the design more attractive without distracting from the content.
Keep the composition from becoming crowded
Avoid filling every part of the flyer with text, images, or decorative elements. Leave enough white space around important content to create a clean and balanced layout.
Design for the actual viewing environment
Think about where your flyer will be displayed before choosing its size and layout. If you create a flyer online for social media, mobile viewing, or print, make sure the text and visuals remain clear in the final format.
Proofread before publishing
Carefully check the spelling, dates, contact information, prices, and other important details. A final review can prevent mistakes and ensure your flyer looks professional before you share or print it.
Conclusion
To wrap up, AI can simplify the process of turning an idea into a polished and effective flyer, even without advanced design skills. With Kimi Design, you can create a flyer with AI, refine the layout and visuals, and prepare it for online or print use. By following the right design principles and checking the final details, you can make flyers that clearly communicate your message and encourage people to take action.