Adding animations to a PowerPoint can make presentations more engaging, but choosing the right effects and applying them correctly can be confusing. Learning how to add animations to PowerPoint helps you control how text, images, and other elements appear during a presentation. In this guide, you'll learn simple steps to add, customize, and manage animations for a polished presentation.
Overview of 2 methods for adding animations to PPT
You can add animations to PowerPoint either with an AI presentation tool or directly in PowerPoint. The best method depends on how quickly you want to create the presentation and how much control you need over individual effects.
| Method | How it works | Main advantage | Suitable for |
|---|---|---|---|
| Kimi Slides | Generates an animated presentation with AI | Saves time and effort | Quick, polished presentations |
| PowerPoint | Add and customize animations manually | Full control over effects | Detailed customization |
How to make an animated PPT presentation using an AI tool?
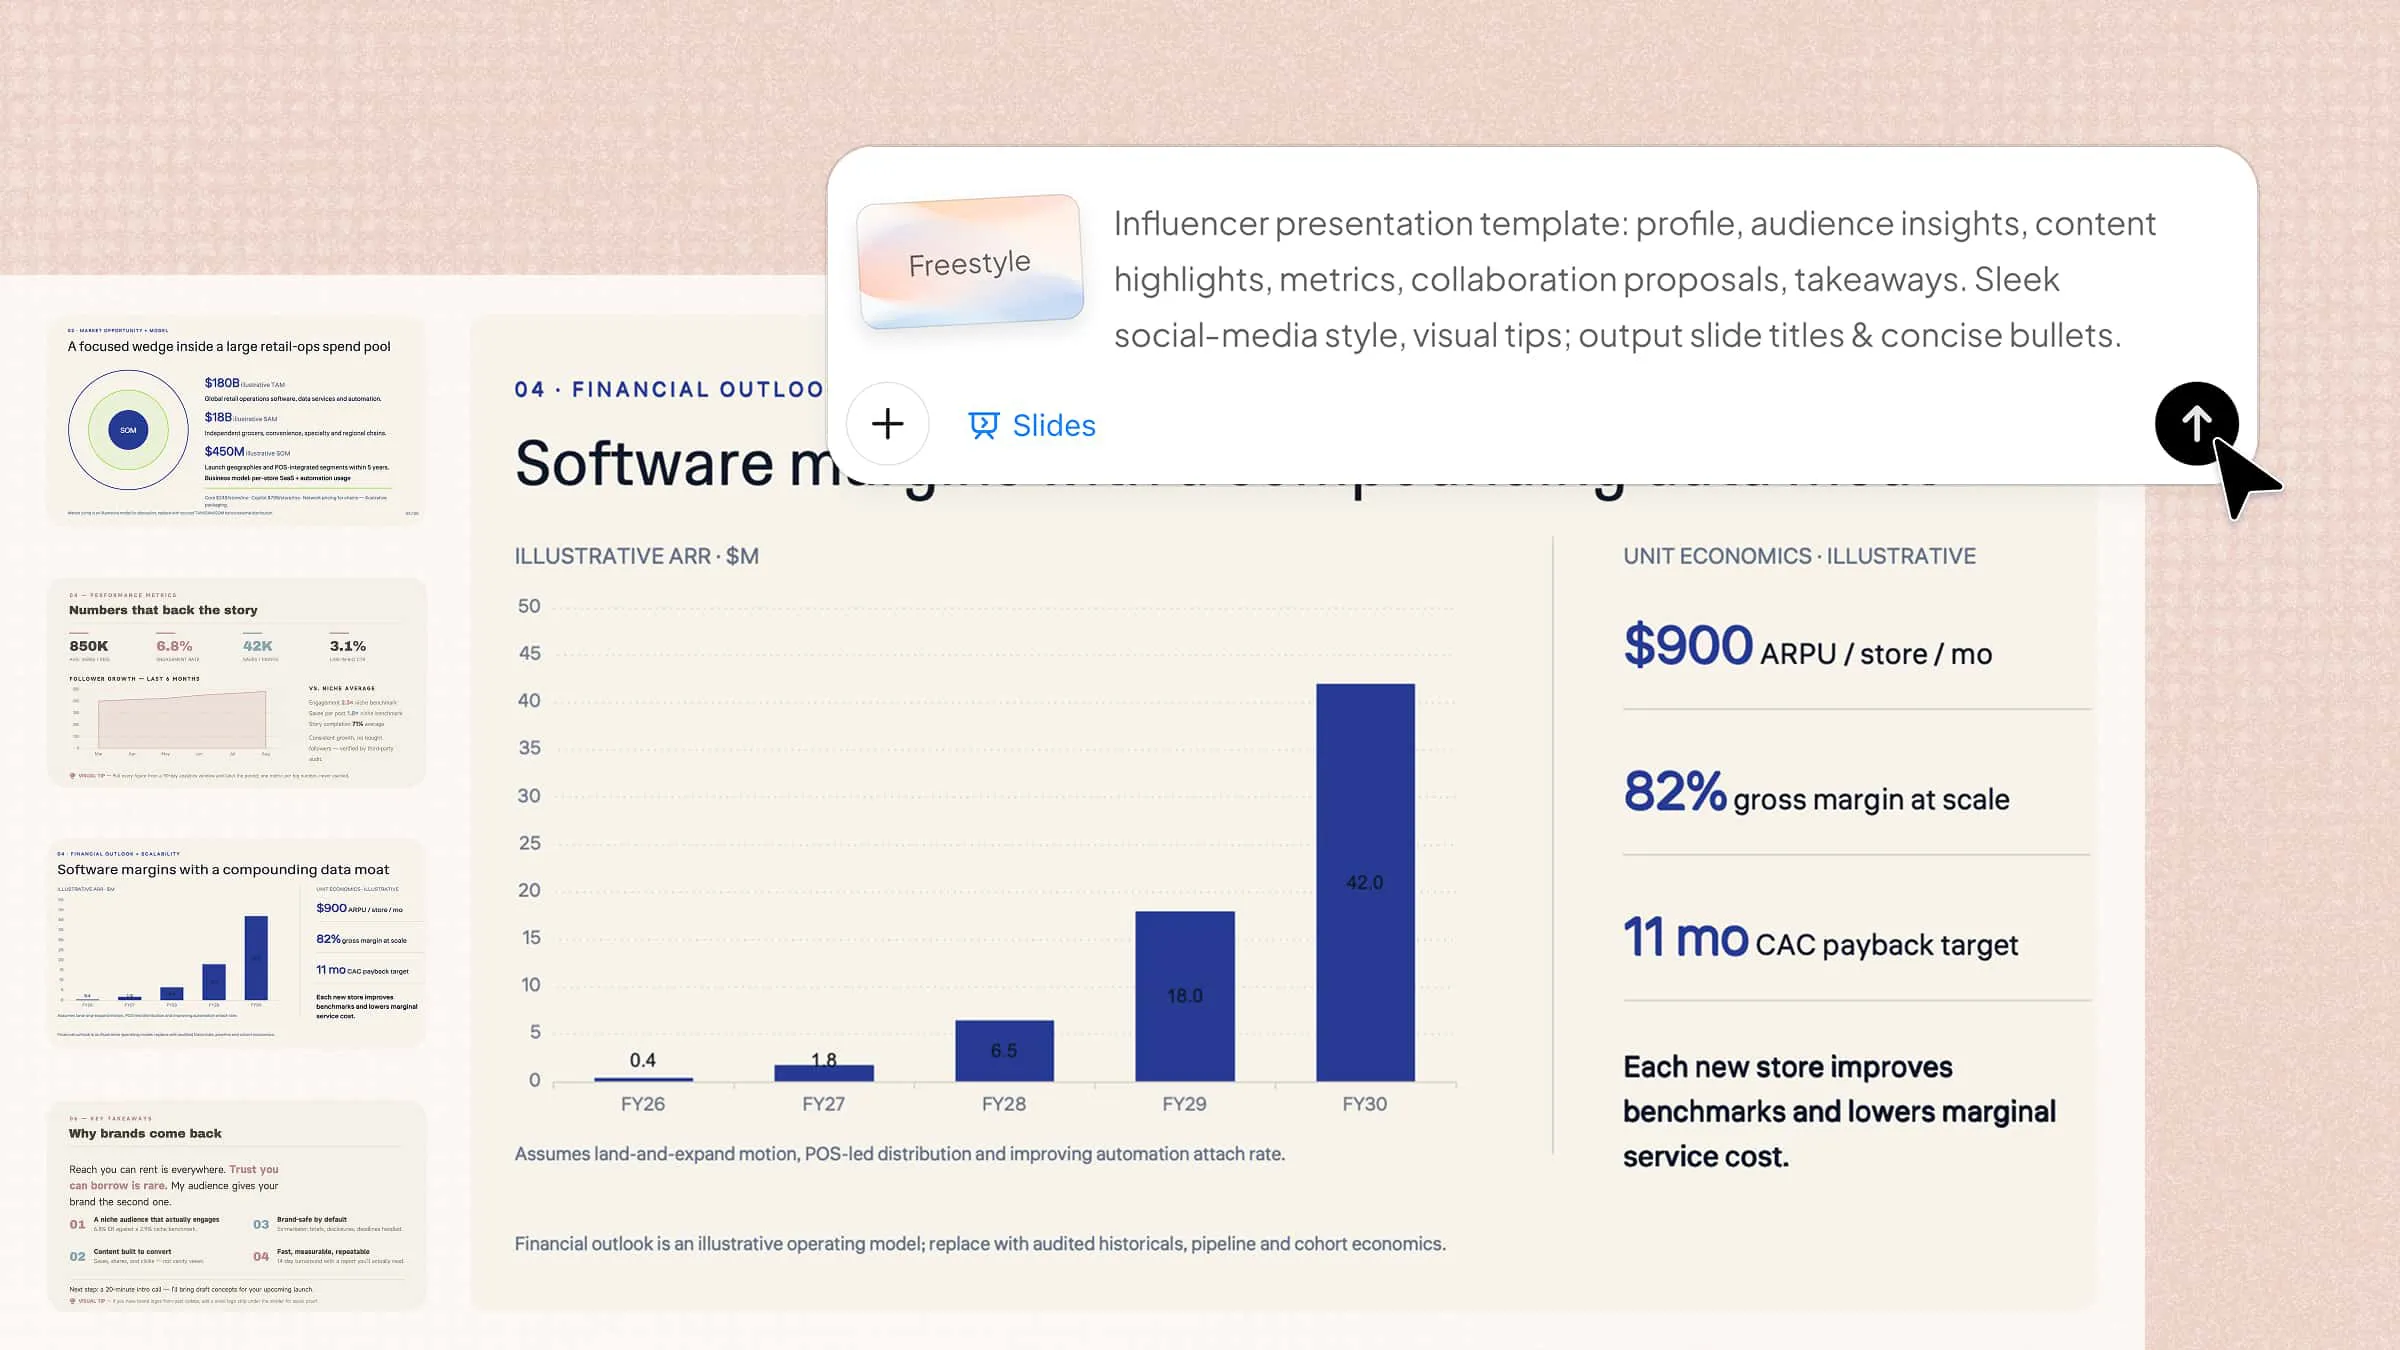
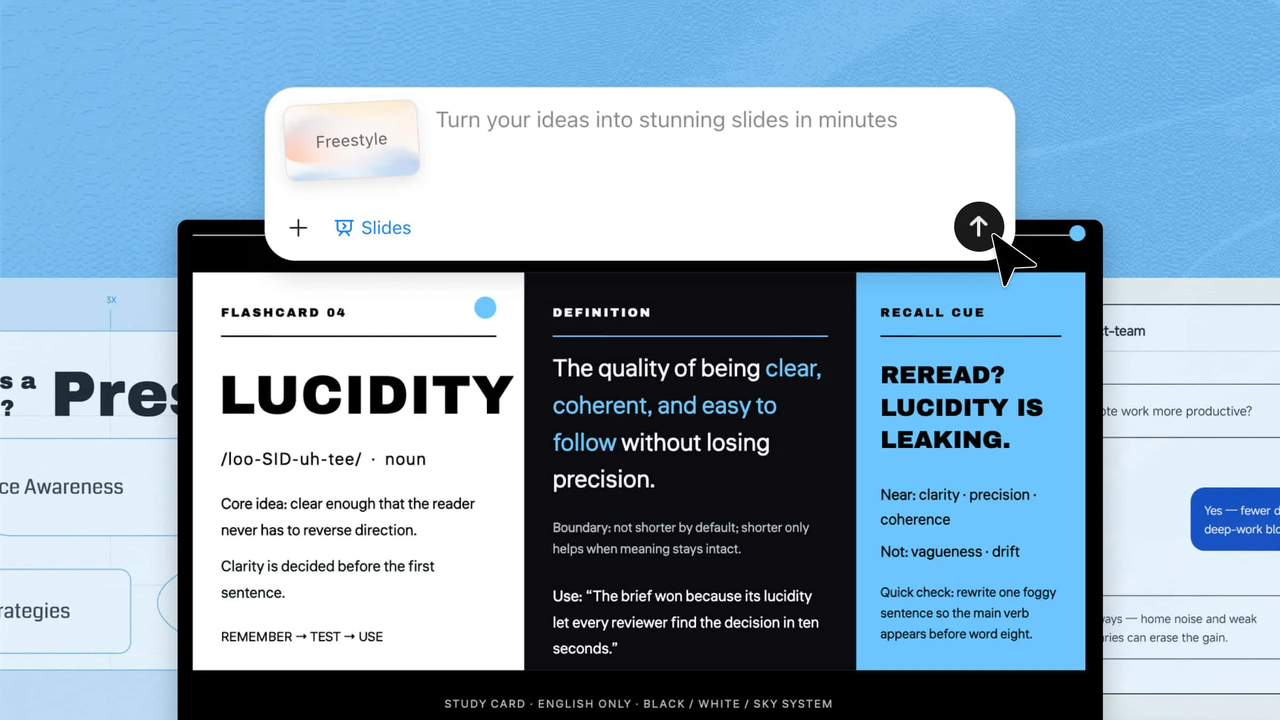
Kimi Slides, an AI presentation maker, makes it easier to create engaging presentations without manually designing every slide or applying animation effects one by one. You can provide your topic and requirements, and Kimi can generate a structured presentation that you can review and refine. Follow the steps below to learn how to add animation to a PowerPoint presentation with Kimi Slides.
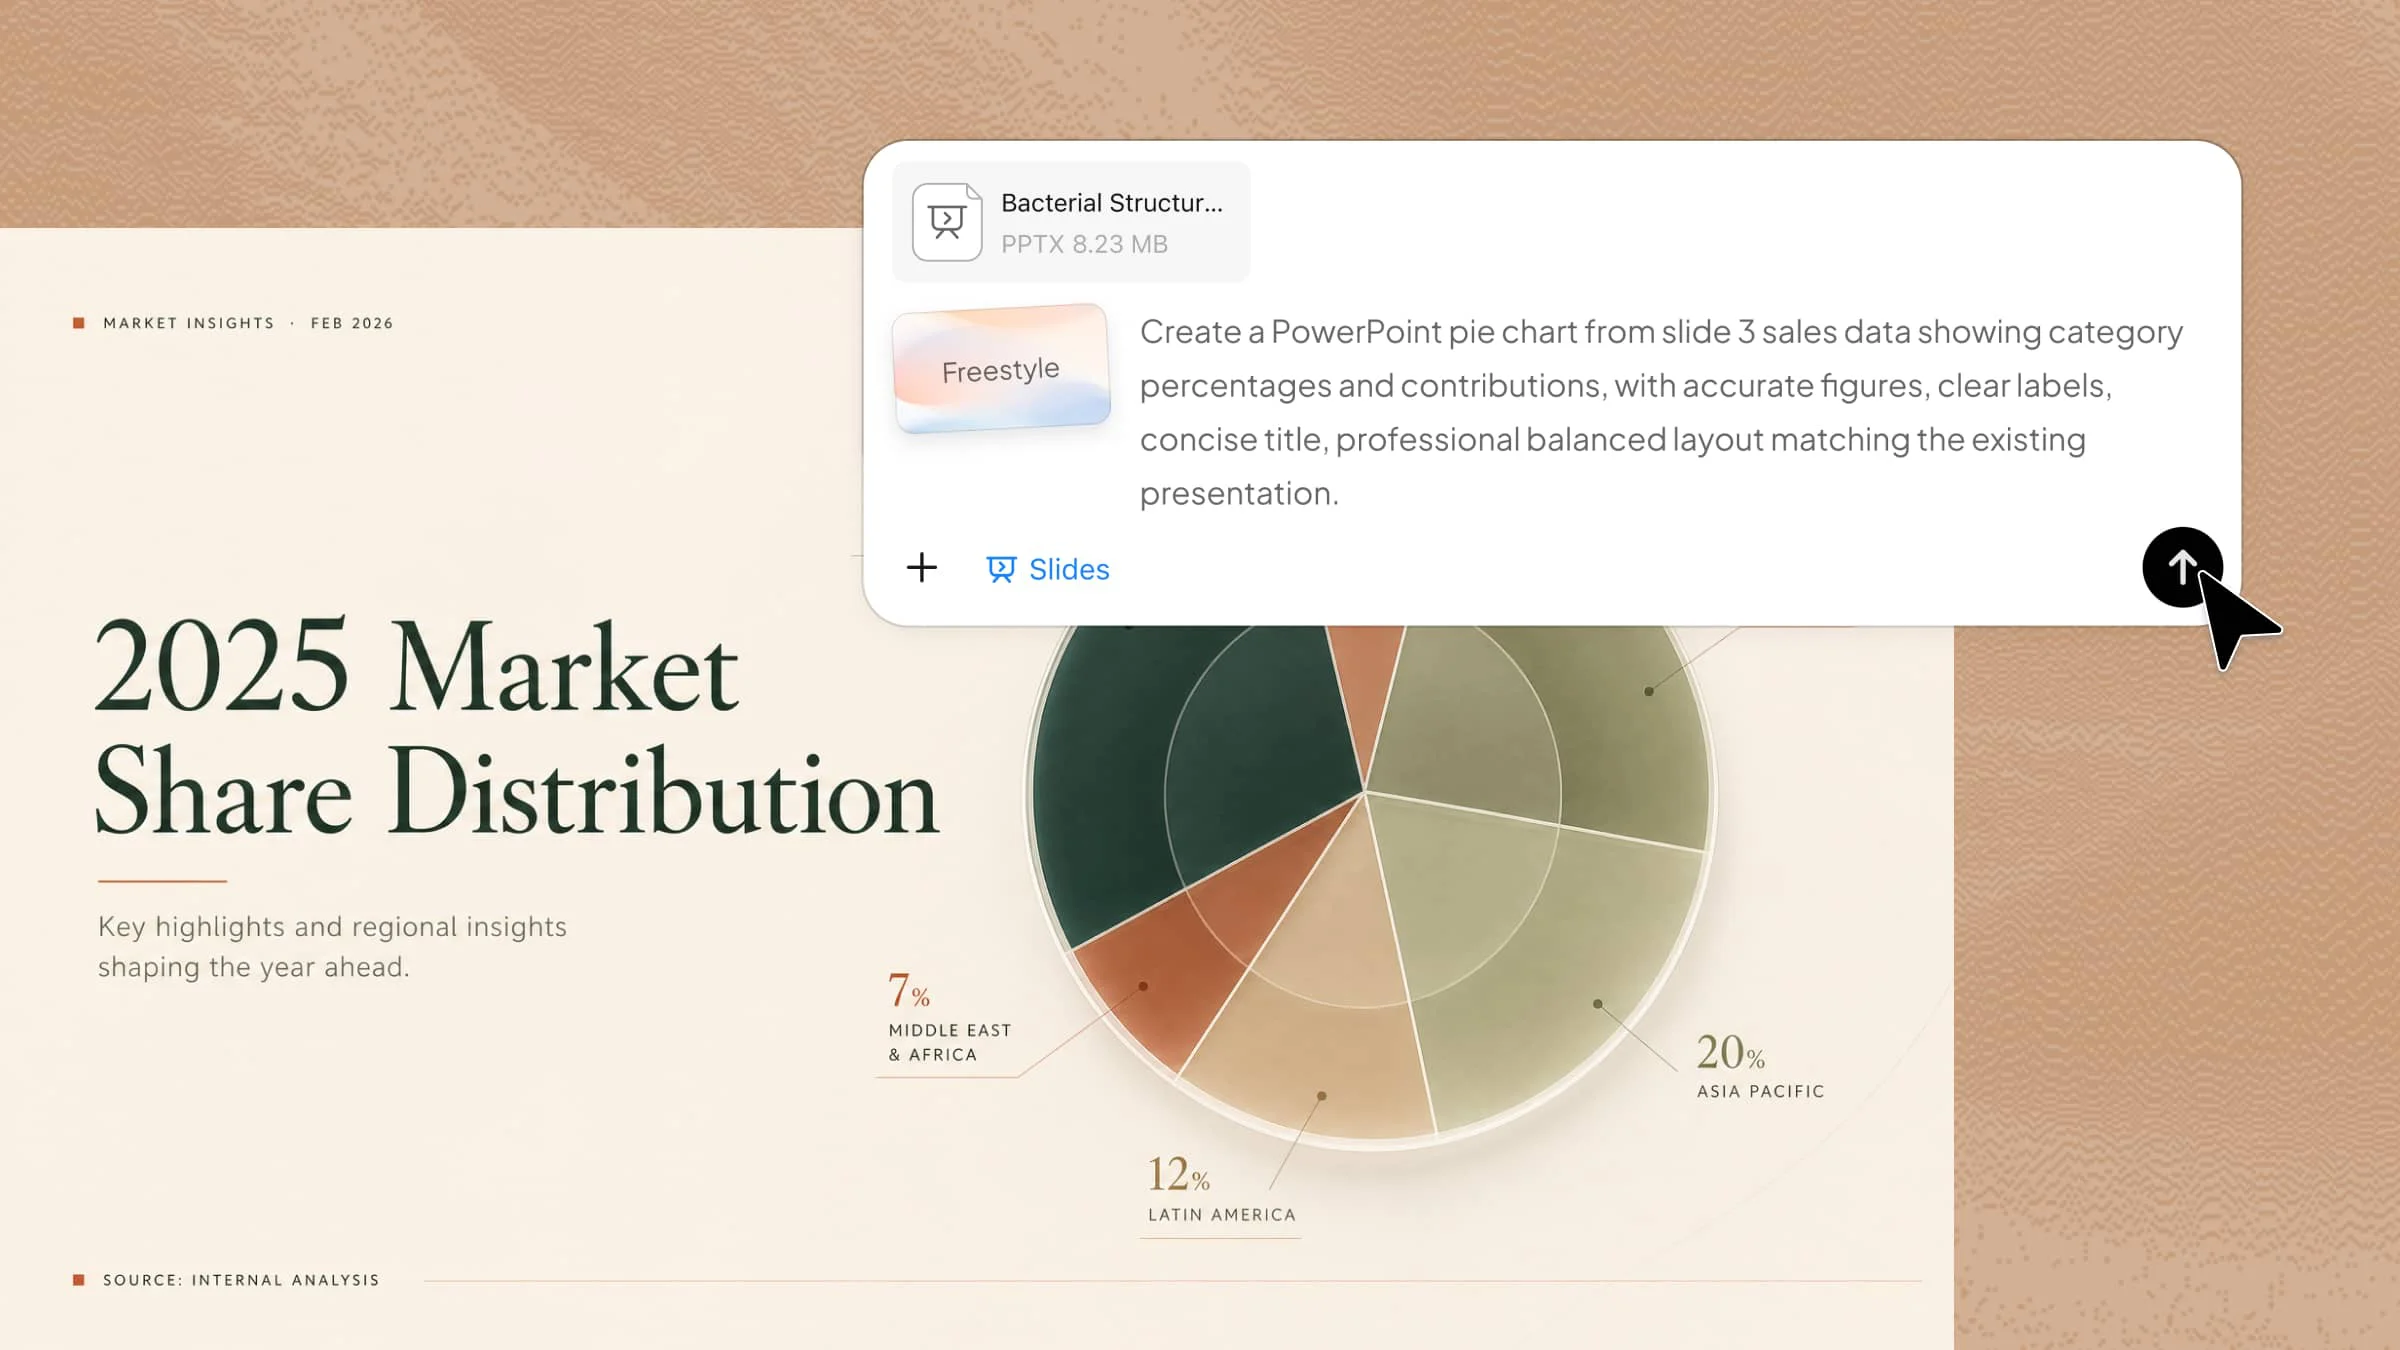
Step 1: Upload your PPT file and enter the prompt
Open Kimi Slides, then upload your existing PPT file. Add a clear prompt describing the animation style, timing, transitions, and any specific elements you want to animate.
Step 2: Let AI process and generate results
Let Kimi analyze your presentation and apply the requested animations based on your instructions. It can help adjust slide transitions and visual effects according to your requirements, creating a more engaging presentation experience.
Step 3: Edit and download the PPT file
Make any necessary changes to the animations, timing, or slide content. Once satisfied, download the completed presentation as a PowerPoint file.
You can click "Play" to preview your PPT online and check the animation effects. After publishing your slides as a shareable link, you can play them online and select different transition animations for each slide.
Main functions of Kimi Slides
Kimi Slides provides tools to help you create, animate, and refine presentations more efficiently. The following are some of its key functions.
Choose layouts that support different animation effects
Create structured slides for timelines, comparisons, step-by-step explanations, and storytelling. Organized layouts make it easier to apply animations that guide the audience's attention.
Add smooth animations to create more dynamic presentations
Apply polished effects to text, visuals, and other slide elements to create a natural flow. Use animations to highlight key points and important moments without overwhelming the audience.
Add visuals to enhance animated presentations
Add icons, images, illustrations, and other visual elements to make slides more engaging. Well-placed visuals can reinforce key information and make complex ideas easier to understand.
Customize animated slides with flexible editing
Edit individual elements or use natural-language instructions to change text, layouts, and visuals. This makes it easier to refine your slides and maintain consistency throughout the presentation.
Preview and export editable PPTX files
Preview your completed presentation before exporting it as a PPTX file. You can then continue editing the animations, text, visuals, and layouts in PowerPoint.
How to add animation to PowerPoint manually?
PowerPoint lets you add animations to text, pictures, shapes, and other slide elements without using additional tools. You can choose different effects, control when they start, adjust their duration, and arrange their order. This gives you precise control over how content appears and moves during your presentation. Follow these steps to learn how to start animation in PowerPoint.
Step 1: Select an object and choose an animation
Open your PowerPoint presentation and select the text, picture, shape, or other element you want to animate. Go to "Animations" and choose an animation effect, then use "Effect Options" to customize how it appears.
Step 2: Set the animation timing
Use the "Start" options to control when the animation plays:
On Click: Starts when you click the slide.
With Previous: Starts at the same time as the previous animation.
After Previous: Starts immediately after the previous animation.
You can also adjust "Duration" to control the animation speed or add a "Delay" before it starts.
Step 3: Add and arrange multiple animations
To apply another effect to an object that is already animated, select "Add Animation" and choose an additional effect. Use "Move Earlier" or "Move Later" to change the order in which animations appear.
Step 4: Animate multiple objects together
To apply the same animation to several objects, hold "Ctrl" and select the elements you want to combine. Go to "Format" > "Group" > "Group," then open "Animations" and select the desired effect.
Step 5: Preview and refine your animations
Preview the slide to check the timing, sequence, and overall flow of the animations. Adjust the effects, duration, or order until the presentation feels smooth and supports your content without becoming distracting.
Types of animation effects in PowerPoint
PowerPoint offers different animation effects to control how objects appear, change, move, or disappear during a presentation. Understanding these options can help you choose the right animation effects in PowerPoint for each slide.
Entrance animations
Entrance effects control how an object first appears on a slide. Options such as "Appear," "Fade," and "Fly In" can introduce text, images, or shapes at the right moment.
Emphasis animations
Emphasis effects draw attention to an object that is already visible on the slide. Effects such as "Pulse," "Spin," or "Grow/Shrink" can highlight important information without removing it.
Exit animations
Exit effects determine how an object leaves the slide. You can use effects such as "Disappear," "Fade," or "Fly Out" to remove content after it has served its purpose.
Motion path animations
Motion paths move an object along a specific route on the slide. You can use preset paths or create a custom path to show movement, direction, or a step-by-step process.
Transform animations
Transform effects create smooth visual changes between objects or slide elements. "Morph" is particularly useful for creating seamless transitions between slides while showing changes in position, size, or shape.
Trigger animations
Trigger animations let you start an effect when you click a specific object or element. They are useful for interactive presentations where you want animations to respond to audience actions.
Tips for using animations effectively
Using animations thoughtfully can make your presentation easier to follow and more engaging without being distracted from the main message. These tips can help you create polished slides and use animation effects in PowerPoint more effectively.
Choose animation styles that match your content and presentation tone
Select effects that support the purpose of your presentation. Subtle animations work well for professional slides, while more dynamic effects may suit creative or event-based presentations.
Use animations sparingly and avoid distracting effects
Avoid adding animations to every element simply to make slides more dynamic. Focus on key content and use effects only when they improve clarity or audience engagement.
Reveal information gradually to improve audience focus
Introduce points one at a time instead of displaying everything at once. This helps direct attention to the information being discussed and makes complex content easier to follow.
Keep animation timing and transitions smooth and consistent
Use similar speeds and transition styles throughout the presentation. Consistent timing creates a natural flow and prevents sudden or distracting movements.
Apply the same animation style across related slide elements
Use consistent effects for similar types of content, such as headings, images, or bullet points. This creates a more cohesive visual experience across your slides.
Test animations in presentation mode before presenting
Preview the entire presentation to check animation order, timing, and transitions. Make adjustments where needed to ensure everything works smoothly during the actual presentation.
Conclusion
Learning how to make animated PPT presentations can help you create more engaging and professional slides without overusing distracting effects. PowerPoint gives you detailed control over animations, timing, and transitions, while Kimi Slides can automate much of the presentation creation process. If you want to save time while creating polished presentations, Kimi Slides offers a convenient starting point that you can customize before presenting.