Creating a timeline in PowerPoint can sometimes feel difficult, especially when you want to show events in a clear, professional, and visually appealing way. PowerPoint makes it easy to build attractive timelines using simple built-in tools, SmartArt, and ready-made designs. In this guide, you will learn how to make a timeline in PowerPoint using four easy methods while creating a clean, well-organized, and engaging presentation.
Overview of 4 methods to create a PowerPoint timeline
Before you start creating a timeline, it is helpful to understand how each method works. Some methods are faster for simple timelines, while others offer more design flexibility and customization. Below is a quick overview of the four methods to create a PowerPoint timeline to help you choose the right one.
| Option | Overview | Level of effort | Automation | Design flexibility | Recommended for |
|---|---|---|---|---|---|
| Kimi Slides | Use AI to generate timelines from prompts, PPT files, or other content. | Low | High | High | Professional timelines created quickly |
| PowerPoint shapes | Manually create a timeline with shapes, lines, and text boxes. | Medium to high | Low | Very high | Fully customized simple timelines |
| Gantt chart | Use a stacked bar chart to show tasks and schedules. | Medium | Medium | Medium | Project planning and scheduling |
| Line chart | Use a line chart to display events in chronological order. | Medium | Medium | Medium | Data visualization and chronological analysis |
How to make a timeline in PowerPoint using an AI tool?
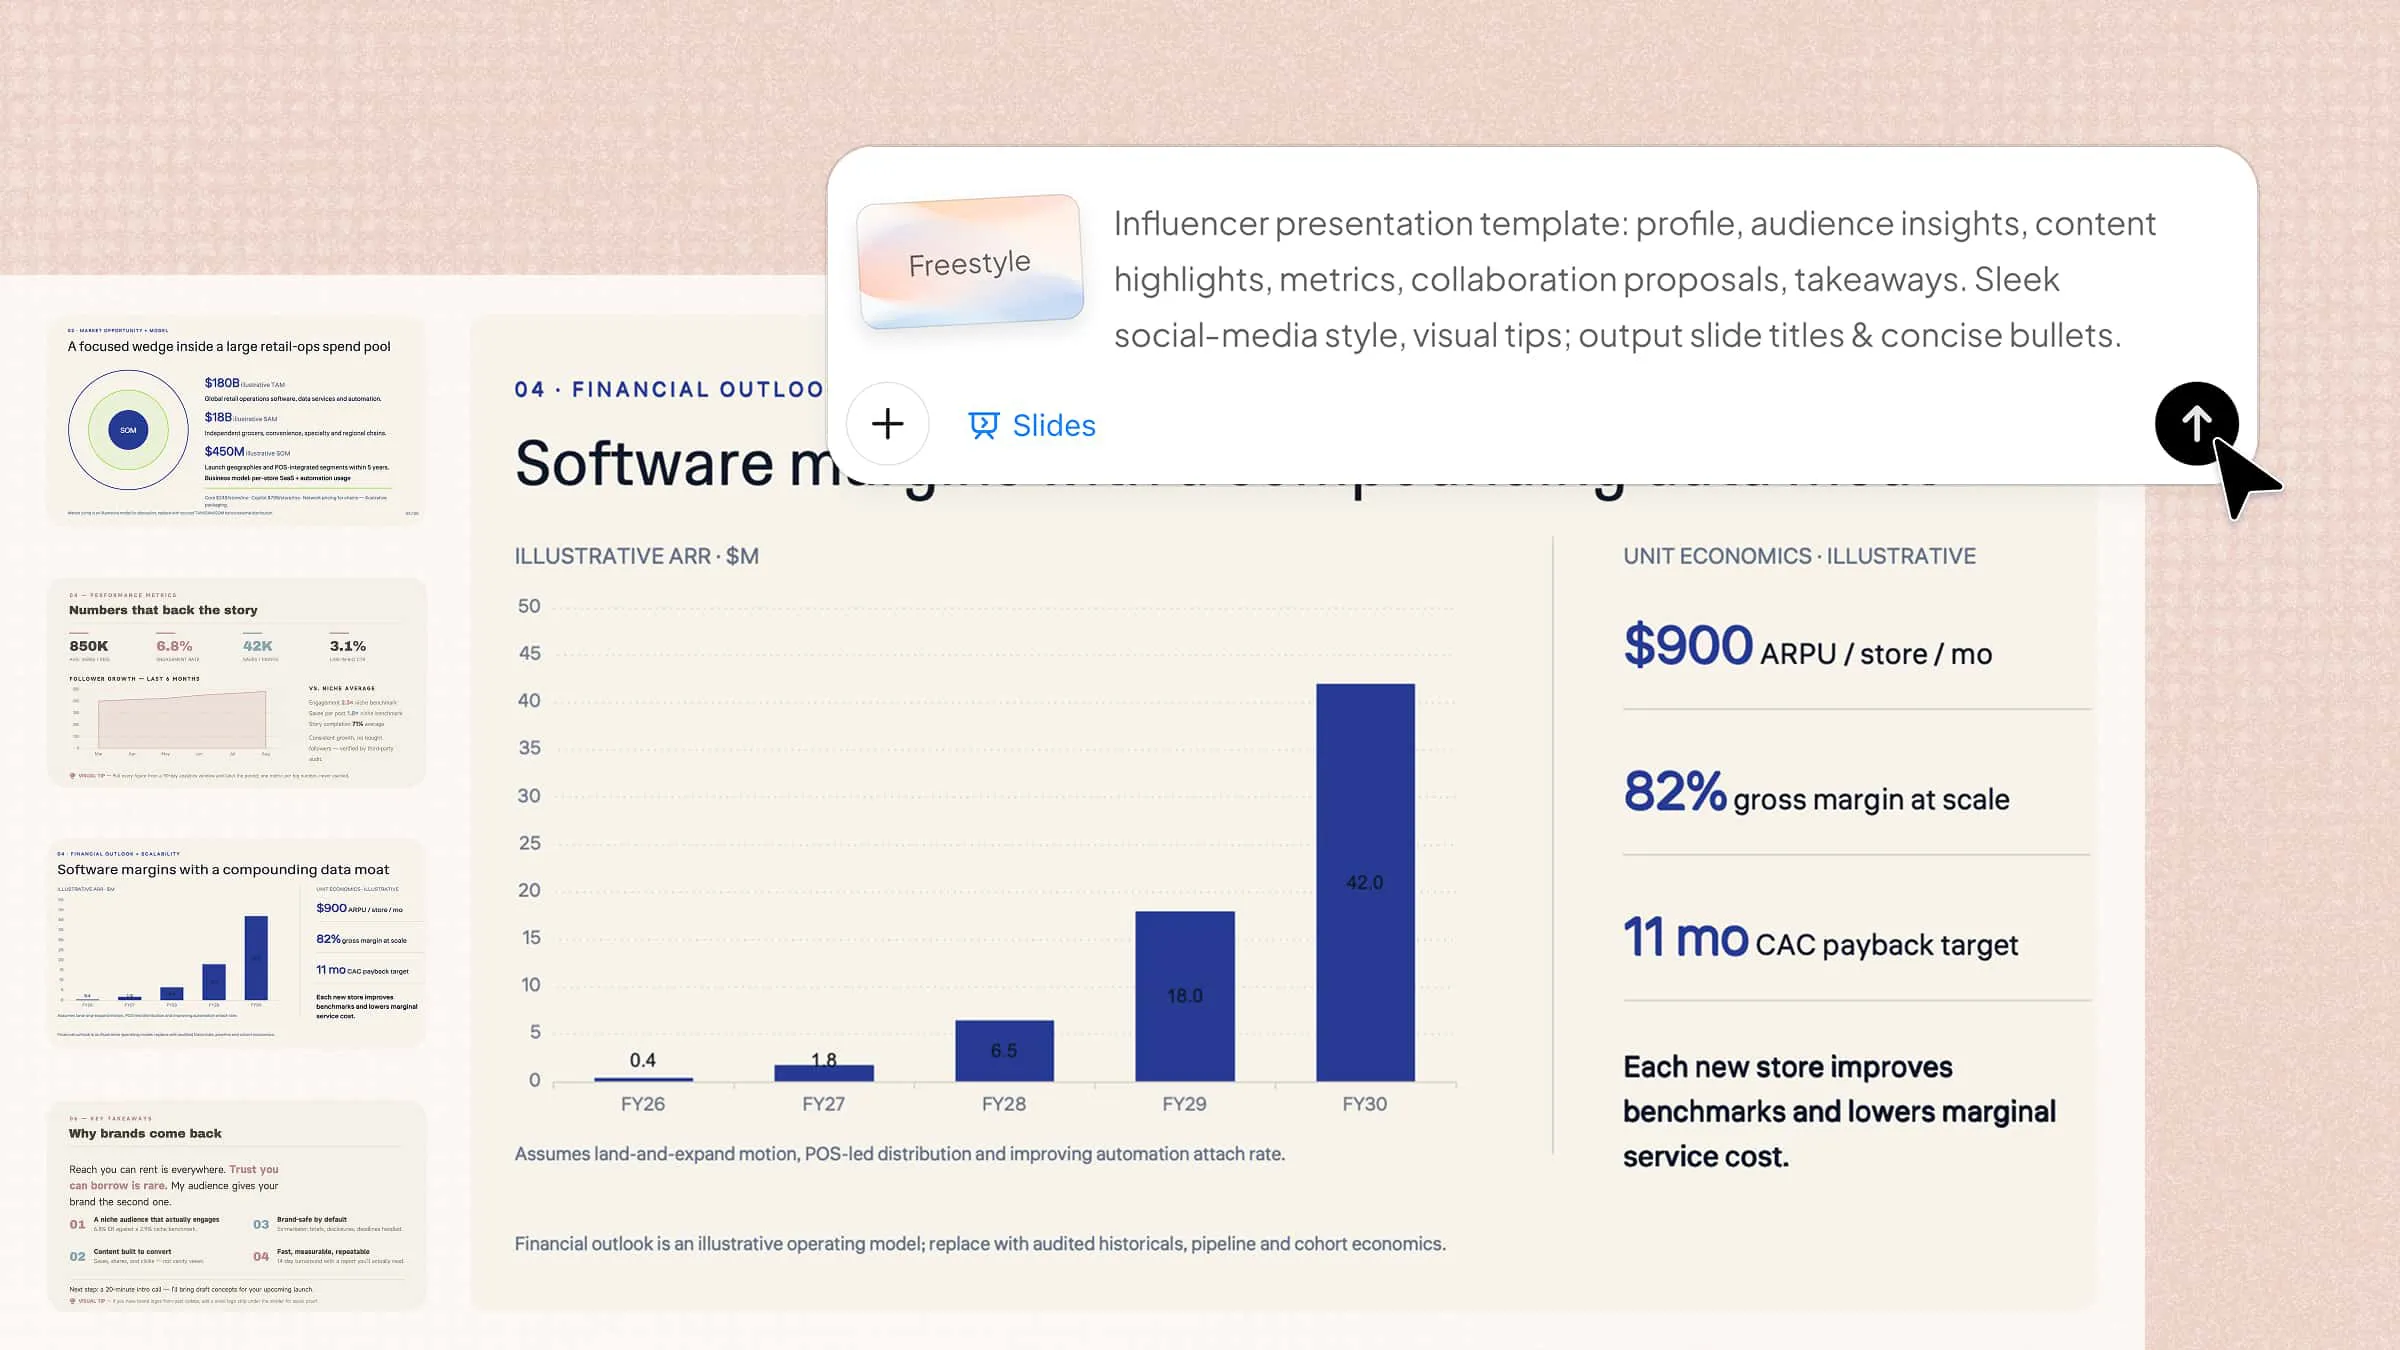
Kimi Slides is an AI presentation maker that helps you create professional slides from a simple prompt or your existing content. It can automatically generate timelines, organize information, and apply clean layouts without requiring advanced design skills. This helps you save time, improve presentation quality, and create visually appealing timelines with less effort.
Here is how you can use Kimi Slides to make a timeline in PowerPoint easily.
Step 1: Upload your PPT file and enter the prompt
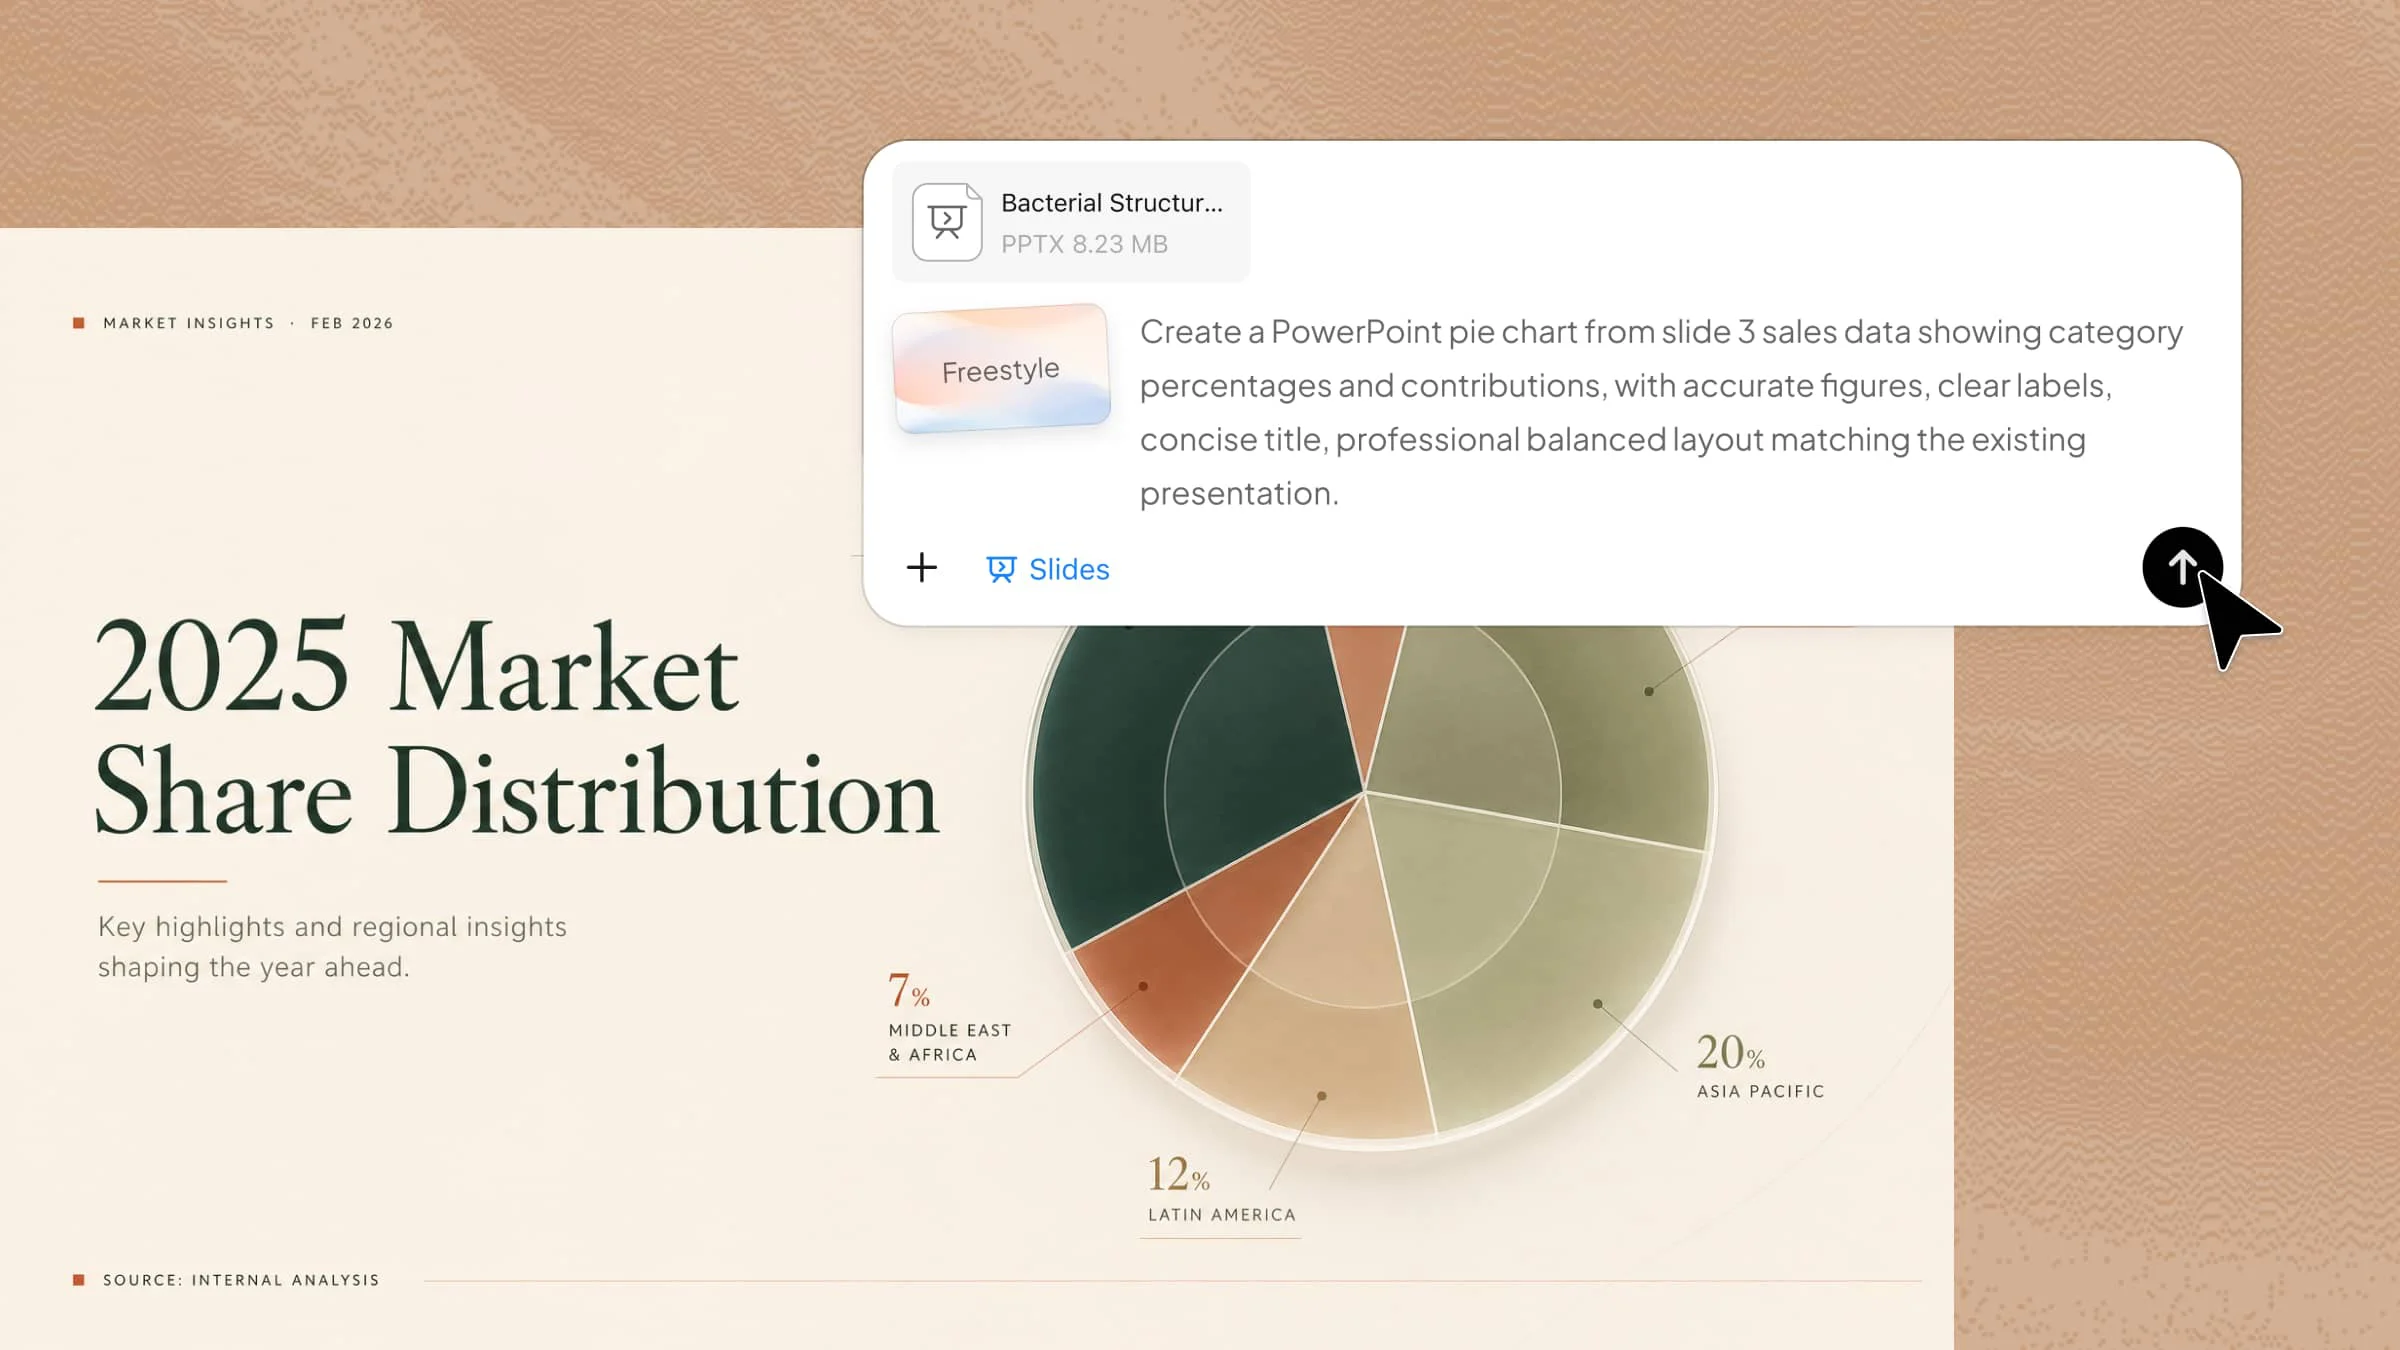
Open Kimi Slides and upload your PowerPoint file using the "+" button. Then enter a clear prompt explaining that you want to create a timeline while keeping the content well-organized and professionally designed.
Step 2: Let AI process and generate results
Kimi Slides will analyze your prompt and automatically create a timeline based on your content. It will arrange the events in chronological order, apply a clean and professional layout, and keep your information clear, accurate, and well-organized.
Step 3: Edit and download the PPT file
Edit the generated timeline to match your presentation style and make sure all events are placed correctly. Make any final changes if needed before saving. Once you are satisfied, click the "Download" icon to save the updated PowerPoint presentation and use it as needed.
Main functions of Kimi Slides
Here are the main functions of Kimi Slides that help you create professional timeline presentations quickly, organize content clearly, and edit slides with minimal manual effort.
Create timeline slides from your content and references: Kimi Slides can create timeline slides from text, documents, images, or existing presentations. It automatically organizes your content into a clear timeline. You can also base on PPT templates to generate new PPTs, which make sure consistent design and styles.
Choose timeline styles and layouts for different presentation needs: Kimi Slides provides different timeline styles for different presentation needs. You can create timelines for projects, business reports, product roadmaps, or historical events. The layout can be adjusted to match your audience and purpose.
Turn complex information into clear timeline structures: Kimi Slides changes detailed information into simple and easy-to-follow timelines. It arranges important dates, milestones, and events in the correct order. This makes your presentation easier to understand.
Add visuals and editable SmartArt timelines: Kimi Slides can generate timeline graphics, icons, illustrations, and editable SmartArt components to make your slides more engaging. These visual elements highlight key milestones, improve information structure, and help your audience understand complex timelines more easily.
Refine timeline slides with flexible editing options: Kimi Slides lets you update text, layouts, visuals, and timeline elements whenever needed. You can make changes with simple instructions or edit items directly. It also enables you to save different versions of your presentation.
Preview and export editable PPTX files: Preview your timeline before downloading to make sure everything looks clear and correct. Export the presentation as an editable PPTX file for PowerPoint. You can continue editing the slides at any time, whenever needed.
How to create a timeline in PowerPoint using 3 built-in tools?
Creating a timeline in PowerPoint with built-in tools is a simple and reliable way to present events in a clear and organized format. These tools let you design professional timelines without using additional software or templates. Here's how to create a timeline in PowerPoint using the built-in tools easily and effectively.
Using the brute-force approach
PowerPoint makes it easy to create a timeline using its built-in drawing tools without any extra software. The brute-force approach is a simple method that uses shapes, lines, and text boxes to build a custom timeline. Here's how to create a timeline in PowerPoint with dates using this method successfully.
Step 1: Create the timeline line
Insert a horizontal line or shape and place it across the slide. Adjust its position and thickness to create the main timeline.
Step 2: Add milestones and text
Add circles or other shapes along the line to mark important dates or events. Place text boxes above or below each milestone to add the related information.
Step 3: Arrange and format the timeline
Align the elements evenly and use PowerPoint SmartArt to improve the timeline structure. Adjust the fonts, colors, size, and spacing for a clean look.
Using the Gantt chart view
A Gantt chart is a simple and effective way to create a timeline for projects and schedules in PowerPoint. It helps display tasks, dates, and progress in a clear, organized, and easy-to-follow format. Here's how to create a project timeline in PowerPoint using the Gantt chart view.
Step 1: Insert a stacked bar chart
Open PowerPoint and insert a stacked bar chart from the chart options. Enter your timeline events or tasks as the chart categories.
Step 2: Format the chart for a timeline
Adjust the chart data, remove unnecessary elements, and format the bars to create a clean timeline. Set the horizontal axis to show the required dates or time periods.
Step 3: Add labels and customize the design
Add event names, dates, and other important details to the chart. Adjust the colors, fonts, spacing, and layout to make the final timeline clear and professional.
Using the line chart option
If you want to present events in chronological order, the line chart option is a simple choice. It provides a clear visual view of your timeline and makes important milestones easier to understand. Follow the steps below to create a timeline using the line chart option.
Step 1: Insert a line chart
Open PowerPoint and insert a line chart from the chart options. Enter your dates or events as the chart categories and add the required values.
Step 2: Adjust the chart data
Edit the chart data to match your timeline events and dates. Remove unnecessary chart elements and adjust the axis to create a simple timeline structure.
Step 3: Format and add event details
Customize the line, markers, labels, fonts, and spacing to improve the design. Add important dates and event names so the finished timeline is clear and easy to follow.
Benefits of creating PowerPoint timelines
PowerPoint timelines help simplify complex information by showing events in a logical sequence. They improve the visual appeal of your slides and make key points easier to remember. Below are some of the main benefits of using timelines in PowerPoint presentations.
Visualize progress and key milestones clearly
PowerPoint timelines display important events in the correct order. Each milestone is placed along a clear sequence, making progress easy to follow. Readers can quickly understand the overall timeline without confusion.
Simplify complex information
Timelines organize large amounts of information and processes into a logical sequence, helping audiences follow key events and connections more easily. With clear structure and visual elements, timeline slides make complex topics easier to understand, remember, and present.
Enhance presentation design and visual appeal
Well-designed timelines give presentations a clean and professional appearance. Colors, shapes, and icons make slides more attractive than text-heavy layouts. A visually appealing design also creates a stronger impression on viewers.
Save time when creating structured slides
Timeline layouts help organize content quickly and efficiently. Events and milestones can be added without spending extra time on formatting. This enables you to create professional, well-structured presentations in less time with minimal effort.
Tips for creating more effective PowerPoint timelines
A well-planned timeline helps present events in a simple, clear, and professional way. Using the right design and layout makes your slides easier to read, understand, and follow. Below are some practical tips on how to create a visual timeline in PowerPoint more effectively.
Choose the right timeline layout for your content
Select a timeline layout that matches your topic and presentation style. Different layouts work better for projects, history, business plans, or roadmaps. A suitable design makes information easier to present and understand.
Keep information concise and focus on essential details
Include only the most important dates, events, and milestones. Short, clear, and meaningful text makes the timeline easier to read and understand. Extra details can distract the audience from the main message and reduce clarity.
Align dates, events, and milestones accurately
Place every event in the correct chronological order. Carefully check that dates and milestones match the timeline sequence without any errors. Accurate information makes your presentation more reliable, professional, and easy to follow.
Use consistent colors and fonts throughout the timeline
Choose the same colors and fonts for all timeline elements. A consistent style creates a neat, professional, and refined appearance throughout the presentation. This also makes the presentation easier to follow and understand.
Add icons and visuals to improve clarity
Use icons, images, or simple graphics to explain important events. Visual elements make timelines more attractive, engaging, and easier to understand for viewers. They also help highlight key milestones more effectively and clearly.
Maintain a clean and uncluttered design
Leave enough space between timeline elements to avoid a crowded look. A clean layout improves readability and keeps attention on the main information throughout the presentation. Simple, well-organized designs often create the best presentations.
Conclusion
After learning how to create a timeline in PowerPoint, you can now present events, milestones, and plans in a clear, attractive, and organized way using different methods. These built-in tools make timeline creation simple while giving you better control over the layout, design, content, and overall appearance. For even faster results, Kimi Slides can help you create professional timeline presentations in just a few clicks while keeping everything organized, polished, and visually appealing.