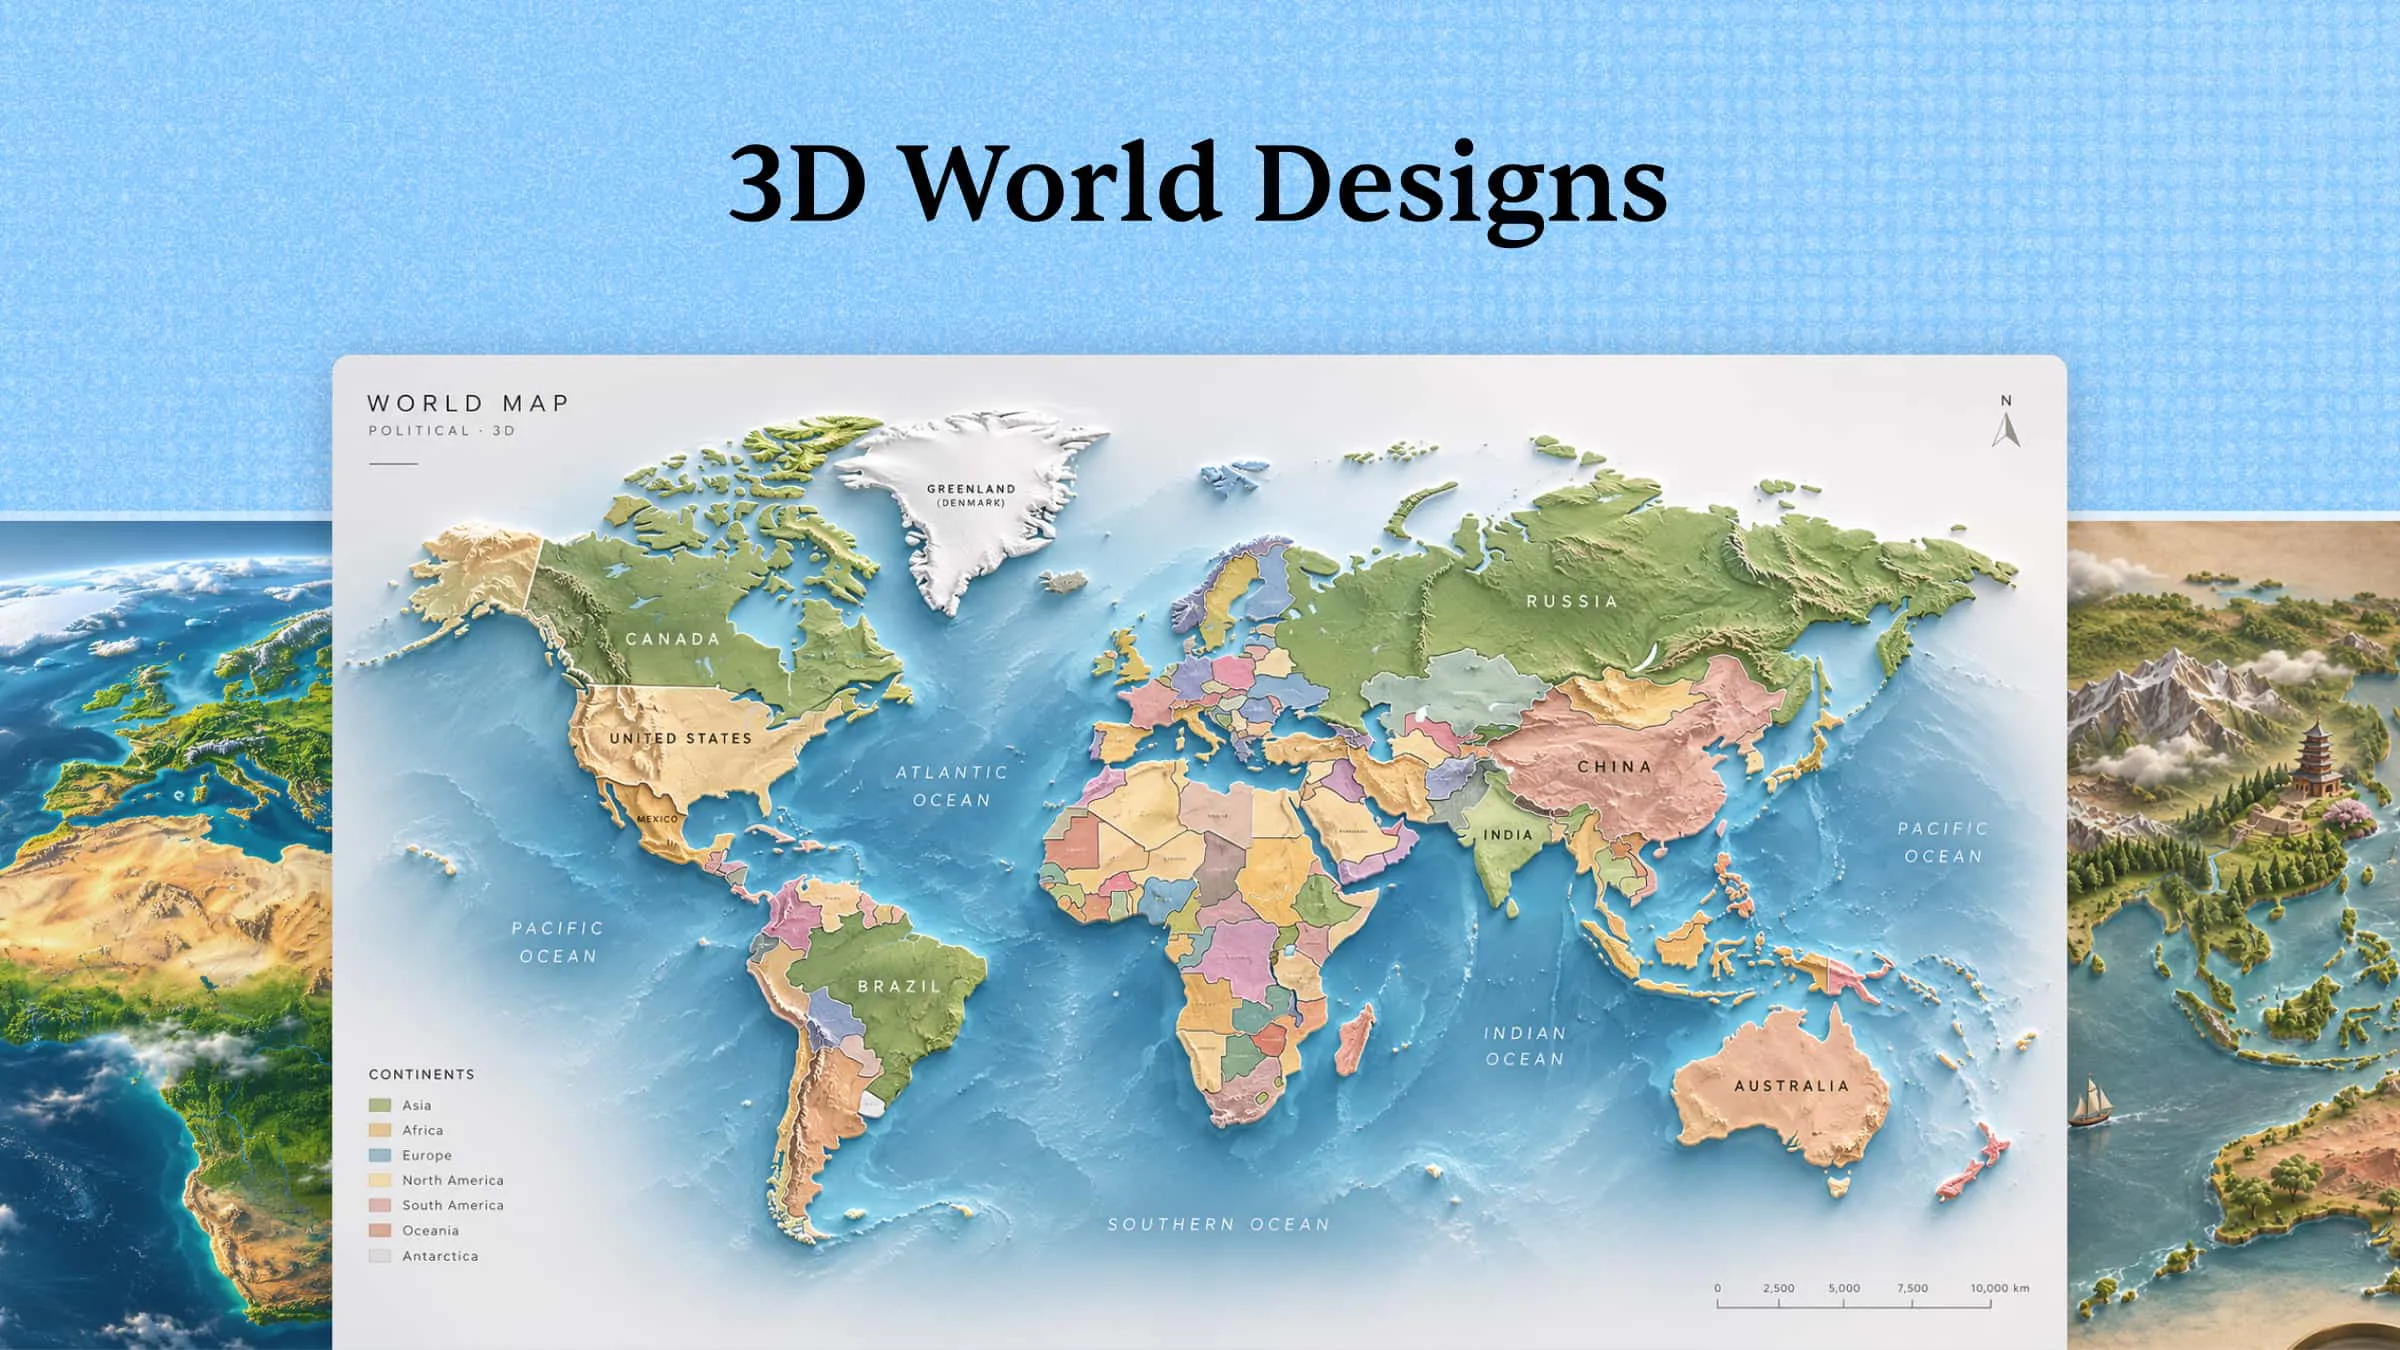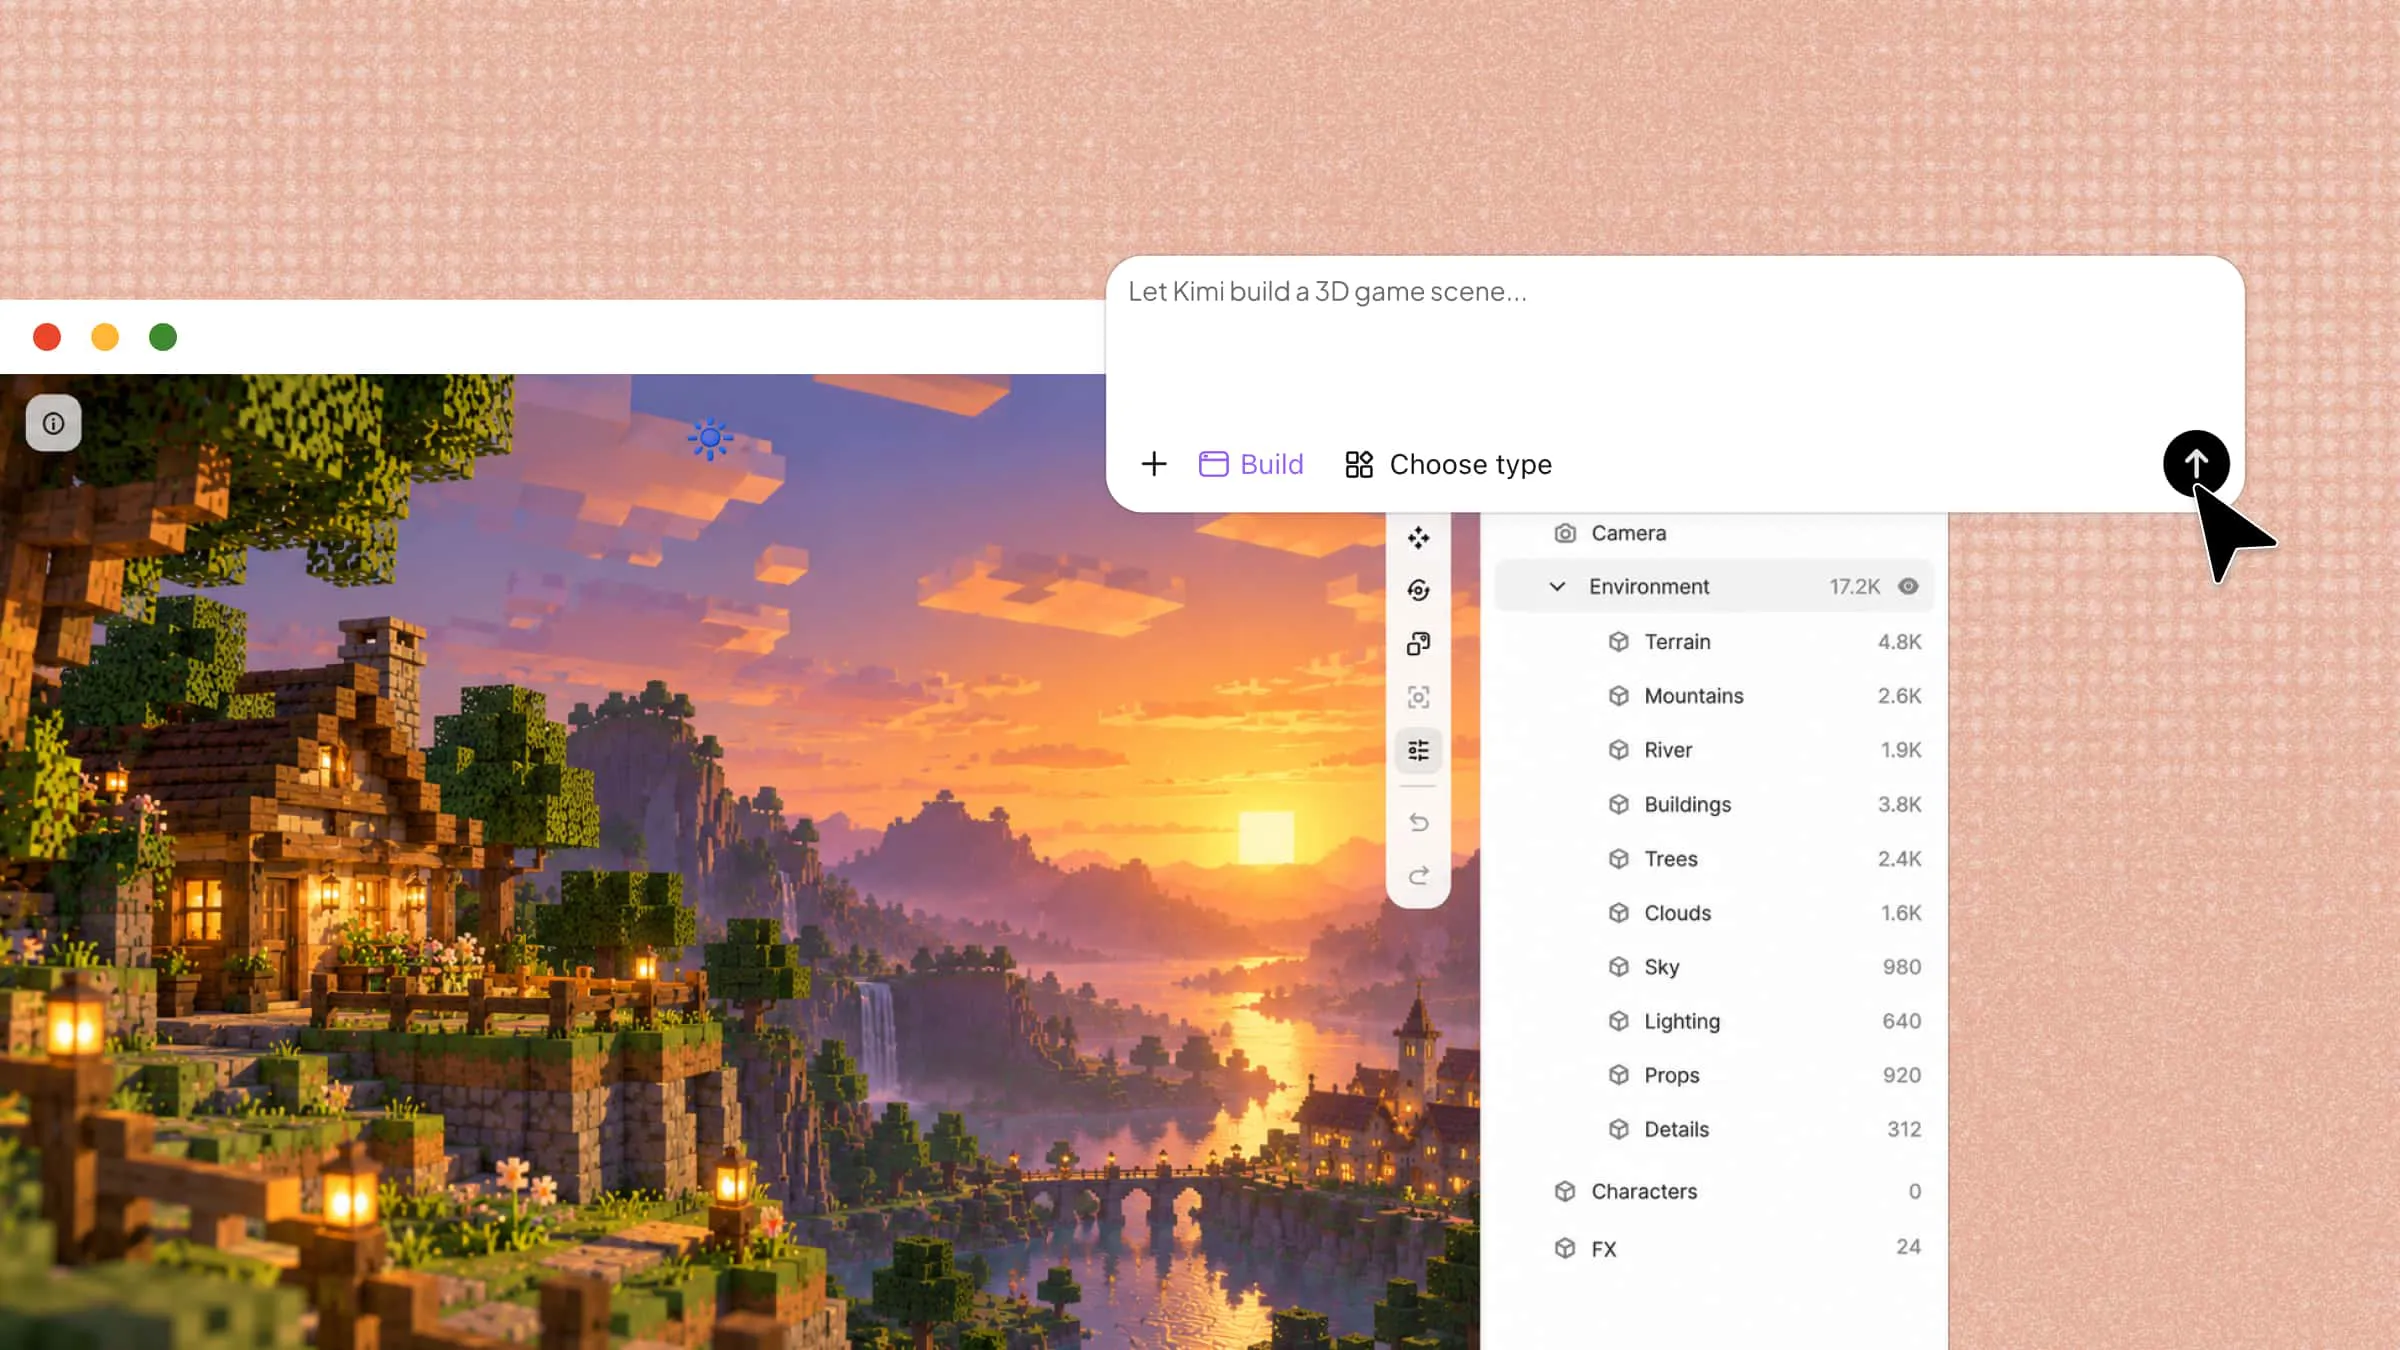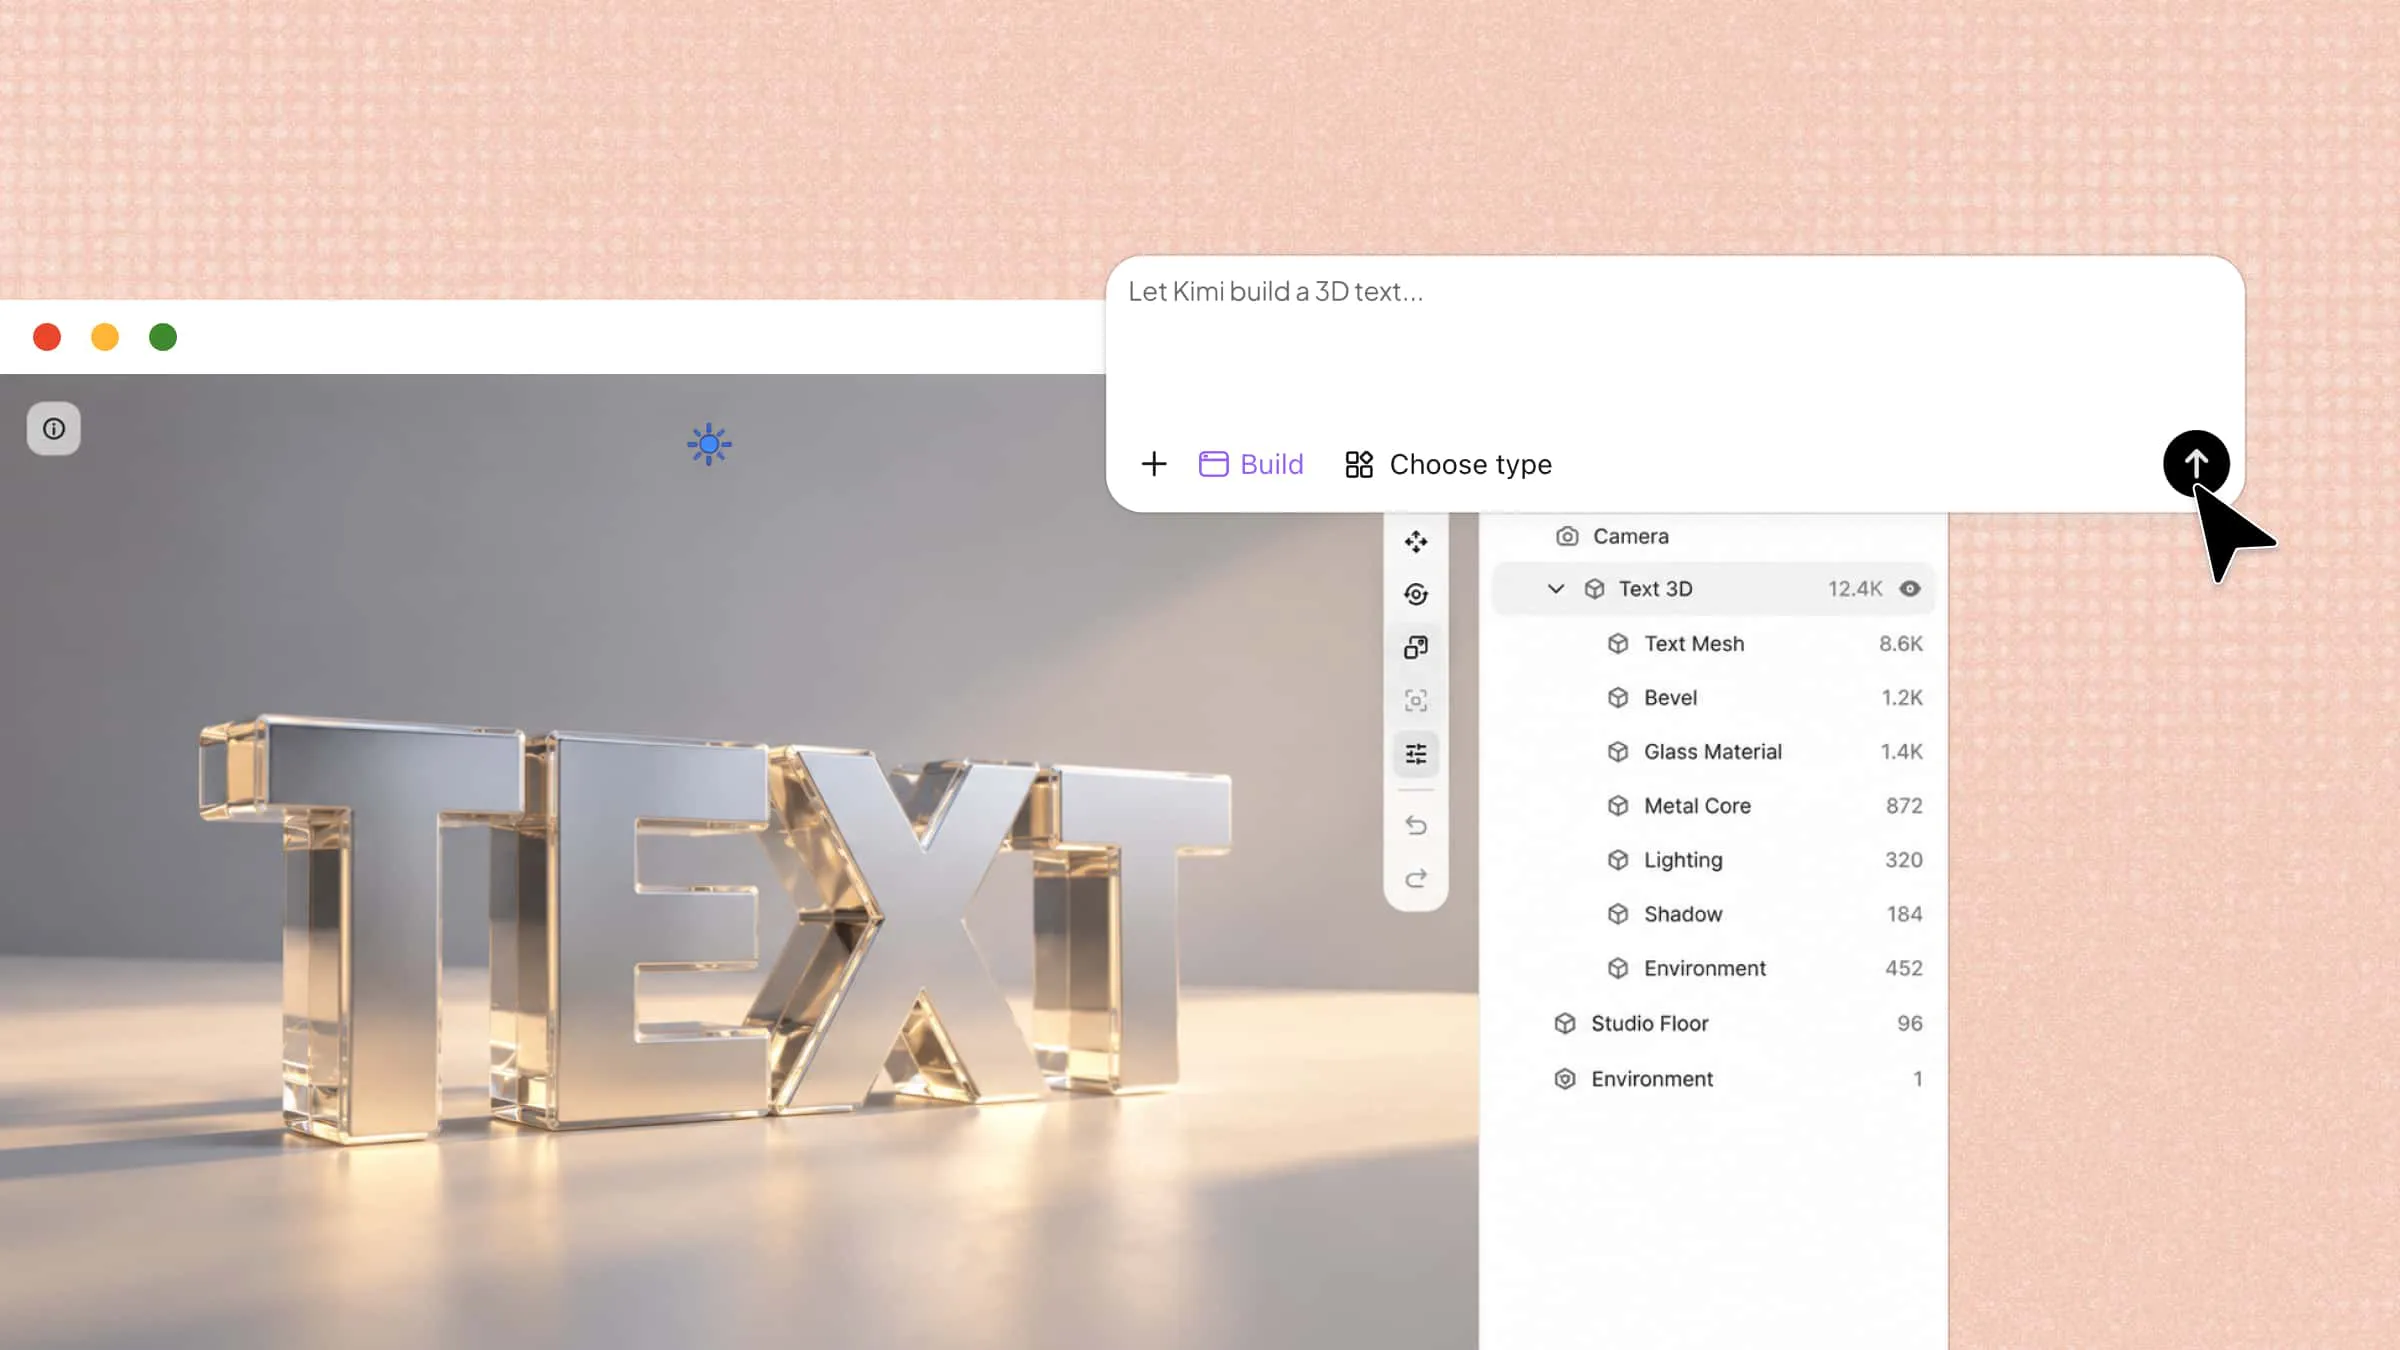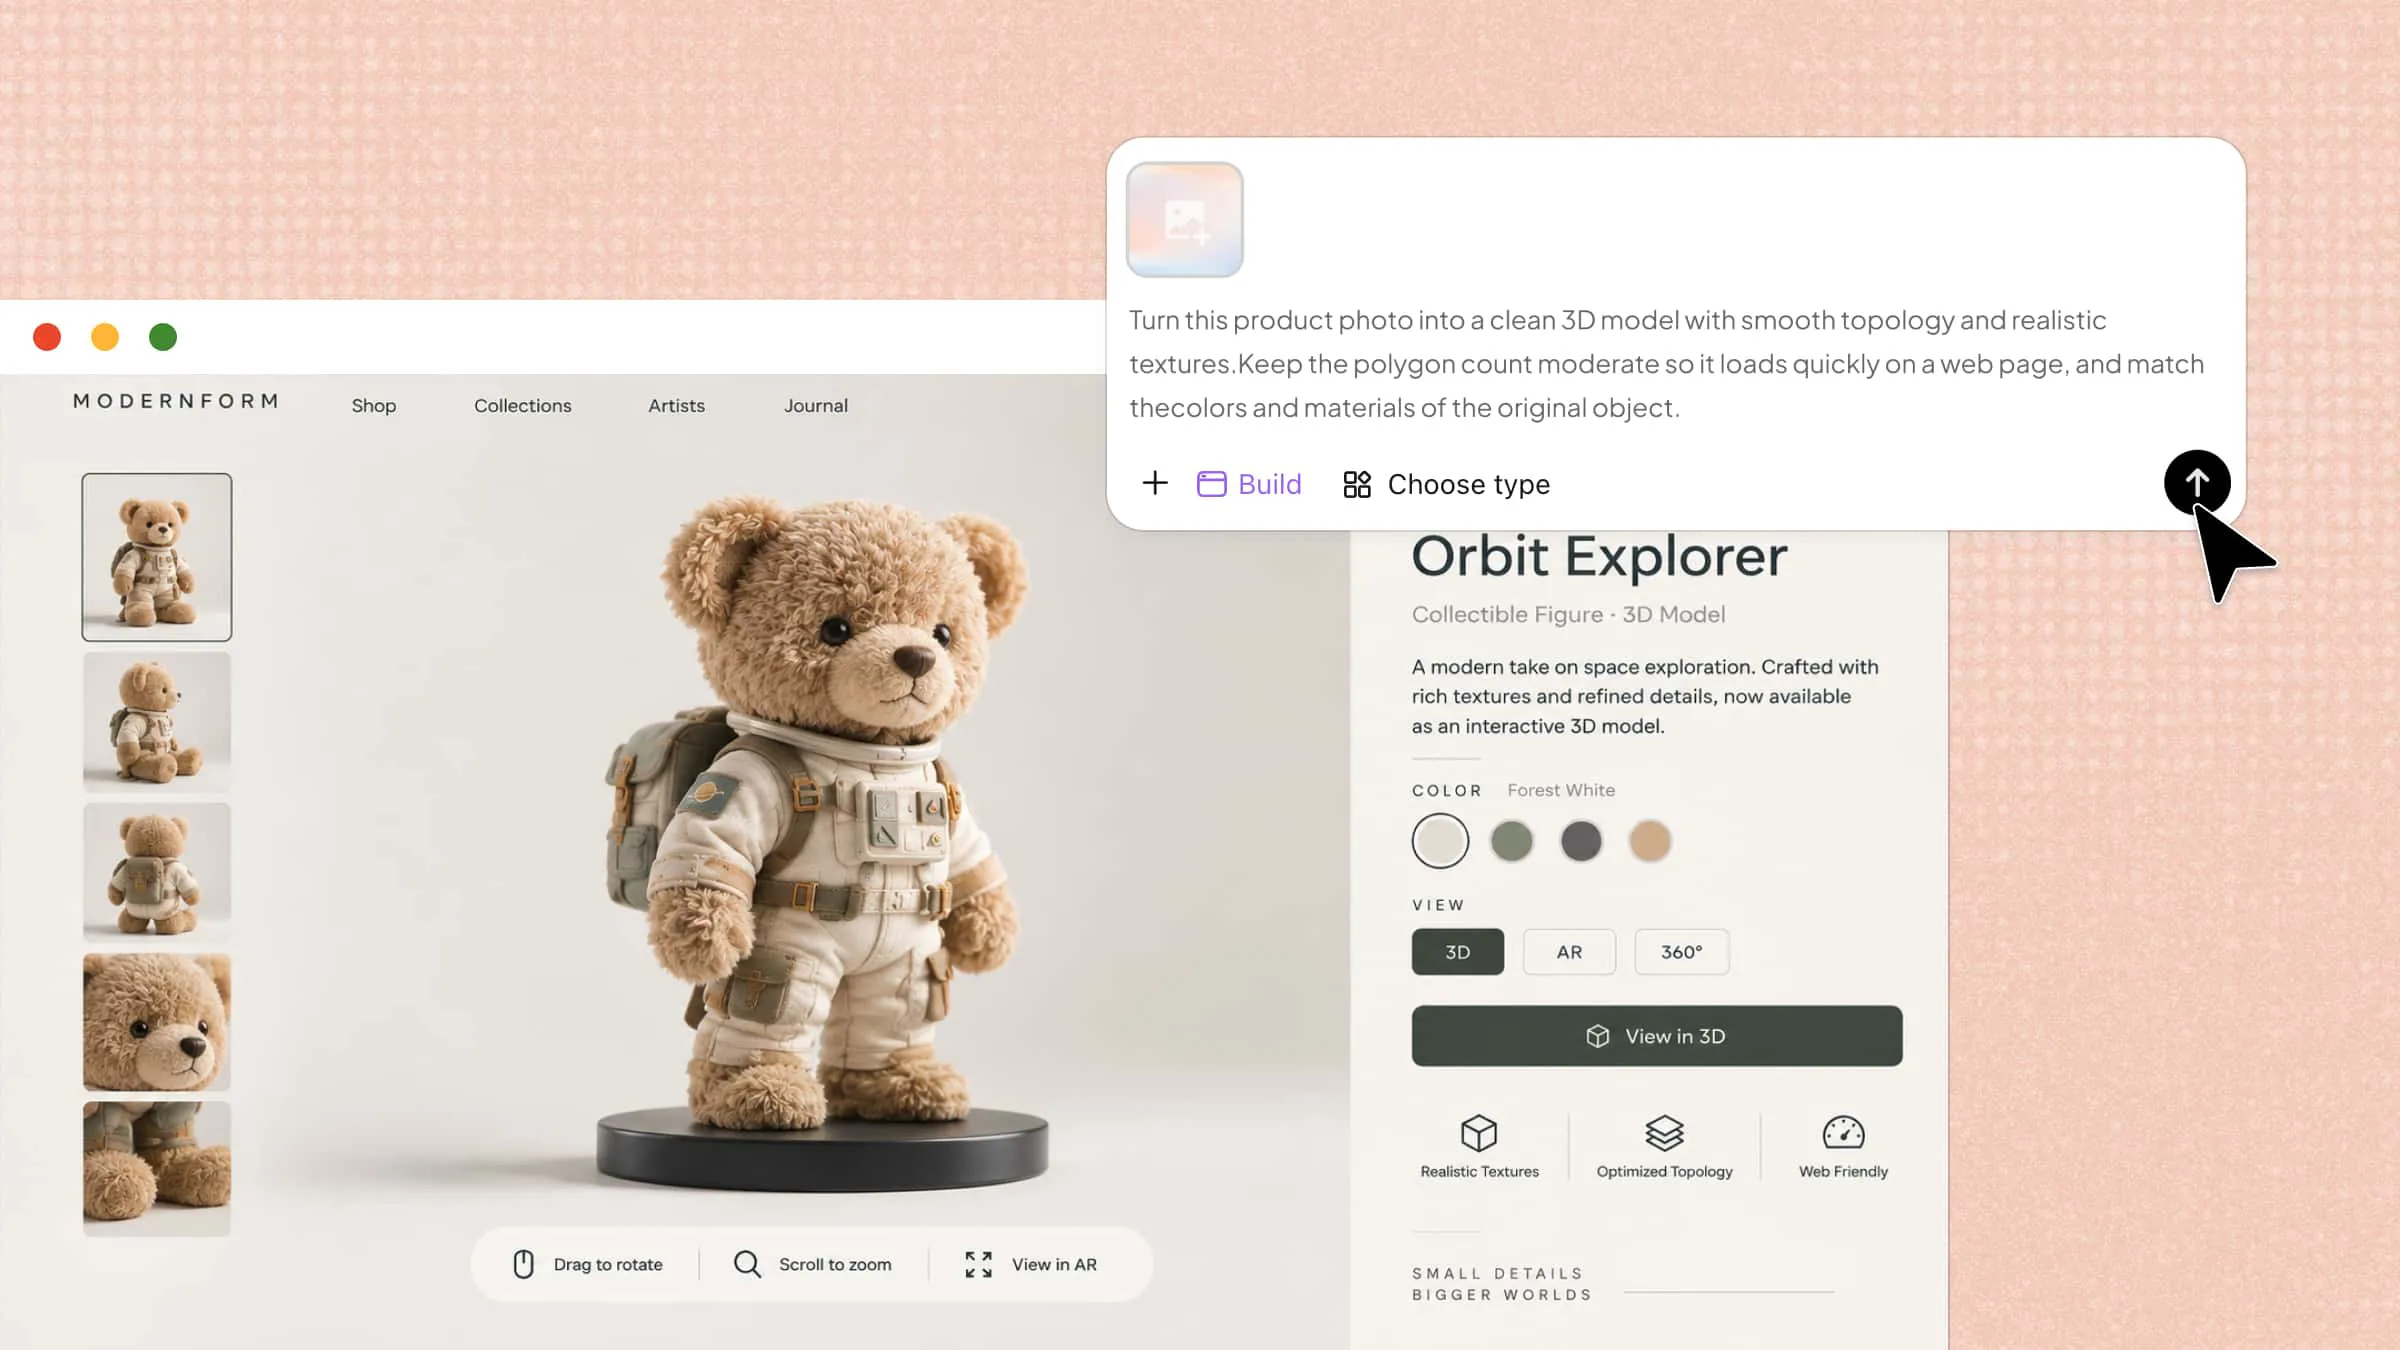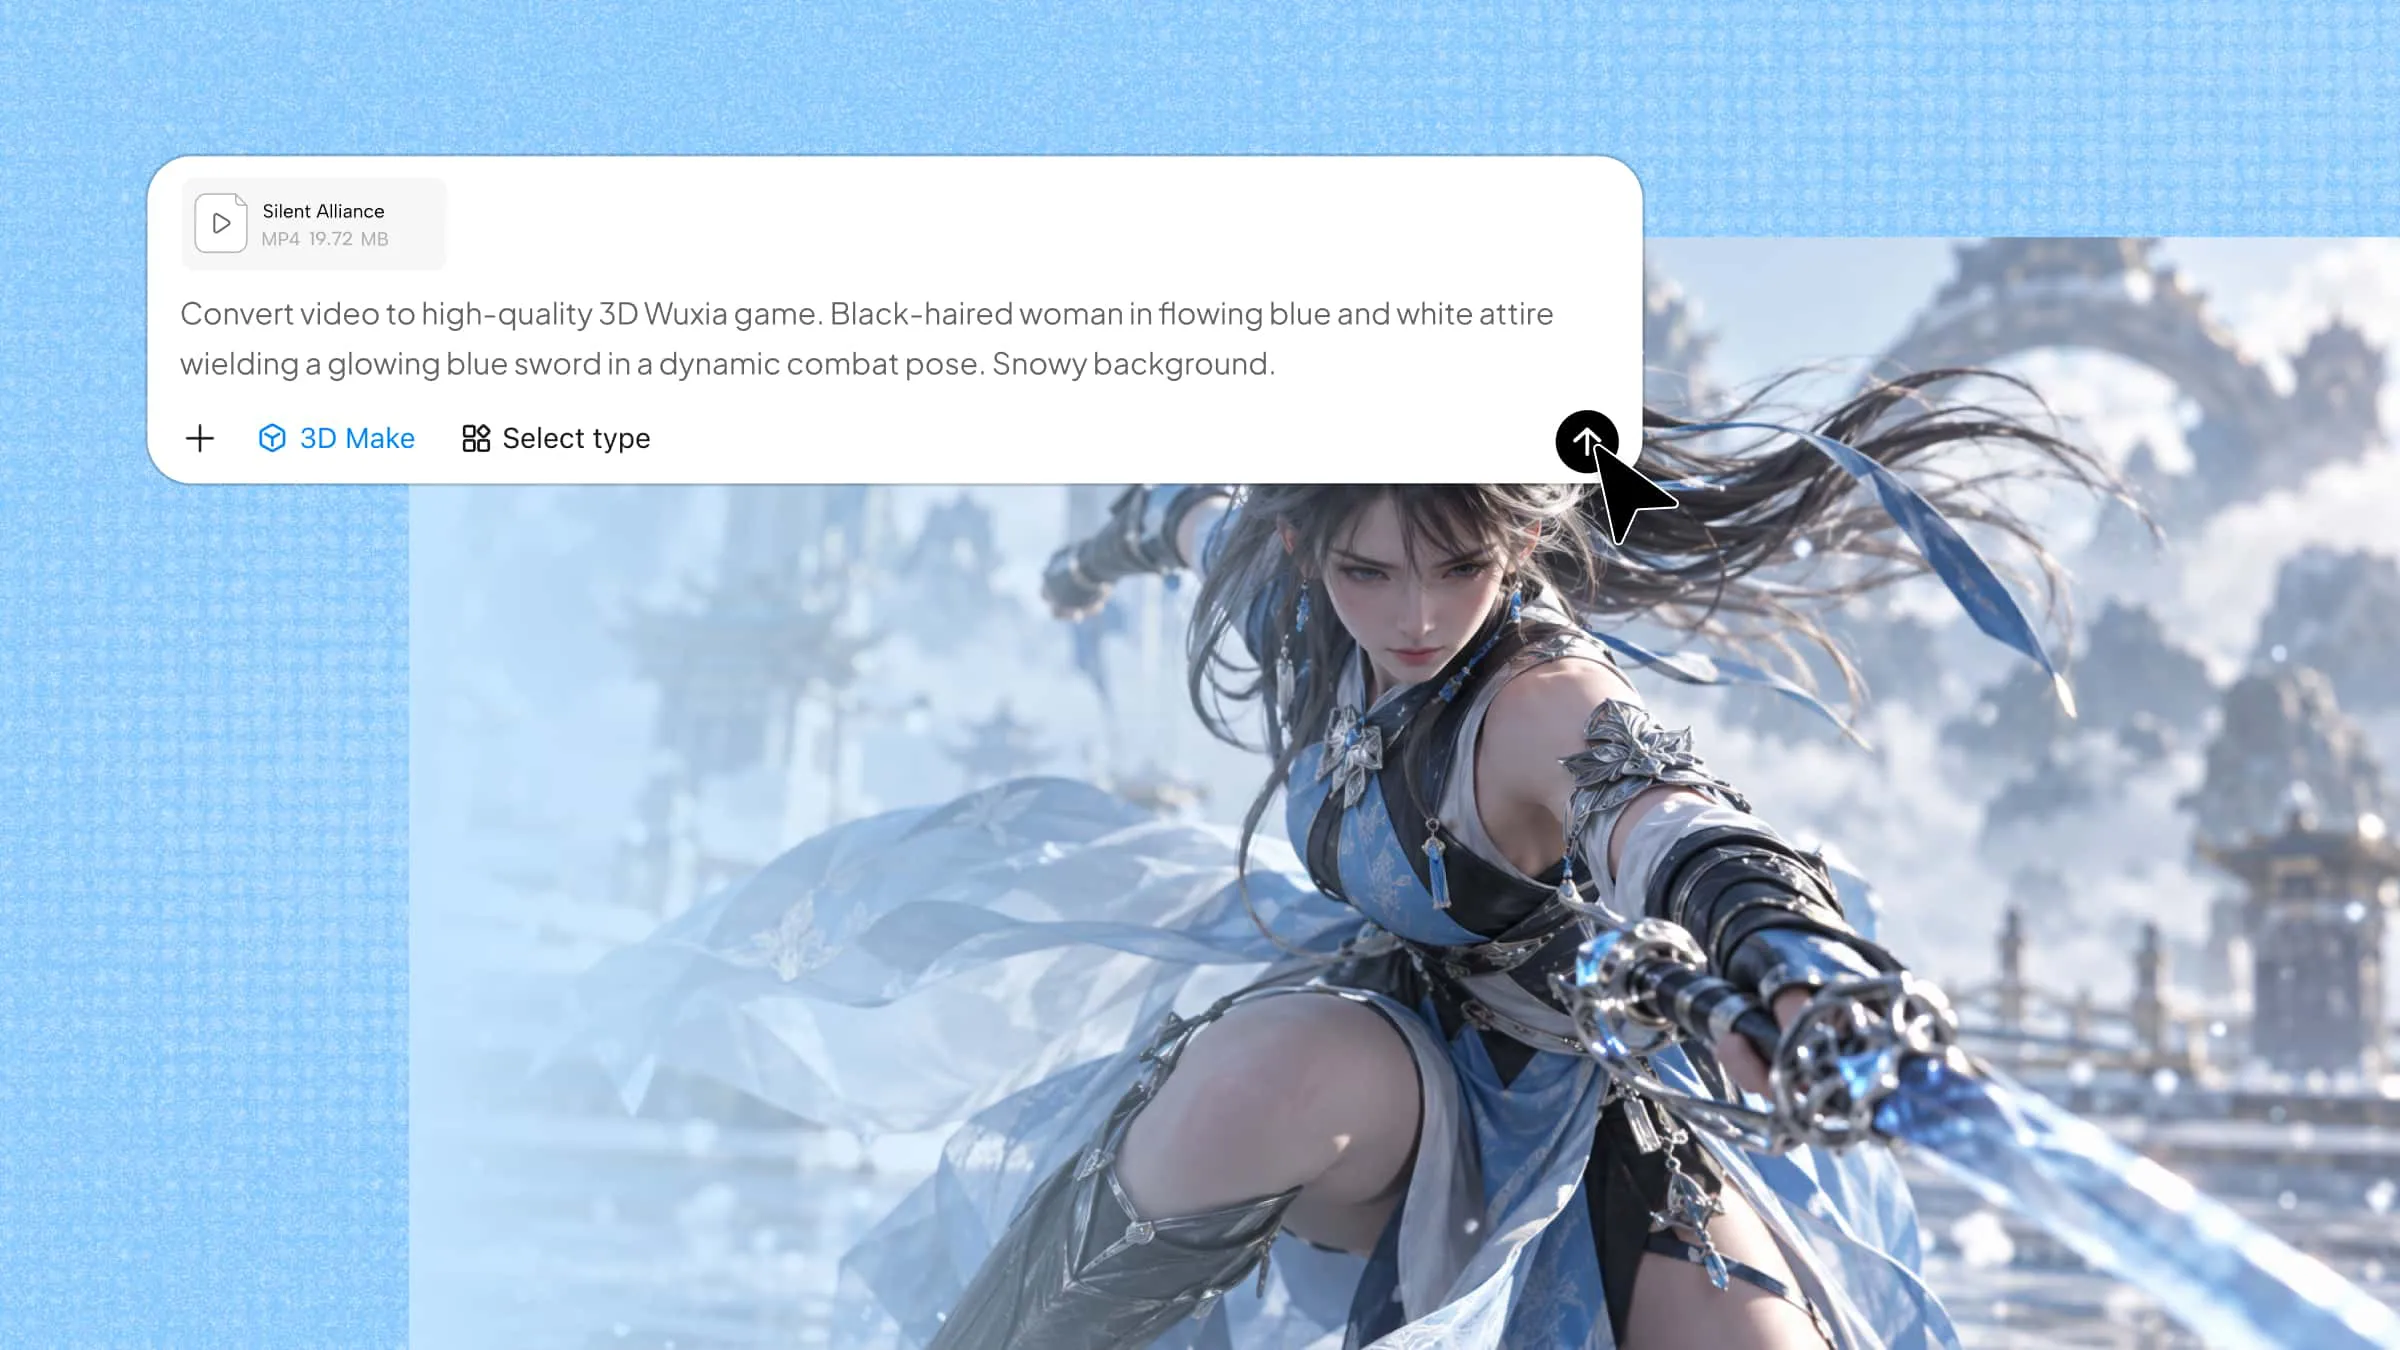
Creating detailed 3D models from scratch can be time-consuming, especially for beginners with little modeling experience. A video to 3D model workflow offers a simpler way to turn existing footage into three-dimensional assets using AI-powered tools. Instead of building every detail manually, you can use video references to generate and refine 3D models for creative projects. In this guide, we'll explore the best tools, key features, and step-by-step methods to convert video footage into 3D models.
What is video to 3D model conversion
video to 3D model conversion is the process of transforming video footage into three-dimensional digital models using AI and computer vision technologies. The process analyzes visual information, including object shapes, depth, textures, and movements, to reconstruct 3D representations. A video to 3D model AI tool can simplify this process by generating 3D assets from uploaded footage with minimal manual modeling. These models can then be refined and used in animation, gaming, product visualization, and other creative projects.
Create 3D models from videos easily with AI
Creating 3D models from video footage no longer requires complex modeling skills or lengthy manual workflows. With Kimi 3D Make, you can upload a video as a reference and use AI to transform its visual content into 3D creations. Describe your desired results through simple text prompts and refine the generated models by adjusting shapes, colors, materials, and details. This makes it easier for beginners and creators to turn video references into 3D assets for different projects.
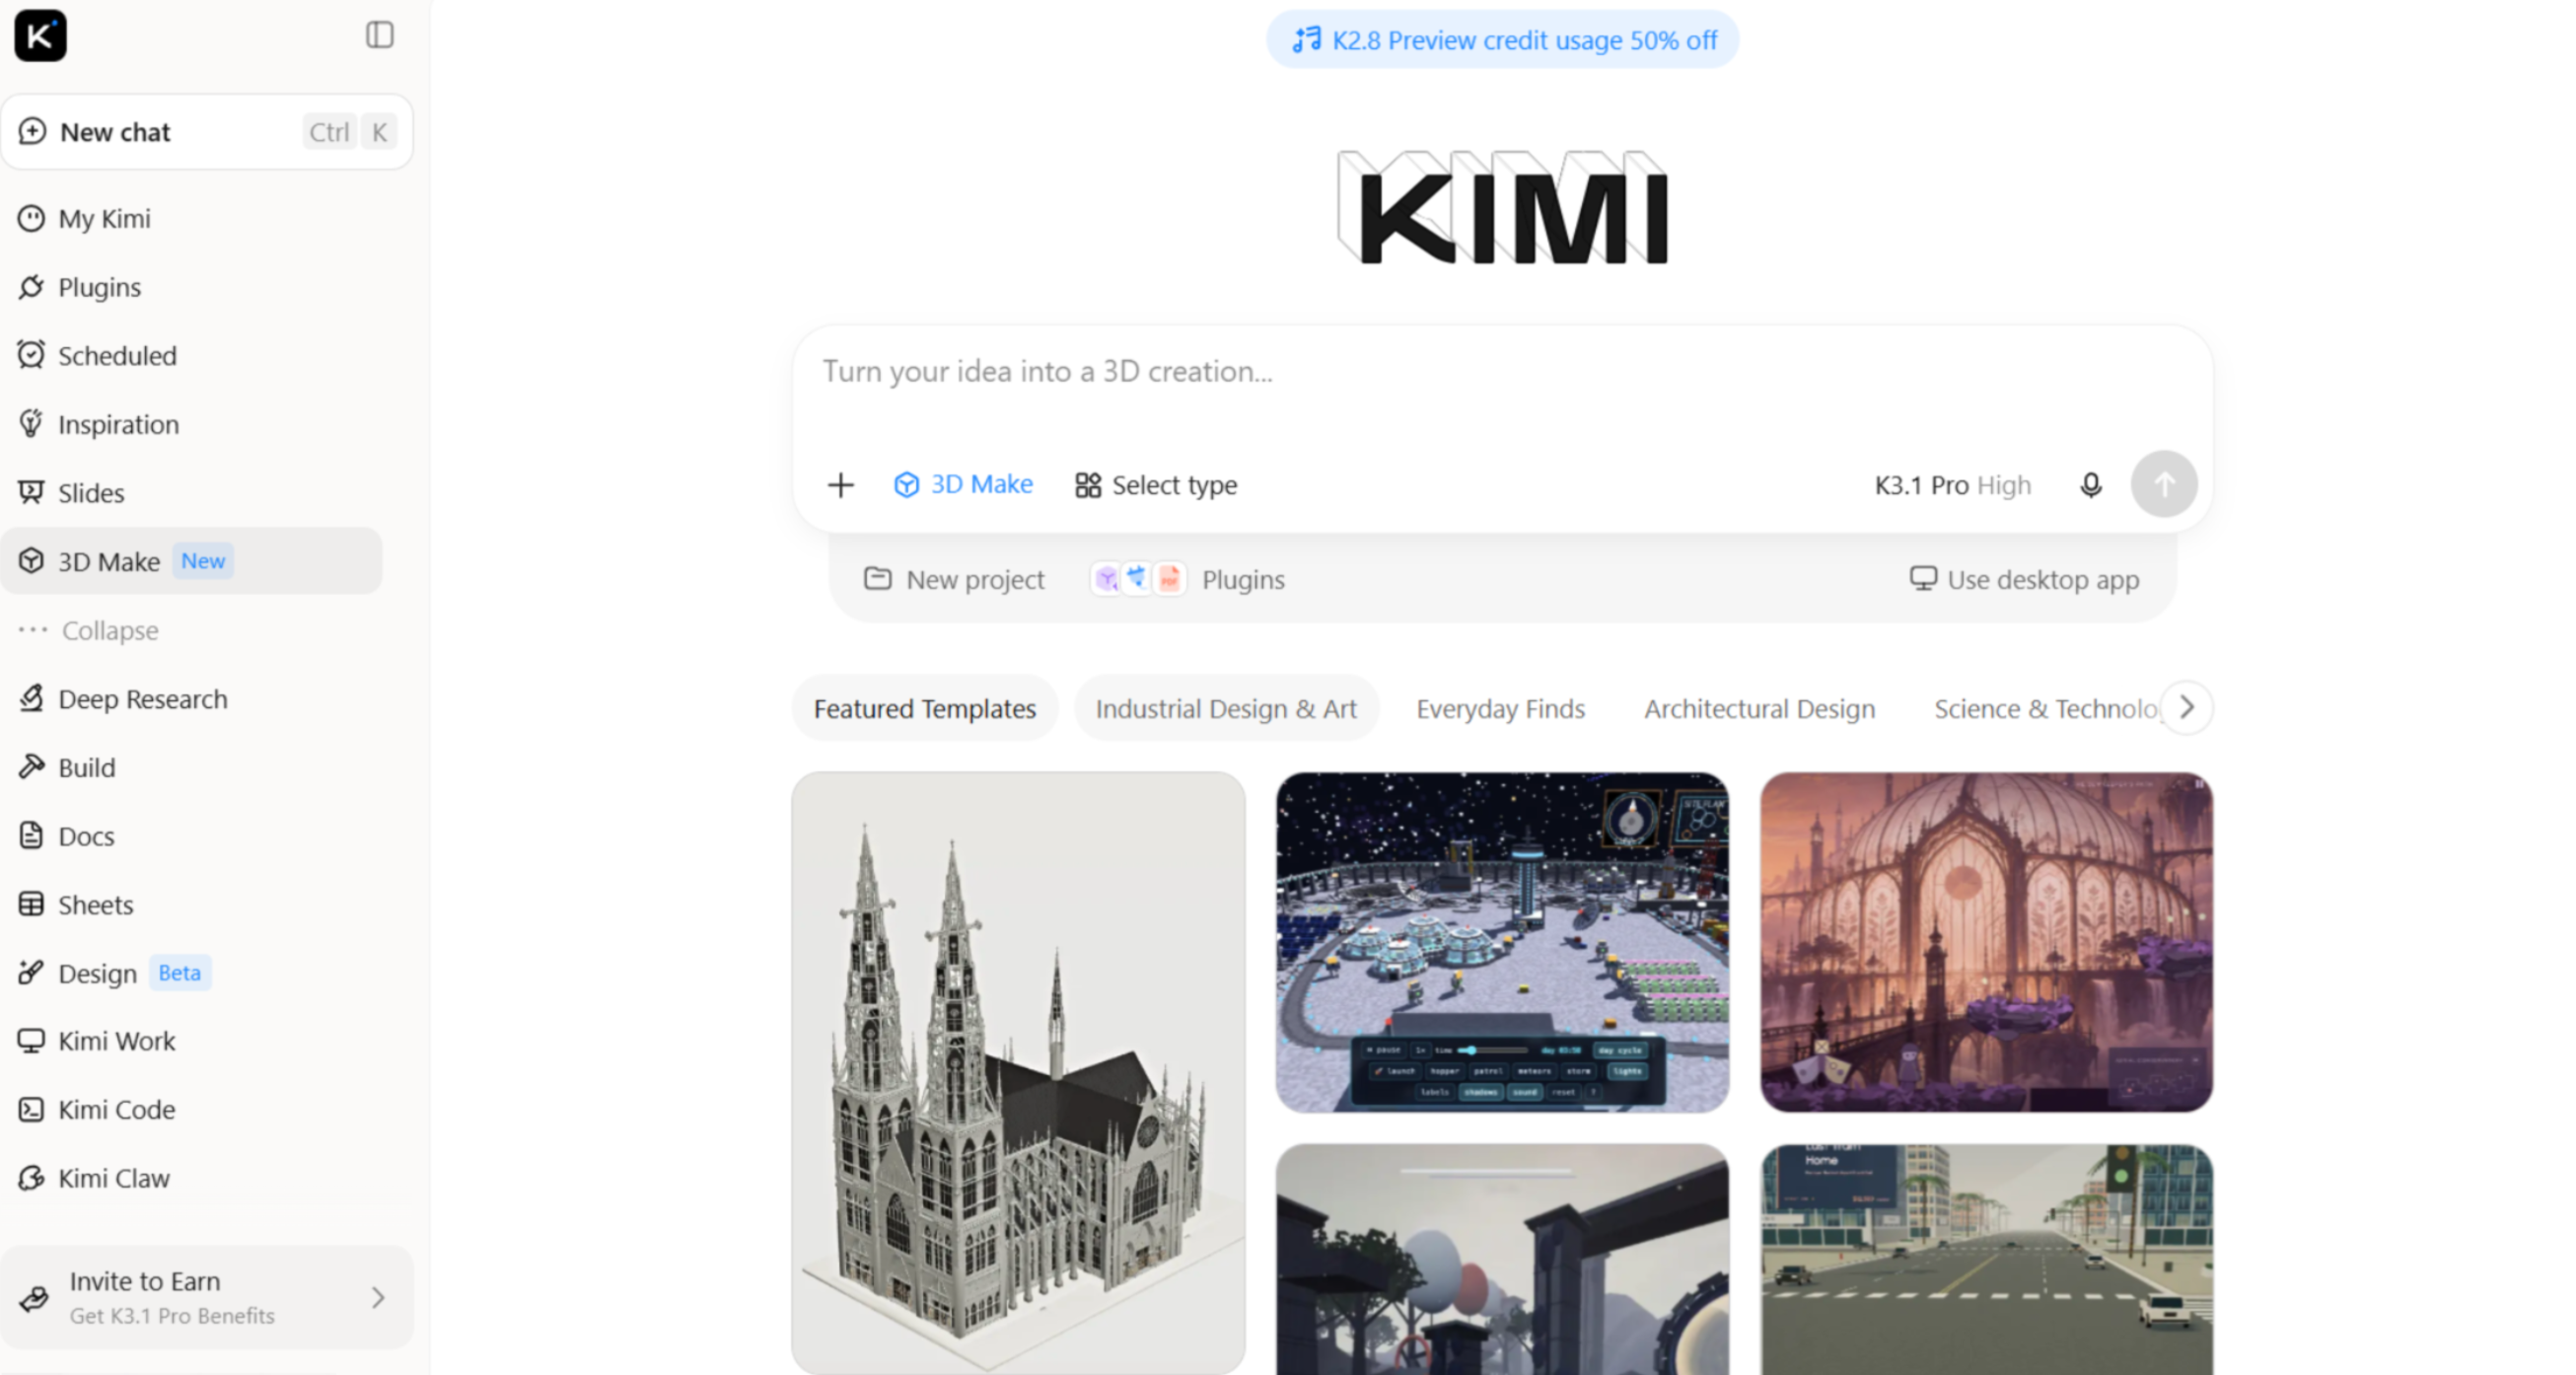
Key features
Kimi 3D Make offers several AI-powered features that simplify the process of creating and refining 3D models from video references. Here are some of its key features that make 3D creation more accessible and flexible.
Convert video frames into 3D models: Turn video content into 3D assets by selecting a frame as a visual reference for model generation. Describe the subject, shape, appearance, and other details with text prompts to guide the process. You can also upload additional reference images to refine the visual direction and create 3D models that better match your intended concept.
Refine model details through flexible editing: Adjust generated models using natural-language prompts, element comments, and manual editing. You can modify shapes, colors, and other visual details to bring the model closer to your intended design.
Preview models from different angles: Rotate and zoom in on your generated models to inspect their shapes, proportions, and surface details. Reviewing the model from multiple viewpoints helps you identify areas that need further refinement before exporting.
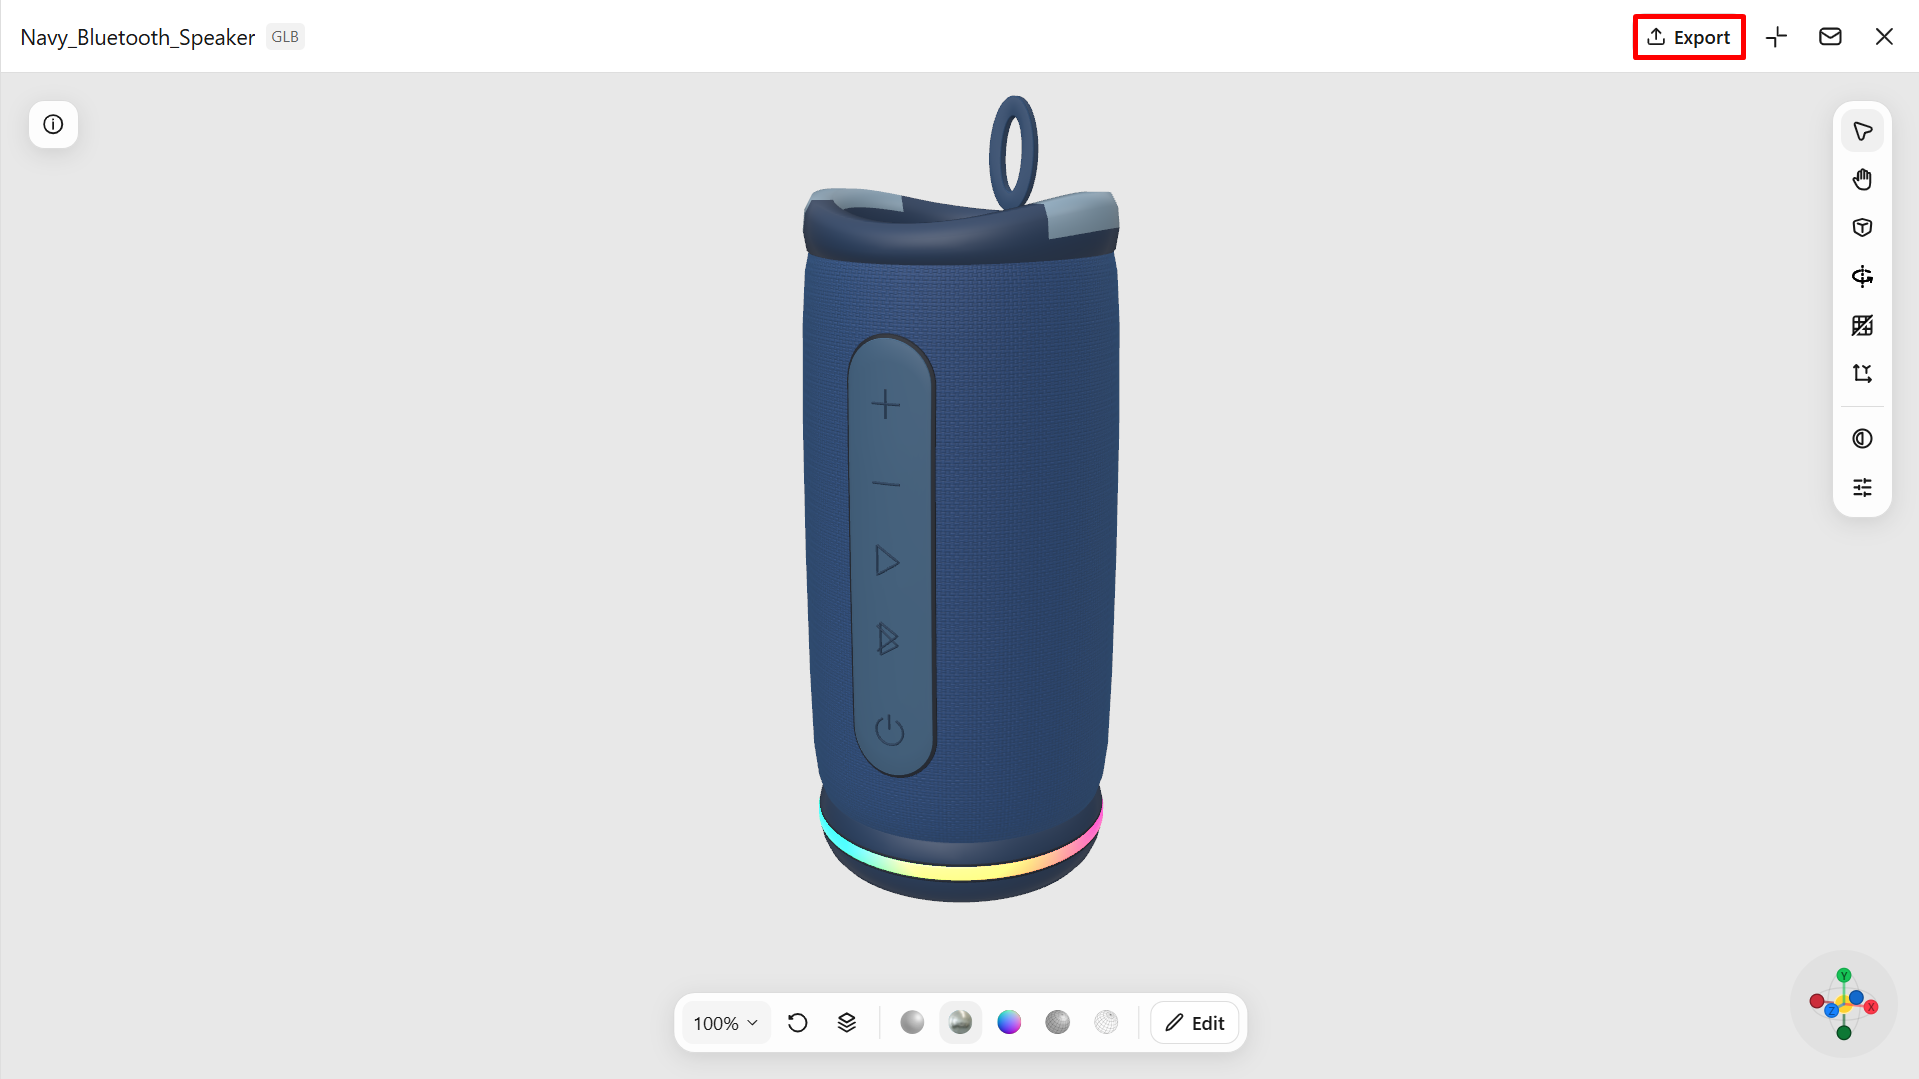
Export 3D models for different creative workflows: Export your creations in formats such as GLB and BLEND. These formats allow you to bring generated assets into compatible 3D applications for further editing, visualization, and integration into creative projects.
How to turn a video into a 3D model with AI
You can use Kimi 3D Make to turn video references into 3D creations through a simple AI-powered workflow. Follow these steps to upload your footage, customize the generated model, and export the final result.
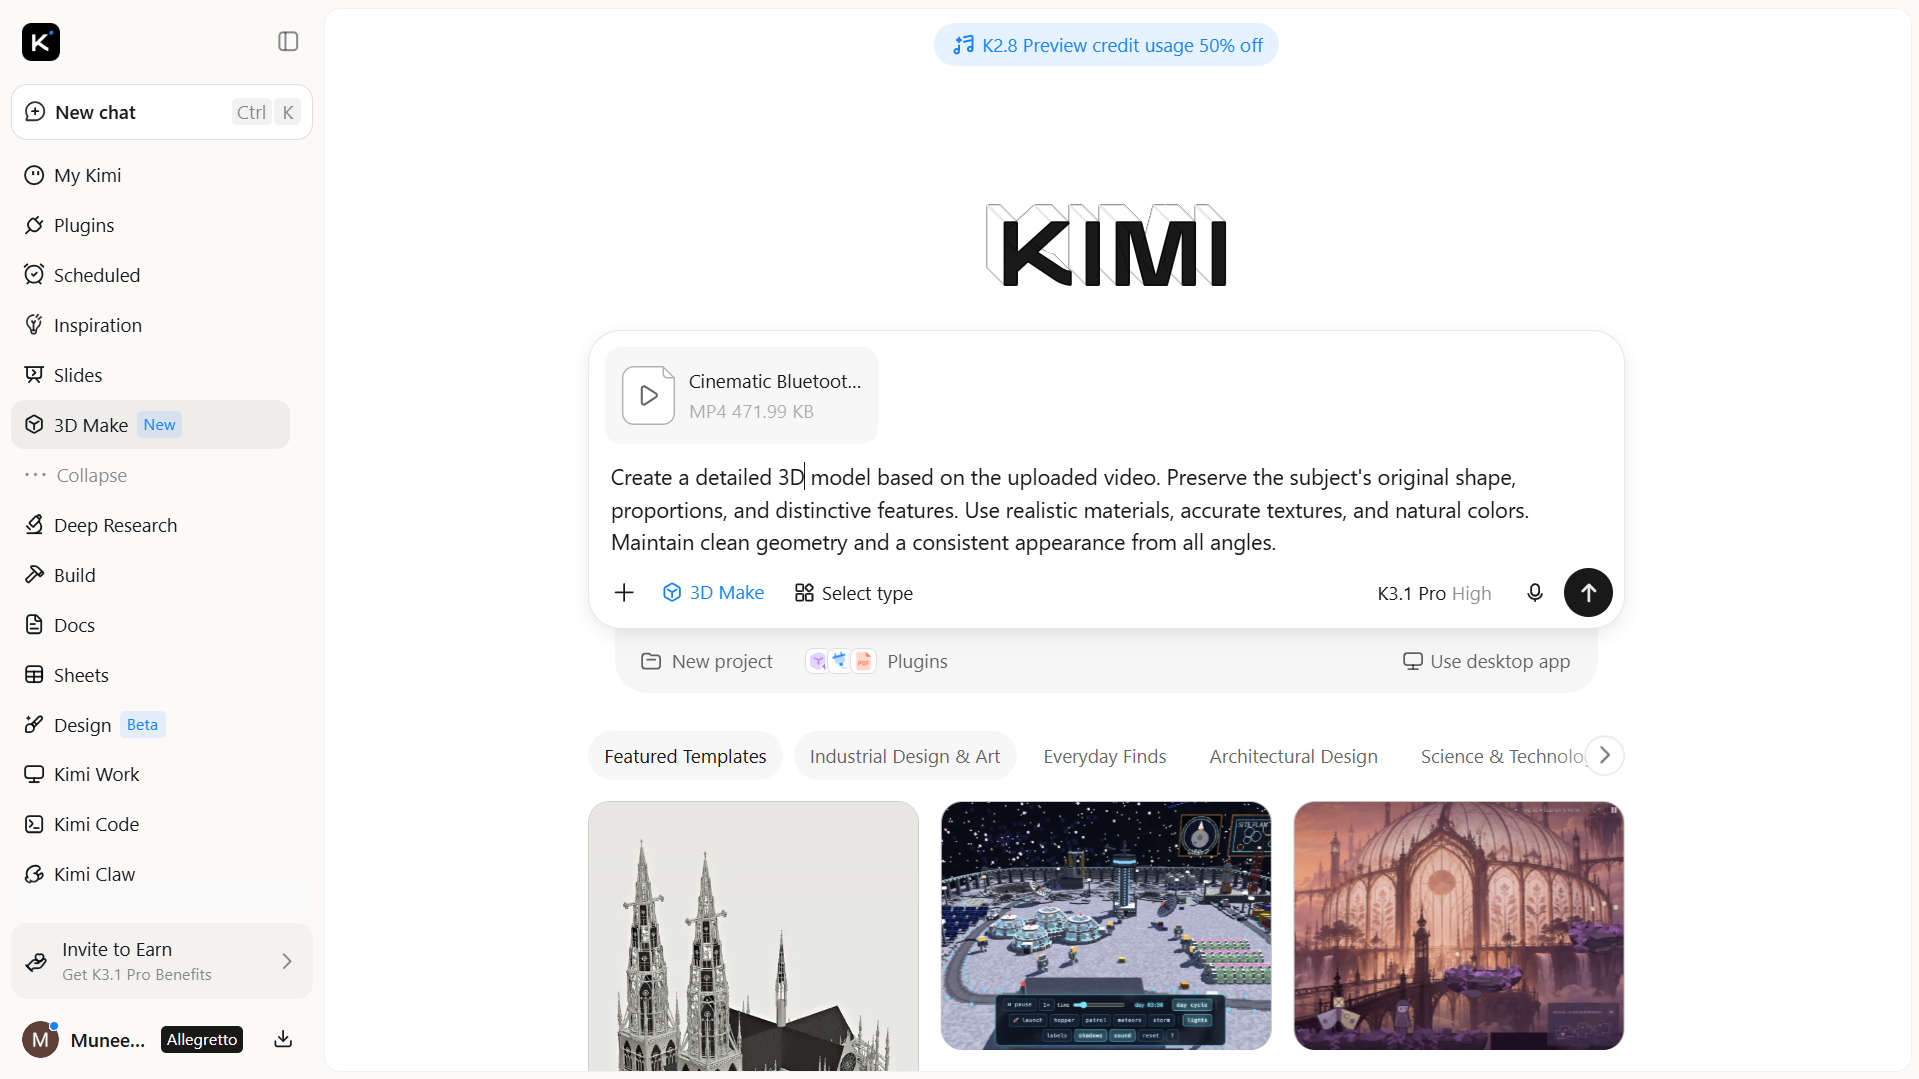
Step 1: Upload the video and enter the prompt
Upload your reference video to Kimi 3D Make and enter a descriptive prompt explaining the 3D model you want to create. Include details about the object's shape, appearance, materials, colors, and desired style to guide the generation process.
Step 2: Customize the 3D model video
Review the generated model and use follow-up prompts to refine its appearance. Adjust shapes, proportions, colors, textures, and materials to match your requirements. Experiment with different visual styles until you achieve the desired result.
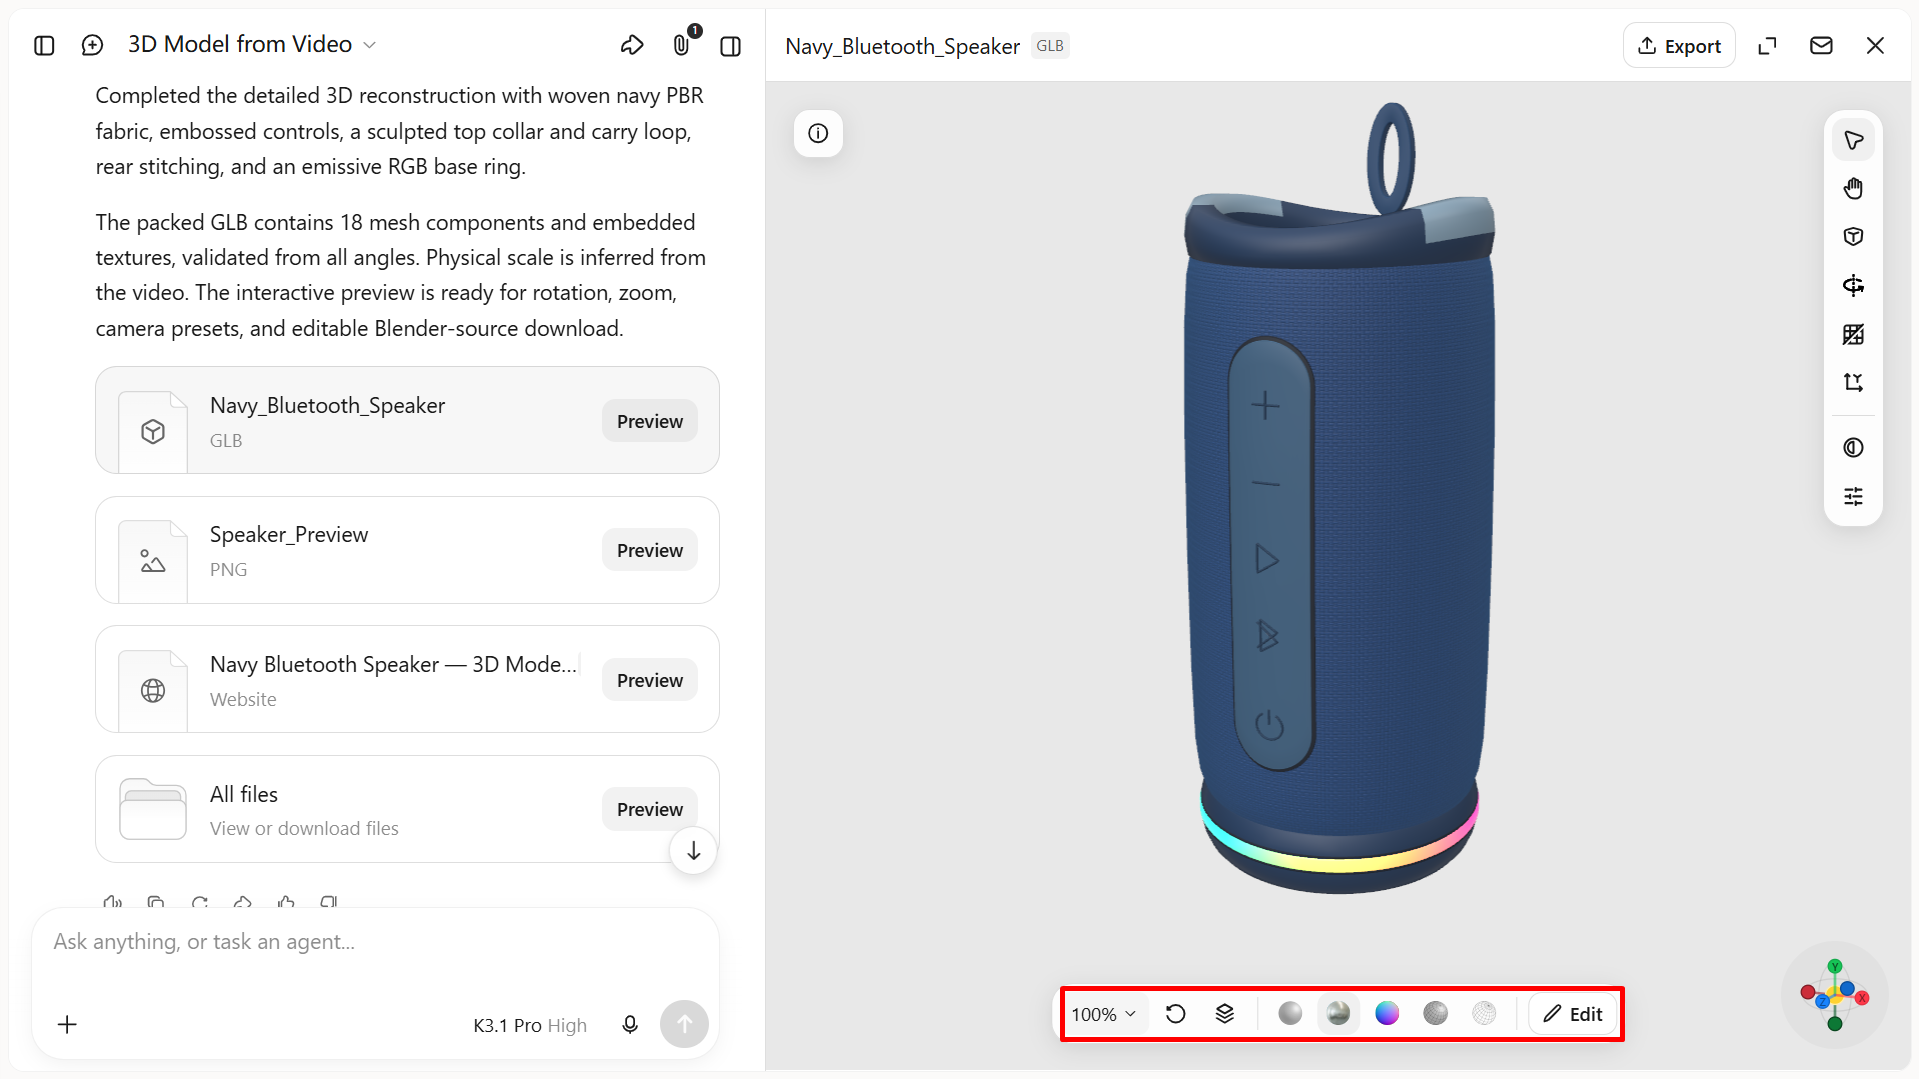
Step 3: Export the final 3D model video
Preview your completed 3D model to check its details and overall appearance. Once satisfied, export it in a supported 3D file format for use in animation, game development, product visualization, or other creative projects.
Common applications of video to 3D model conversion
Converting video footage into 3D models opens up creative possibilities across various industries. From interactive gaming to product design, a video to 3D model AI workflow can help create reusable digital assets for different applications.
Game development
Developers can use video references to create 3D characters, objects, and environmental assets for games. These models can be refined and integrated into game engines to build more detailed and immersive experiences.
Product visualization
Turn product footage into 3D models that showcase shapes, materials, and design details from different angles. This helps designers create realistic product representations for presentations, prototypes, and marketing materials.
E-commerce
Online sellers can use video to 3D conversion to create interactive product models for their digital stores. These 3D assets allow customers to explore product designs and details beyond traditional product photographs.
Architecture and interior design
Convert video references of buildings, rooms, and furniture into 3D models for design exploration. Architects and interior designers can use these assets to visualize layouts, study spatial details, and develop presentation concepts.
Film and animation
Artists can transform video references into 3D assets for animated scenes, visual effects, and digital storytelling. A video to 3D model AI tool can also help create character references and objects for different animation projects.
Tips for getting better video to 3D results
The quality of your source footage plays an important role in generating accurate 3D models. Follow these practical tips to improve your video to 3D model AI results and create more detailed, consistent assets.
Capture multiple viewing angles
Record the subject from different angles to provide more visual information about its shape and structure. Include front, side, and rear views to help AI generate a more complete 3D representation.
Keep the object stationary
Keep the object still while recording and move the camera around it to capture different perspectives. This helps a video to 3D converter identify the object's shape and proportions more accurately.
Maintain consistent lighting
Use soft, even lighting to reveal the object's details without creating harsh shadows or reflections. Consistent lighting helps preserve colors, textures, and surface details during 3D reconstruction.
Record clear, high-resolution footage
Use a high-resolution camera and keep the subject in focus throughout the recording. Clear footage provides more visual details, helping AI produce sharper and more accurate 3D models.
Avoid unnecessary background movement
Choose a simple recording environment with minimal movement behind the subject. Distracting objects, moving people, and changing backgrounds can make it harder for AI to distinguish the main object.
Select useful frames
Use frames that clearly show the subject from different angles and reveal its important features. Avoid blurry, obstructed, or repetitive frames to provide better references for video to 3D model conversion.
Conclusion
To sum up, converting video footage into 3D models offers a practical way to create detailed digital assets without relying entirely on complex manual modeling. With the right video to 3D model AI tools, you can transform visual references into reusable 3D creations for gaming, animation, product visualization, and more. Kimi 3D Make makes this process easier with AI-powered 3D generation, reference uploads, and natural-language editing to refine your creations.